
Twinmotion 2023 – Adding Imperfections to Your Car Paint
January 19, 2023

Had a little time recently to experiment with an easy to make car paint material and add imperfections, scratches etc.. to add a little more fine detail to my car model renders, especially paintwork and chrome wheels. It’s a really quick process if you want to add fine details to your 3D models. Twinmotion 2023 has its own native car paint materials now, with lot’s of new parameters, and very good indeed. This method is for making your own imperfections with marks and scratches etc.
With this method it’s important to use a plain color material and not something with a texture in it. Twinmotion’s native plastic material, its pink , for example is a good place to start. You can change the color easily then to whatever you like. We then have to scale our material up or down to get the desired effect. Being a plain colored material nothing will change when scaling up or down only the size of the imperfection we added will change in size. If we used something with a pattern in it, and then scaled it, it would obviously distort and resize the pattern of the material.
I tried a few imperfections from Quixel Megascans. You only need to download the Roughness map. You then apply it to the Roughness channel of your material and adjusted the scale until it looks reasonably ok, size wise, and to the extent where you can see it in the light.
Step 1.
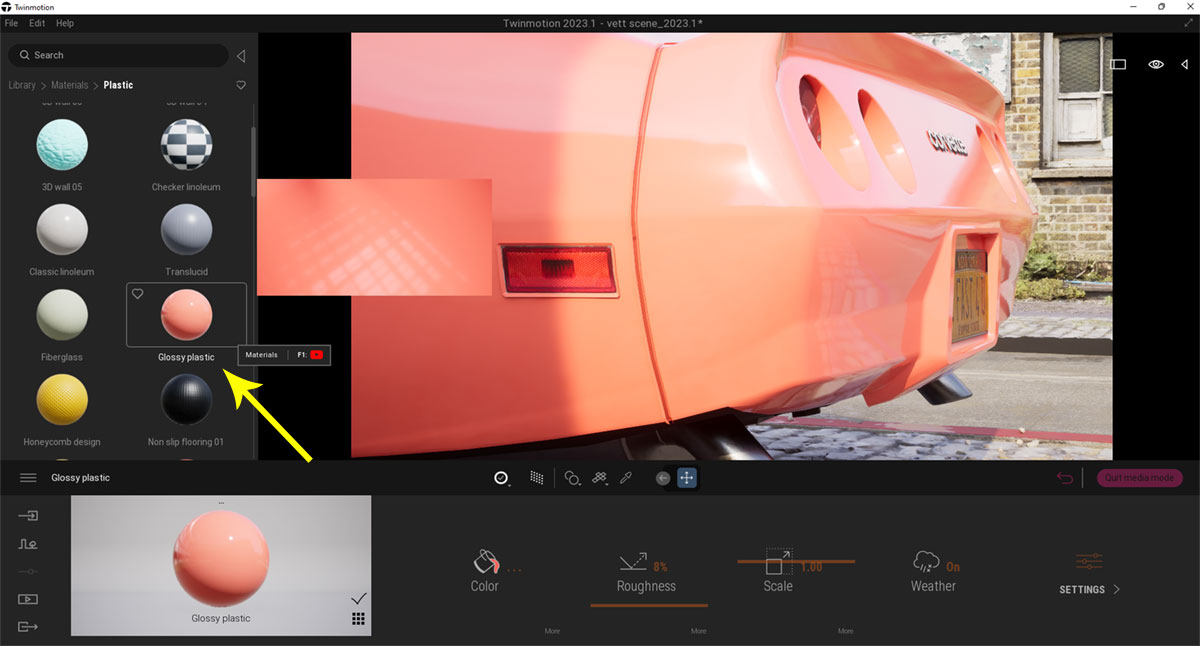
Apply Twinmotion’s native Glossy Plastic Material and Adjust Color
Step 2.
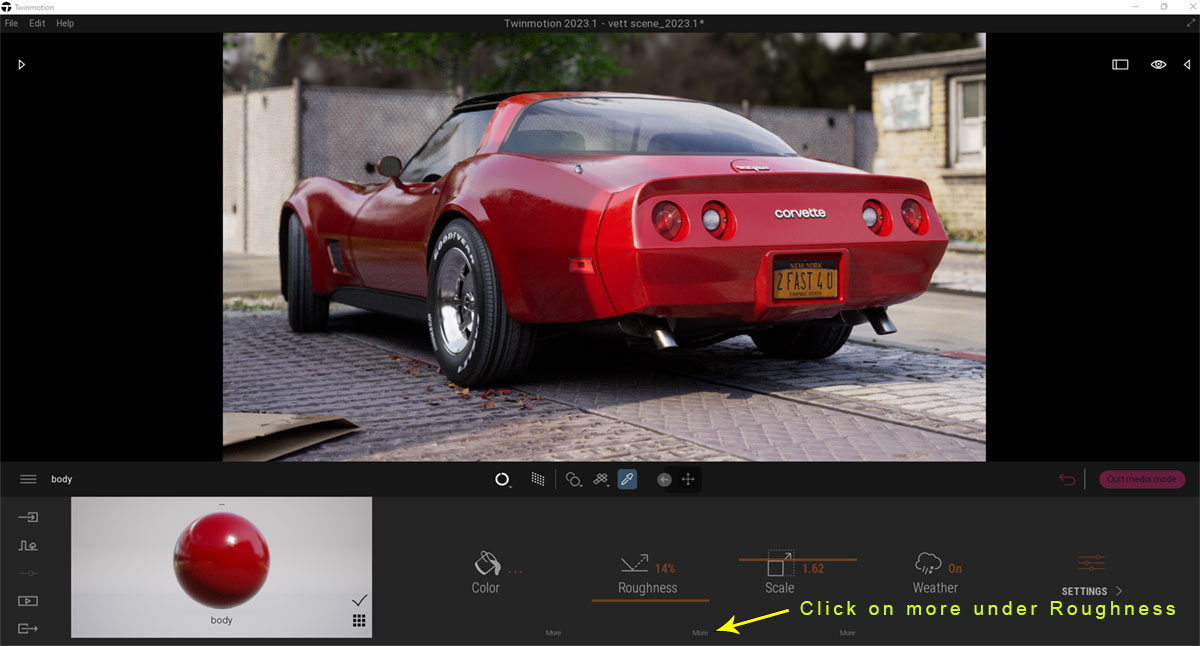
With Color Adjusted Click on more Under Roughness
Step 3.
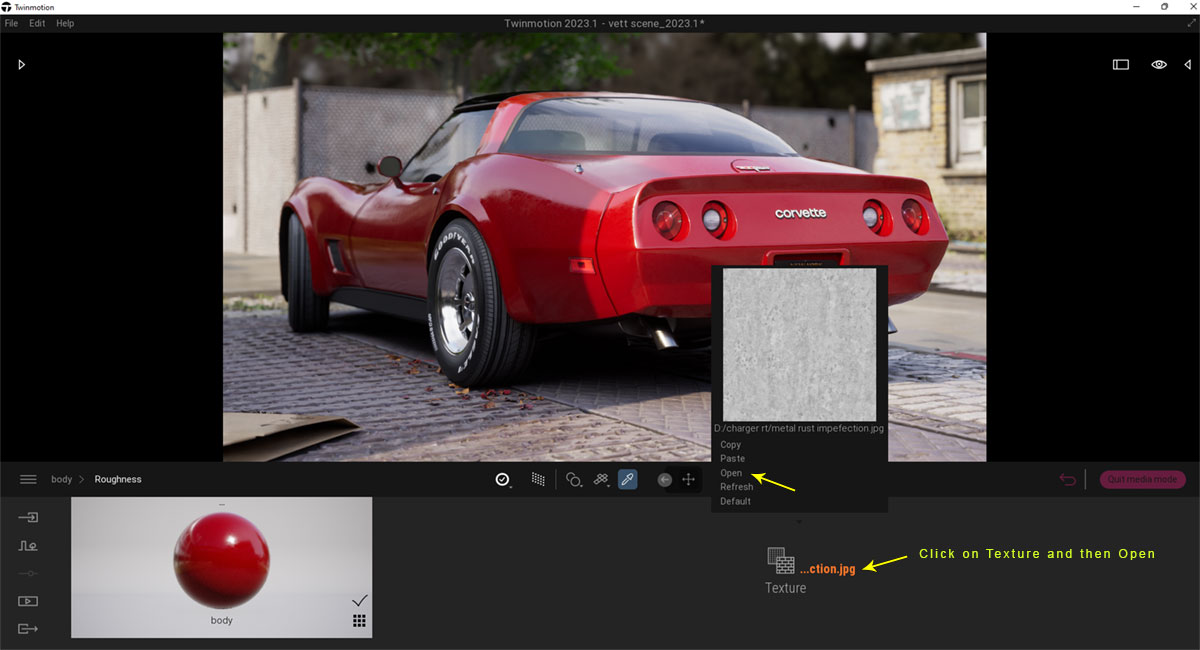
Next Click on Your Image File and Then Open to Add New Image
Step 4.
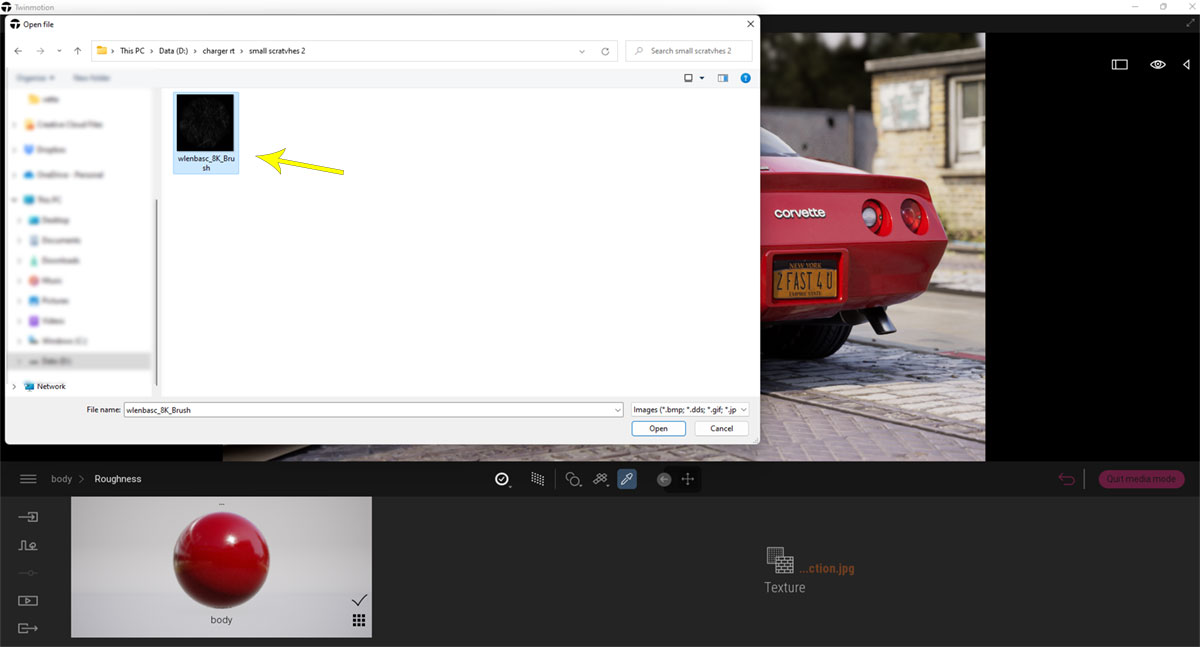
Go to Where You Downloaded Imperfection and Open It
Step 5.
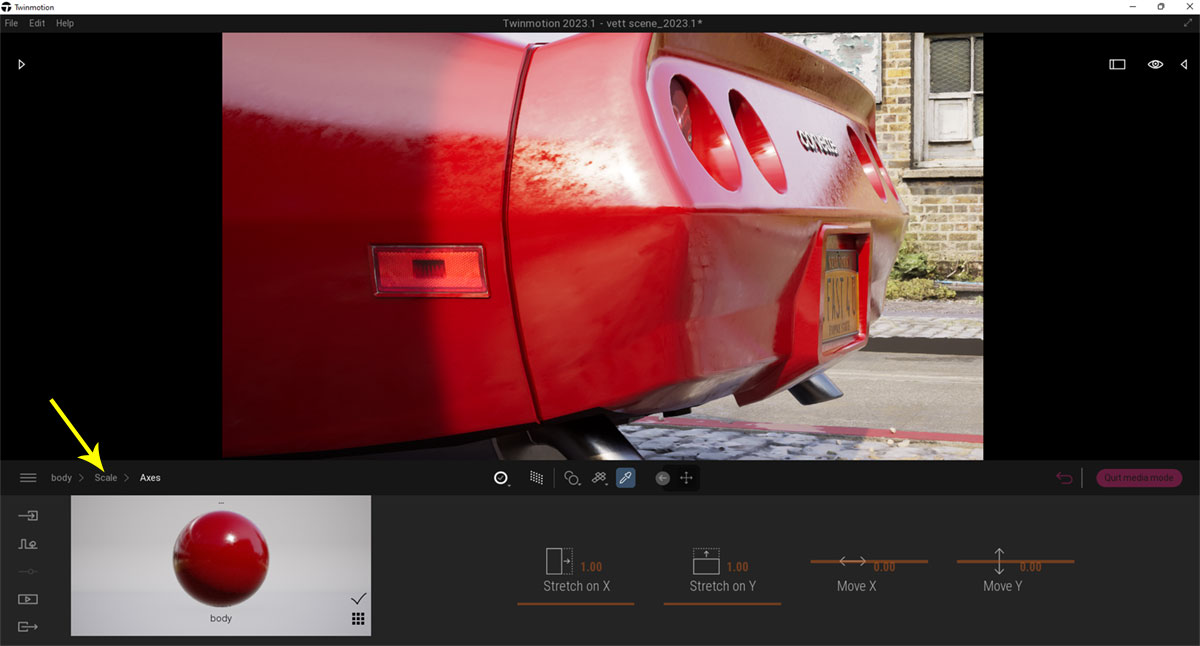
Adjust Scale to Improve Look of Imperfection. You can Click more Under Scale for Further Adjustments if Needed
Final Image
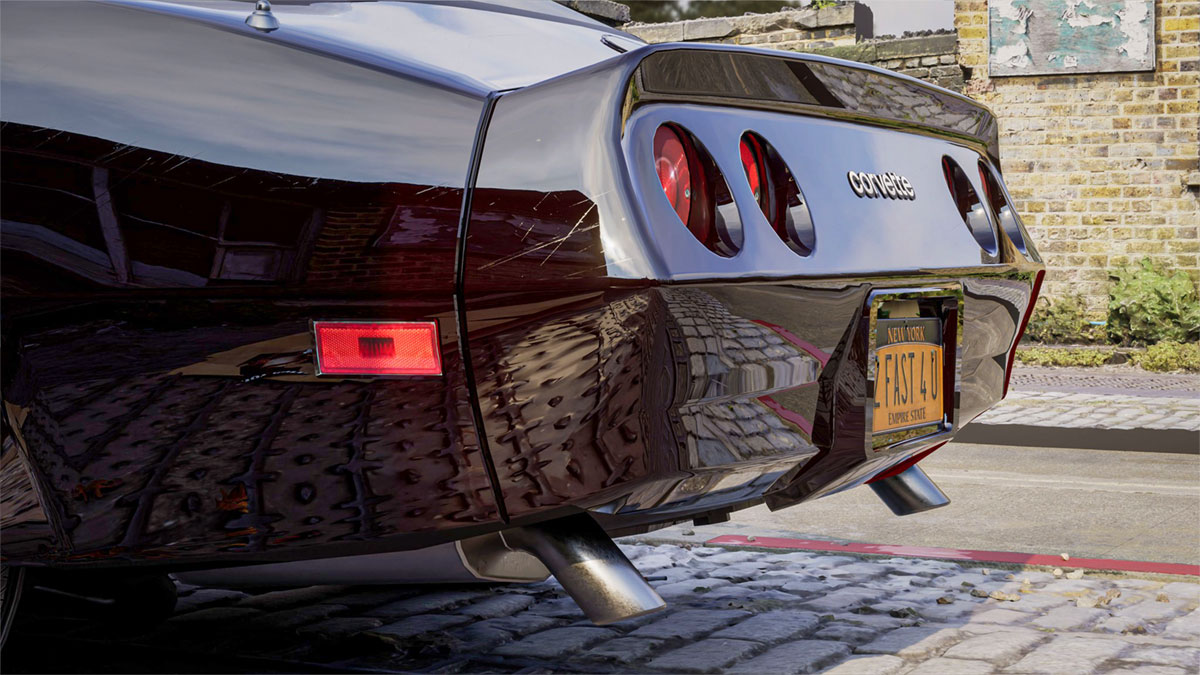
Final Image After Adjustments and Color Change
Image of Exhaust Metal Using Same Process
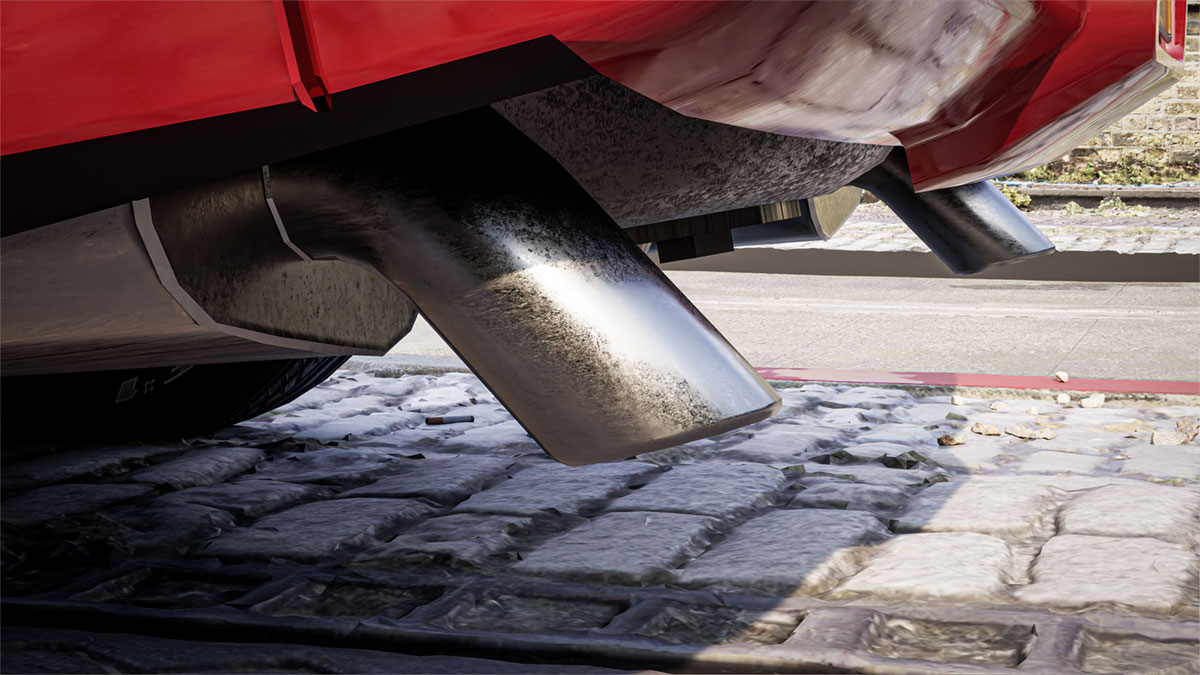
Click on Image
Experiment with different Imperfections as some will work better than others. Hope you found this useful and that it may help in your future projects. Thanks for reading.
James Hannigan (aka SketchUpArtists)
More of my work here at Artstation and Twinmotion Official Community Group.
Create Realistic Road Puddles or Wet Paving in V-RAY For SketchUp
October 10, 2022
10th October @ 16:00In this tutorial, you will learn how to render wet paving or road puddles road in V-Ray 3.4 for SketchUp.
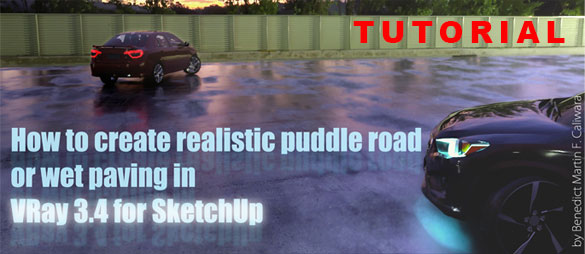
Click on image to view tutorial
How to Render Neon Signage and Logo’s V-Ray for SketchUp
October 10, 2022
10th October @ 15:34Learn the step-by-step process on how to render a logo or signage with neon light effects using emissive material in V-Ray 3.4 for SketchUp.
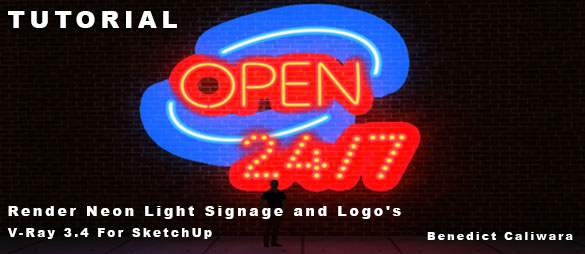
Click image to view tutorial
SketchUp and Krita for Texturing and Match Photo Editing
July 1, 2022
1st July @ 13:15SketchUp and Krita for Texturing and Match Photo Editing
In this tutorial our modelling and render expert, Majid Yeganegi, goes through his process in modelling a simple scene using SketchUp Photo Match and preparing the needed textures then in Krita, a professional FREE and open source painting program similar to Photoshop and Gimp.
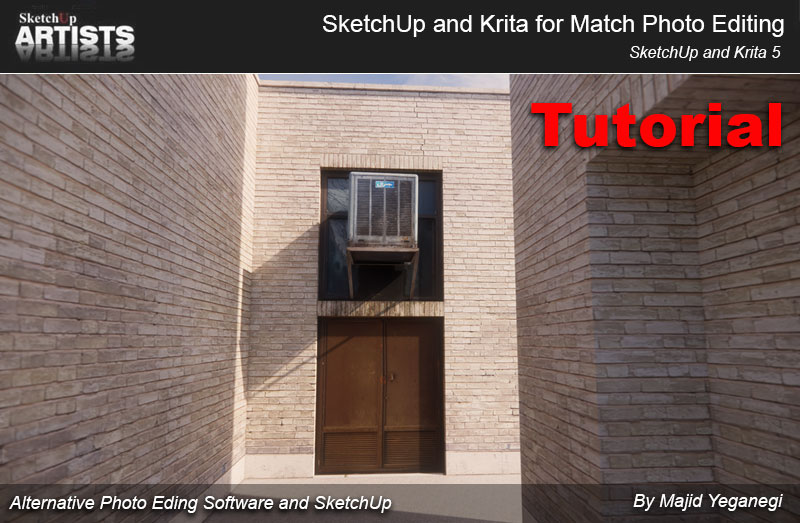
Click to view
Making of Hat Style Lampshade with SketchUp and Plugins
October 26, 2020
26th October 2020 @16:50Thilina Liyanage shows you how to model a hat style lampshade. He uses three SketchUp plugins to help in the process. This tutorial is suitable for those who are used to using SketchUp and plugins.
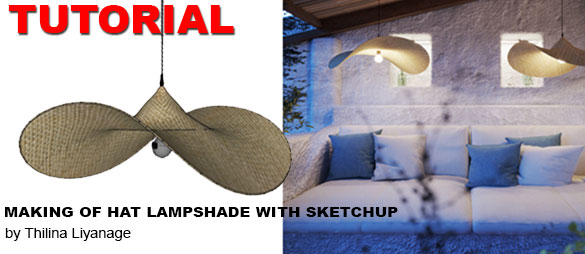
Click to view
‘Making of Somewhere in Italy’ by James Hannigan
October 15, 2020
15th October 2020 @15:10James Hannigan experiments with light, shadows, textures creating the right ambiance for this particular scene. Base model modeled in SketchUp 2019. Further work in Twinmotion (assets, decals etc). Final render in Twinmotion 2020 and post processing in Photoshop.
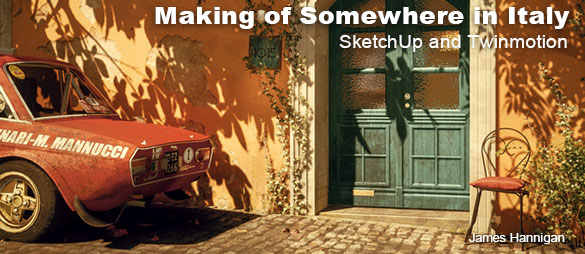
Click to view
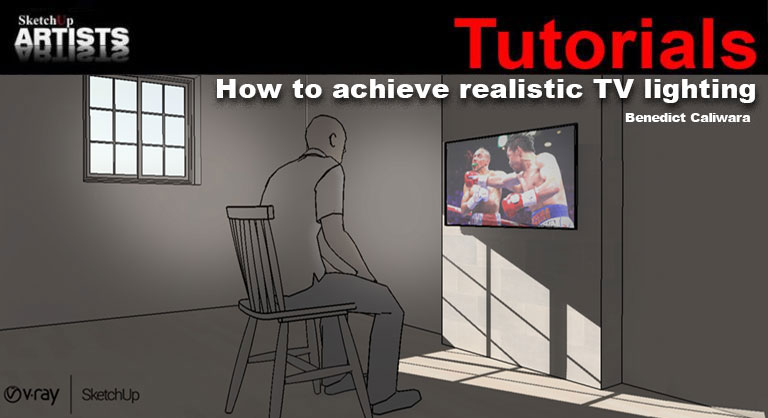
Achieve Realistic TV Lighting in V-Ray for SketchUp & Photoshop
October 5, 2020
5th October 2020 @15:10The purpose of this tutorial is to explore the different techniques in visualizing TV screens with light effects using V-Ray for SketchUp and Photoshop.
Software used – SketchUp – V-ray for SketchUp and Photoshop
Click to view tutorial
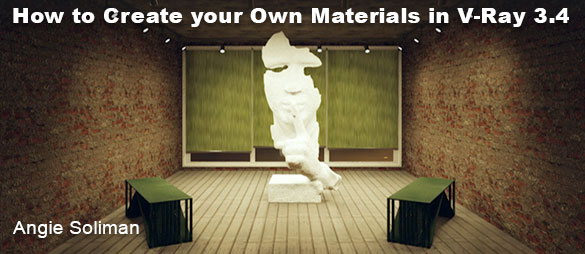
How to Create your Own Materials in V-Ray
October 18, 2019
18th October 2019 @ 12:50pmIn this tutorial by Angie Soliman you will create your own material to match your model, and you need to know exactly how to do so the right way, so you don’t mess up your model or final render.
Click to view
SketchUp & Photoshop Workflow Liam Keating
October 4, 2019
4th October 2019 @ 16:37pmI was invited to give a couple of talks and workshops at SketchUp’s 2018 Basecamp event in Palm Springs. Whilst my main focus was on Scifi illustration with SketchUp, I also included a short breakdown of my workflow. Although the tutorial is quite simple, it’s the same process I use near enough for most of my work.

Click on image to view tutorial
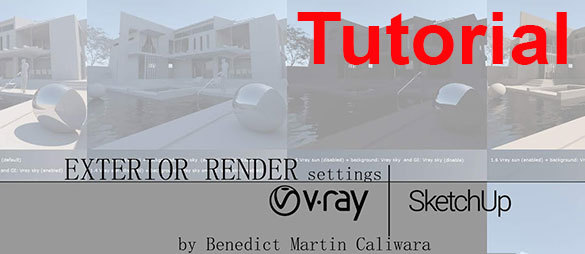
Exterior Render Settings (V-Ray for SketchUp)
March 3, 2019
3rd March 2019 @ 13:23pmIn order to fully understand the possible render output in V-Ray for SketchUp, using various environment settings, I made a simple rendering experimentation that highlights different parameters or settings which generally affect the tonality and atmosphere of the rendered image output.
Click on image to view tutorial
Profile Builder 4

Artisan Organic Toolset

PlaceMaker Version 3
Skimp Pro Import Extension

BIM Bundle Special Offer!
SketchPlus Artist Bundle !
Bevel Tool
V-Ray 5 for SketchUp E-Book
