
SketchUp and Krita for Texturing and Match Photo Editing
SketchUp and Krita 5 for Match Photo Editing
In this tutorial our modelling and render expert, Majid Yeganegi, goes through his process in modelling a simple scene using SketchUp Photo Match and preparing the needed textures then in Krita, a professional FREE and open source painting program similar to Photoshop and Gimp.
SketchUp Work
In this tutorial we will model a simple scene with Photo Match and prepare the needed textures then in Krita 5. To start modelling I used a reference image and imported it inside SketchUp and tried to match the model to it as close as possible. To do that go to File > Import and then choose the right file type from drop-down menu and “New Matched Photo”. Then import the desired Image. Here I am going to import an image of a corner with a water cooler.
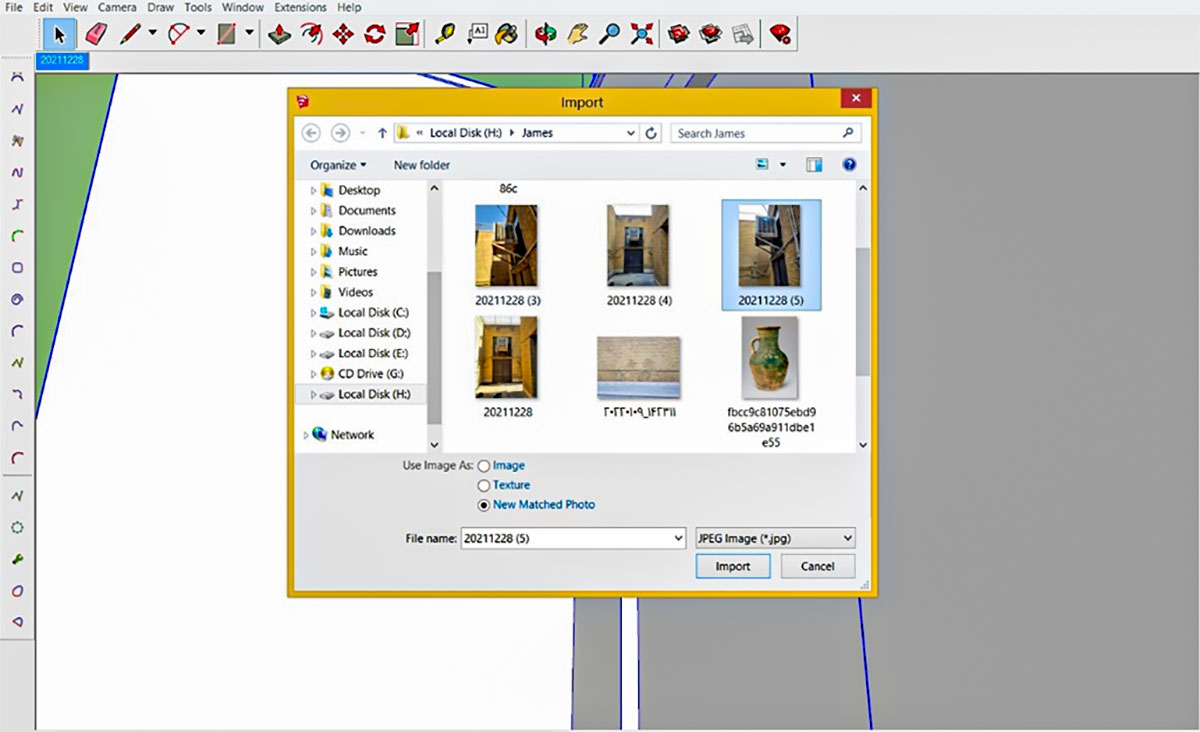
Import Image as New Matched Photo
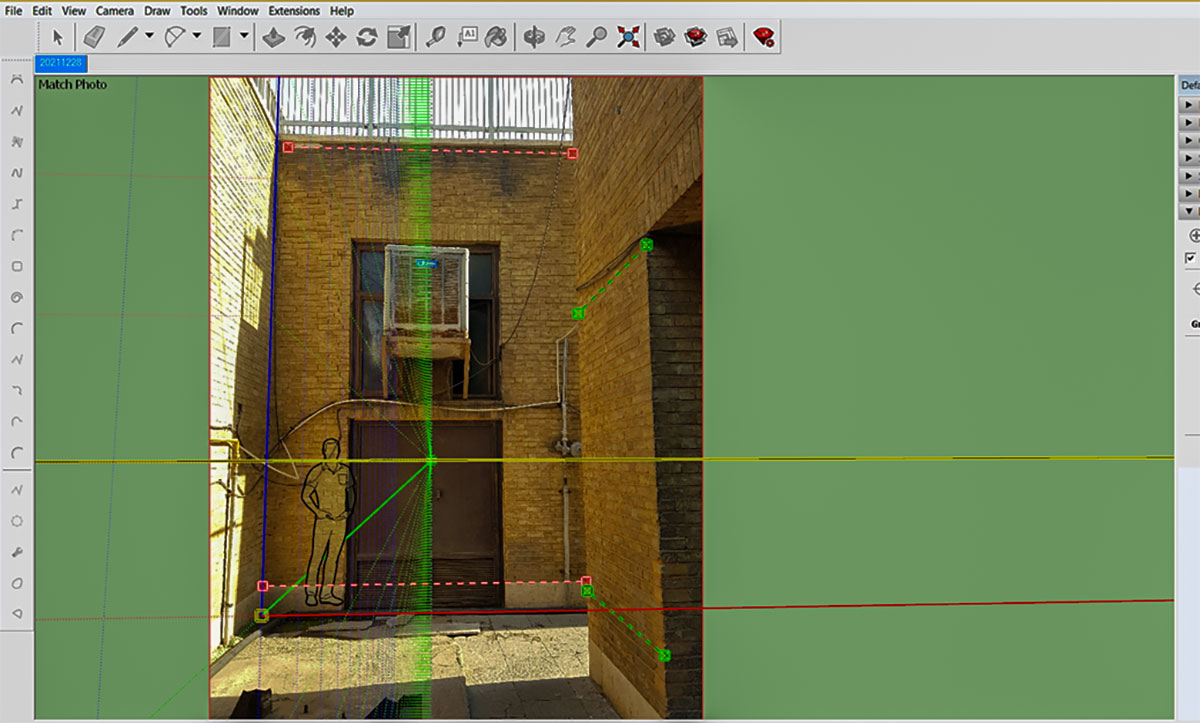
In some cases, such as this one, the imported image is rotated and as far as I know there is no way to rotate it inside SketchUp. To resolve this choose “Cancel Match” from the right-click menu, rotate the original image and re-import your desired image.
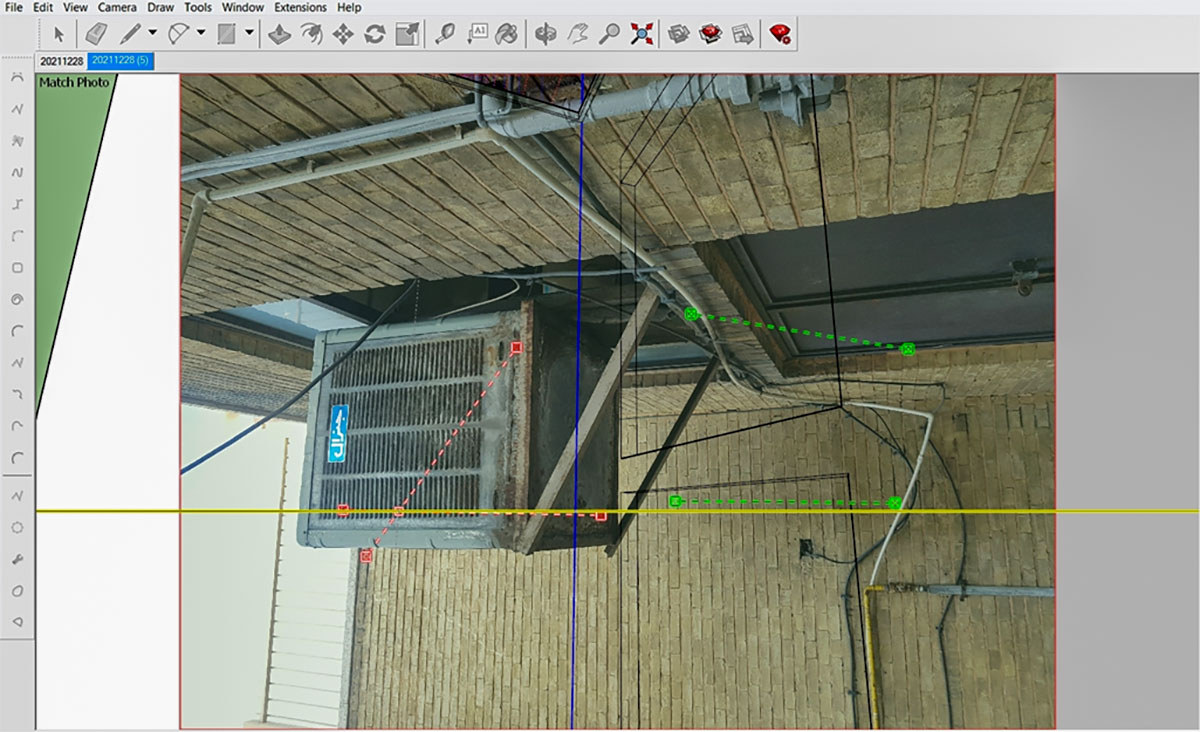
Wrongly Orientated Imported Image
Alternatively, you can delete the created scene, and start over.

Now that the imported image has the proper orientation, we can start the modelling and axis matching process.
Properly Orientated Image
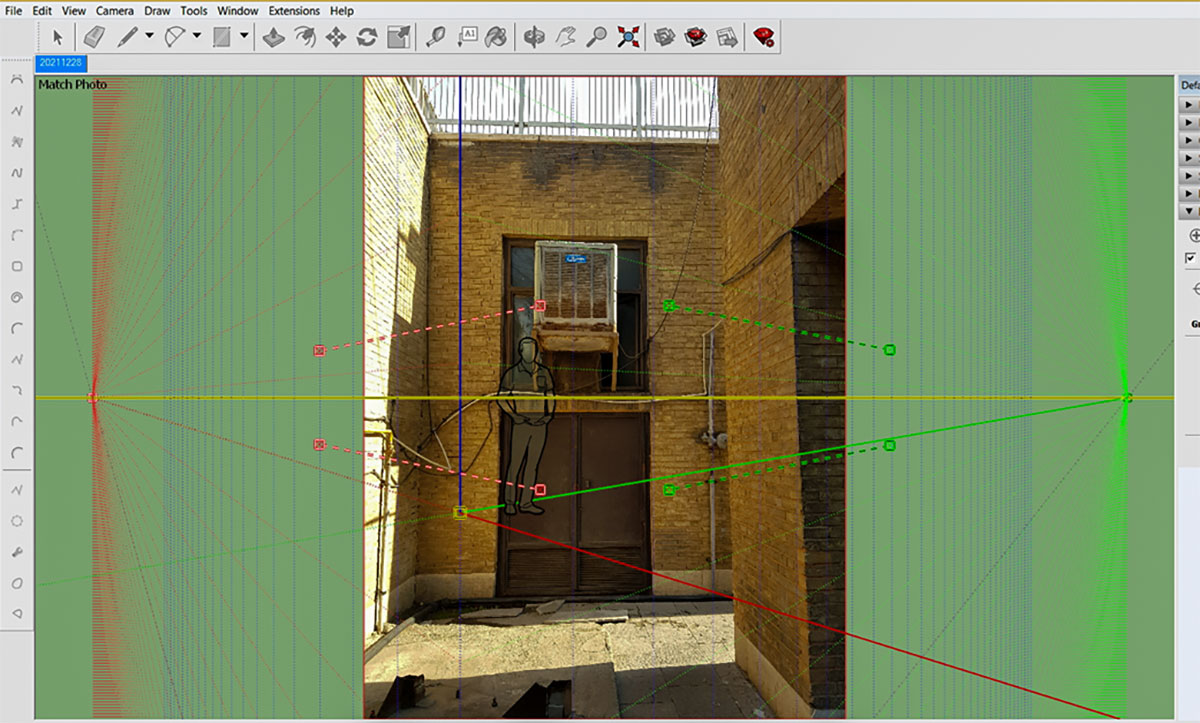
Click on the ‘Origin’ that is indicated by a small yellow box where all three red, green and blue axis meet. Move it to the corner on the image.
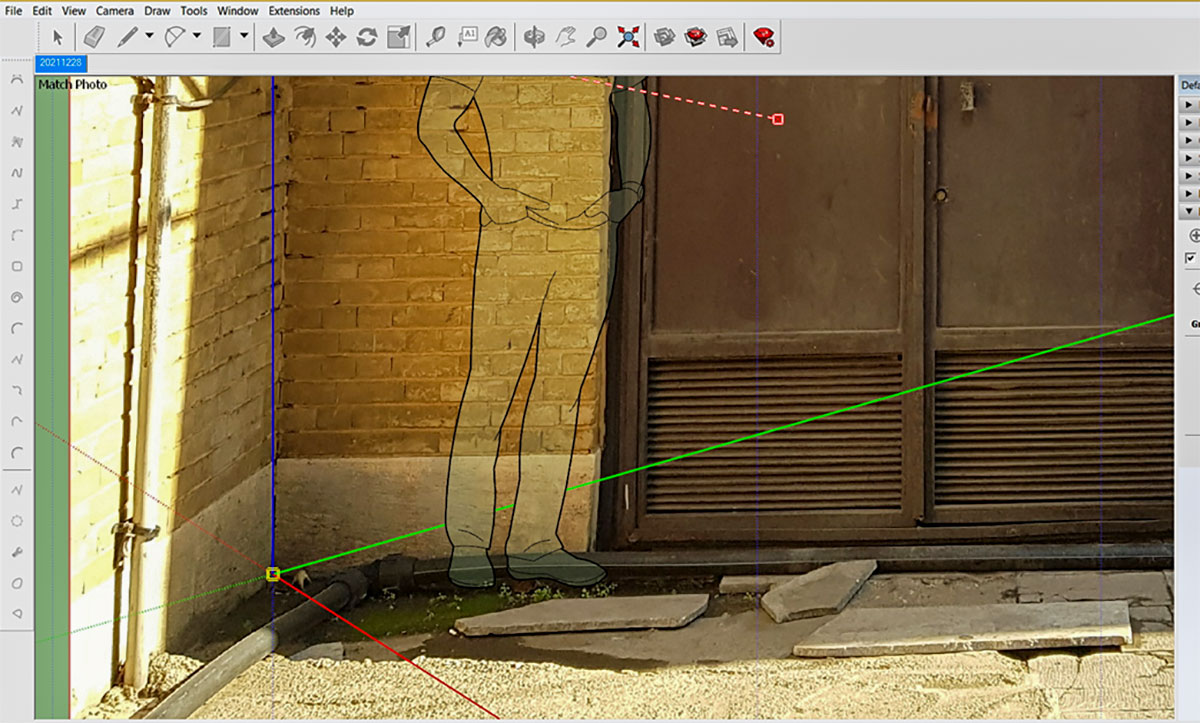
Moving Origin
Continue matching the axis by placing the end point of each perspective line in the right place. Whenever you finished the work choose ‘Done’ from the right-click menu. Notice that if you accidentally finished the matching task, you can, continue it from ‘Camera’ Menu, and choose ‘Edit Matched Photo’. Otherwise choose ‘Edit Matched Photo’ by right-clicking on the created scene. To adjust the scene scale, click on any red, green or blue axis and drag and then release.
Correctly Aligned Axis
Now it is modelling time, and in this case, it is a straightforward process that is mainly doable using the Rectangle and Push Pull Tool. In this case, to force the first rectangle upward, I pressed the up-arrow once, when started drawing the pavement plane. Continue modelling and keep it simple as we are going to use textures instead of complicated modelling.
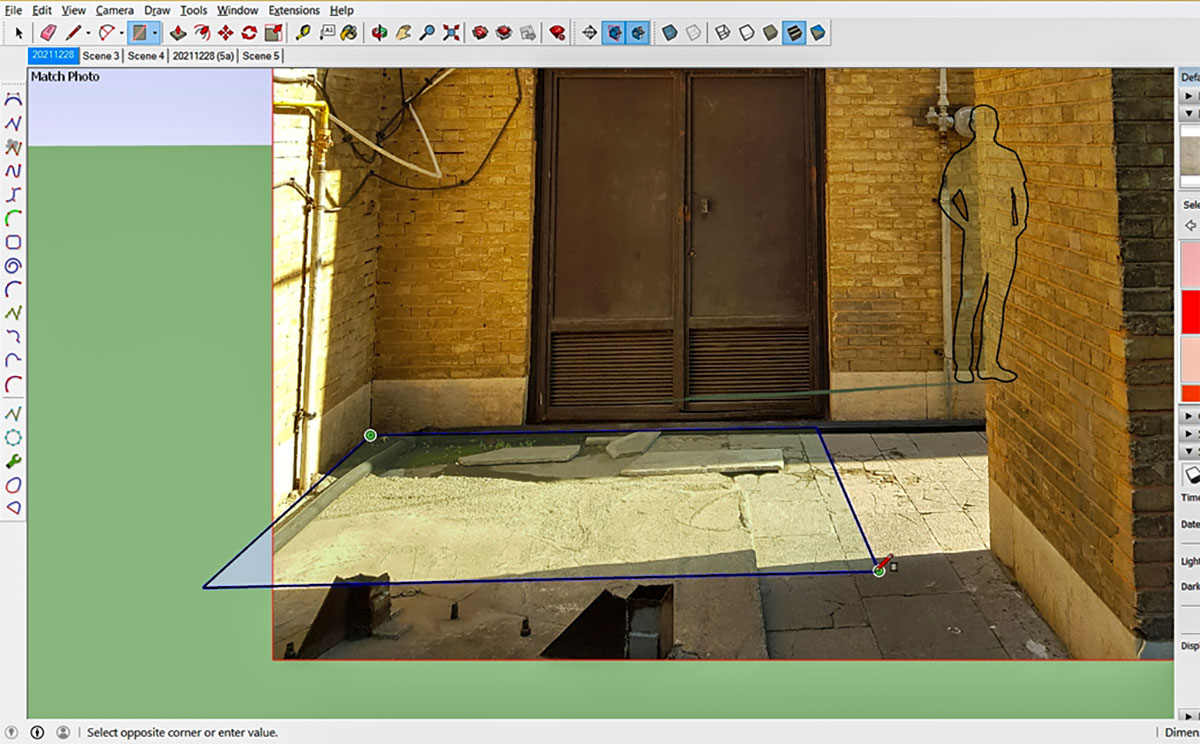
Modelling the Pavement
To add details such as wall coping stone, I had to change the units to cm, so that SketchUp default snapping setting lets me move more precisely.

Modelling Details
The coping itself was created by just using the Push Pull Tool. By the way, I personally prefer to have a decent level of details, so that when I am adding shadows, even without any textures the volume does not look “bare”. On the other hand, I usually do not add too much details and in my opinion the distance to the camera or viewer is the most defining factor that define level of needed details.
Creating Coping Stone Overhang
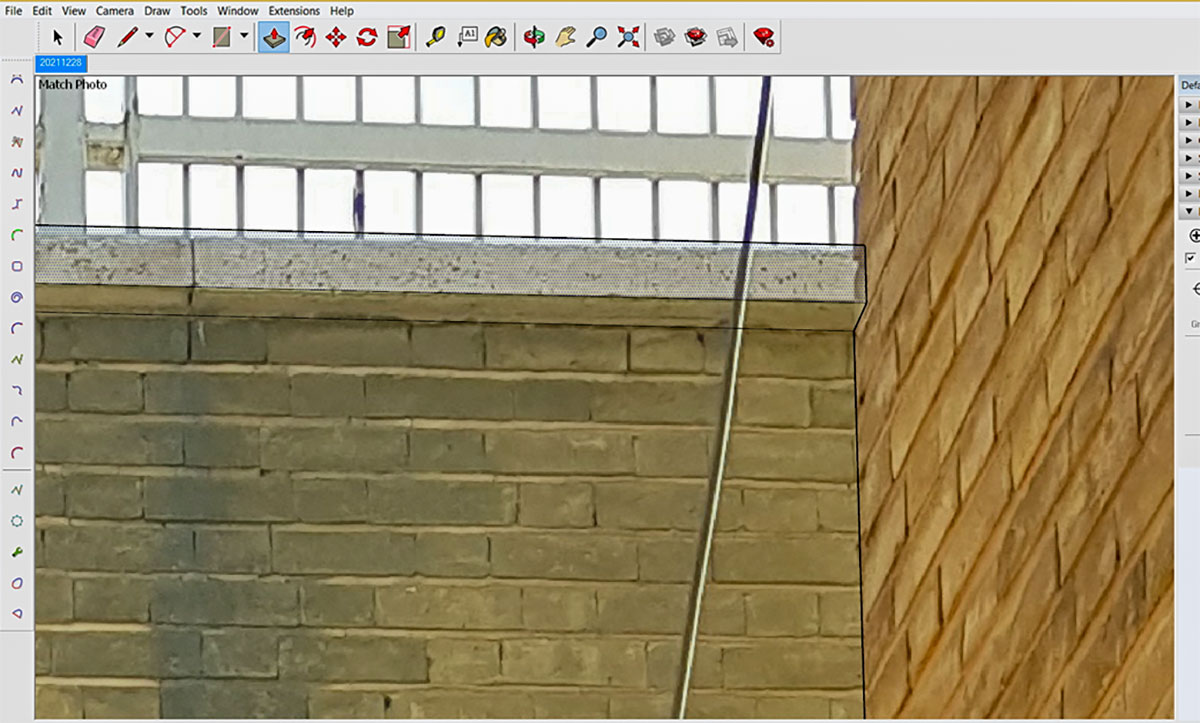
Now the building modelling is almost done. Add adequate details and model openings as simple as possible. After finishing the modelling check the face’s orientation and be sure that you see all front sides of the faces (white). Then it is time to add textures.
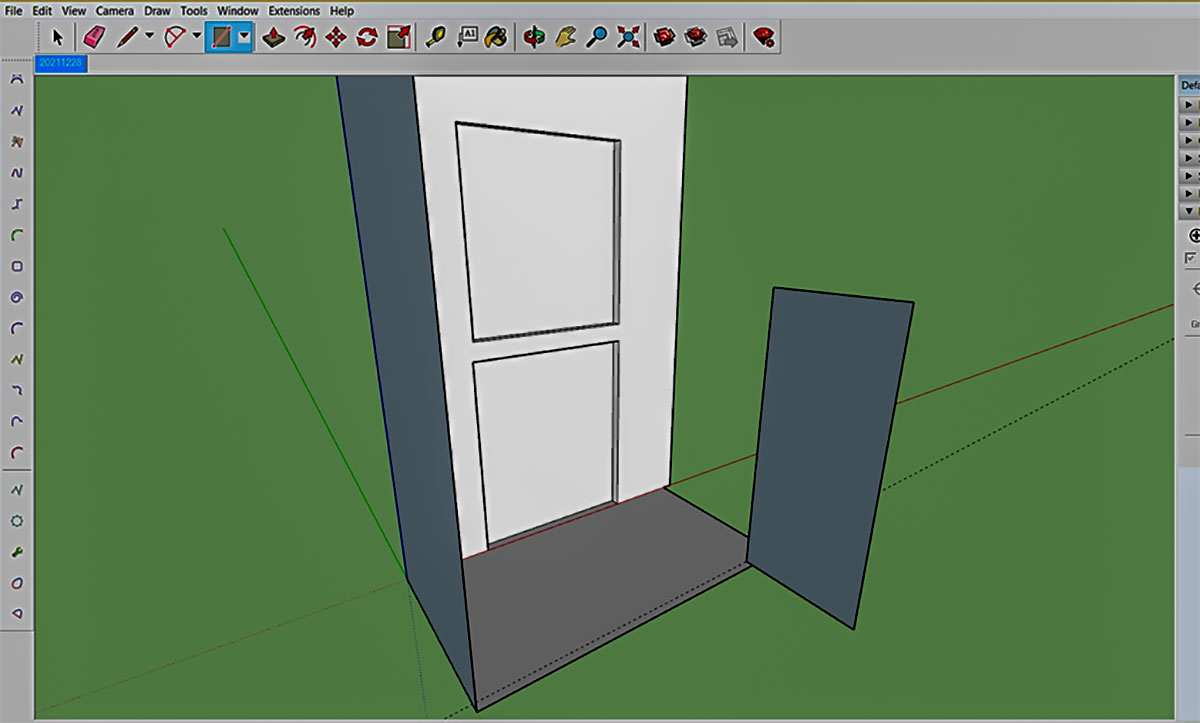
Keep it Simple and Check Faces
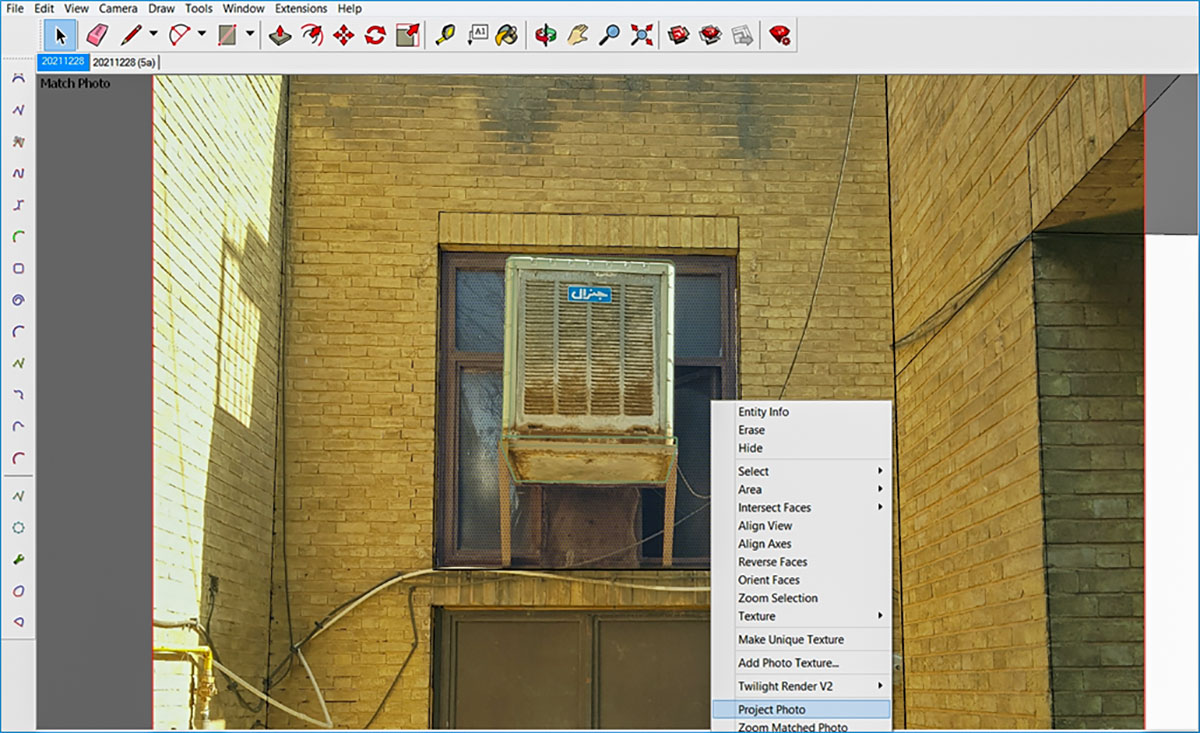
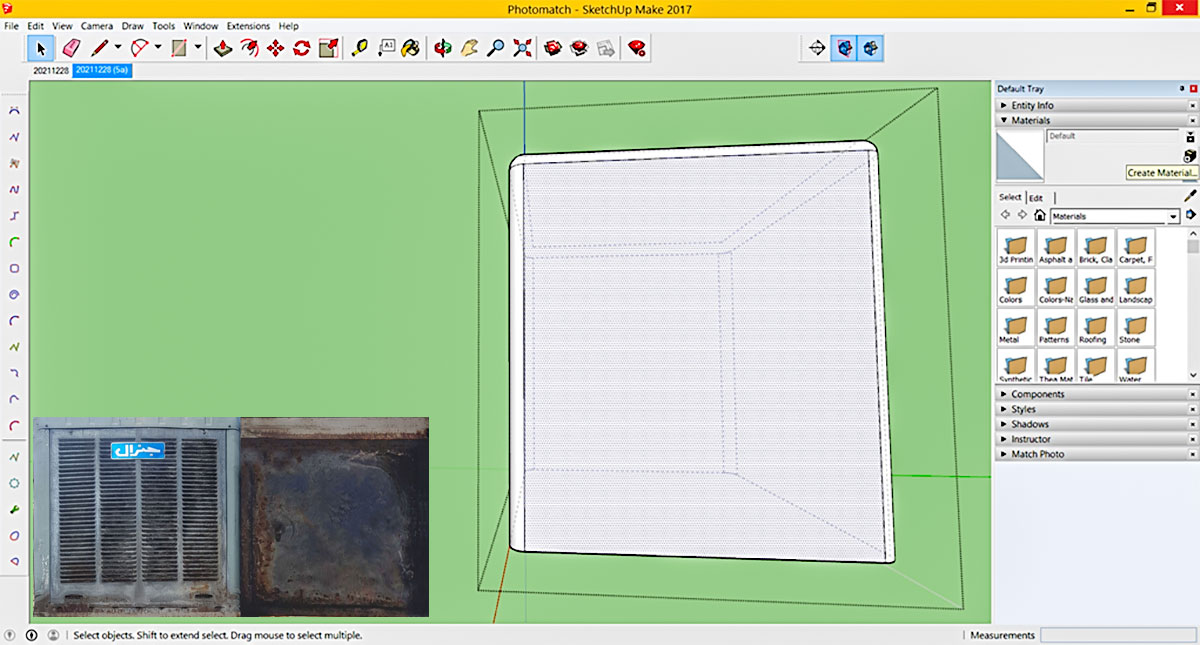
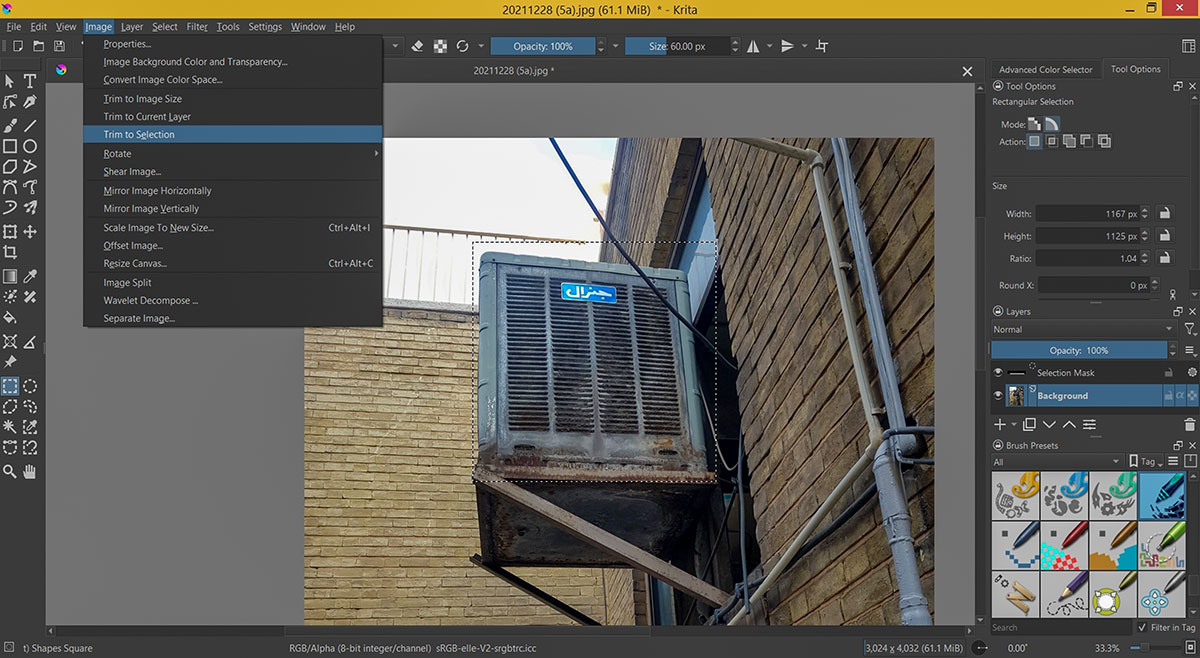
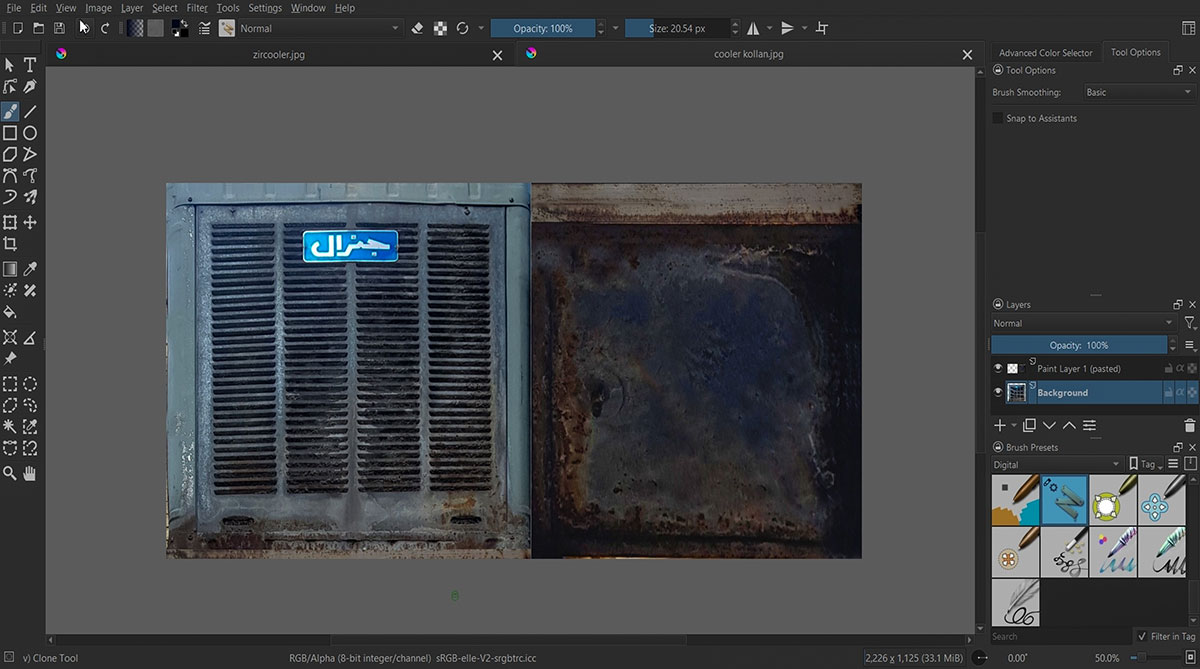
Go to the first Match Photo Scene and select the window and door faces and from the right-click menu. Choose ‘Project Photo’ option. Then select the back face of the window where it is covered by the cooler and choose ‘Make Unique Texture’ option. This way we can edit this texture and remove the cooler from it using our favourite image editing application.
To add more details, such as the water cooler, I started another Match Photo Scene, matching the scene and modelled the cooler based on it.
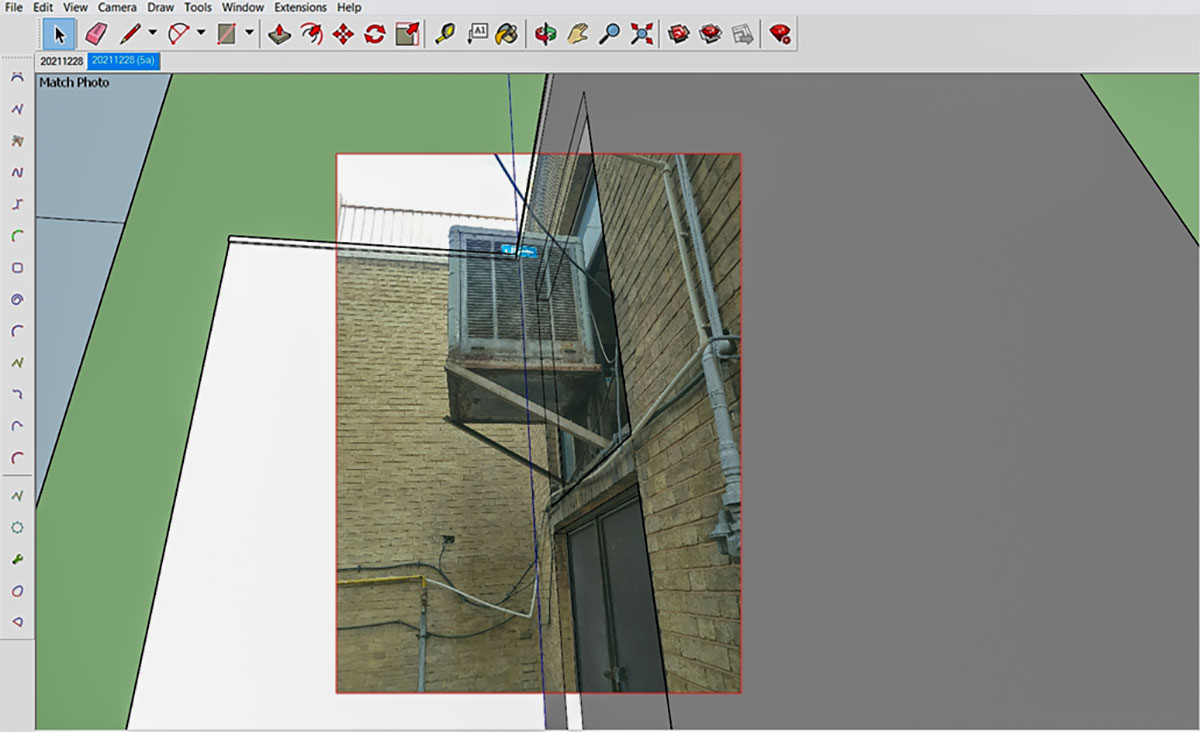
Modelling the Cooler
I separated the door and the top window materials, adjusted them and applied them to proper parts of the model. 
I try to keep the cooler model simple as it is meant to be seen from a distance. So, there are no details in the model except for the overall volume.
Cooler Model
The texture work in Krita comes next.
Krita Work
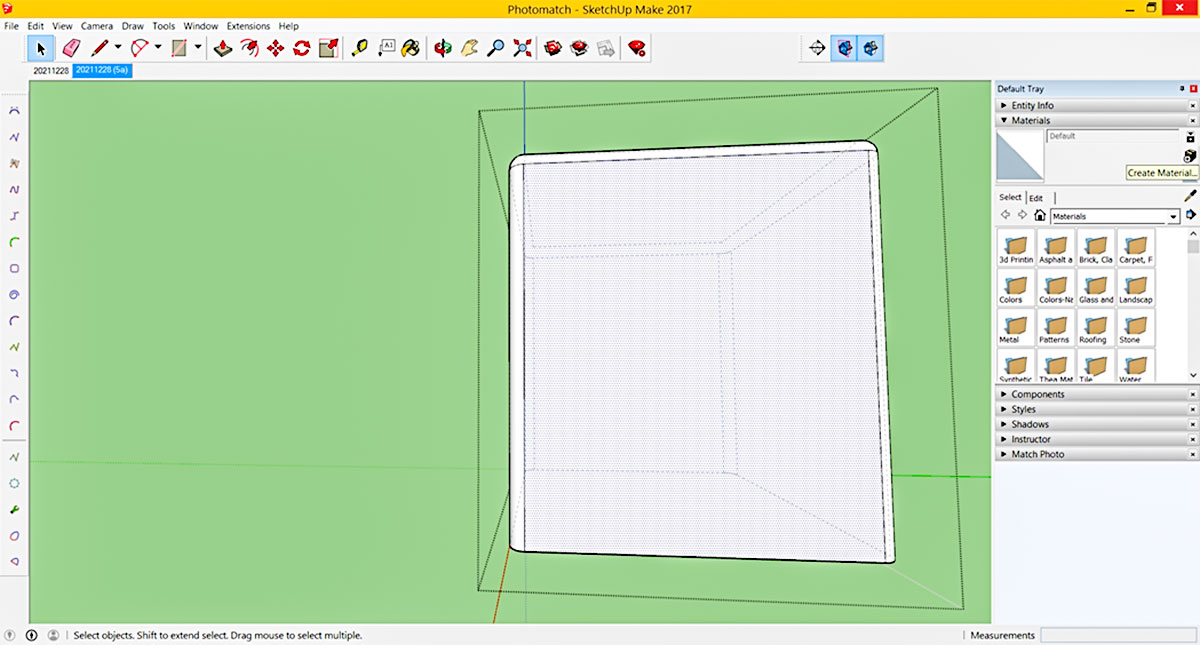
Using Krita, I have prepared the cooler textures. Then merged them into one image. So, half of the textures are applied to the sides and the other applied to the bottom. By the way, you can prepare 6 different images for all 6 sides of the volume. I then open the group, make a new texture based on the image and adjust its size and apply it to the cooler volume.
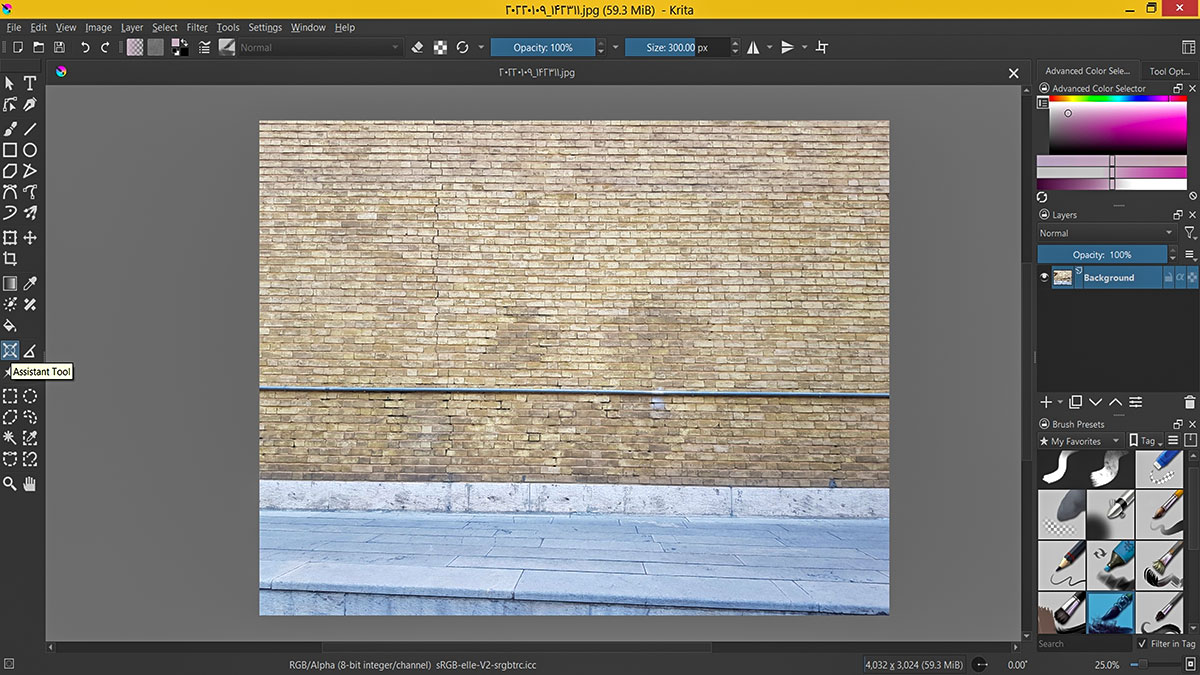
To improve the wall textures, I have taken another photo from the wall near the previous space. It needs some adjustments though. I open the image in Krita and choose “Assistant Tool”.
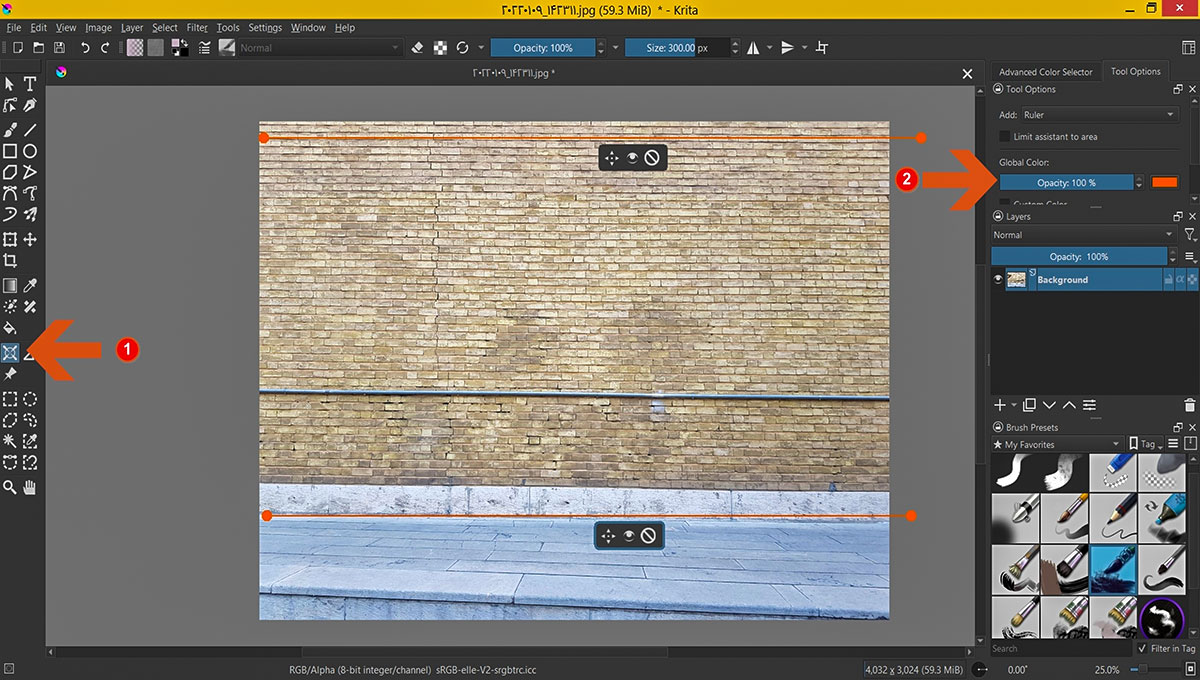
I change the default Assistant Tool and set it to “Add Ruler”. I change the default color from gray to a vivid orange so that could see the resulting rulers in this greyish background. By clicking and holding the “Shift”, I force Krita to keep the lines horizontal/vertical.
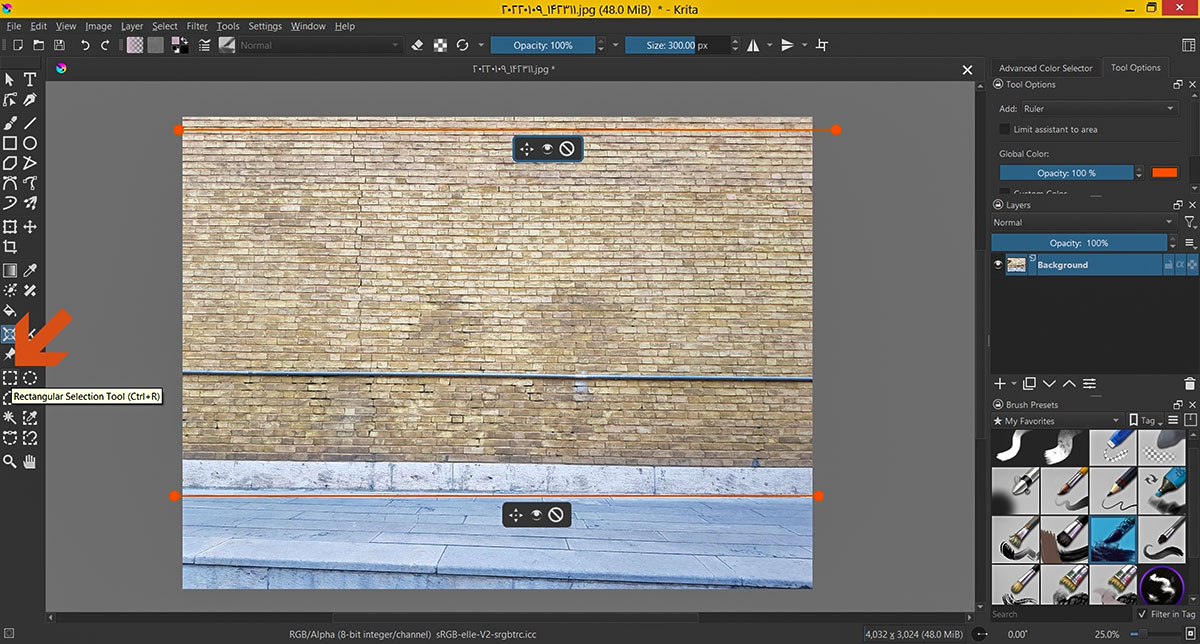
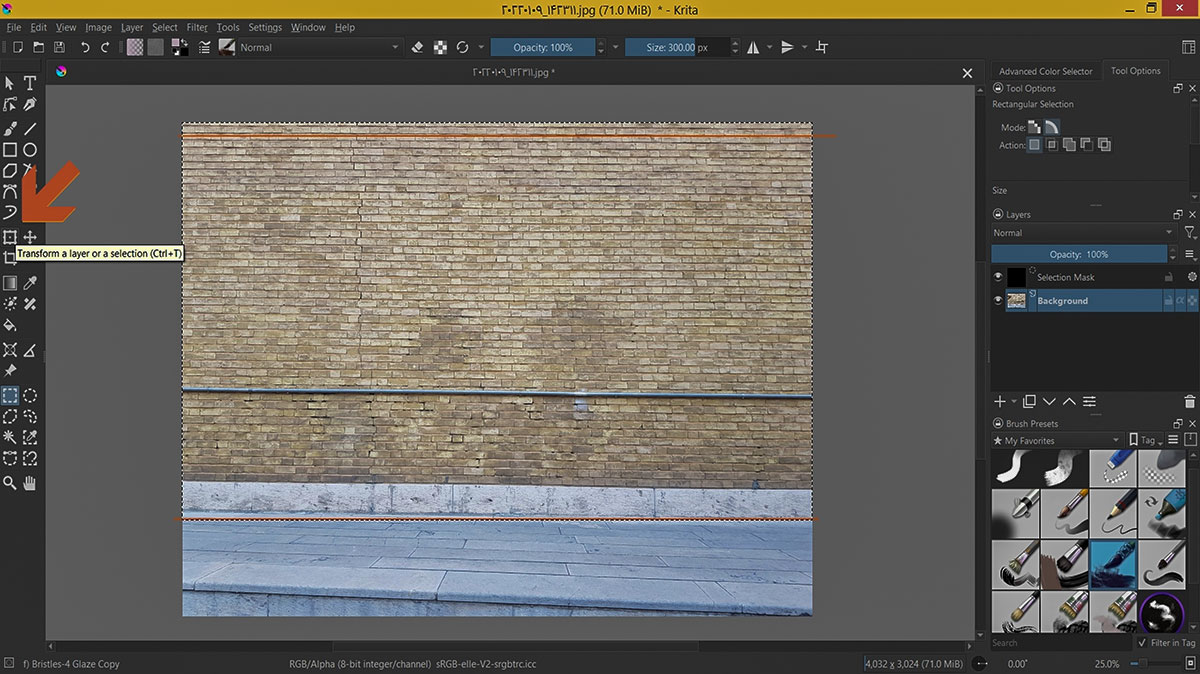
Now I must select parts of the image and remove the perspective. So, I choose “Rectangular Selection Tool”. Alternatively, you can activate it by pressing “Ctrl+R”.
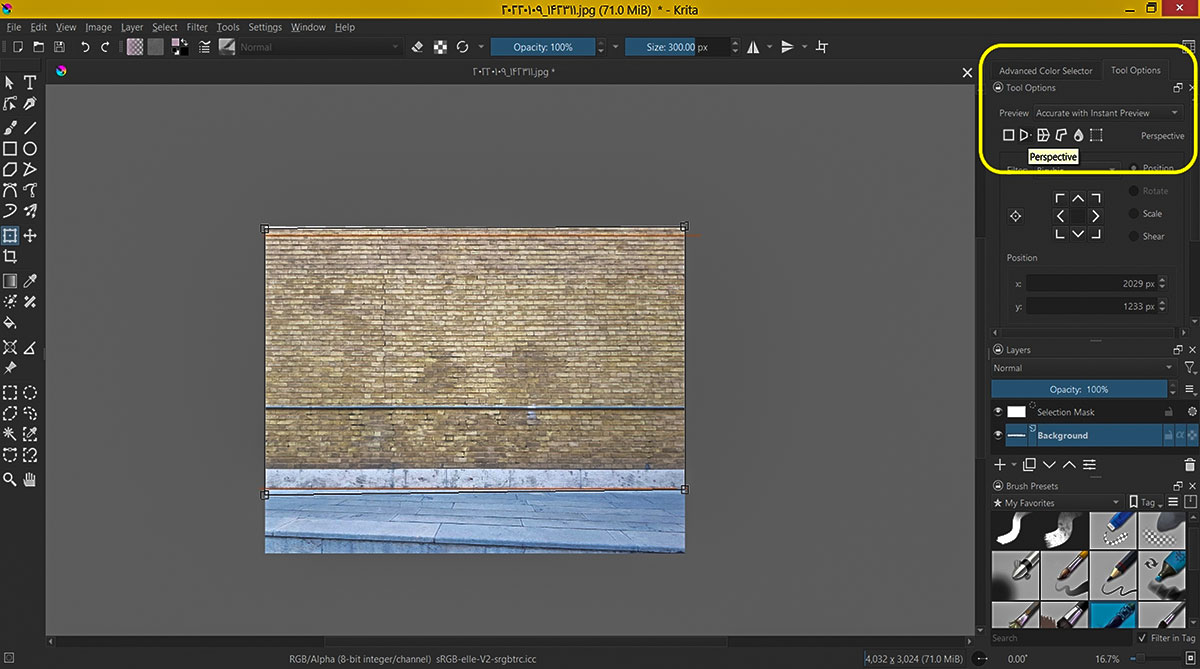
After selecting the part of the image that requires perspective correction, I then choose “Transform Tool”. You may alternatively use “Ctrl+T” for shortcut instead.
Set the tool mode to “perspective” and click on each corner of the selection and try to adjust the image to match the ruler guidelines previously created.
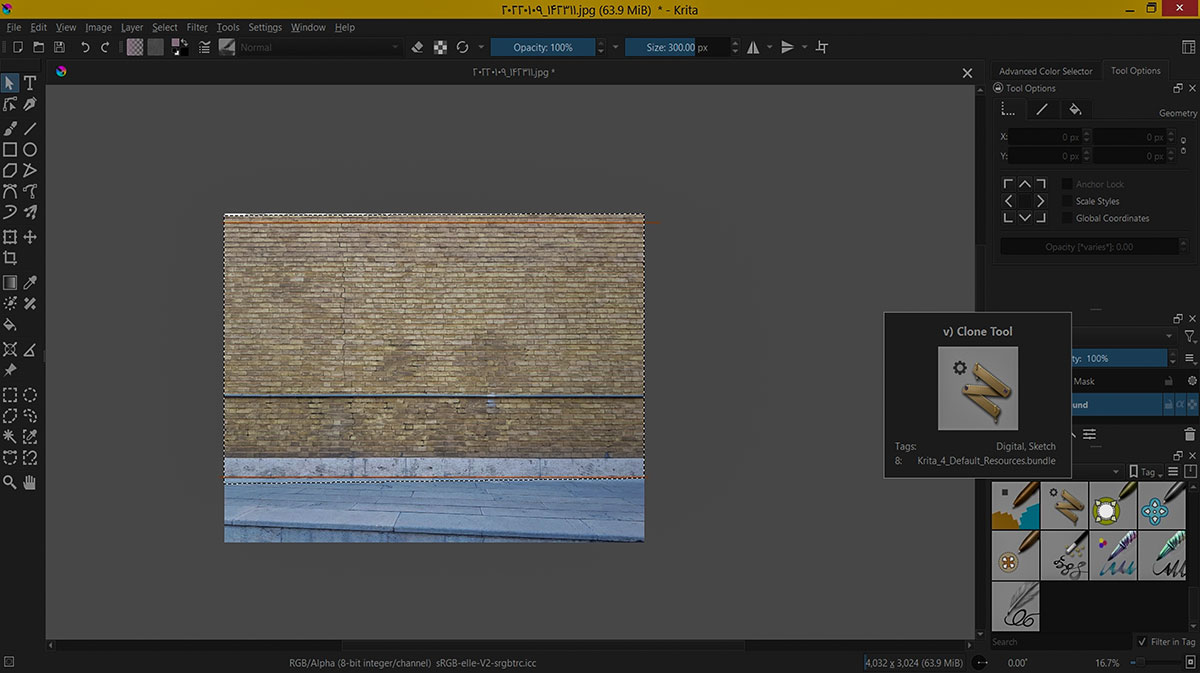
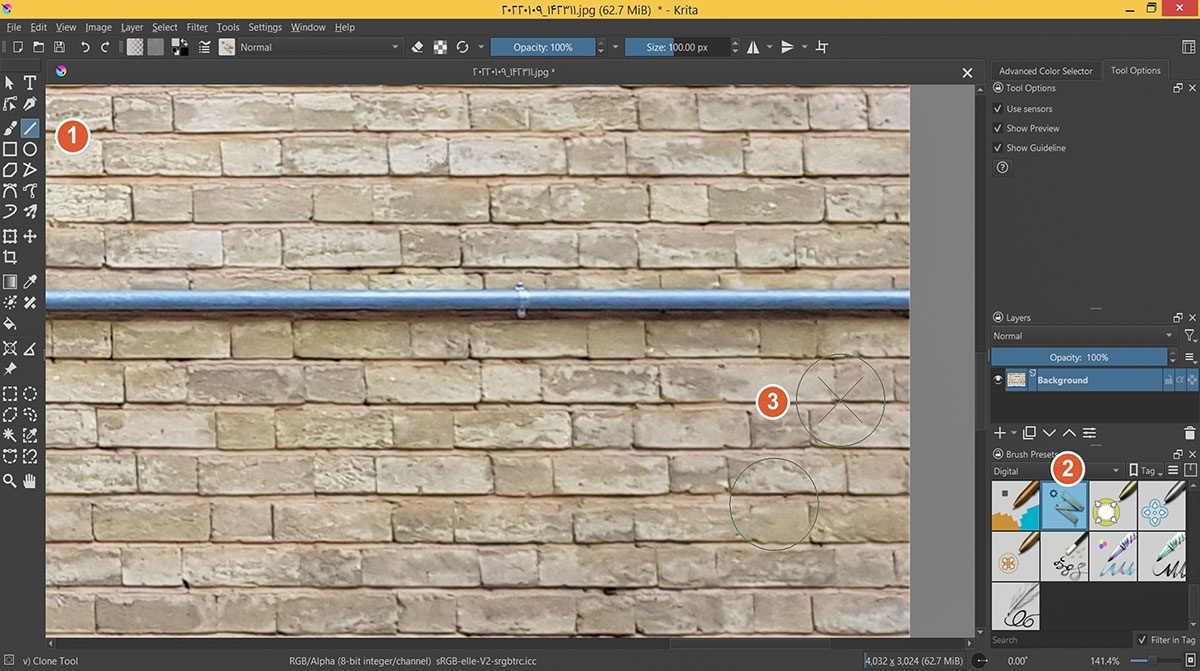
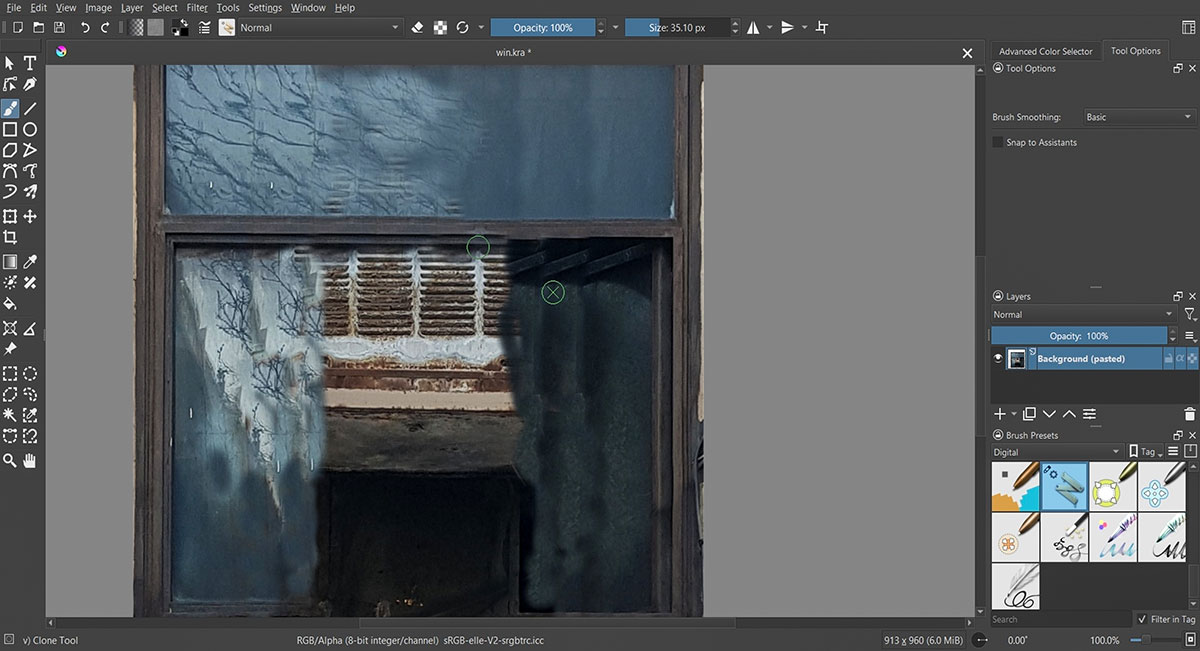
Now that the image has no perspective distortion, it is time to remove the pipe using the clone brush. Press “B” to activate the brush tool and then, from the presets, choose the Clone Tool or alternatively press “v” on the keyboard.

If you find it hard to find the tool, you my use “Tags”. Clone tool is tagged as a “Digital” brush.
“Ctrl + Click” will define the source point, then do the cloning.
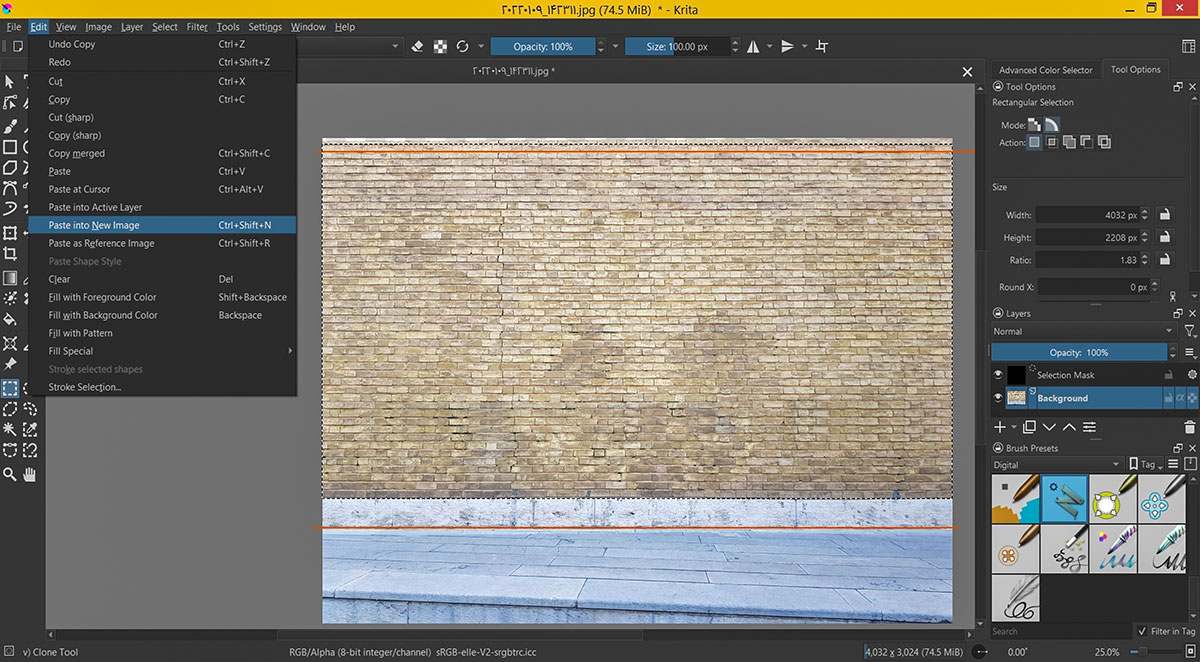
Since our selection is still active, go to “Edit” Menu and choose “Paste into New Image”.
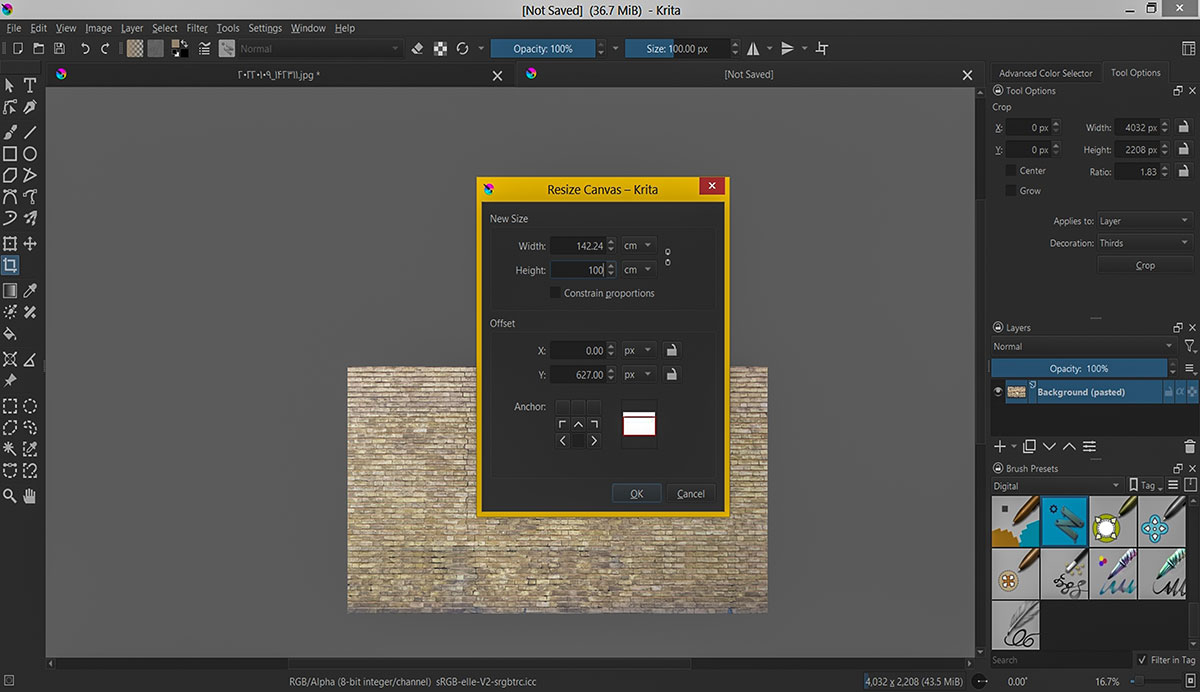
Now we have our texture rectified, it is time to adjust its size and do some color corrections.

Downsize the image so that it does not take too much memory and suits the SketchUp texture size.
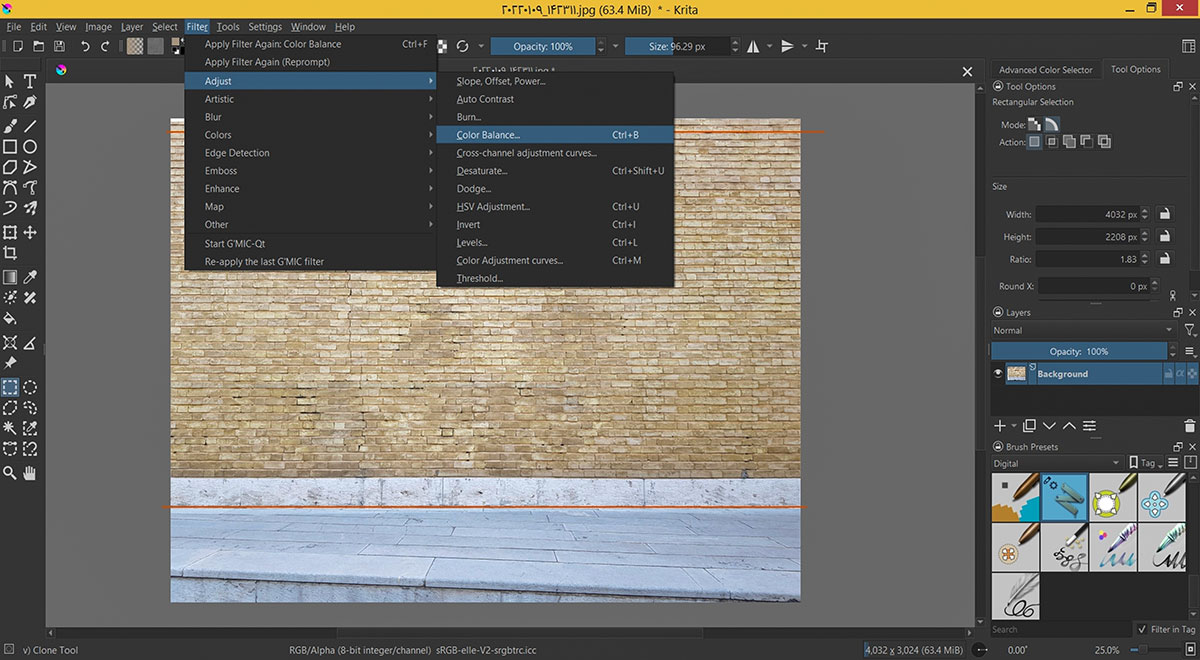
If needed, do the color adjustments. The settings are similar to Photoshop or Gimp.
I do the same process to prepare the cooler texture. Select it , trim rest of the image and rectify the distortion. I then do the same job for the bottom texture of the cooler.
I also prefer to put both side and the bottom textures in one image.
Using the “Clone Brush” I also prepare the top window texture. We are almost done with what we need inside Krita.
This is the final model with the textures applied. I turned the shadows on to make it appear more real.

I hope you have enjoyed this tutorial and may find it useful in your own workflow.
Profile Builder 4

Artisan Organic Toolset

PlaceMaker Version 3
Skimp Pro Import Extension

BIM Bundle Special Offer!
SketchPlus Artist Bundle !
Bevel Tool
V-Ray 5 for SketchUp E-Book
