
Making of Somewhere in Italy – SketchUp and Twinmotion

Somewhere in Italy
Software used – SketchUp 2019 and Twinmotion 2020.2 with a little post processing in Photoshop 2020. All credit to ‘geogeogeo’ at 3D Warehouse for his 1972 Lancia Fulvia.
Author and Modeler James Hannigan
I accidentally came across SketchUp many years ago (version 5 I think), when I was training in AutoCad at university in London. I was immediately attracted to SketchUp with its easy interface and low learning curve. I was able to design quickly and enjoy the process. It was incredibly fun too and I am still using it today as my main 3D modeling and design tool. I discovered a similar feeling with my latest rendering software, Twinmotion by Unreal Engine. It’s fun to. Changes and choices that you make are all visible in real-time, and with the same quality as in the final rendering. It has a simple and intuitive interface which allows you to choose seasons, weather and lighting. You can add scenes with characters, vehicles and even sound, always in real-time too. So this is my first work that I produced with this rendering software.
I first started by modeling a basic 3D model in SketchUp consisting of a wall surface and sloping road surface. The door was modeled from a reference image found in Google images. I was looking for something very European and made in old wood/timber with glass lights. I modeled the partial stone surround of a window and a wooden number board. Each element was then given a color so I could easily select them in Twinmotion to then add the appropriate materials.
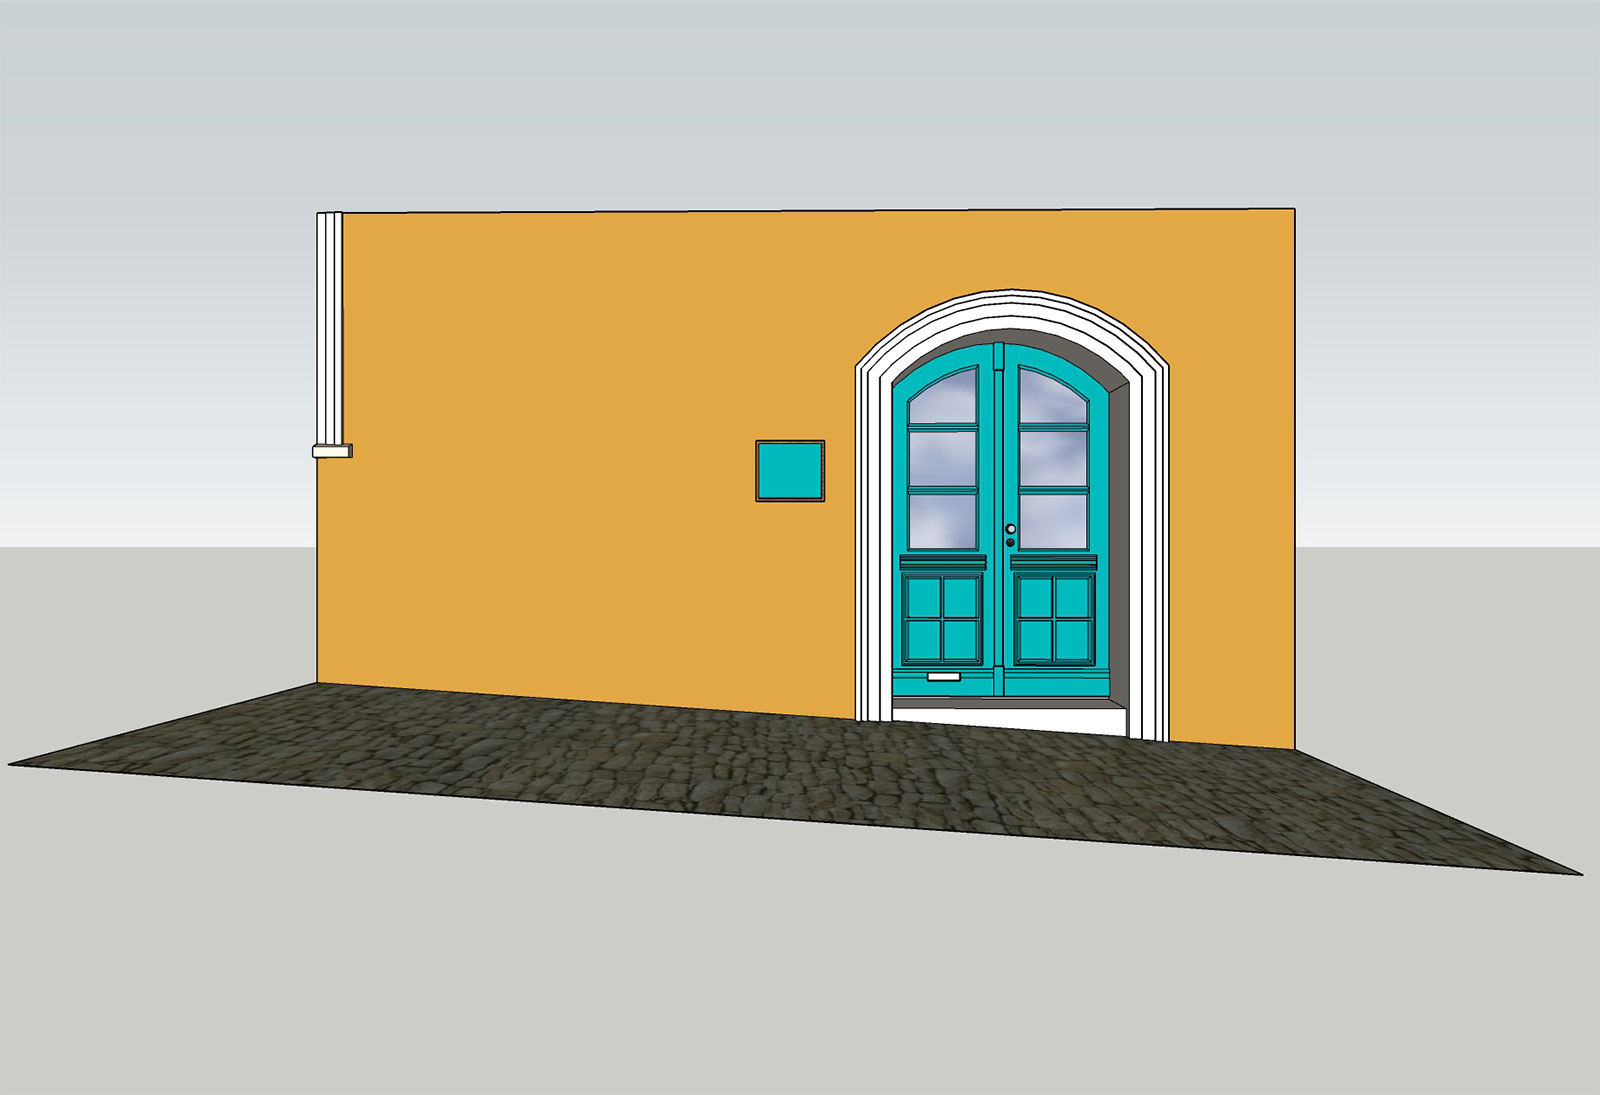
Base model with added marker colors
Second stage was to add a few assets from 3D Warehouse, in particular an old Italian rally car as a focal point and the old wooden door for this scene. I added a few other 3D elements so I could get an idea for the general layout of the overall scene (cafe chair, old copper lamp, shrubs, wine glass etc). These could be replaced in Twinmotion at a later stage using Twinmotion assets or other assets found in Google searches. This basic model was then saved again.
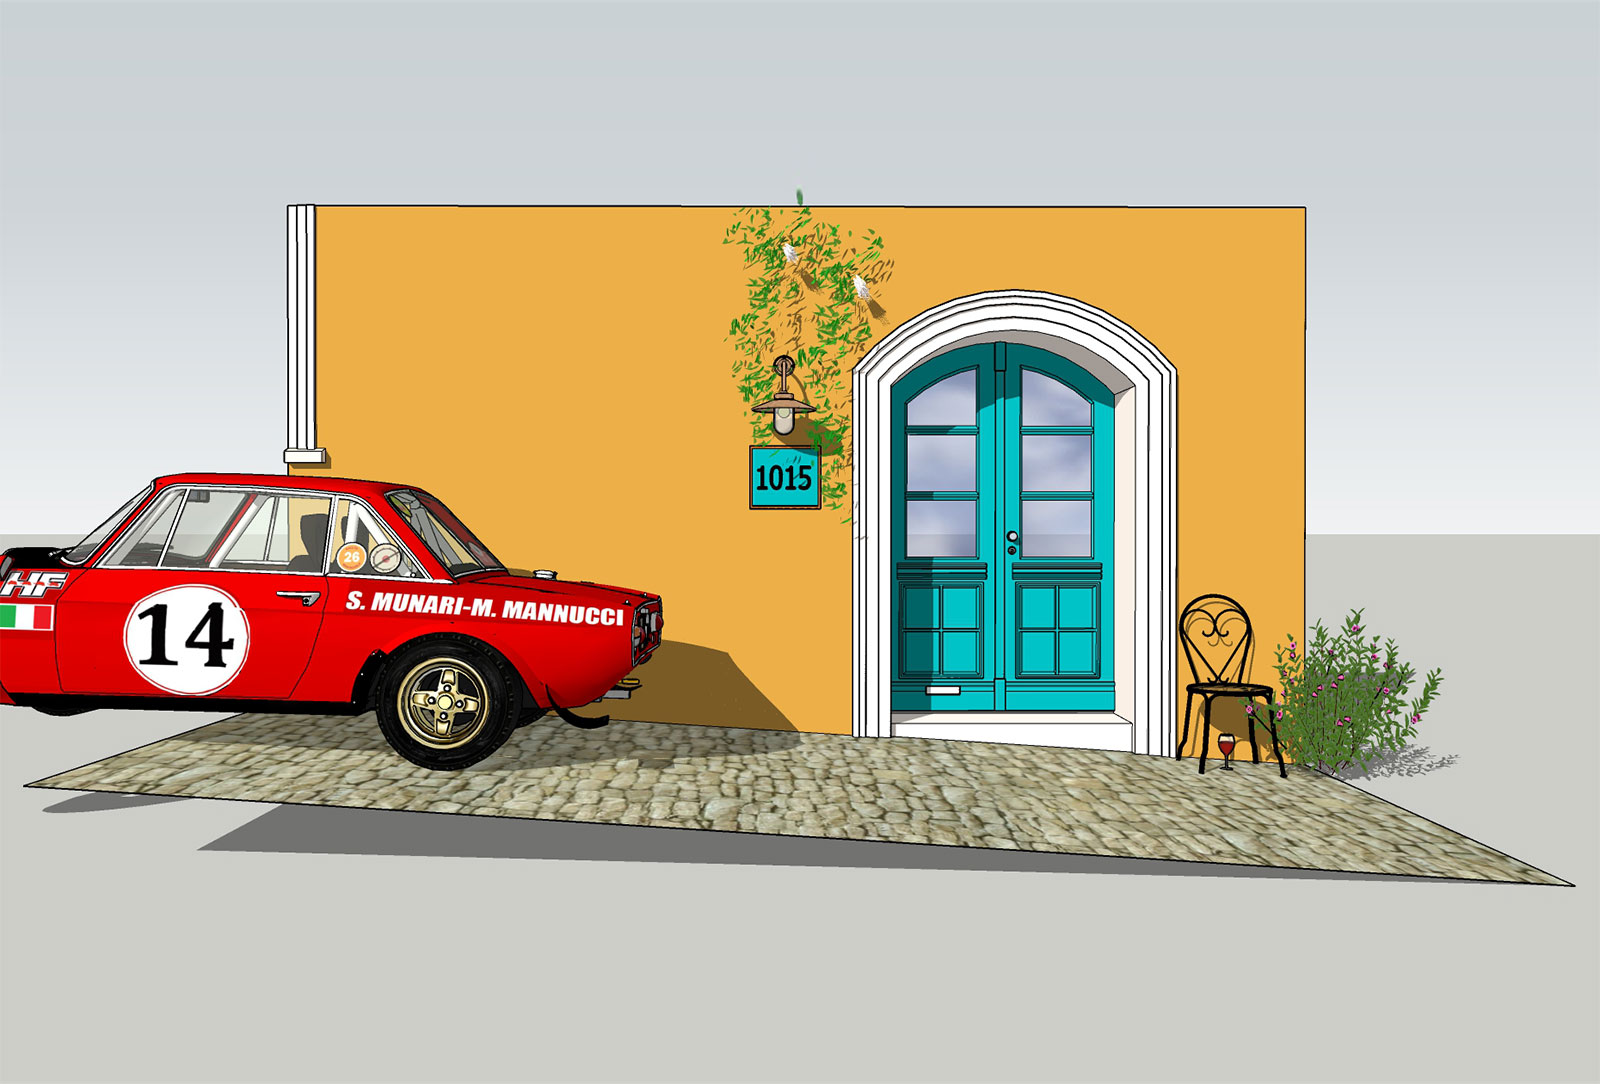
General Layout
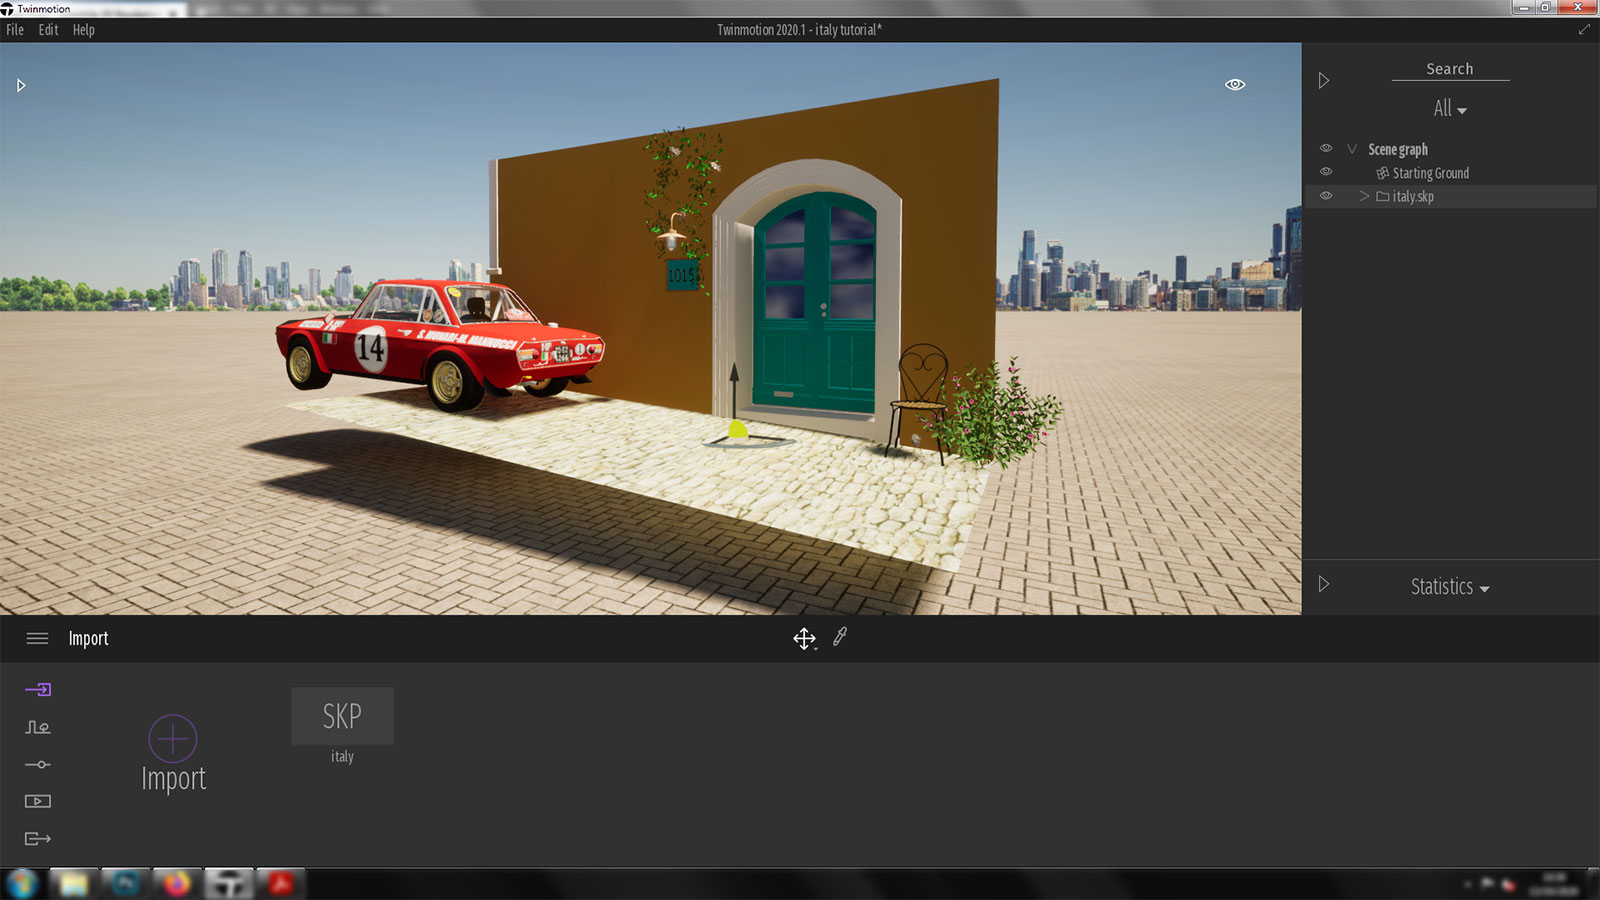
Happy with what I had done so far it was now time to import into Twinmotion. I clicked on the Import button and located my SketchUp file and then imported it using the settings in the image below.
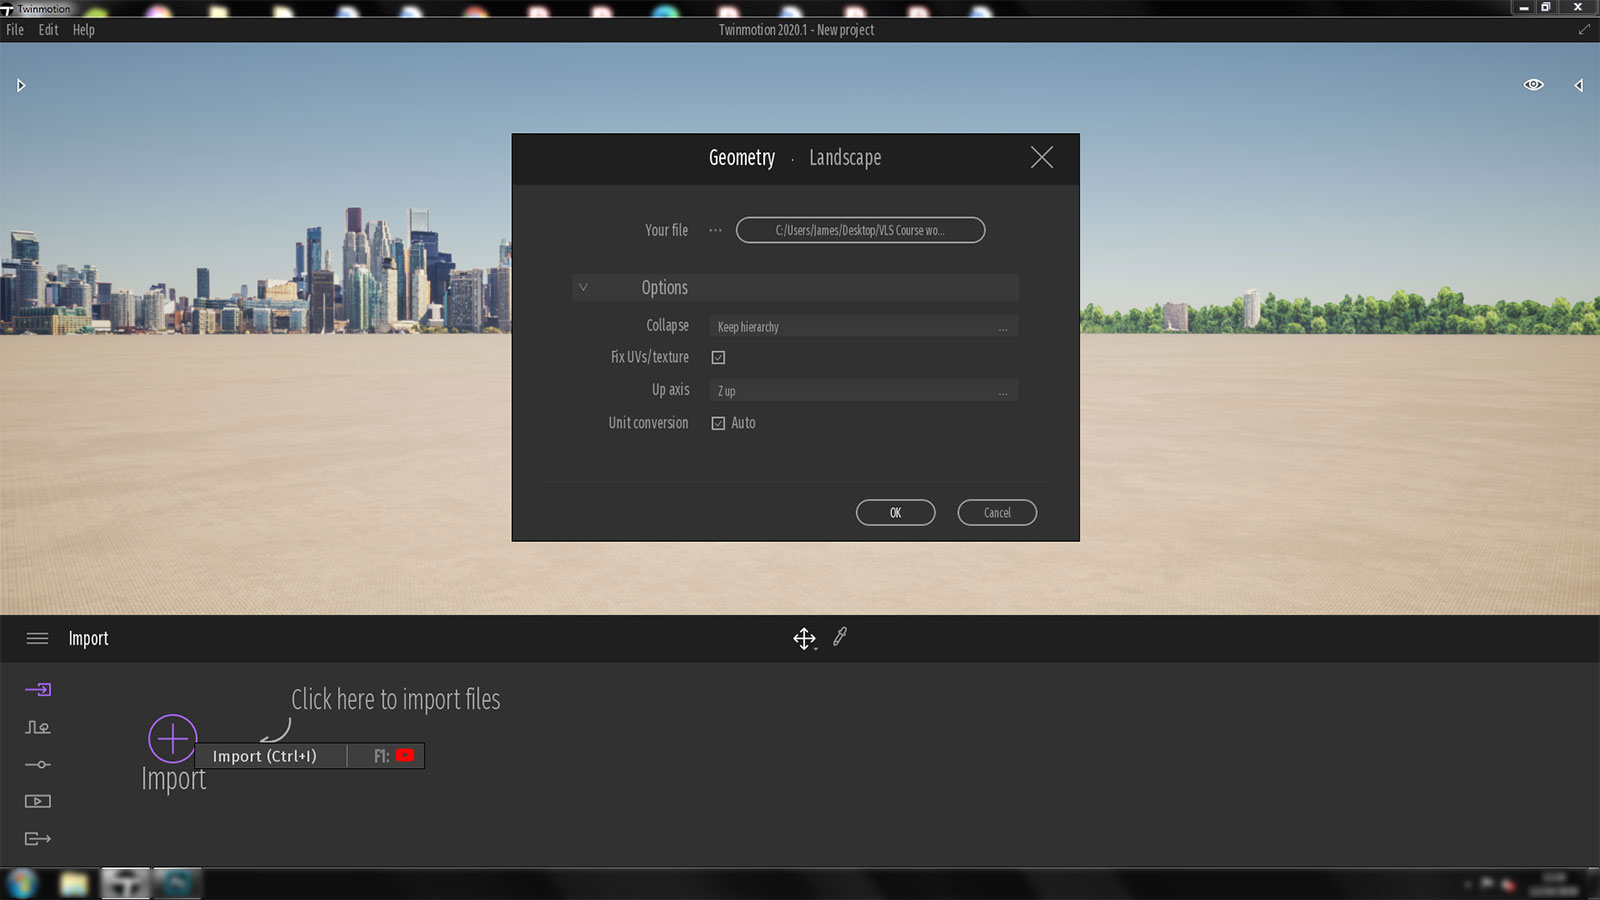
Import SketchUp model
Next I clicked on the little ‘Eye’ icon at the right (or press 1 on keyboard) to set the speed to ‘Walk’ so I can move around at a more leisurely pace.

Set speed to Walk
Next click on little ‘Arrow’ next to ‘Eye’ to open your files currently in the environment and select imported SketchUp model.
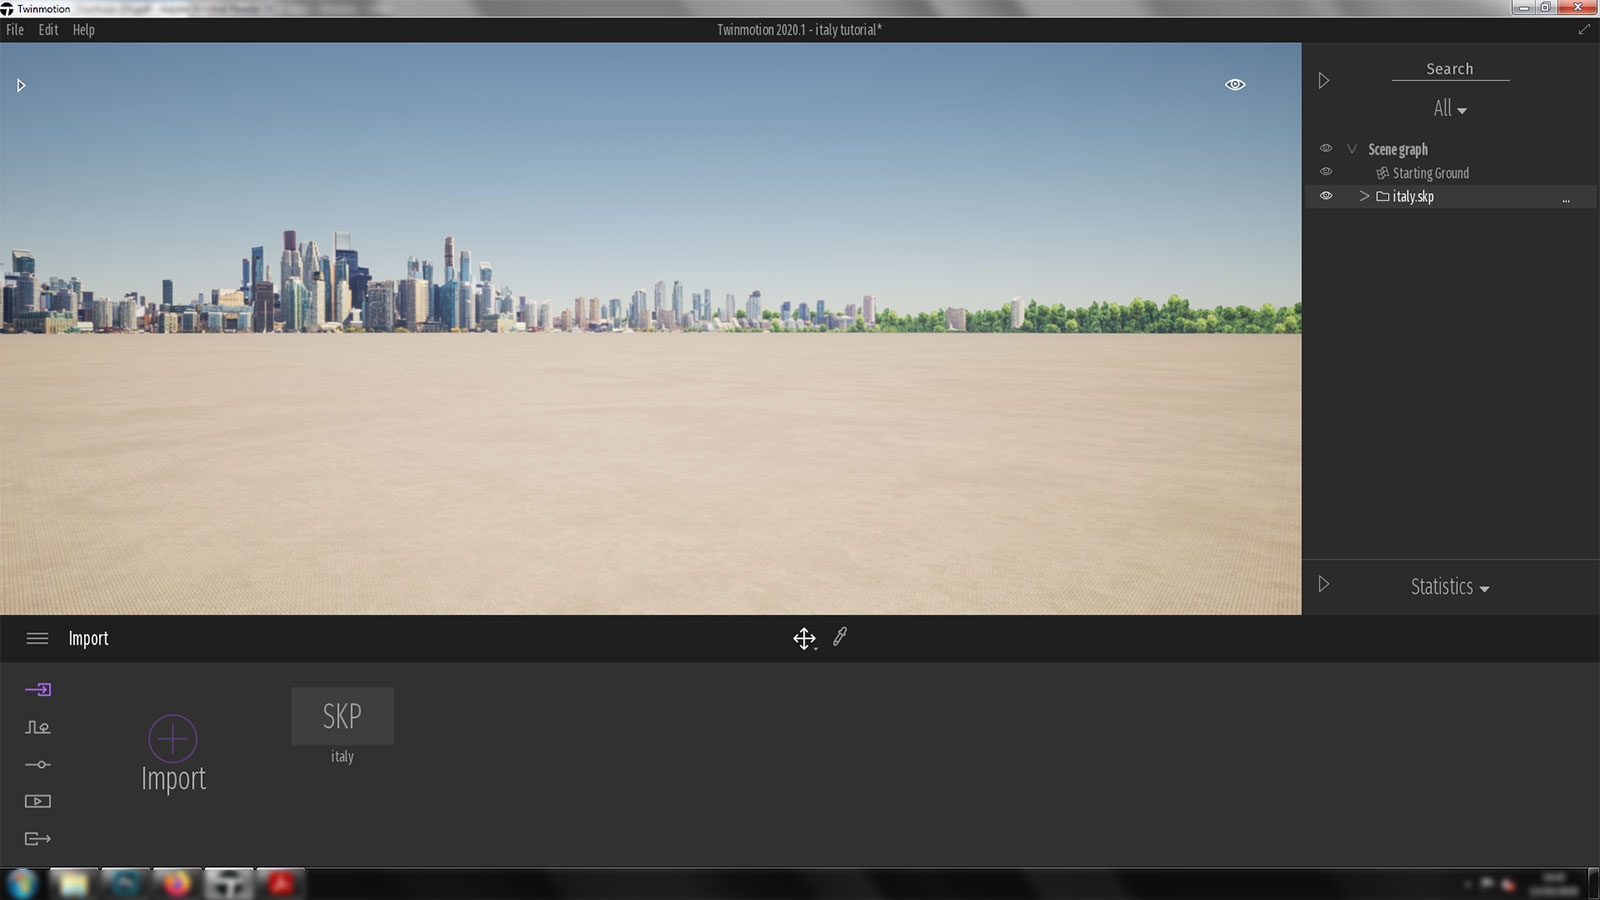
Select imported SketchUp model
Make sure its highlight/selected in side panel. Then press ‘F’ on keyboard to find/ zoom to your model.
Zoom to model
I then positioned my model and created my first image so I could start selecting with eye dropper and add some new materials.

Create image
Then using Eye Dropper with ‘Apply to Object’ only selected, I proceeded to begin selecting materials and changing them accordingly.
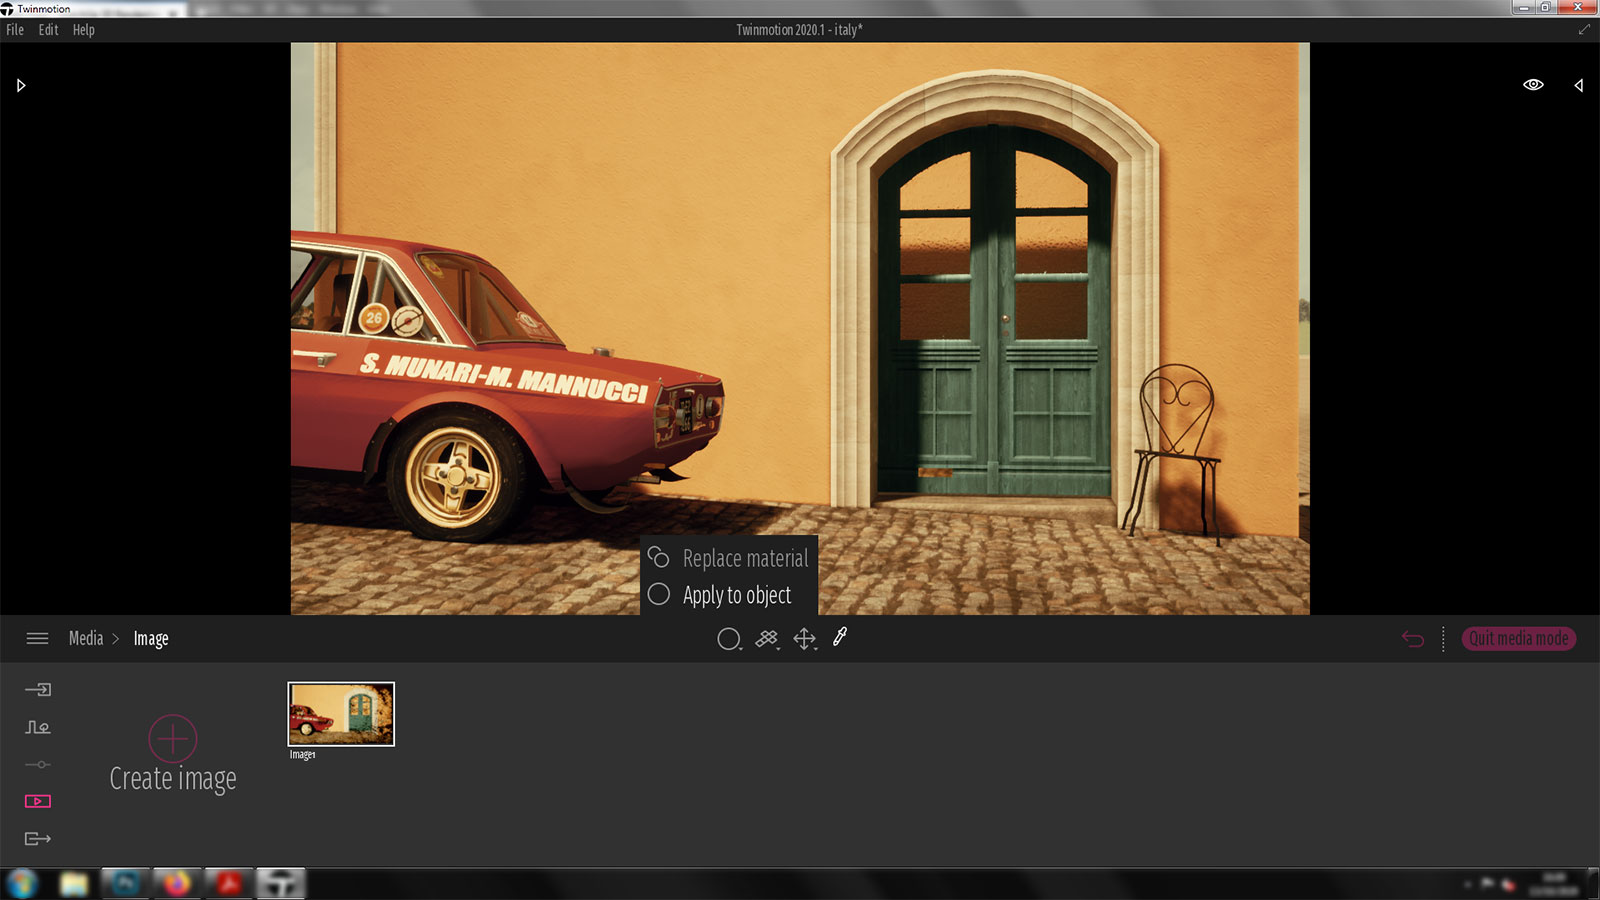
Use Eye Dropper to select materials
All materials were chosen from the Twinmotion Library.

Wall material with color changed to something warm
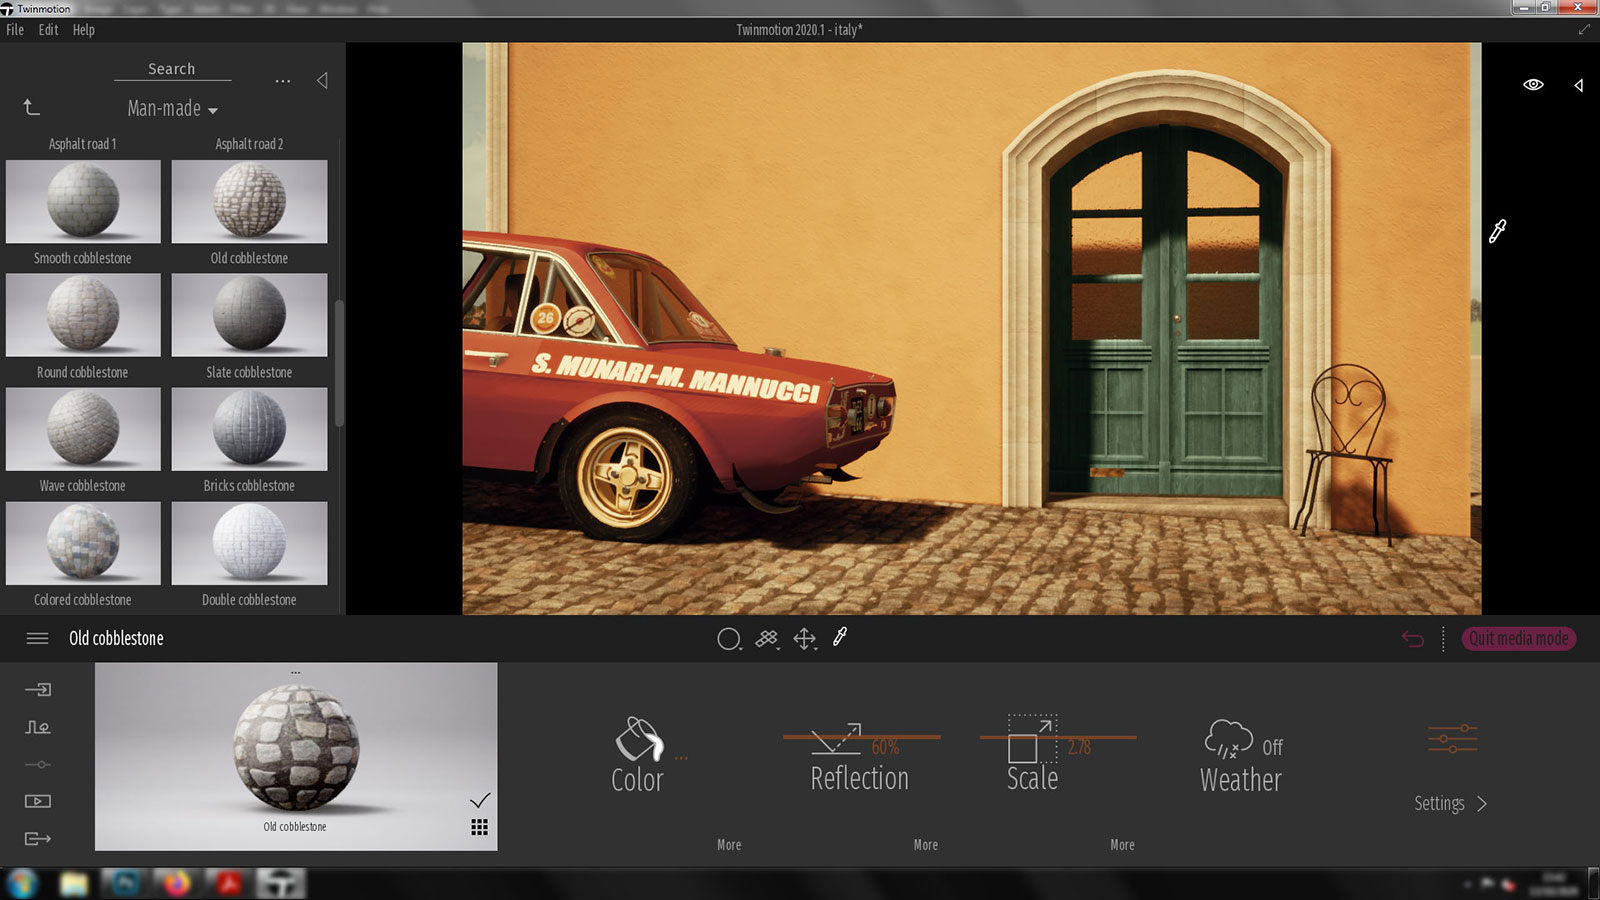
Old Cobble Stone scaled appropriately
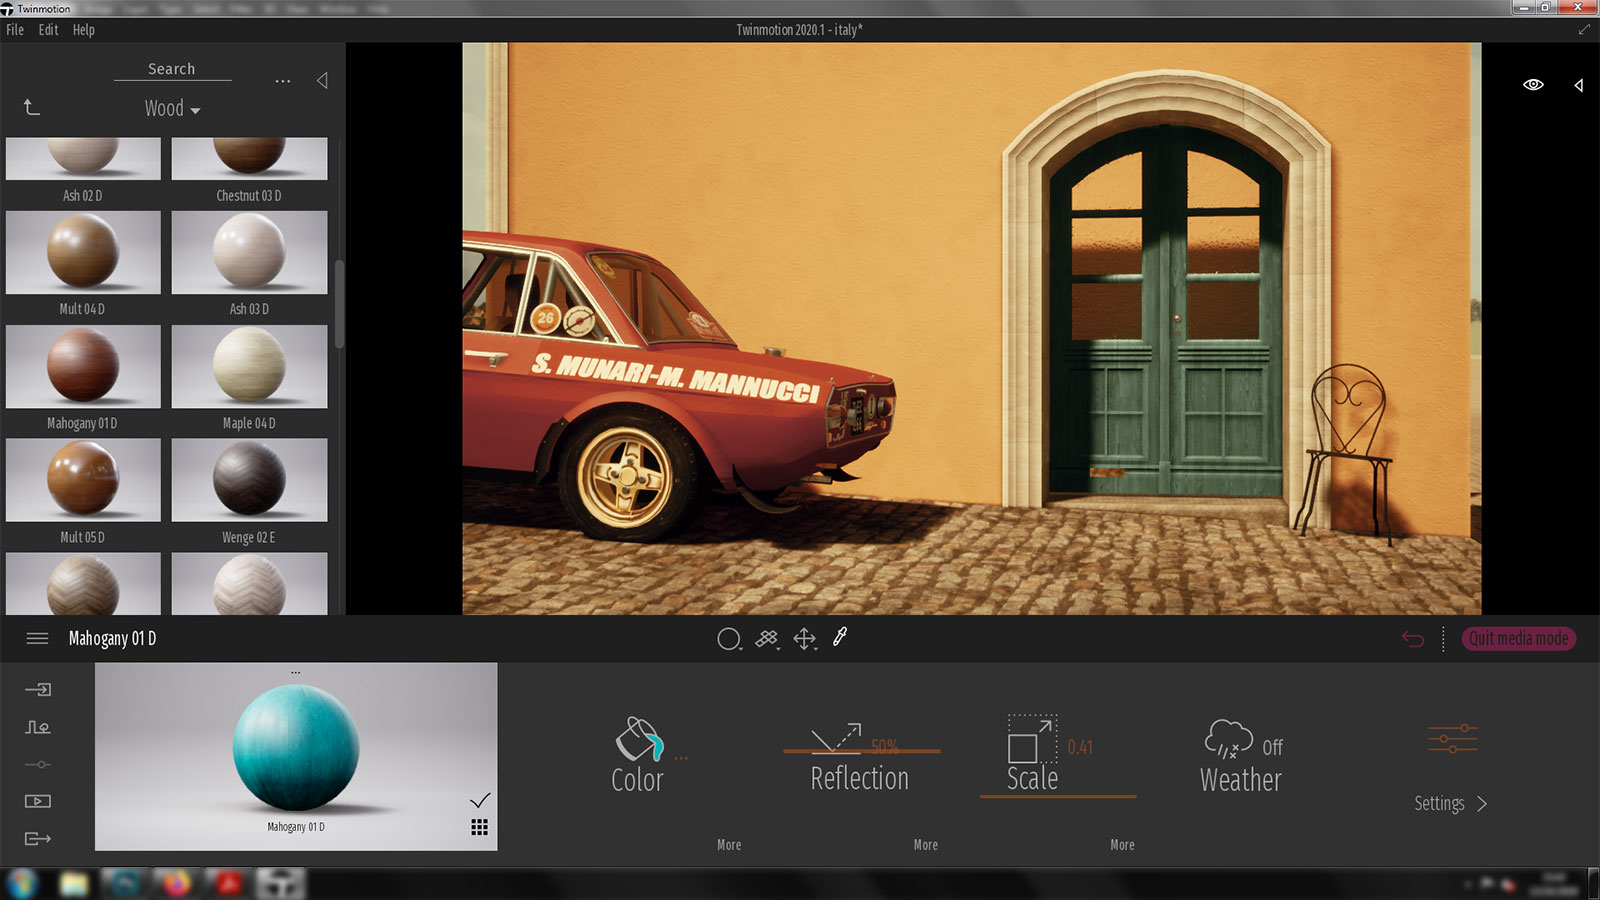
Wood mahogany material for door changed to blue color and scaled
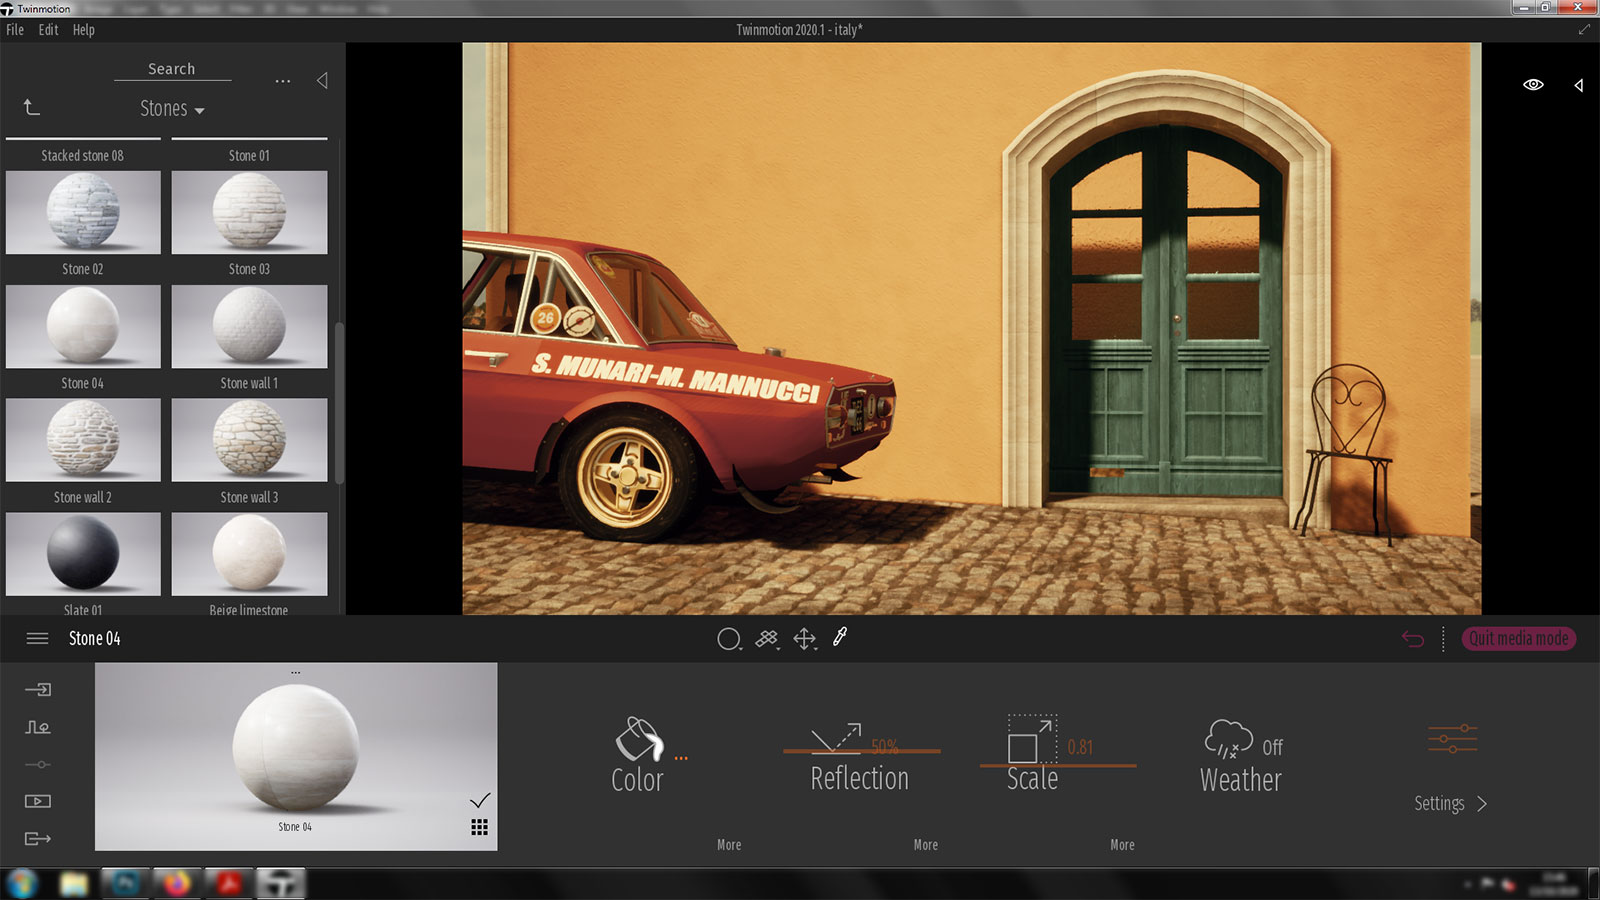
Stone material around door
Once I was happy with my material choices I started adding further 3D assets. The ivy and plants, old copper light, house number, leaves, air vent, seat cushion, wine glass and a person behind the door.

Added air vent, ivy, plant and grasses, copper lamp, wooden number board and wine glass
Next I added two large trees (Horse Chestnut and Pecan from Twinmotion Library) to add large shadows to the facade of the building. To soften the shadows I set the distance at 292m and set Bias (‘More’ under Shadow setting) at 0.10. These were used for the sole purpose of getting the right shadow shapes casting on the wall for the final image.

Add and position trees
To create more realism and a weathered look I added stains and rust Decals to the car. Stain Decals to walls and door, including wall damage to simulate peeling paint using Twinmotion Decals (Damaged wall 1). You can find these under Objects in the Twinmotion Library. I used some Shadow Decals too, under the chair and car.

Add Twinmotion Decals

Sign Moss Decal Settings
At this point I decided to add one spotlight to light the lamp and number board a little. I know its daytime but maybe someone accidentally left the lamp on. Its subtle, but I like what it does.

Light settings
The glass in the door, wine glass and metals needed a little more reflection so I added one Box Reflection Probe. These can be found in the Twinmotion Library under Tools.
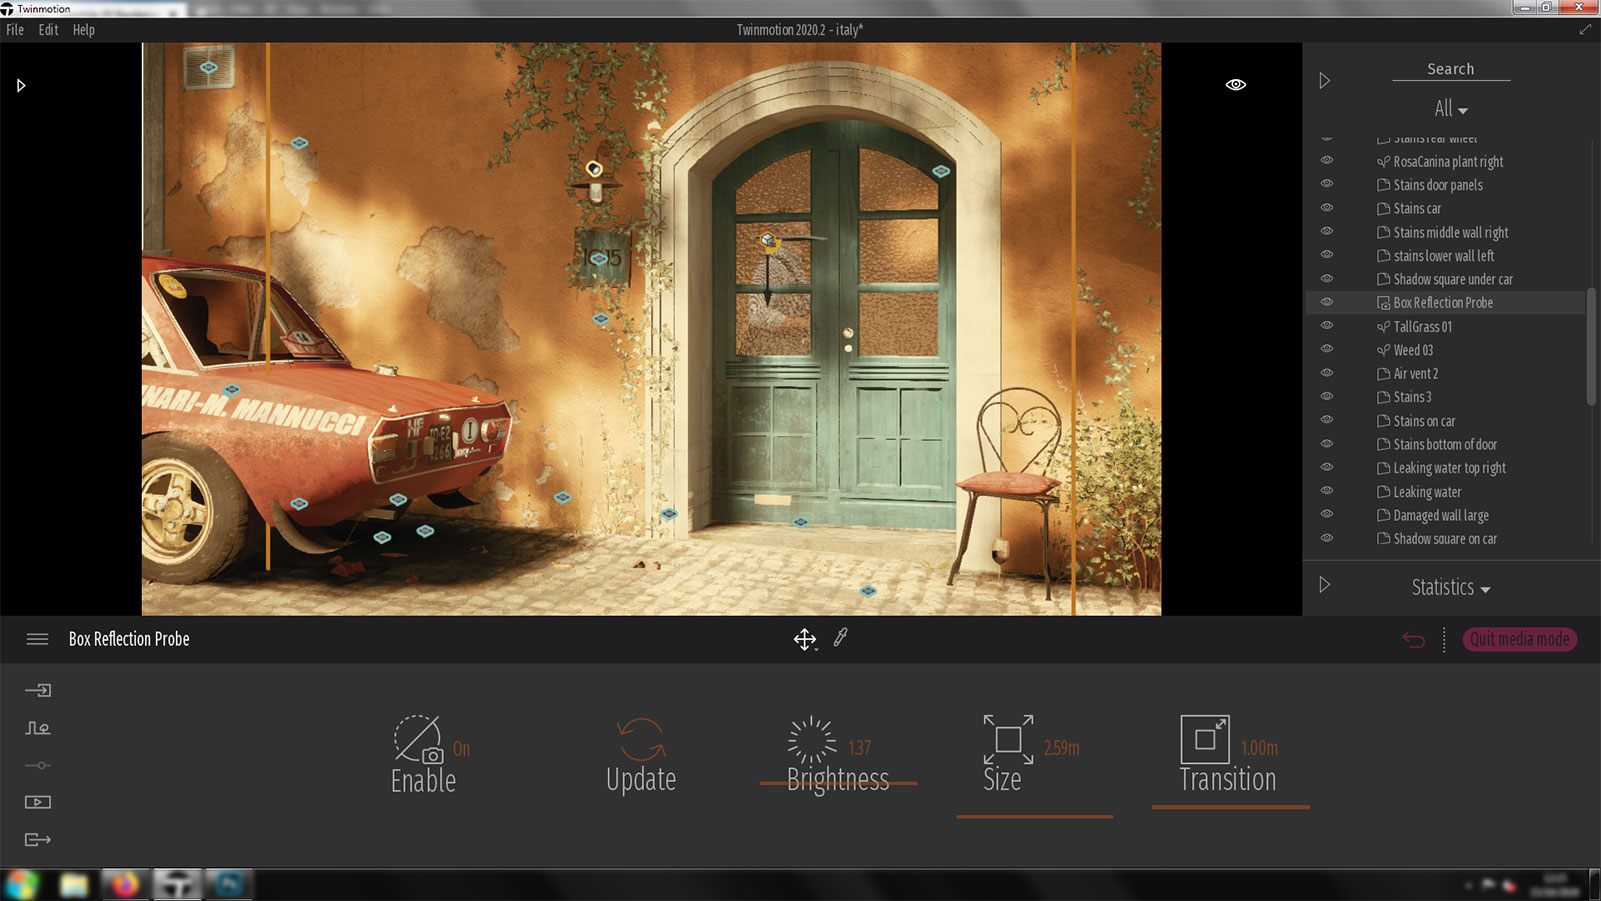
Reflection settings
Now I setup my camera angle for the scene created another image from this. Hovering over the new image I clicked on ‘More’. From here I began the process of adjusting Localization, Weather, Lighting and Camera. Settings are in the following images:
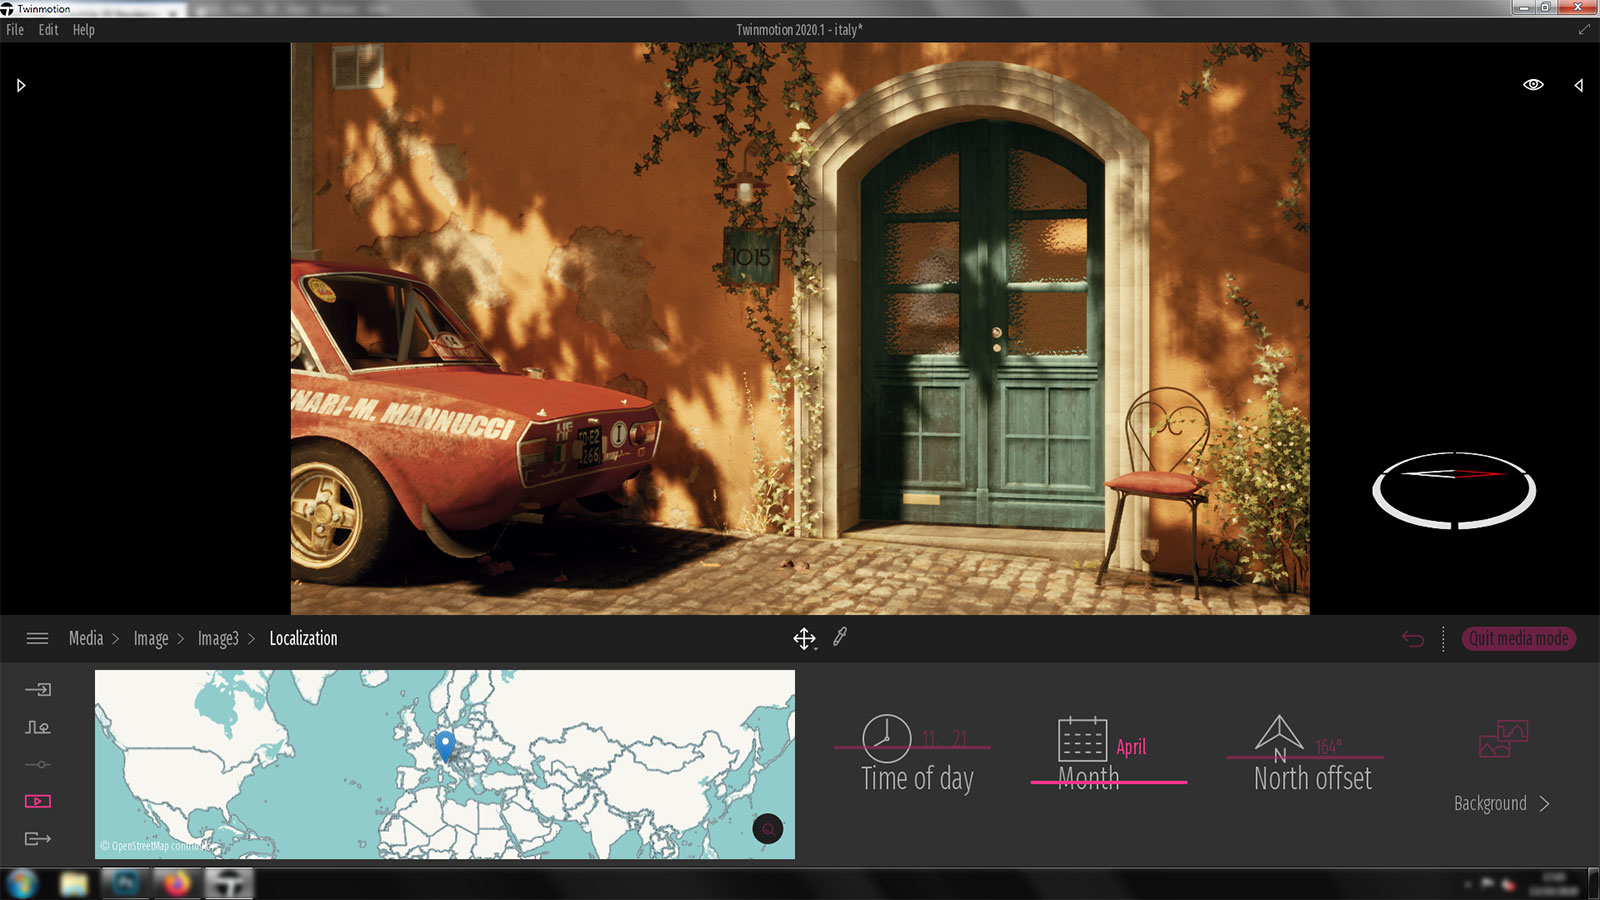
Localization settings
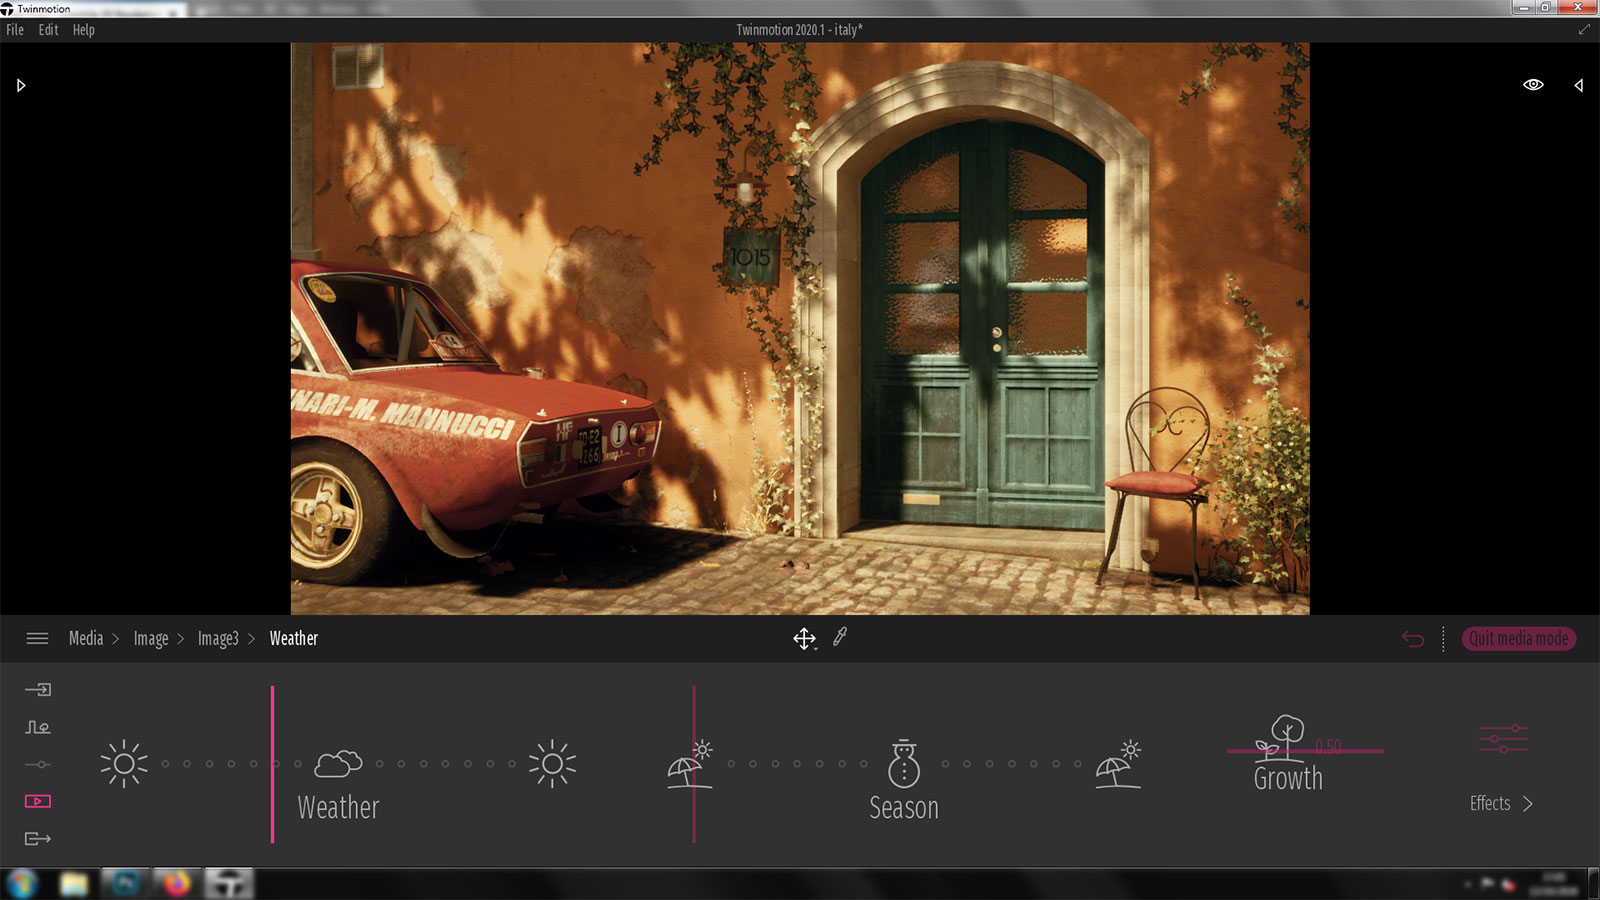
Weather settings

Lighting setting
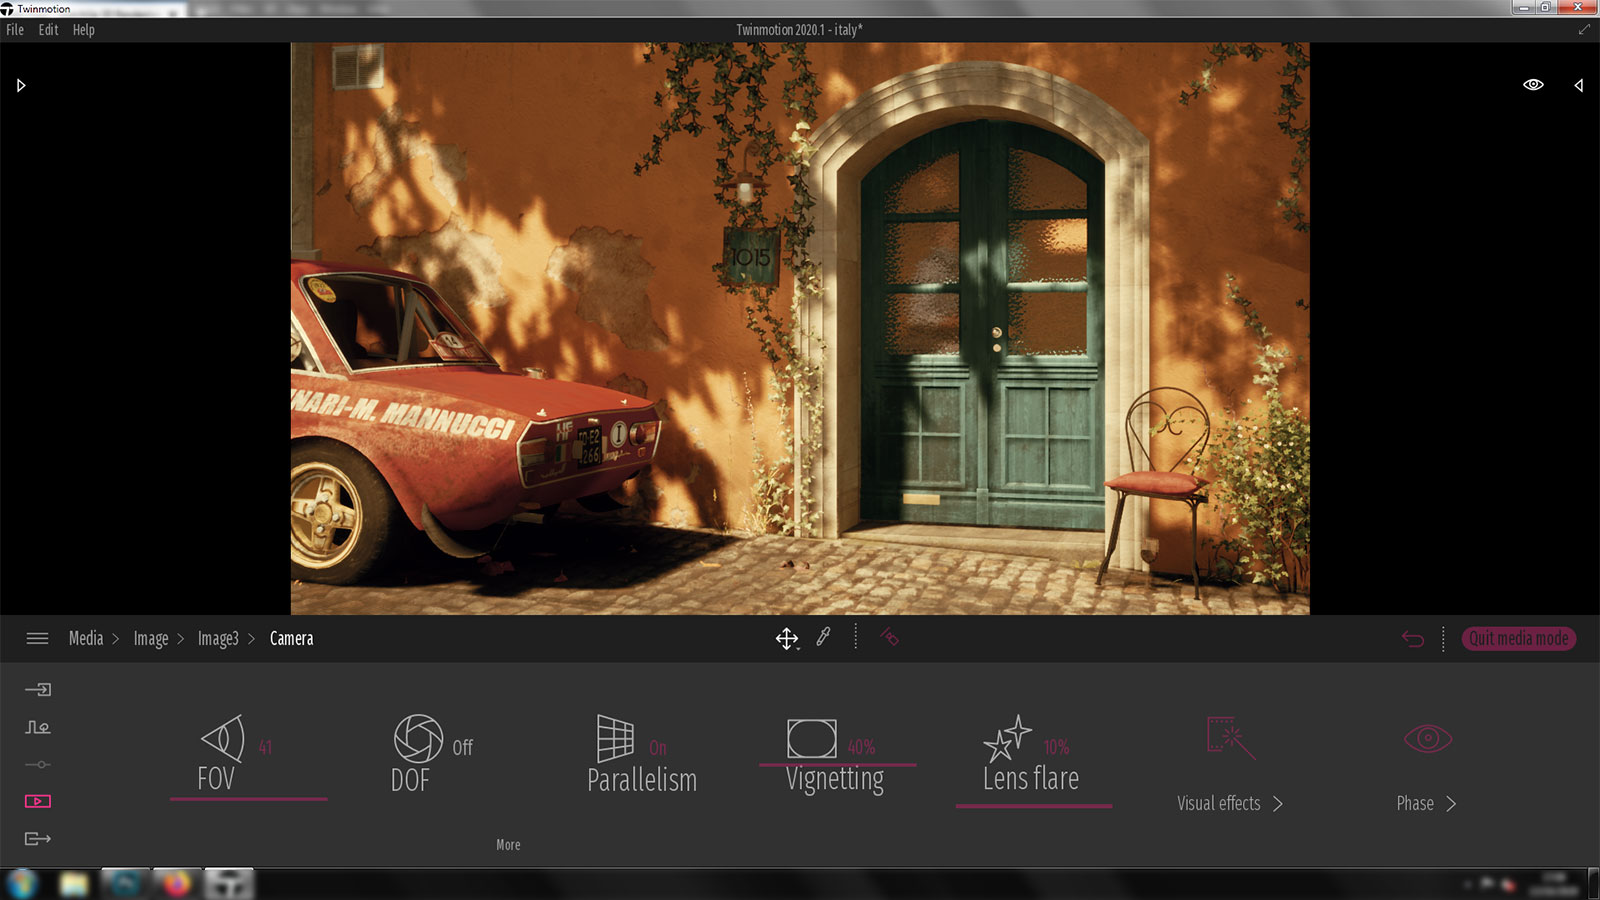
Camera setting
Finally, happy with my settings I exported the image and opened it in Photoshop where I used the Camera Raw Filter and a Preset to tweak the image further (Natural). A little further adjustments with Levels and I was done.

Little post processing with Camera Raw Filter
Final Image
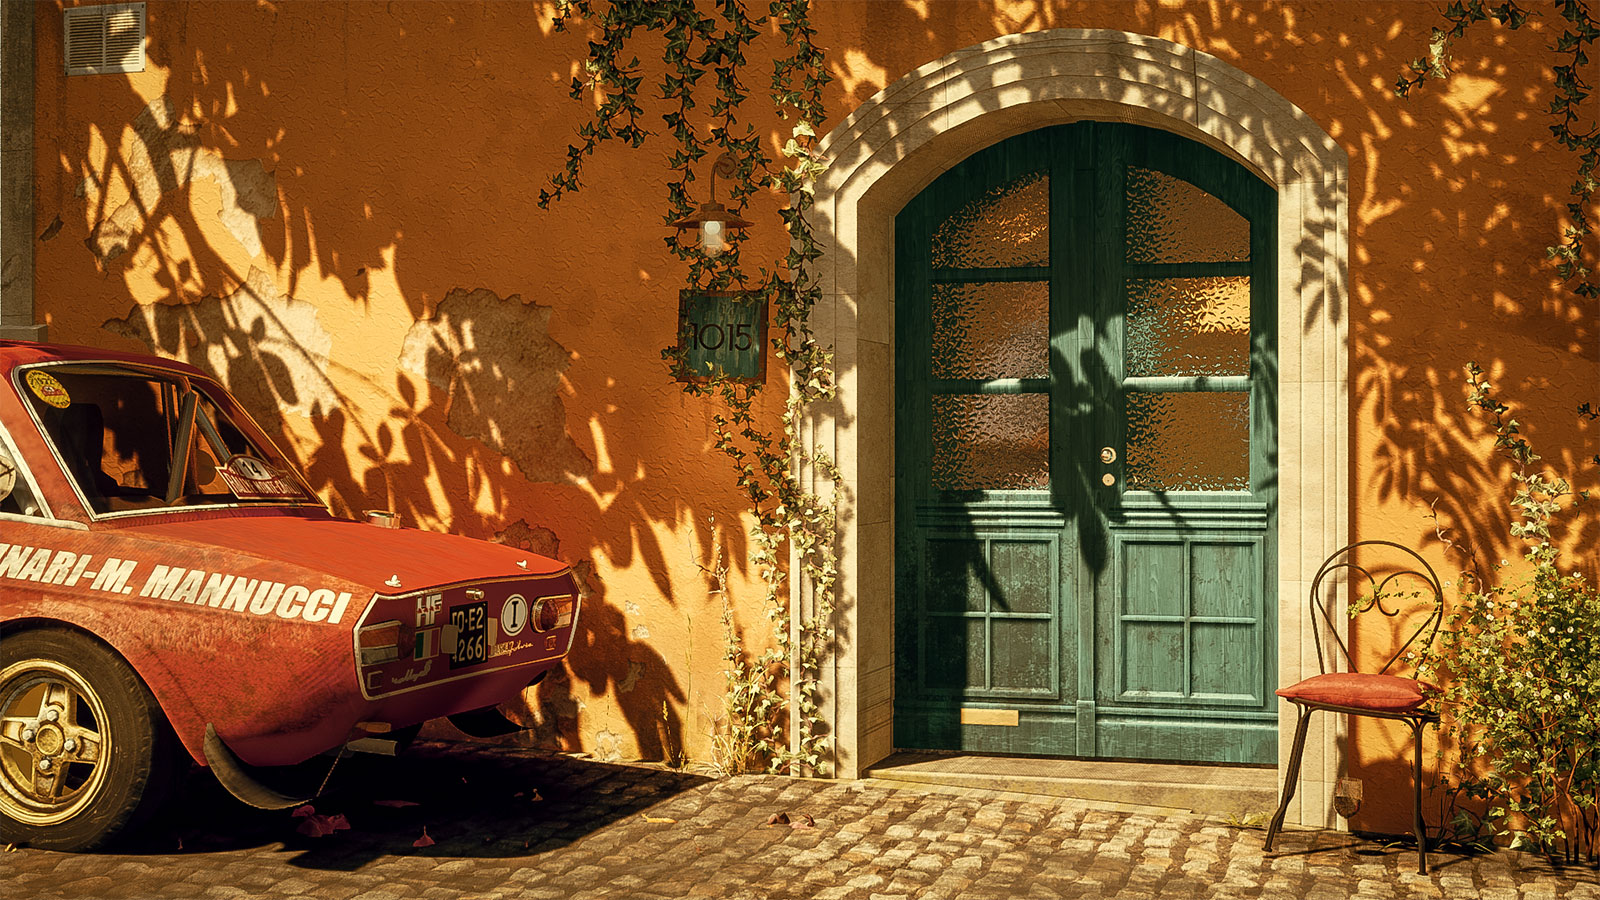
Somewhere in Italy
Hope you enjoyed reading and looking at what was done and maybe learned something new for your own future projects.
Thanks for reading
James
Profile Builder 4

Artisan Organic Toolset

PlaceMaker Version 3
Skimp Pro Import Extension

BIM Bundle Special Offer!
SketchPlus Artist Bundle !
Bevel Tool
V-Ray 5 for SketchUp E-Book

So very well communicated and presented. Bravo.
Great work! I have a lot of questions but as I haven’t the time to try this myself I’ll save it!
Thanks for the Tutorial!
Why do you add shadow decals to the car and chair when you have shadows already?