
How to Create your Own Materials in V-Ray 3.4
V-Ray 3.4 comes with a good material library that has a few good materials that are necessary to make a model come to life. But not all materials are requested in a custom design, you may find yourself limited if you only use that selection of materials in designs for your clients and your clients may ask for specific patterns or color options that you can’t find in the V-Ray Material Library or even online in ready packed materials (*.vismat).
This is where you will have to create your own material to match your model, and you need to know exactly how to do so the right way so you don’t mess up your model or final render.
Images and Maps
In order to create realistic V-Ray materials you need a few things:
- High Quality Diffuse Map: this is what your material will look like.
- Reflection Map: not all materials reflect light the same way (if at all), so having this map will make sure the render engine reflects the light hitting this material realistically.
- Bump Map: if the material you have in mind has a visible “texture” to it (not smooth like glass), then you’ll need this too.
- Displacement Map: this map in particular is very important if your material is rough or needs to look and act like a 3D object (stone wall, stone floor, rattan, etc.).
This looks very confusing, I know! But this is way easier than you think 🙂
There’s this website that I’ve stumbled upon while looking for material images, called Texture Haven. This website is a 100% free material image resource that will provide you with everything you need to build and customize your materials in every resolution possible.
Model +Materials
To make this tutorial easier and more beneficial, I’ve provided a Material-Free version of the model I used to create this post with render settings file here (V-Ray 3.4 & SketchUp 2017).
the model only has materials for the Spotlight Track and the Windows + the Night HDRI which I got from HDRI Haven, a source for beautiful high quality unclipped HDRIs that are completely free.
In this tutorial, I’m using materials provided by Texture Haven that can be downloaded from their website (links below):
Make sure you download the materials (HDRI is optional) and the model for practice.
- Depending on your machine, you may want to opt for lower resolution materials. For this tutorial, download the 1K resolution.
- Unzip the materials into their own folder for easier access.
Adding Materials to the SketchUp Model
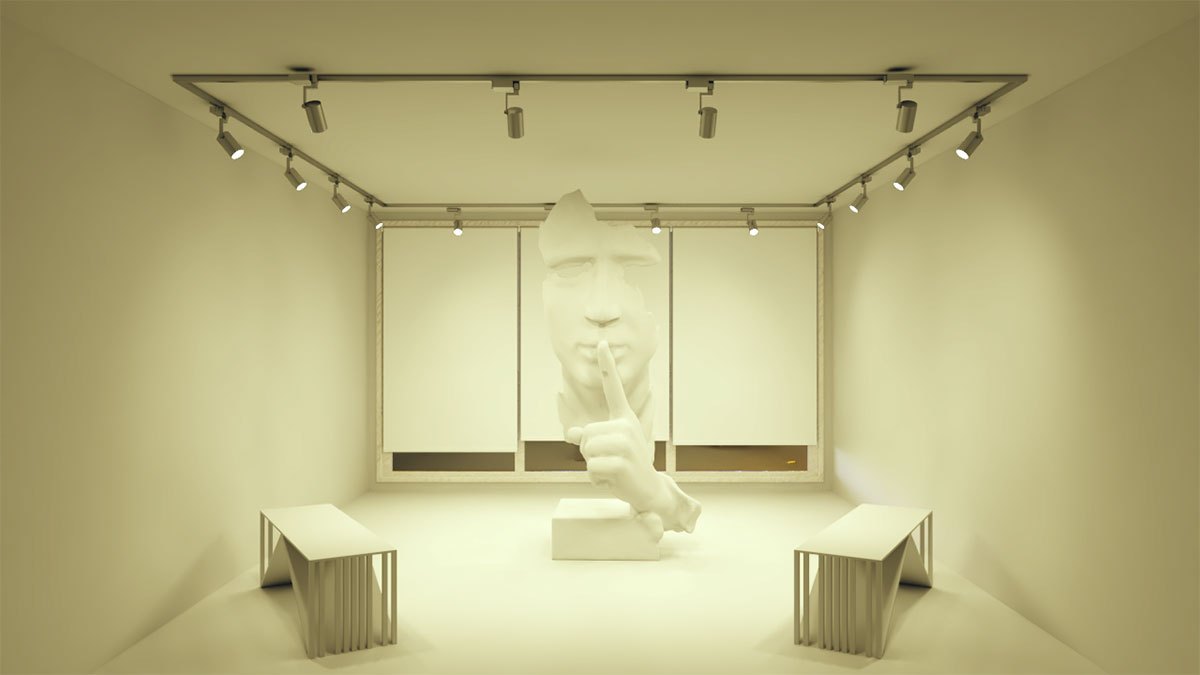
A render of the material free model
First step I always do when putting together a model is test render my lighting with Material Override On (Override Material Color: Grey) to make sure my lighting is ready. In this case, I didn’t apply any materials to my model other than the Spotlight Track.
Brick Walls
To add materials into the model let’s start with the Brick Walls.

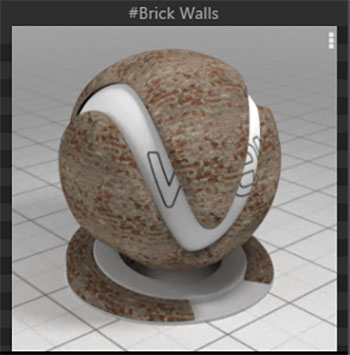
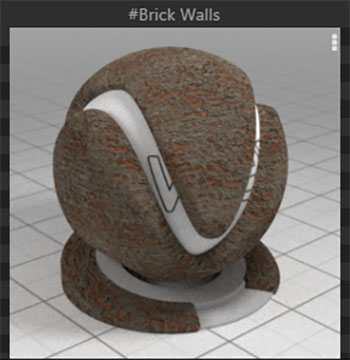
Brick Walls Material Preview (Courtesy of Texture Haven)
If you take a close look at the material preview, it has a bumpy 3D quality to it. That means that this material is using a Bump Map as well as a Displacement Map.
Diffuse
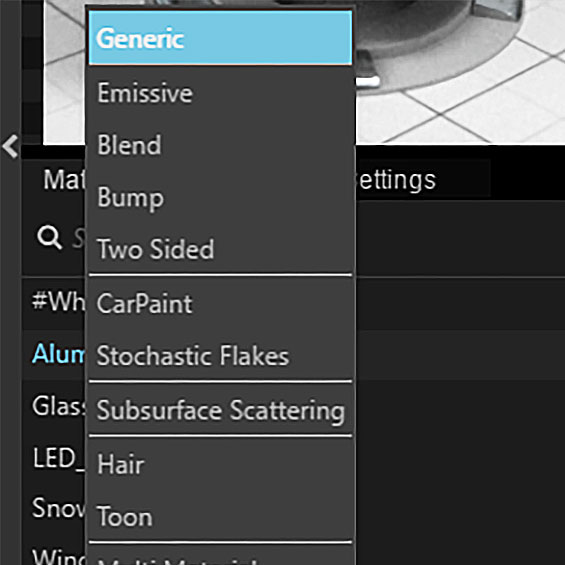
Materials tab
To add a new material to your V-Ray, go to the Materials Tab in your V-Ray Settings window. At the bottom left (Below the materials list) you’ll find an icon to add new materials. Select Generic.
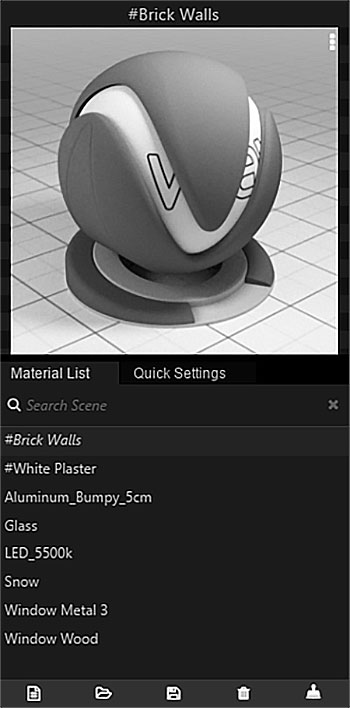
Rename you materials with a # to keep them at the top of your list.
Rename your material and then go to the Advanced Settings (small arrow on the middle Right edge of the window.
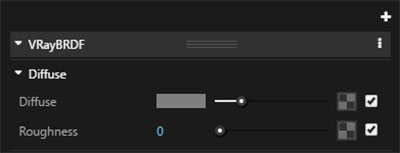
Turn on both Diffuse & Roughness
Start by adding the Diffuse map by clicking on the Texture square next to the Check Box.
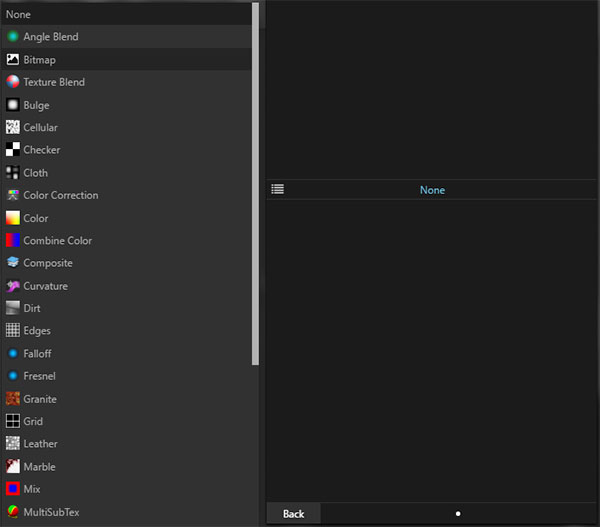
Choose Bitmap
Find your material folder.
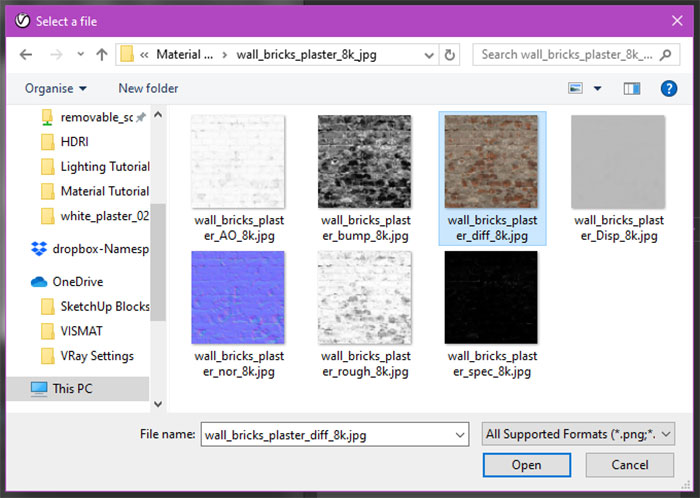
Double click wall_bricks_plaster_diff_1k to choose it.
To flat?
You’ll notice that your material is loaded in the Preview but looks a bit too flat. To fix that we’ll need to add a Bump & Displacement map. No reflection map is needed here because rough bricks are not shiny in real life (unless they have a clear primer coat, but that’s another story..).
Bump & Displacement

Enable both the Bump & Displacement
Enable both the Bump & Displacement and proceed to add the Texture Maps the same way we added the Diffuse Map. Note: Bump map will be named wall_bricks_plaster_bump_1k & the Displacement map will be named wall_bricks_plaster_Disp_1k.
Now it’s a little more realistic!
Now that the material is created in V-Ray, let’s add it into the SketchUp model. Keep the V-Ray Settings window open and Select all the walls in the model (they’re grouped for easier access).

Right click your material and then select Apply Material To Selection
Materials added may end up looking too small or too big for the general scale of the model.

Material scale looks too small!
To fix that, go to the Materials Tab in your SketchUp. In the Edit tab, resize your Texture to 1000mm (1 meter), this will fix the problem.
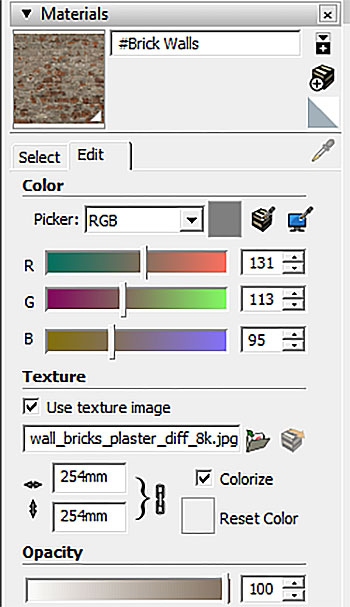
Edit tab
Wood Floor

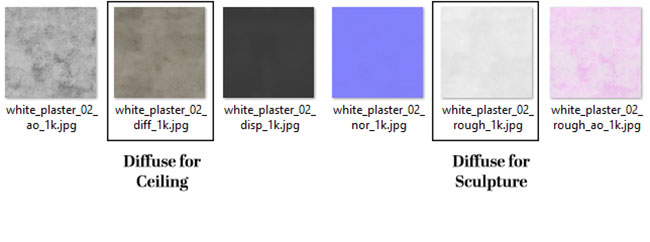
Plaster Material Preview (Courtesy of Texture Haven)
For the Ceiling and the Sculpture I used the same material (White Plaster) but chose different Diffuse Images + Roughness Texture.
Two Sided Material for Curtain
Adding a two sided material may sound complicated, when in reality it’s way easier. First, you need to create a Generic material with the curtain texture of your liking (I chose a green curtain texture that’s not included in the model).

Save this image to your computer if you wish to use it
Just add the image as your Diffuse and name it (eg: Fabric). No need to use a Bump Map because we won’t be doing any closeups, and there’s no need for Displacement or Reflection Maps either.
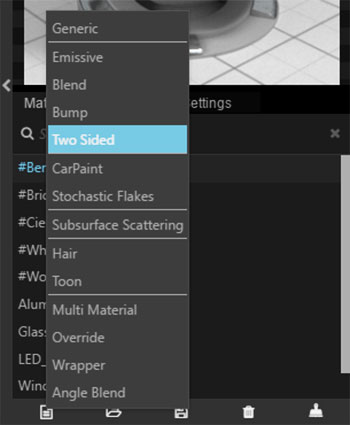
From the same menu as the Generic material
Then add a Two Sided Material to your List and name it (eg: Curtain).

Easy peasy!
In the Two Sided Material settings there’s are Front and Back options. Choose the fabric material you created for both.

You can enable the Force Single Sided option for a faster render, but it’s not recommended
Play with the Translucency slider till you get the opacity you want for your curtain, then add it to the fabric bit of your Curtains (the rest of the curtain object already has its materials).
Final Notes
Don’t forget to add the material green_metal_rust_1k for the benches.

You may need to amp your Spot Light value by 2. If your machine can’t render too many Displacement maps, opt for a higher Bump value and disable Displacement for the materials that cover large surface areas.
Save your Created Materials for Later
All you have to do is: Right Click your chosen Material, and then click ‘Save As’. Done!
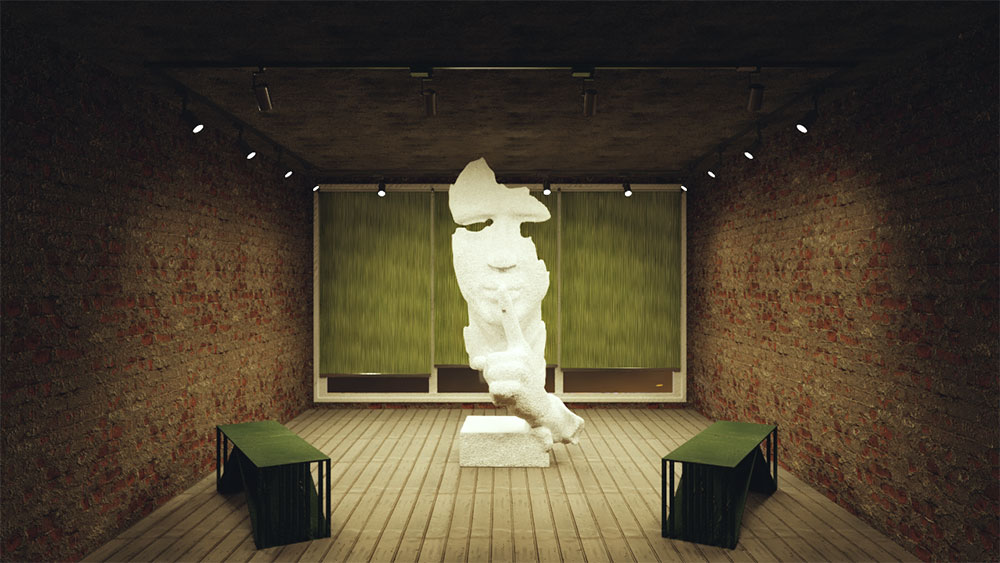
Final Render (no Post Processing)

Final bench closeup
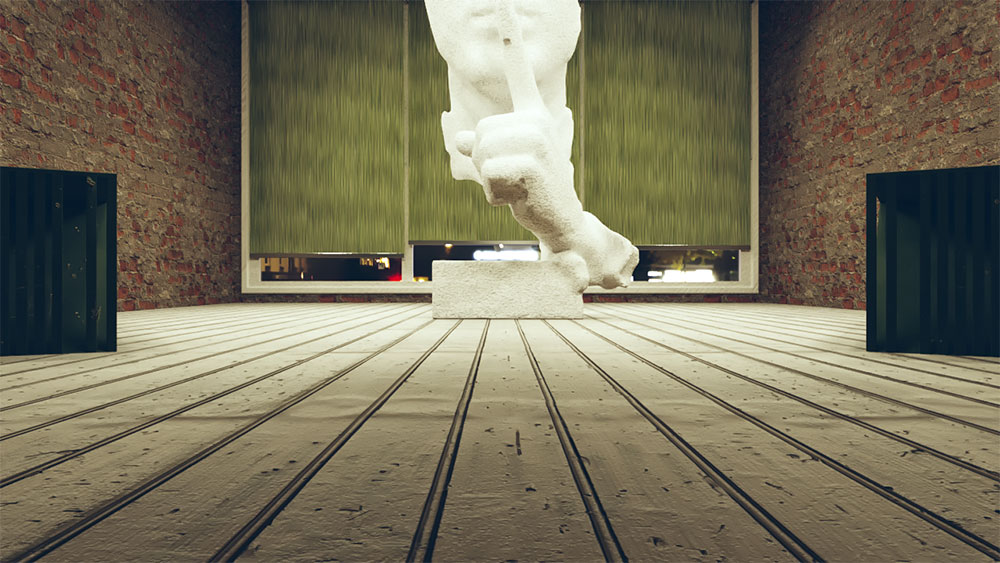
Final floor closeup
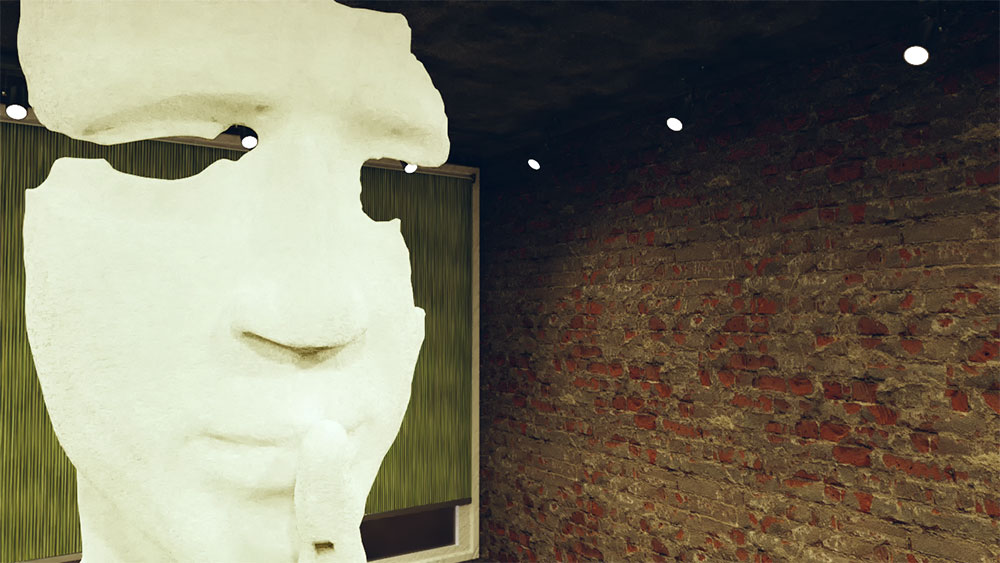
Final sculpture closeup
Really hope this tutorial has been helpful. If you have any extra tips or questions, leave a comment below!
Thanks for reading!
Angie
You can see more of Angie’s work here on her website.
Profile Builder 4

Artisan Organic Toolset

PlaceMaker Version 3
Skimp Pro Import Extension

BIM Bundle Special Offer!
SketchPlus Artist Bundle !
Bevel Tool
V-Ray 5 for SketchUp E-Book

Thank you for re-posting this tutorial! Hope your readers are benefiting from it 🙂