
Making of Kitchen in Zurich by Edvinas Skiestenis
June 6, 2016
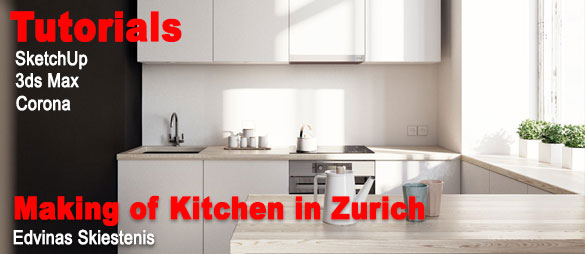
6th June 2016 @ 15:48 pmIn this ‘making of’ by Edvinas Skiestenis we bring you a small kitchen furniture visualization project. This kitchen was designed for a small apartment located in the heart of Zurich.
Click to view
Photoshop Breakdown: modern office building
March 1, 2016
David Drazil is an architecture student from the Czech Republic, currently finishing his studies in Denmark. The final image was originally an entry for the 3D challenge held by SketchUp Texture Club. The goal was to create the best possible visualization depicting the building, designed and modeled in SketchUp by Quốc Hữu Trần. The SketchUp model was the only thing provided for the competition. David says ” I was attracted by the theme and its freedom”. In this great tutorial David guides you through his detailed workflow.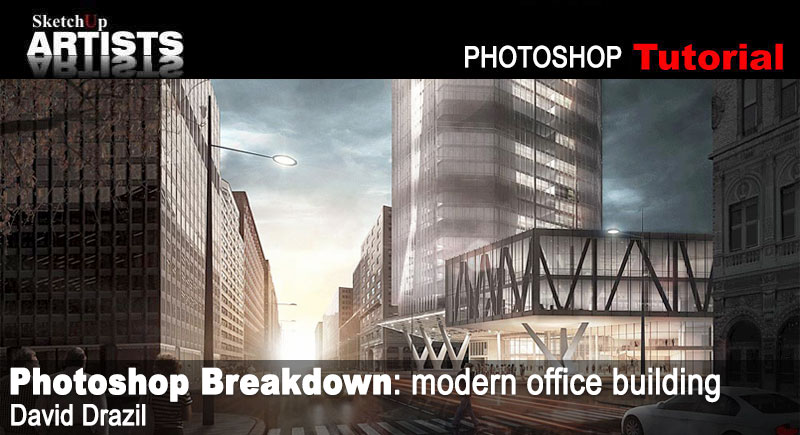
Click image to view
Architectural Elevation: digital watercolor effect for presentations
January 27, 2016
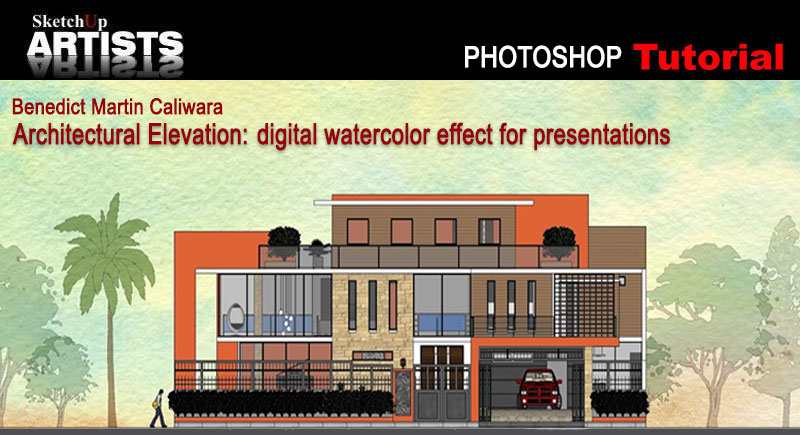
27th January 2016 @ 16:40 pmLearn how to apply a digital watercolor effect to an architectural elevation. All building elevations and construction details are directly exported from SketchUp. Rendering and layering procedure is done using Adobe Photoshop. You will need a basic knowledge of Trimble SketchUp and some photo editing skills for this tutorial.
Click on image to view
How to Populate Your Render – seamlessly
January 19, 2016
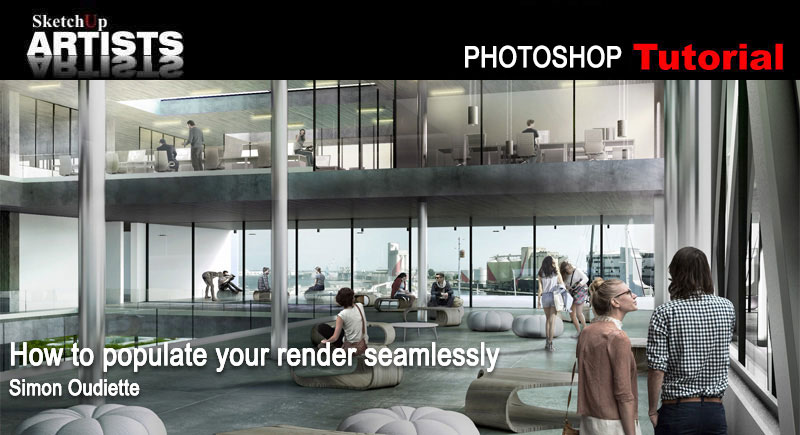
19th January 2016 @ 14:00 pmIn this in-depth tutorial, Simon goes over the steps that he takes when adding people to an interior render. With these tips, its sure to make a huge impact on your work.
Click on image to view
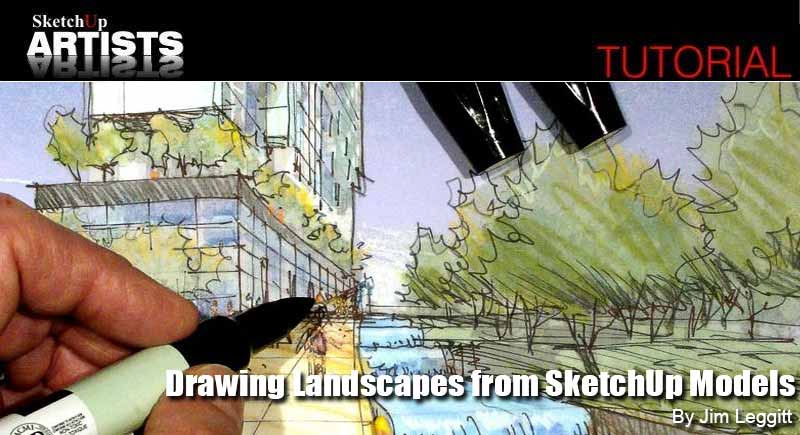
Drawing Landscapes from SketchUp Models
January 19, 2016
19th January 2016 @ 13:56 pmBuilding a Trimble SketchUp massing model and tracing over selected views is a quick and easy method for visualizing landscape concepts for projects. Jim shows you how!
Click image to view tutorial
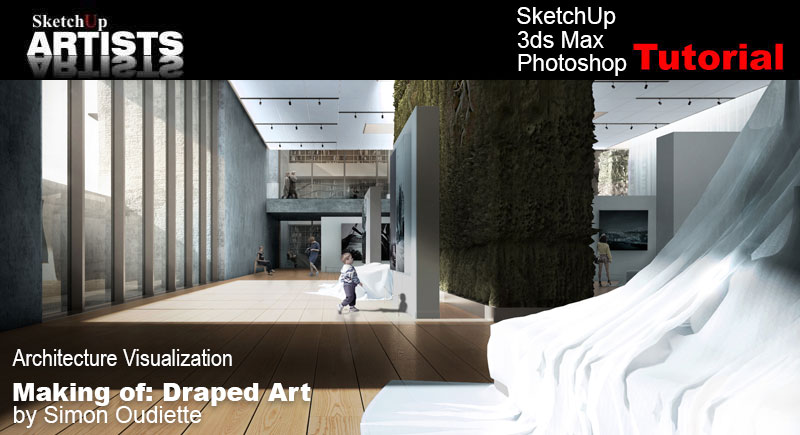
Making of : Draped Art by Simon Oudiette
October 30, 2015
30th October 2015 @ 11:30 amSimon Oudiette graduated with a Masters degree in Architecture from the École National Supérieure d’Architecture de Strasbourg. In this ‘Making of ‘ Simon goes through his workflow in producing this amazing architectural visualization. Within this text and images you will find many tips and tricks to help you in your own production of quality images. Software used in this project was SketchUp, 3ds Max and Photoshop.
Click on image to view
Topographical Landscapes – hills
October 9, 2015
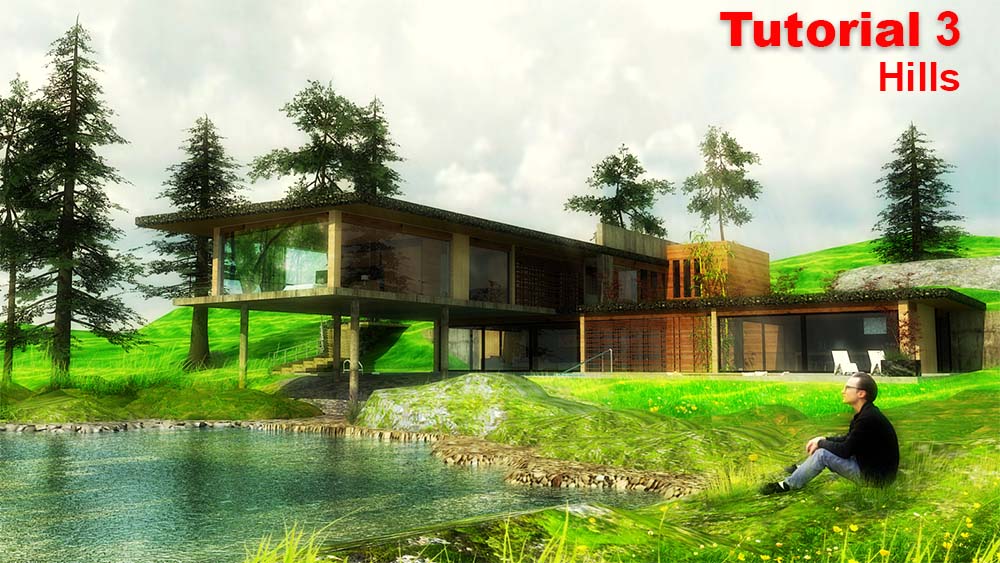
Hills
Definition: A Hill is a landform that extends above the surrounding terrain. It often has a distinct summit, although in areas with scarp/dip topography a hill may refer to a particular section of flat terrain without a massive summit. 1. Using the Sandbox tool, click the icon “From Scratch” and start to draw the grid lines horizontally.
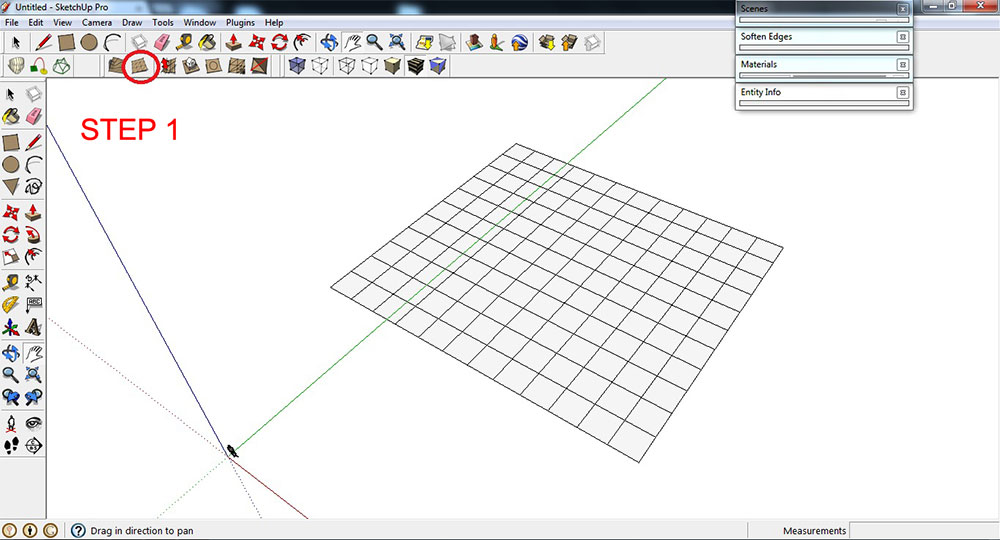
Use Sandbox Tool
2. Double click the grid box (which is a Group), and then select certain area (spaces or corners) that you want to Smoove.
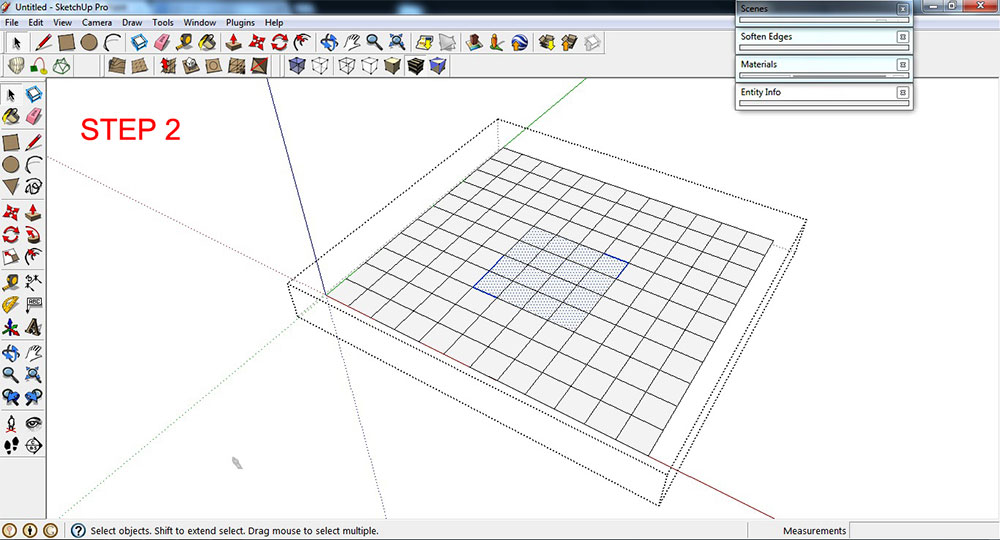
Select certain area
3. To adjust the surface elevation, click the Smoove icon> pull-up or pull-down the selected surface.

Pull-up or pull-down the selected surface
This is the result.
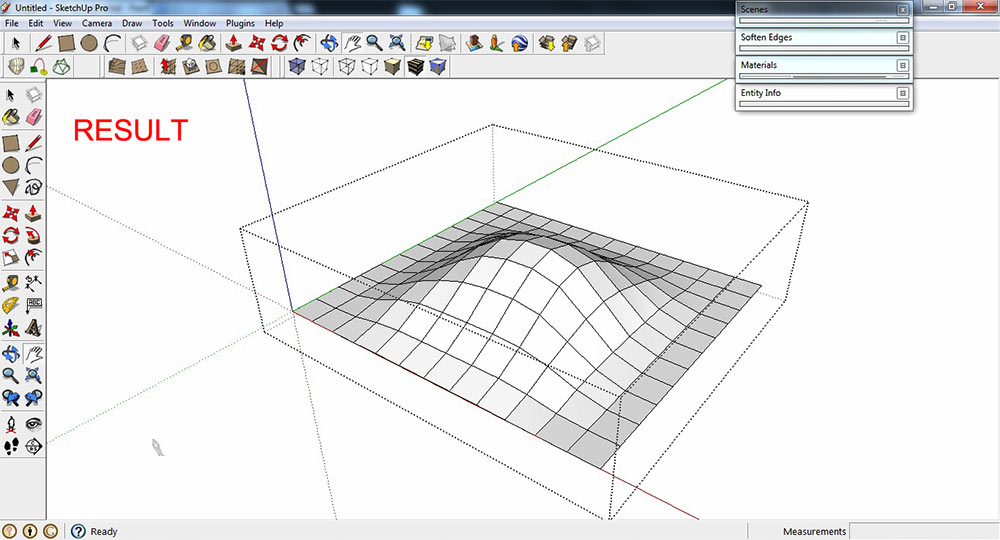
Result so far
4. To remove the grid and rough edges from the model, use the “Soften edges” tool by going to Window >Soften Edges. Double click the group model and make the following changes in the “Soften Edges” settings; move slider to 180 deg. and check Smooth normal/ check Soften coplanar.
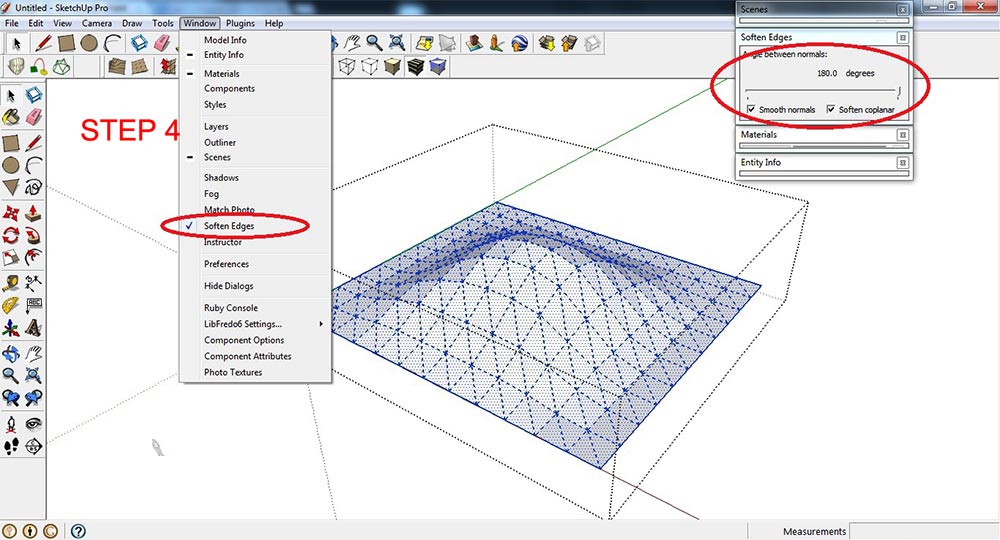
Soften Edges
5. Apply grass texture to the model.
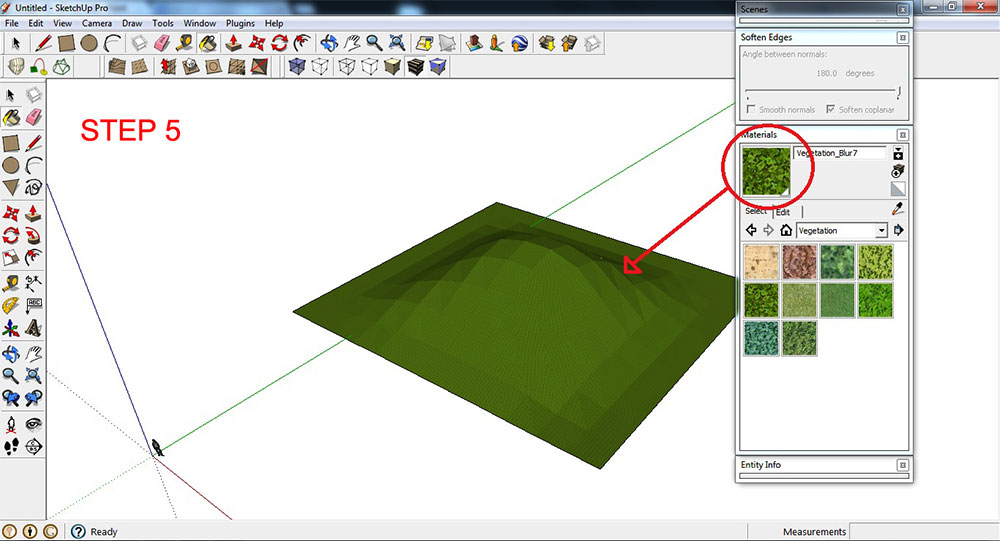
Apply grass texture
Summary
Summary
Rendered scene.
Render
Thanks for reading! Benedict Caliwara
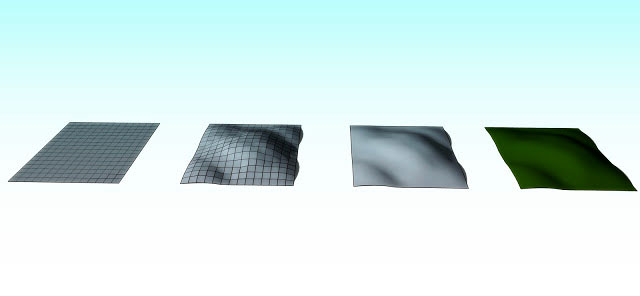
Topographical Landscapes – mountains
August 21, 2015
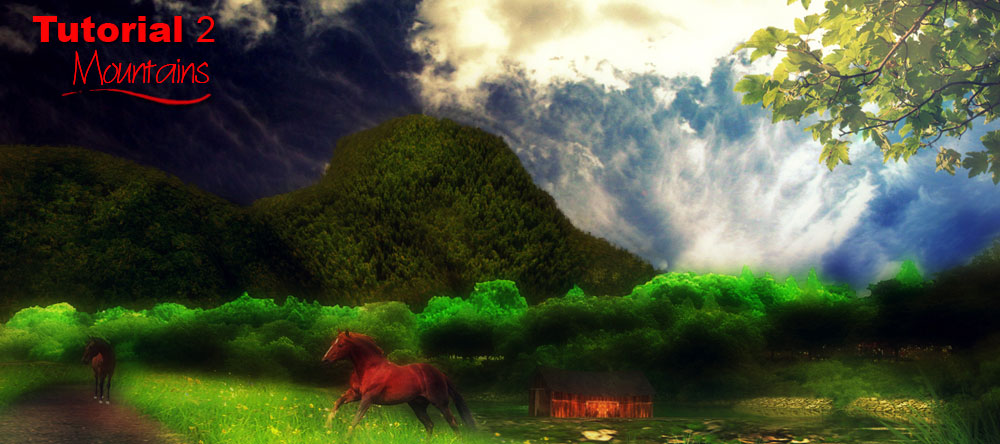
Mountains
Definition: A mountain is a large land-form that stretches above the surrounding land in a limited area, usually in the form of a peak. A mountain is generally steeper than a hill.
1. Draw/plot contour lines.
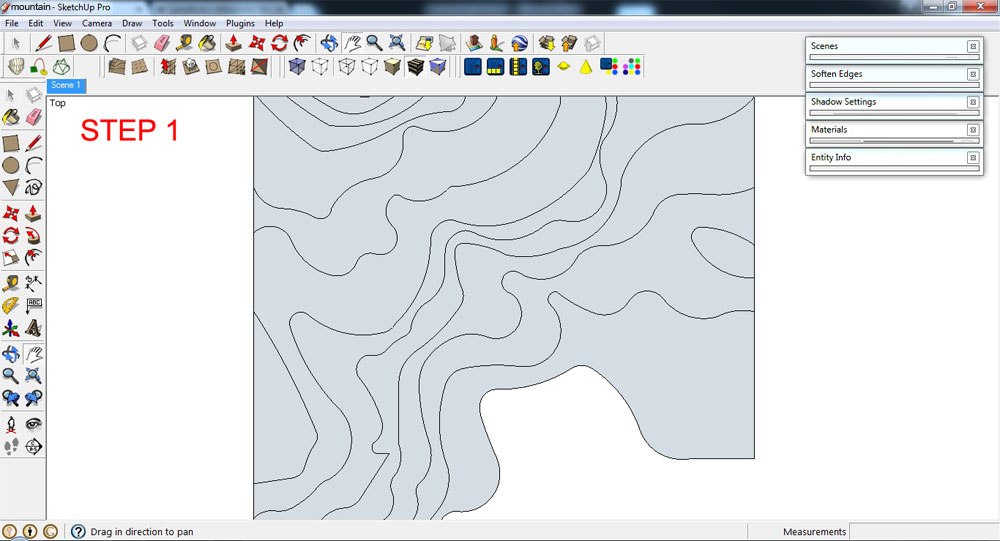
Draw contour lines
2. Delete any faces that formed when lines were drawn.
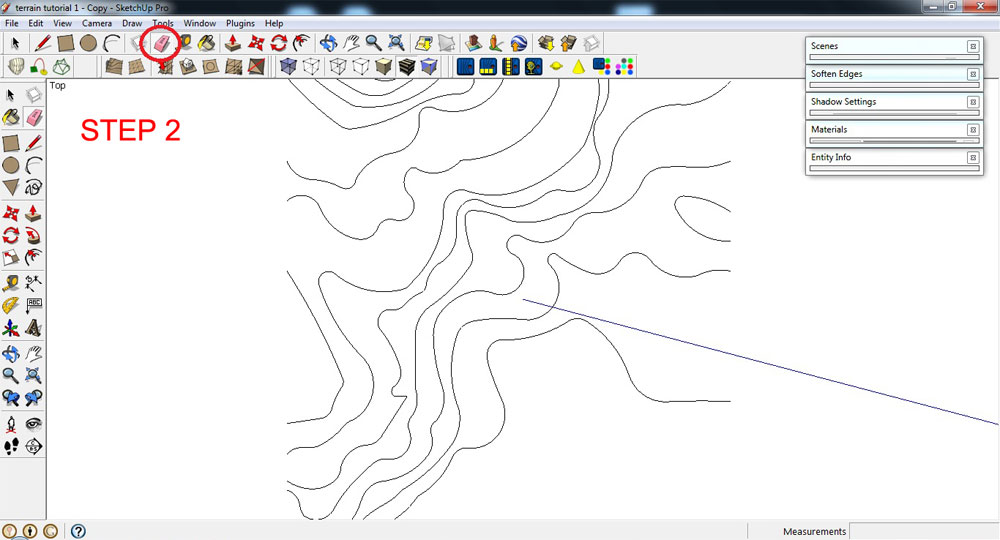
Delete Faces
3. To adjust the elevation of contour lines, use the Move Tool. Click a specific contour line that you want to adjust, then click the Move Tool> press the up key button (keyboard)> pull-up the selected contour line or object vertically (it is locked to the blue axis). You can add a specific height, if you wish, in the Measurements Toolbar. Type the value in the Measurements Toolbar (SketchUp will automatically display what you type in the Measurements Toolbar), and press the Enter (Microsoft Windows) or Return (Mac OS X) key.
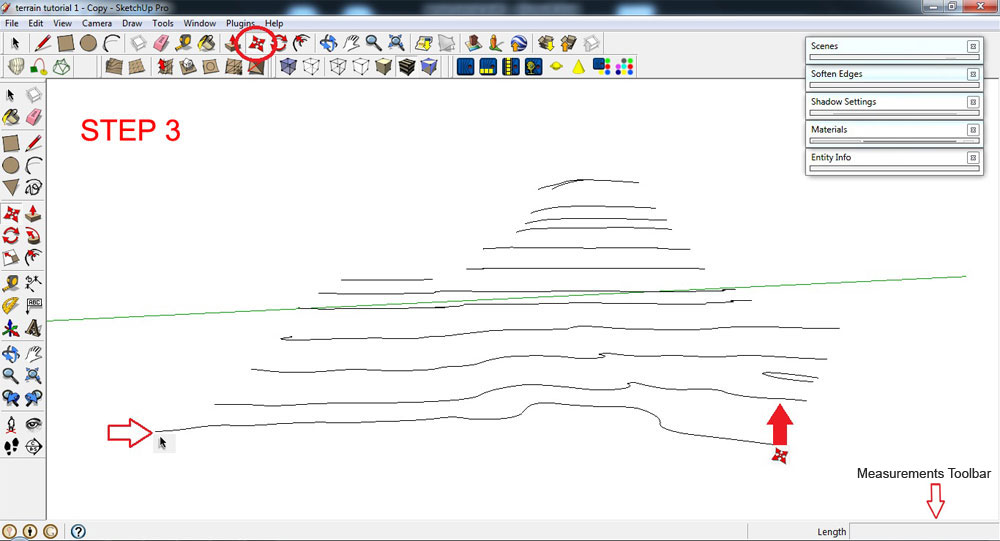
Adjust the elevation of your contour lines
4. Ctrl+A (select everything that isn’t hidden). Using the Sandbox Tool, click the icon ‘From Contours’ or go to Draw>Sandbox>From Contours. This process will automatically generate 3D object(s).
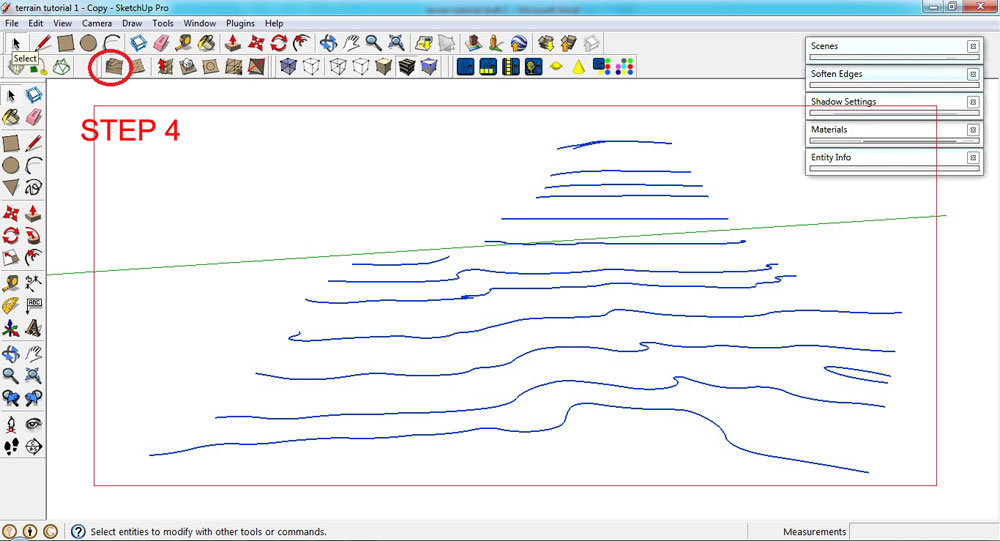
Select all and use Sandbox Tool
This is the result.
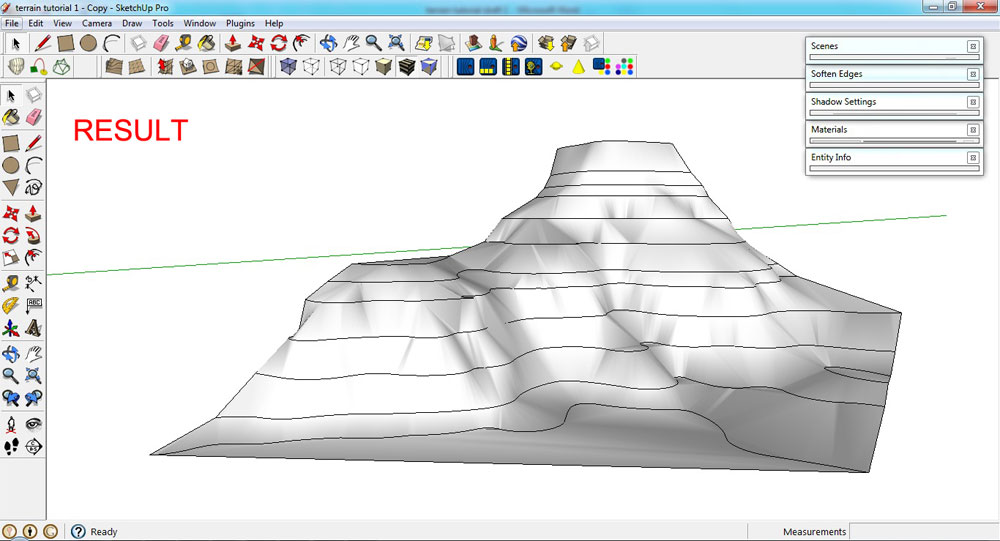
Result
5. Using the Move Tool, drag the 3D model away from the contour lines.
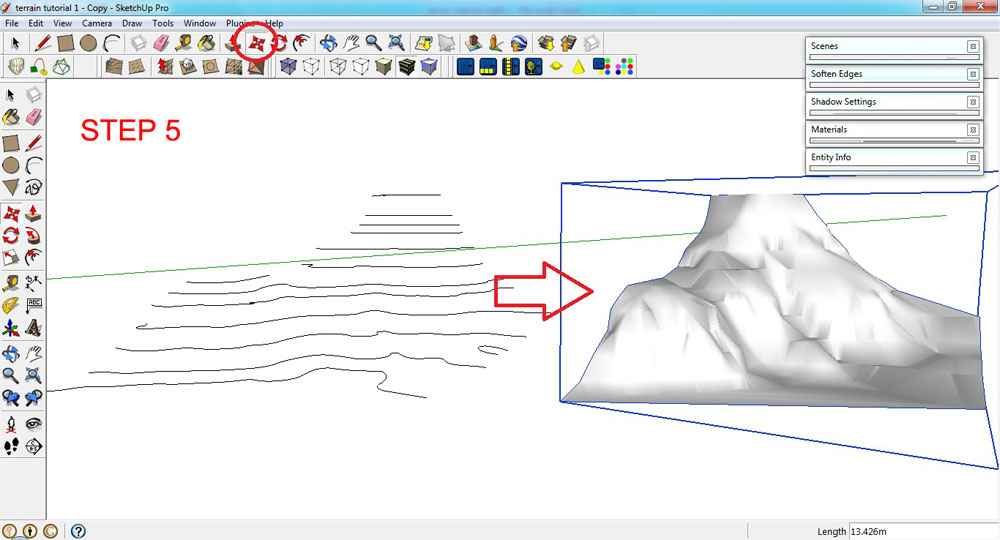
Drag 3D model away from the contour lines
6. Apply grass texture using Paint Bucket Tool.

Apply grass texture
Summary
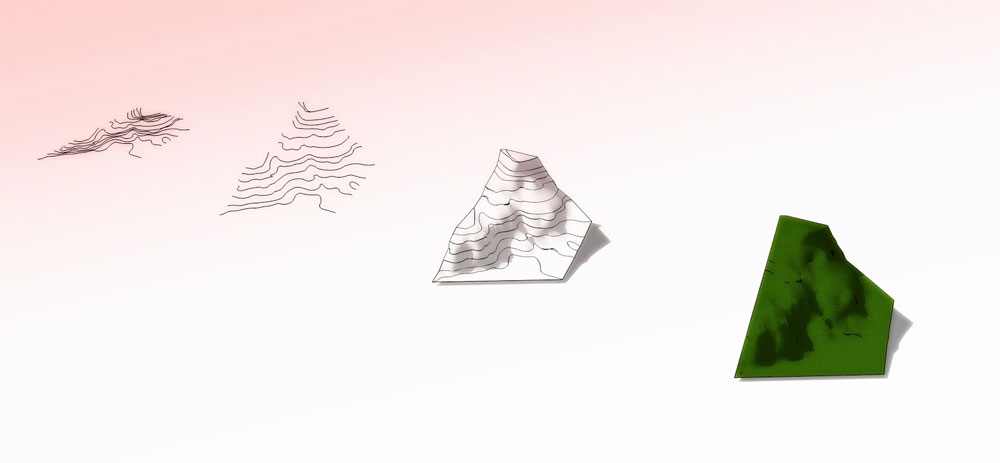
Summary
Thanks for reading!
Benedict Caliwara Ctrl+A (select object)> Using the sandbox tool, click the icon “from contours.” This process will automatically generate 3D object(s).
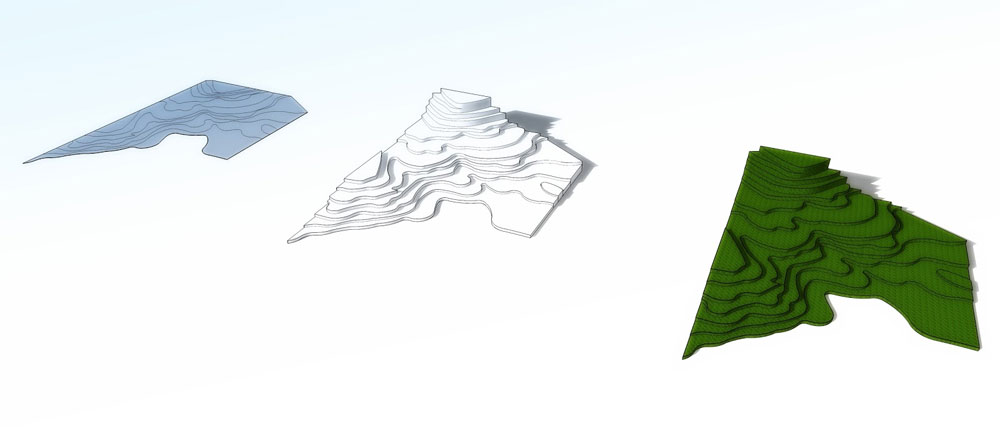
Topographical Landscapes – terraces
August 19, 2015
 Terraces
Definition: Terraces is a piece of sloped plane that has been cut into a series of successively receding flat surfaces of platforms, which resemble steps, for the purpose of more effective farming. This type of landscaping, therefore, is called terracing. Graduated terrace steps are commonly used to farm on hilly or mountainous terrain. Terraced fields both decrease erosion and surface runoff, and may be used to support growing crops that require irrigation, such as rice.
1. Draw or plot contour lines (make sure to retain all the surfaces).

Draw or plot contour lines
2. Select the surface.
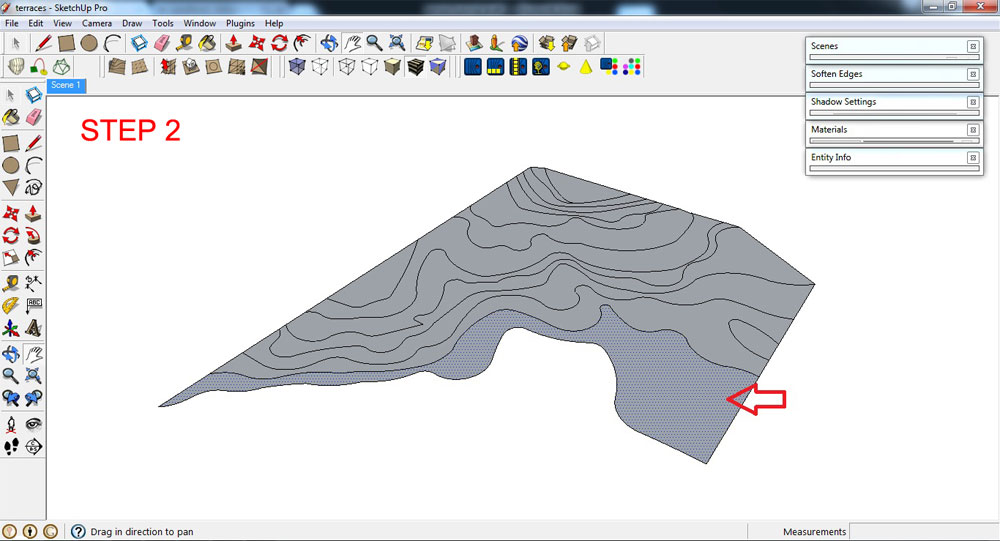
Select the surface
3. Adjust the elevation of the selection by using the Push/pull Tool.
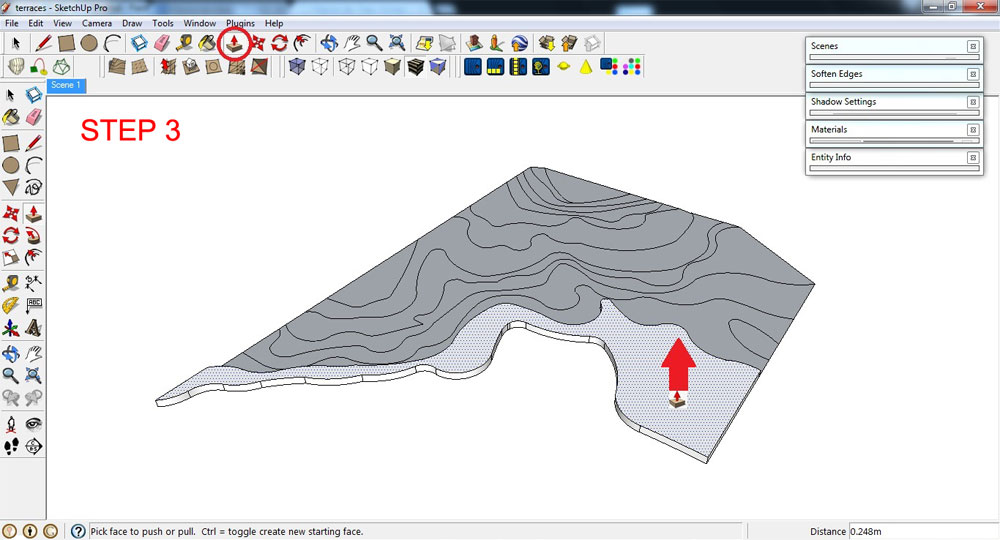
Adjust the elevation with Push/pull Tool
This is the result, repeating multiple use of the Push/pull Tool.
Repeat multiple use of the Push/pull Tool
4. Soften all vertical Edges . To do that, click Ctrl+ Erase Tool.
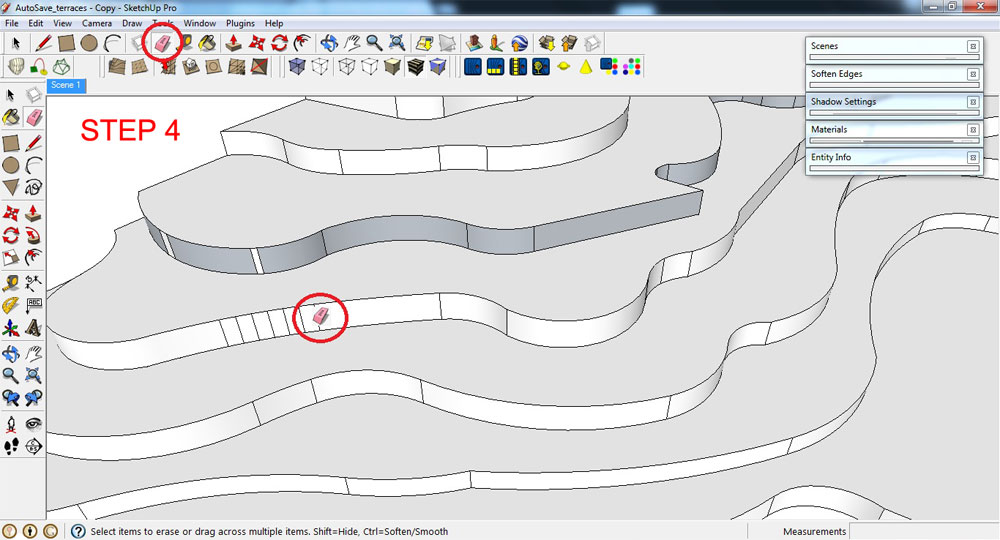
Soften all Edges
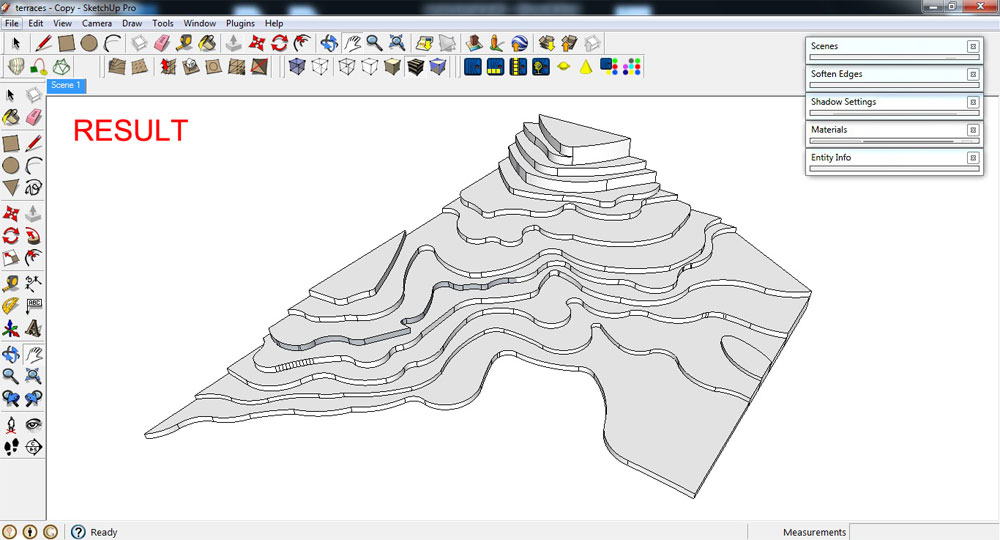
This is the result after tidying up the model.
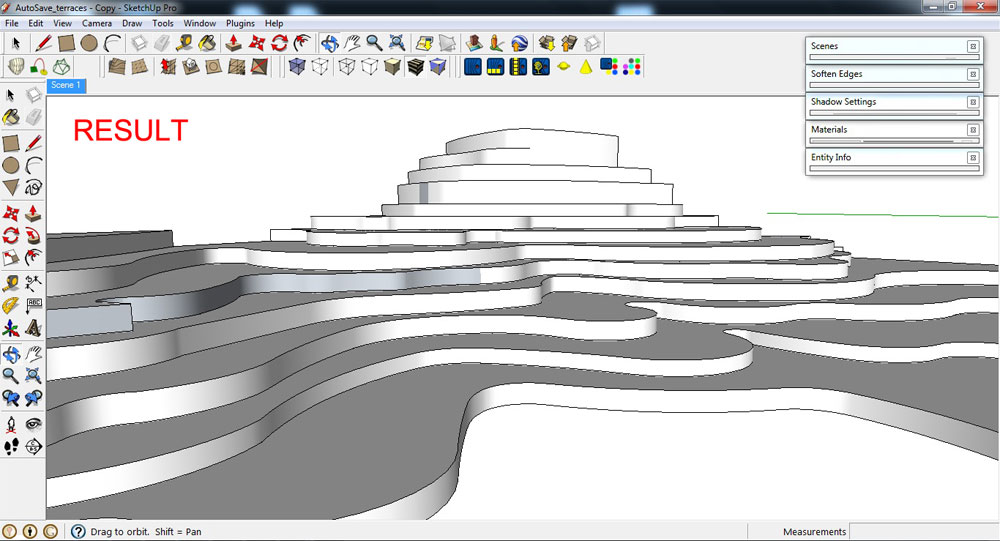
Result after tidying up the model
5. Ctrl+A (select everything that isn’t hidden)> right click> “Make Group”.

Make model into a Group
6. Apply grass texture to your grouped model using Paint Bucket Tool. Choose any available grass textures from the Materials dialogue box.
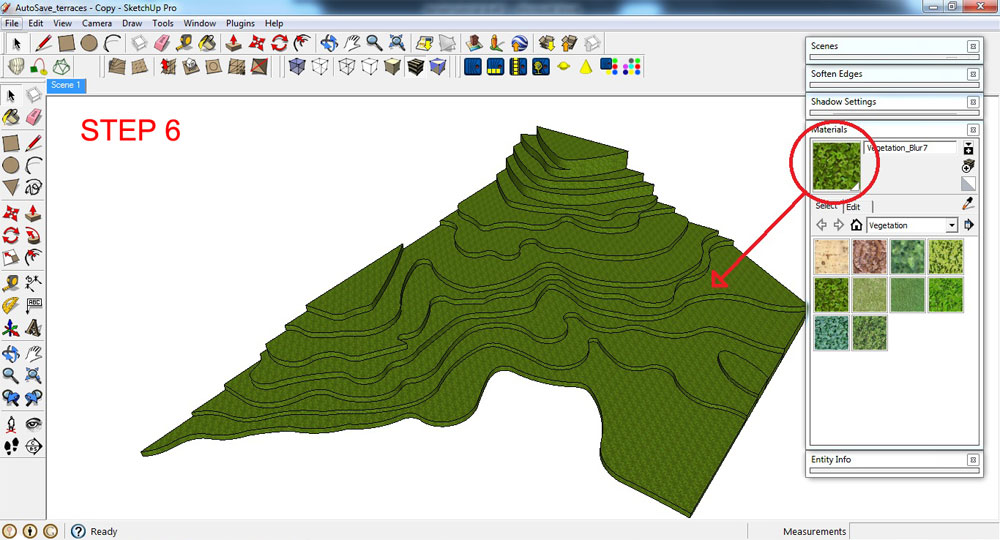
Apply grass texture to your grouped model
Summary
Summary
What you can achieve with final render output and post-processing.
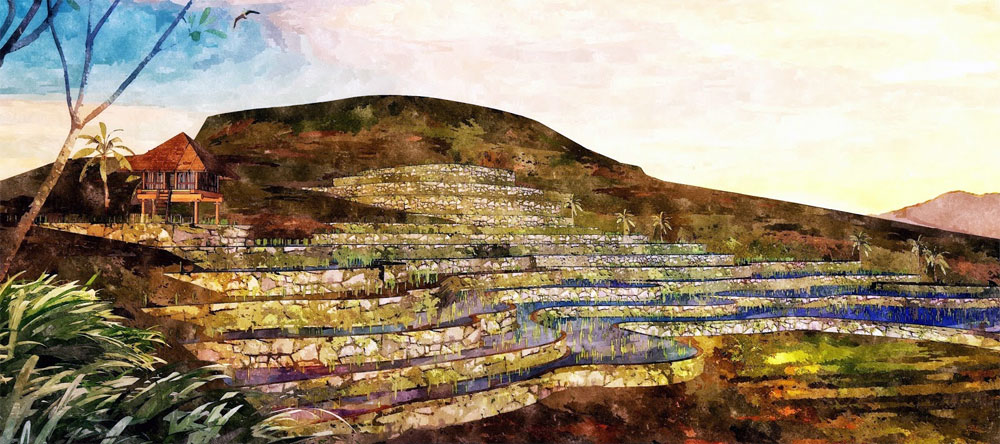
Final image
Thanks for reading!
Benedict Caliwara
Digital Watercolor Painted in Photoshop by Thanet Chanasakul
July 24, 2015
24th July 2015 @ 4:12pmIn this tutorial, I will be showing how to edit render output images, giving it a feeling and effect of watercolors, through the use of Photoshop. You will need some knowledge of SketchUp and rendering, including post processing in a photo editor.
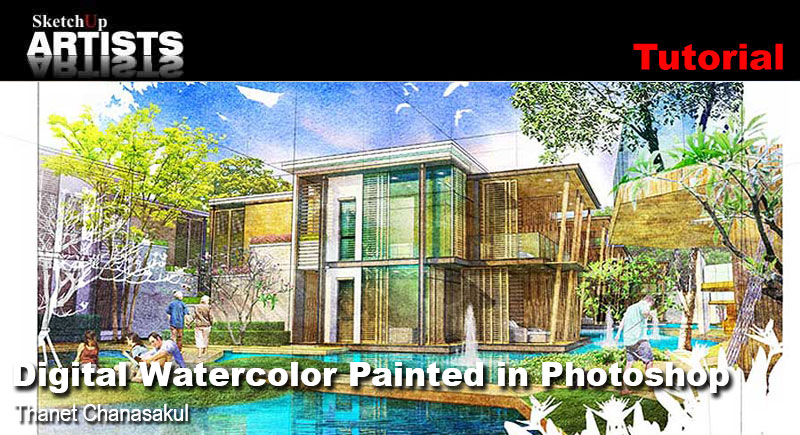
Click on image to view tutorial
Profile Builder 4

Artisan Organic Toolset

PlaceMaker Version 3
Skimp Pro Import Extension

BIM Bundle Special Offer!
SketchPlus Artist Bundle !
Bevel Tool
V-Ray 5 for SketchUp E-Book
