Motion Blur Composition in Photoshop
May 21, 2012

Ronel Pabico is an interior designer and 3D visualizer, currently based in Riyadh, Saudi Arabia. He shows you how to add some motion to a static car in his rendered image using the Motion Blur Filter in Photoshop.
Step 1
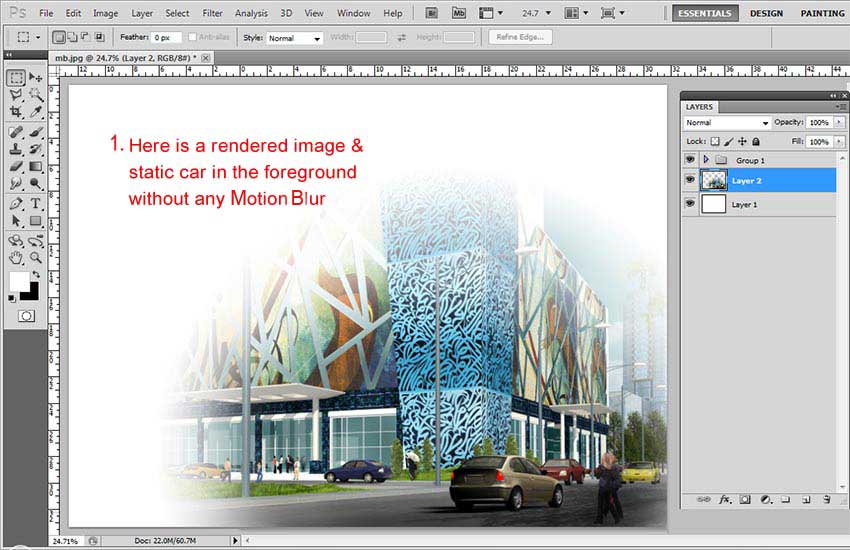
This SketchUp model has been rendered and shows a static car in the foreground. We are going to select this car and put it on another Layer so we can work on it.
Step 2
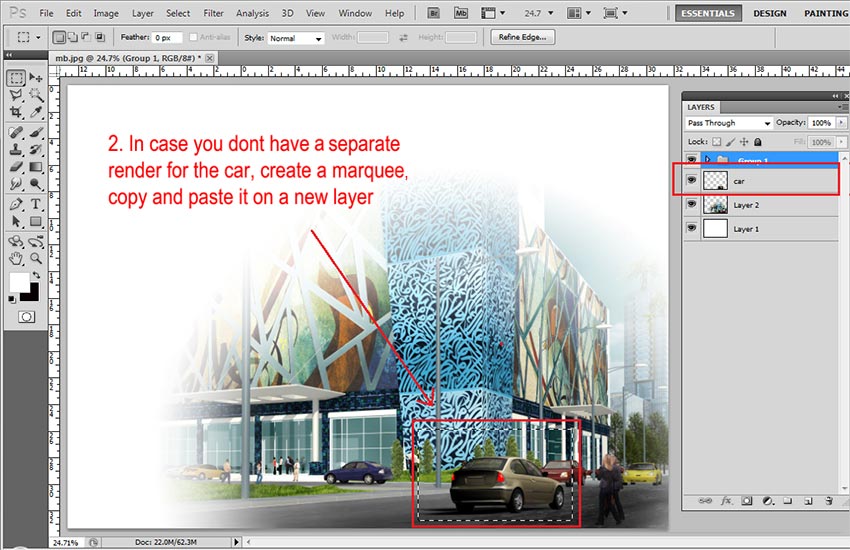
If you wish, you can use the selection tool of your own choice. In this particular case I used the Rectangular Marquee Tool (M) to select the car which I then copied and pasted onto a new Layer (Ctrl C > Ctrl V). I named this Layer Car.
Step 3
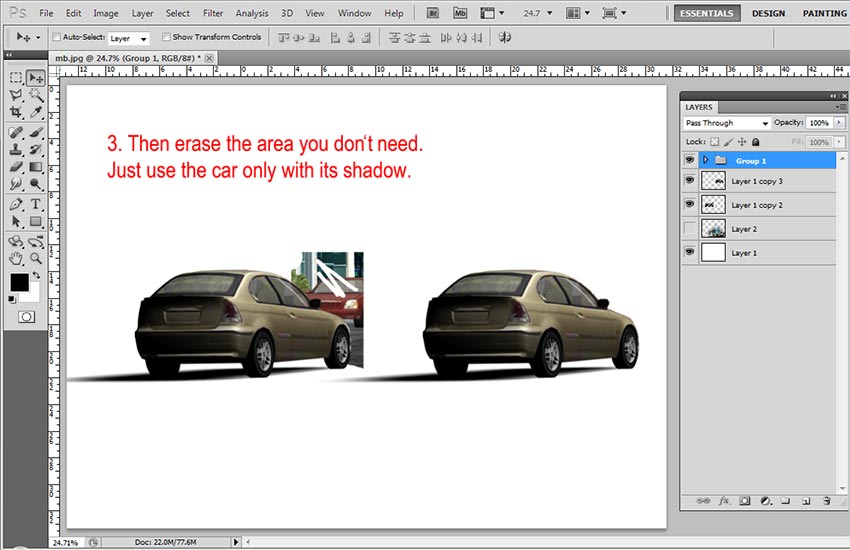
Next erase what you don’t need, keeping the car and its shadow.
Step 4
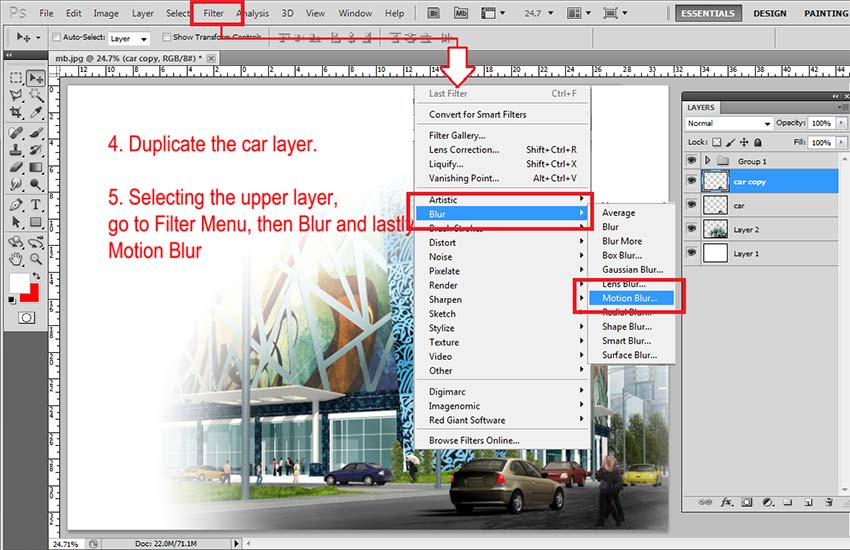
Make a copy of the Car Layer and while it is the active Layer go to Filter>Blur>Motion Blur.
Step 5
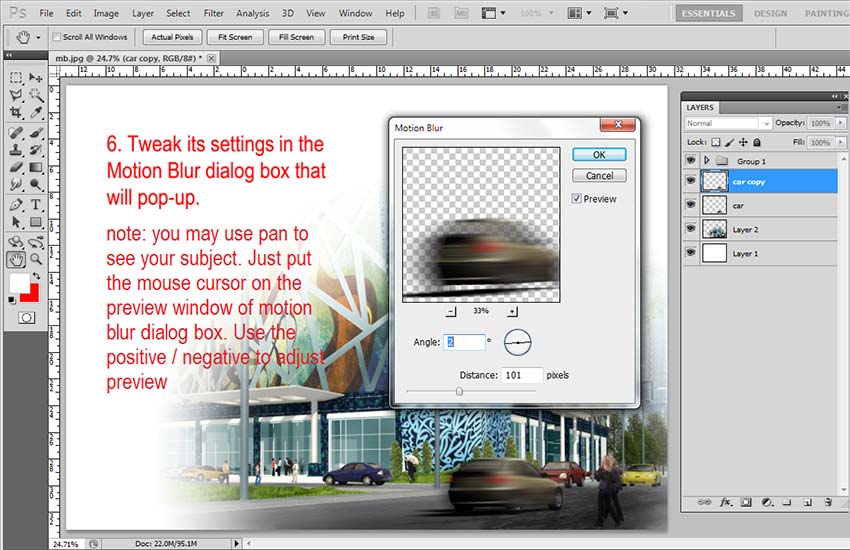
Next you want to tweak the settings in the Motion Blur dialog box.
- The Angle sets the angle of motion.
- The Distance blurs it, which in general softens the edges.
First set the Angle of the Motion Blur streaks so that they match the direction your car is moving in. In many cases, the direction movement will be horizontal, either left to right or right to left. Set an angle of 2°, which in this particular case works perfectly. Next drag the Distance slider at the bottom of the dialog box to set the length of the Motion Blur streaks. Dragging the slider all the way to the right will give you the longest streaks but keep an eye on your image as you drag the slider for a preview of the results.
Step 6
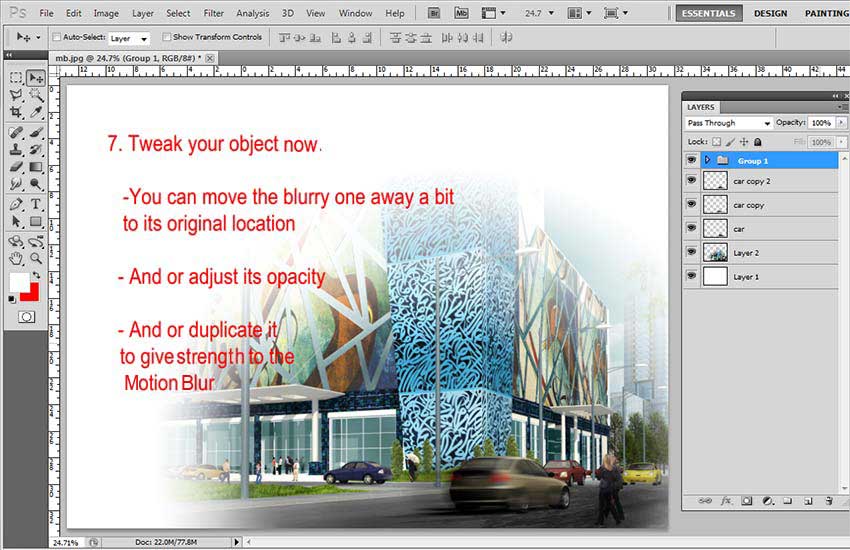
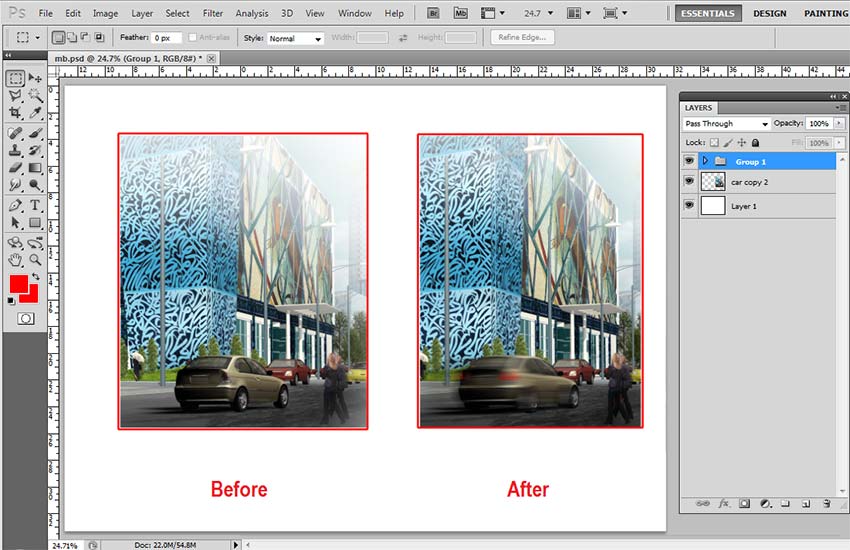
You can now fine tune and adjust the Car Layer. You can move it to the most suitable spot, adjust opacity or even duplicate it to strenghten the effect. Here I duplicated the layer twice as you can see in the Layer stack.
Final Image
Thanks for reading this little tutorial and I hope you will find it useful in future projects.
Ronel
Styles Collection – D
May 18, 2012
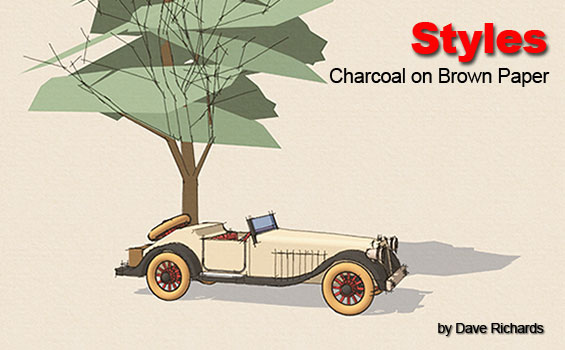
SketchUpArtists have one of the largest collections of free SketchUp Styles available on the web. They were created by some of the very best SketchUp professionals in the world, who have freely contributed their time and skills to produce them. We hope this visual library will be a useful reference and inspiration in your future creative process.TIP: When exporting your finished image from SketchUp, export it at a higher resolution (eg. 3000 pixels wide) rather than the screen size. This will make your lines thinner and some Styles less busy. Or you can change the way a sketchy Style might look by adjusting the size of the exported image (under the Option button in the Export window) and resizing it in an external image editor like Photoshop.
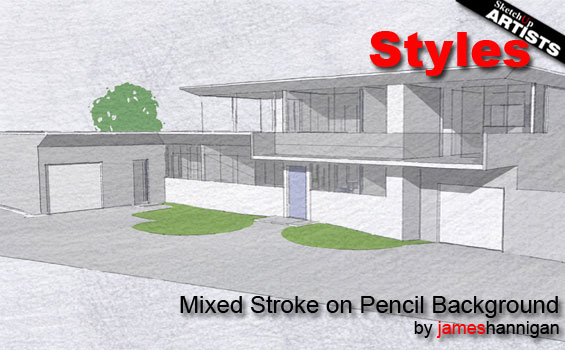
Mixed Stroke on Pencil Background by James Hannigan
Some new Styles from the SketchUpArtist’s Team..
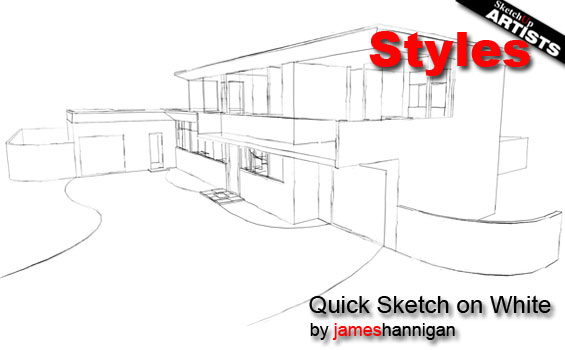
Quick Sketch on White by James Hannigan
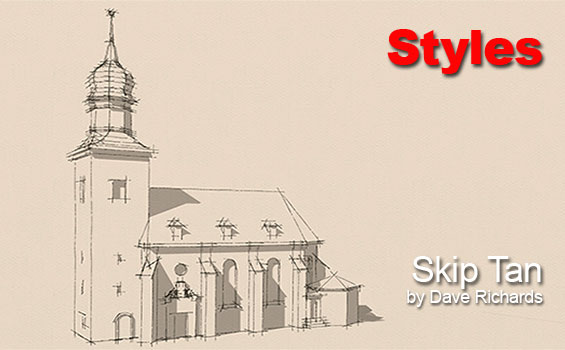
Skip Tan Style by Dave Richards
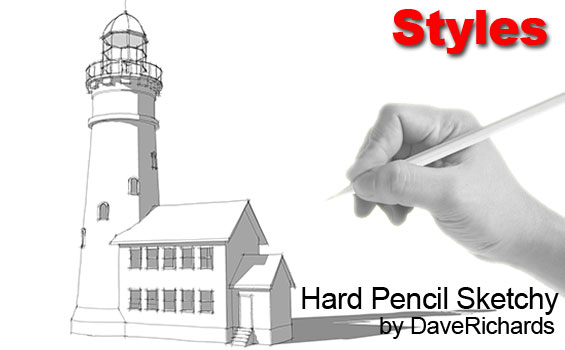
Hard Pencil Sketchy Style by Dave Richards
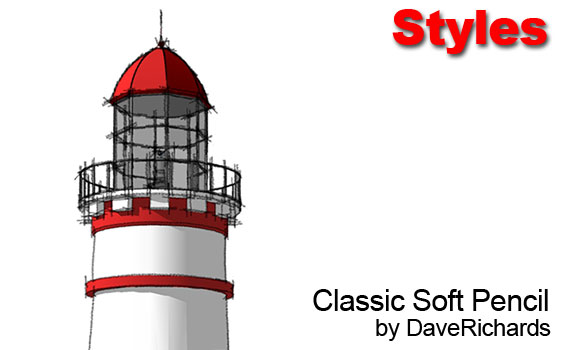
Classic Soft Pencil Style 2 by Dave Richards
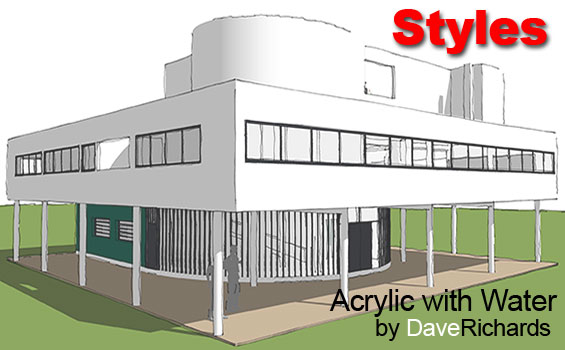
Acrylic with Water Style by Dave Richards
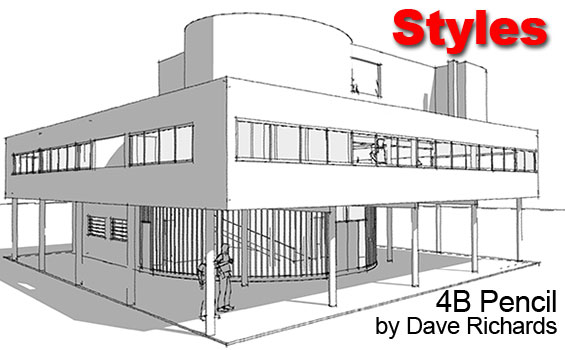
4B Pencil Style by Dave Richards
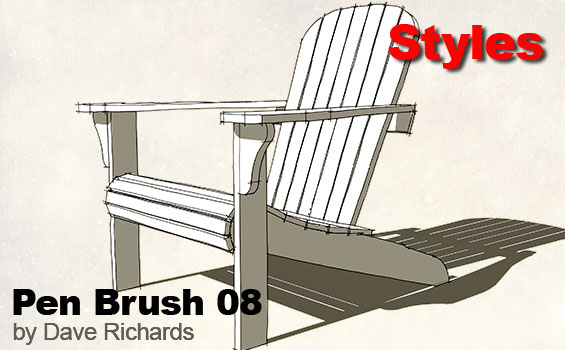
Pen Brush 08 Style by Dave Richards
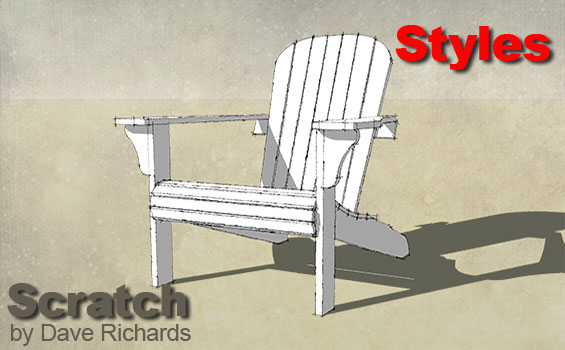
Scratch Style by Dave Richards
Another winner from Dave.
First new SketchUp Style 2012 by Dave Richards
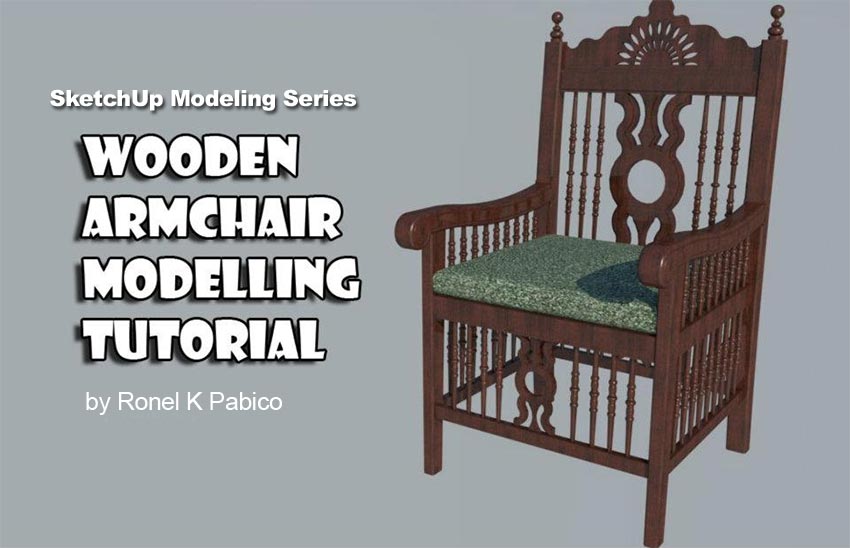
Wooden Armchair Modeling Tutorial
May 2, 2012

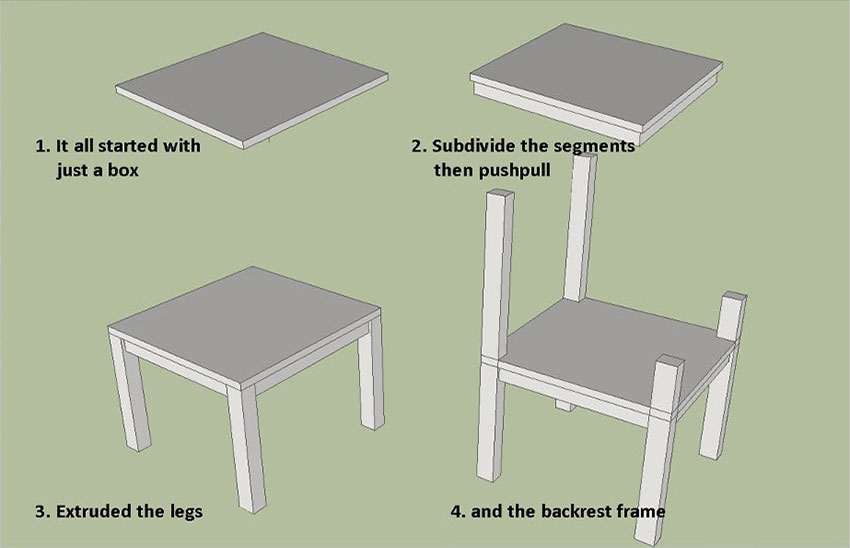
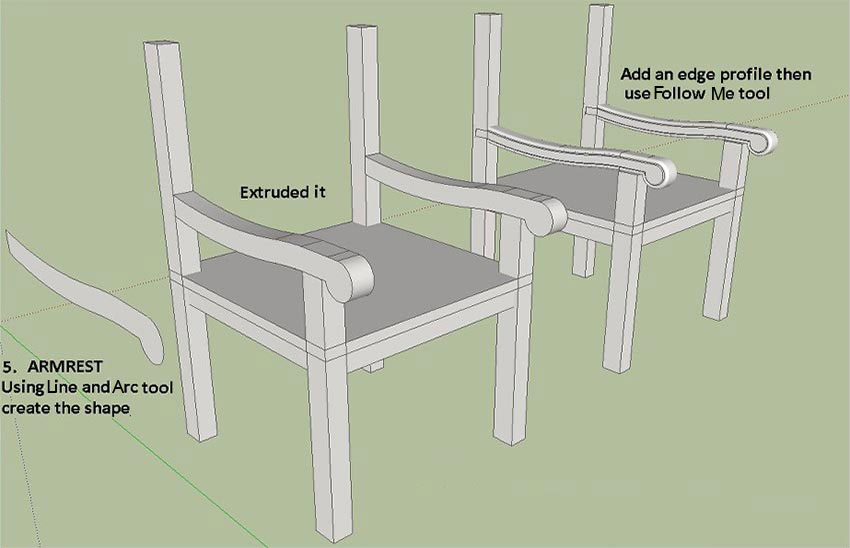
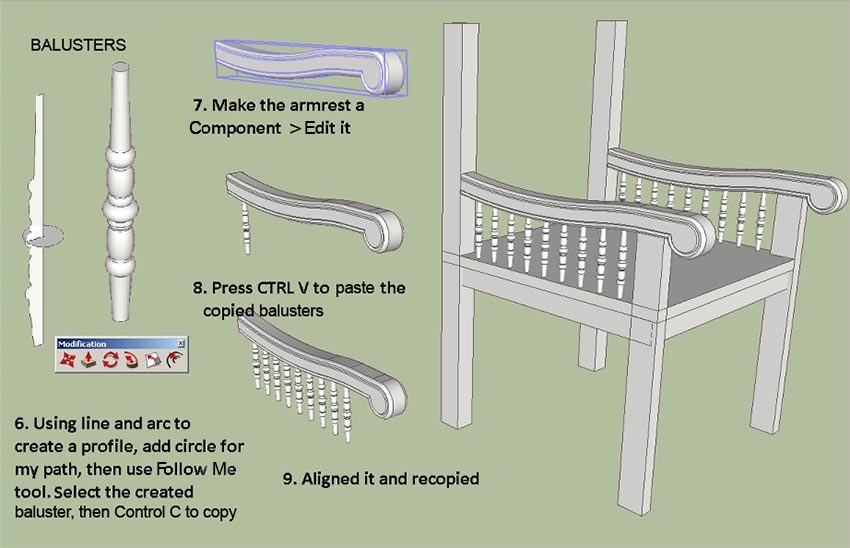
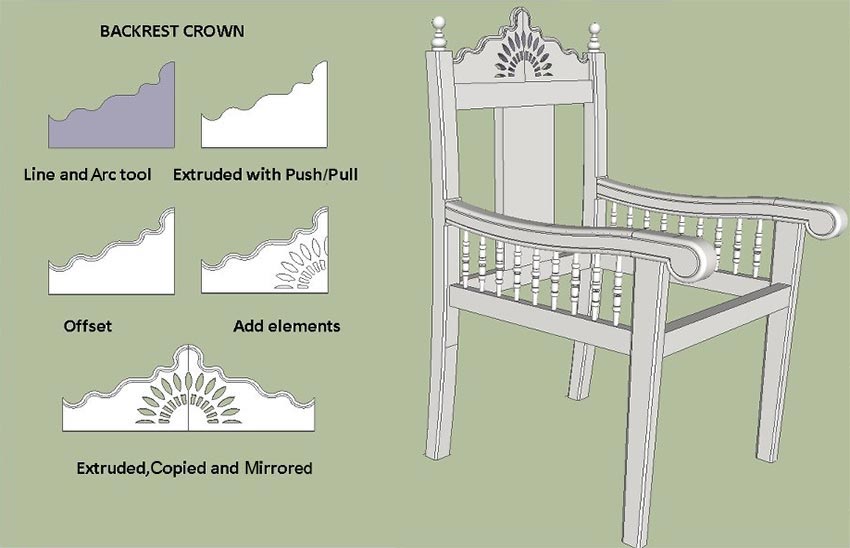
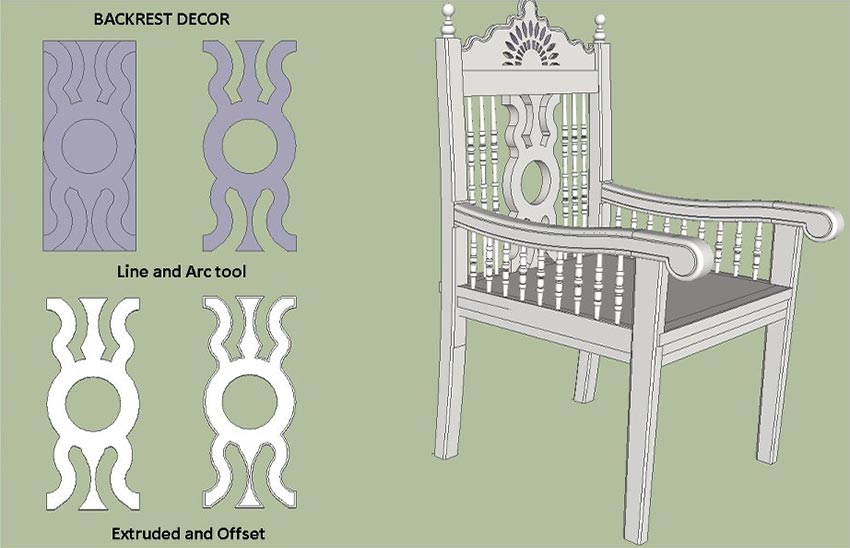
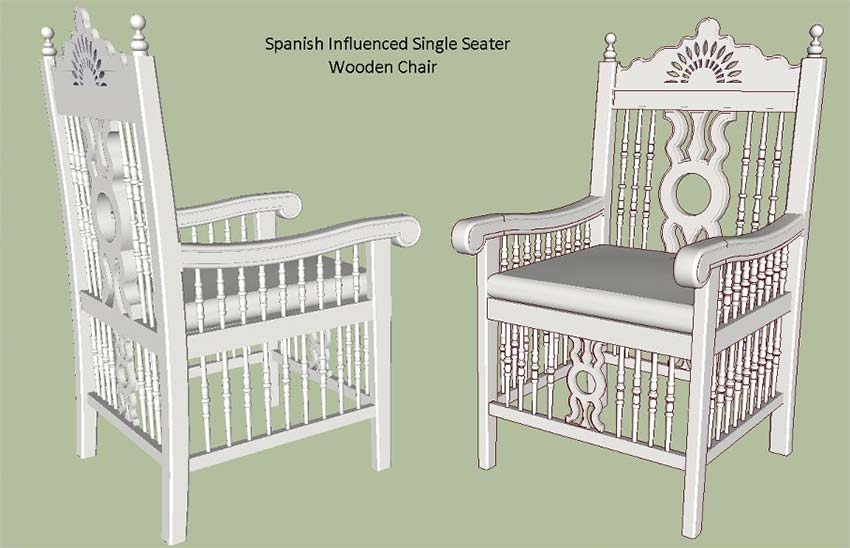
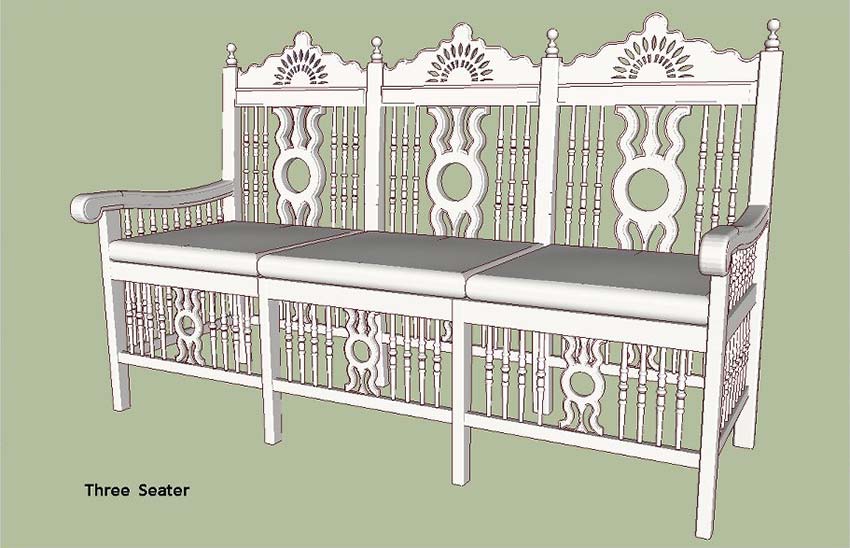
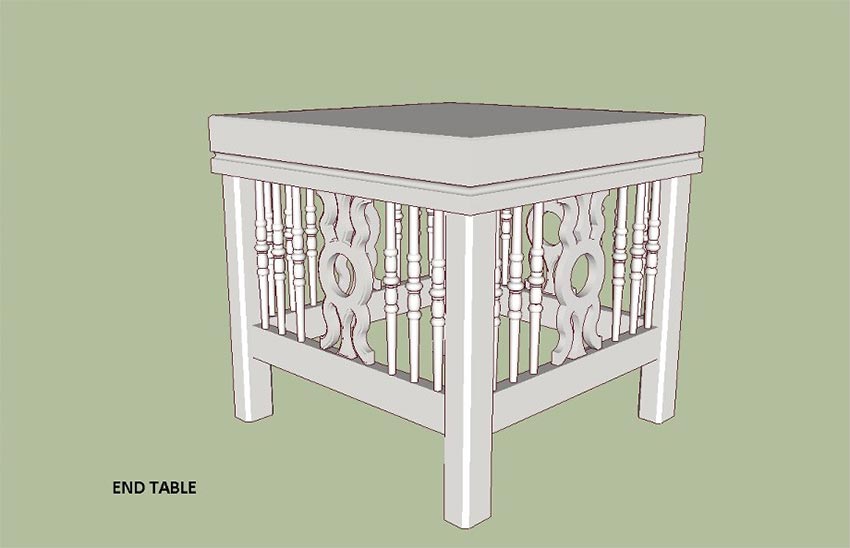
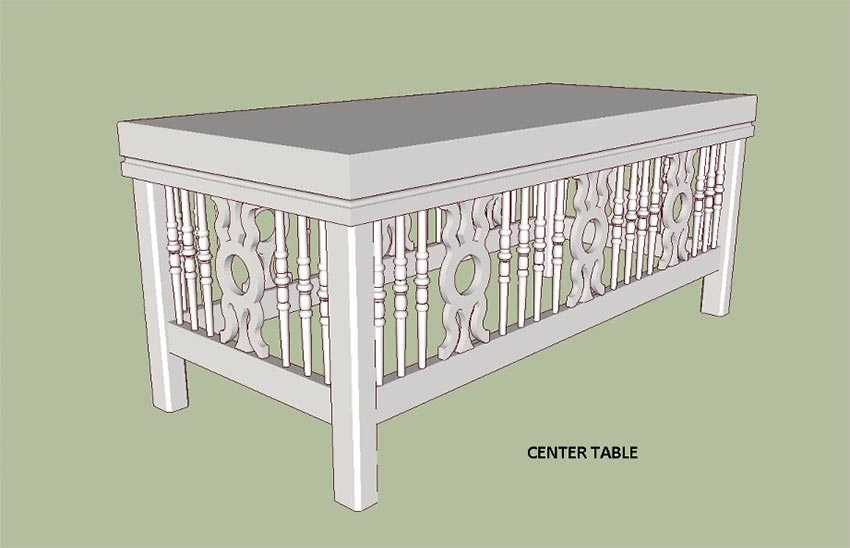
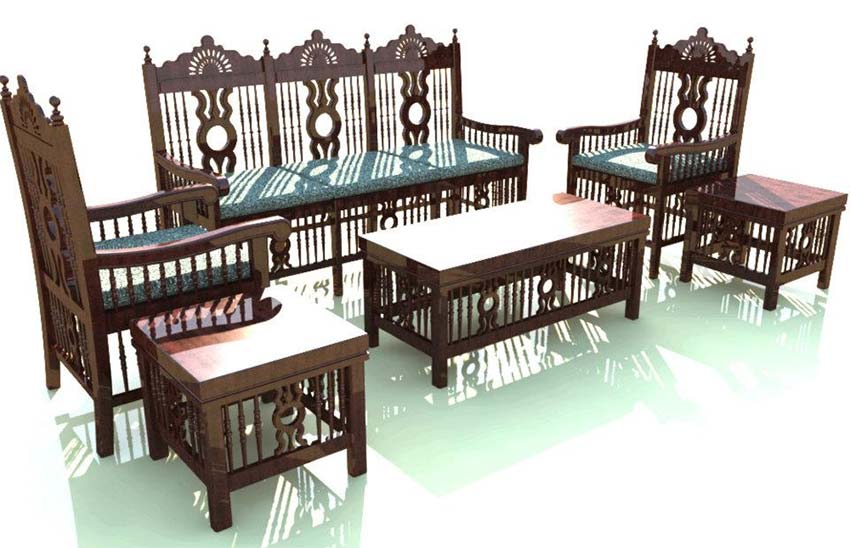
Great little tutorial on modeling a Spanish style wooden single seater chair by Ronel Pabico. With the basic parts modeled you can use them to expand the collection. Ronel is a interior designer and 3D visualizer based in Riyadh, Saudi Arabia.
Thanks for reading. My chair model is available for download here if you want to check it out.
Ronel


