SketchUp 2D Image Export with Alpha Mask

By David Macdonald
This is the first of three tutorials concerning the exporting of SketchUp models to other applications as 2D graphics. They are progressive. You need to do them in order, as each will assume knowledge from the previous. Tutorial 2 can be found here.
Tutorial 1. This tutorial deals with the export process, particularly the creation of Alpha Masks for your model. Although, as is so often the case with tutorials, the instructions look long and complicated there is nothing in any of the tutorials which requires more than a modest knowledge of SketchUp or Photoshop. In this our first tutorial lets get started by loading a model. Download this chair from the 3D Warehouse. It is for version 5 so hopefully everyone can use it even if they don’t have the latest release of SketchUp.
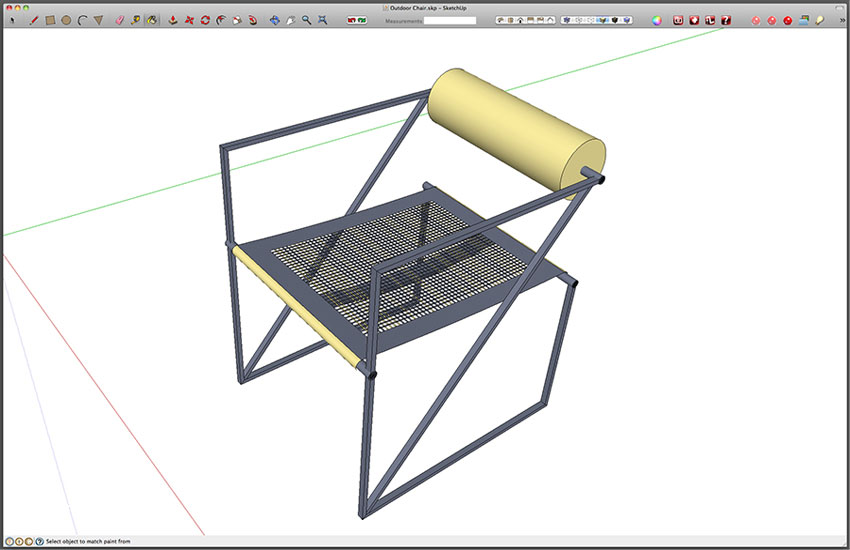
Before we get started you need to understand a little bit about how SketchUp exports a 2D image. Unlike a 3D model export, where the whole model is exported and then sized and positioned in it’s destination, a 2D graphic export exports only the content of the modeling window – exactly as you see it in the modeling window – no more – no less. This includes any background colors. In this case the export will be a chair on a solid white background. Now this not necessarily desirable. If we want to place our image in another background it would be far better to export it with transparency.
Mac users can choose Transparent Background as an option for PNG and TIFF in the Export dialogue in which case only the chair will be exported surrounded by a transparent background exactly the same size as the white background in the modeling window. However Transparent Background is an option not available to Windows users. So this tutorial will show you how to create your own alpha masks to export with your image. Mac users should do this tutorial as well as Windows users as you will need the techniques explained in the tutorials that follow. I have chosen this chair model because all its fiddly little holes makes it a tricky object to mask after export. It is best done right here in SketchUp.
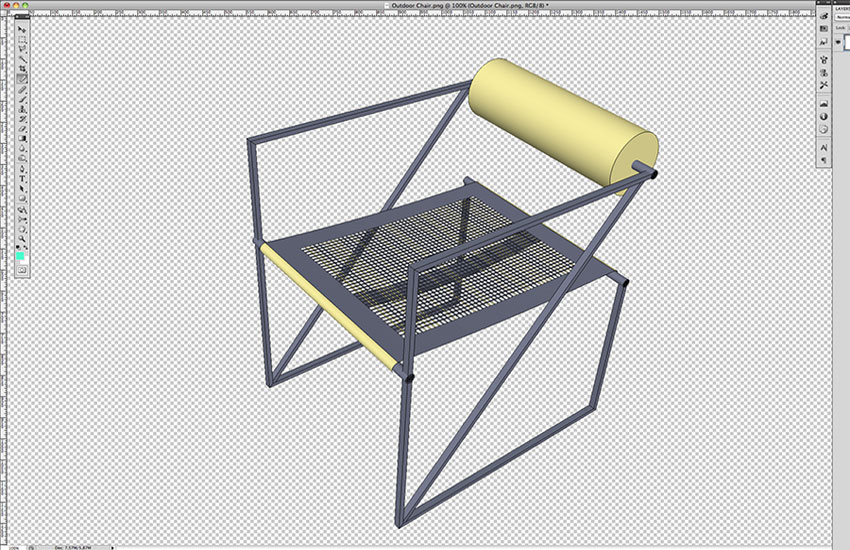
1. First position the model for export. I used the position shown above, so duplicate that roughly. We want to save this exact position so that we can return to it. We do this with the Scenes dialogue.
2. Open the Scenes dialogue. Window > Scenes. Click the plus sign in the top right of the dialogue to expand it, if it is not already expanded.
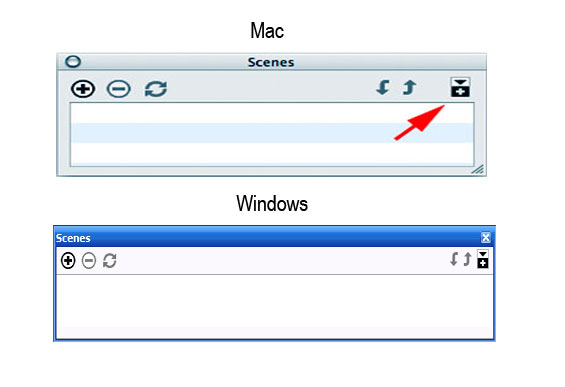
Step 2
3. In the bottom of the dialogue uncheck everything except Camera Location. Now click the plus sign in the circle top left of the dialogue to add a scene.
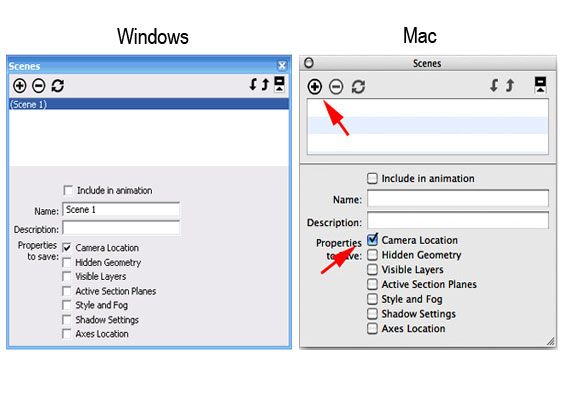
Step 3
(If you receive a warning about not having saved your styles ignore it and click on Create Scene in the warning dialogue). A new scene will be created with the default name of Scene 1. Leave it like this. A button will also appear in the top of your modeling window with the name Scene 1 on it. Clicking on this button will always return you to this exact camera position regardless of any subsequent navigation.
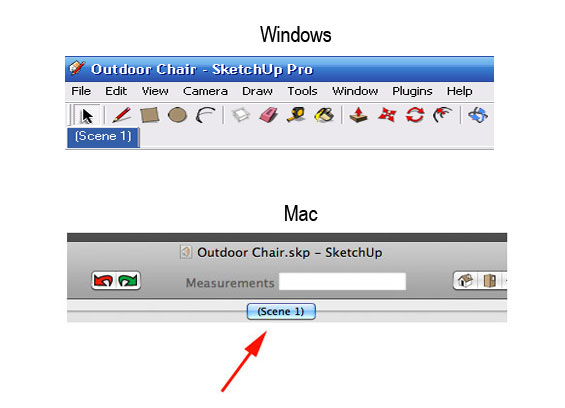
Scene 1
4. Open the Export dialogue. File > Export > 2D Graphic. For the purposes of this tutorial we will select PNG. as file type. First select PNG. from the drop down file type box then click the button marked Options.
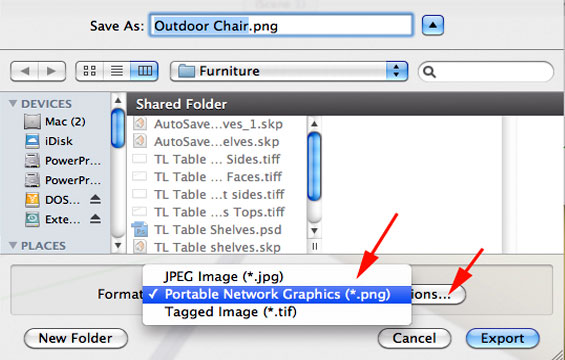
Step 4
If you are a Windows user the transparency option shown above will not be available. If you are a Mac user turn it off so that you can learn this alternative way of producing transparency. Now we have to choose an export size. This is obviously going to be determined by end use. For now simply check Use View Size. The image will export at exactly its current screen size. (We will look at sizing exports precisely in the next tutorial.) Click OK.
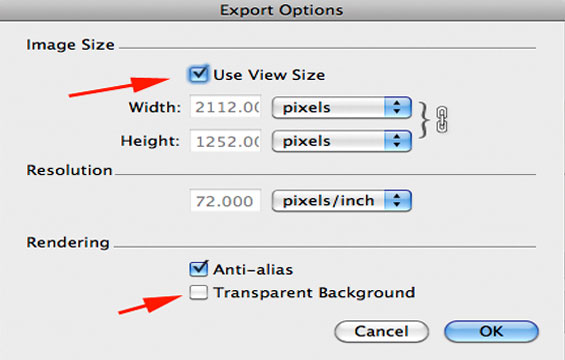
Use View Size
By default the filename will be Outdoor Chair.png use this and click Export. Now we will make the alpha mask that we will use to create the transparency around the model and in all the open spaces and little holes.
5. SAVE YOUR MODEL’S SketchUp FILE!!!! We are about to radically change it. The next step will be to fill the entire model with 100% black color. How you do this will depend on the model and its complexity. In this case the model is a nested component within a component so first we need to open it for editing.
6. Select the chair with the select tool then Edit > Component > Edit Component. Now repeat this again to open the second component.
7. Edit > Select All
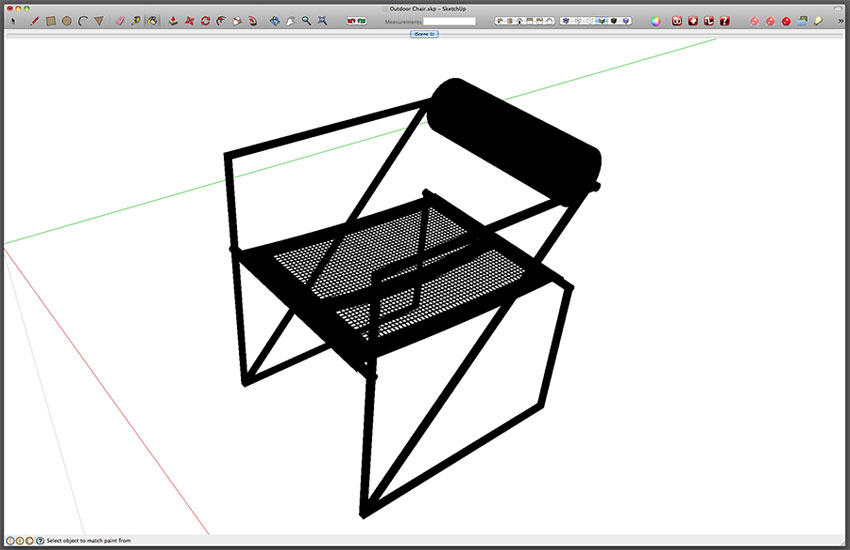
8. Select the Paint Bucket tool and select 100% black in the Colors palette. Click in the model as required to color it entirely black. (Because 2D export exports the model exactly as you see it there is no need to worry about coloring hidden faces – just what you see in the current view.)
9. Once it is all black restore the component. Edit > Close Group/Component. Repeat this again to close the second level. Exactly how you color a particular model is going to depend on its structure, complexity, groupings etc. and will be different from one model to the next. If you need to move it around to get bits of it don’t worry. You can use the Scene you saved to restore it to the correct view when you are finished.
If you have moved your model in any of the previous operations click the Scene button in the top of the modeling window to restore your camera position. It’s not a bad idea to do this anyway just to be sure. If all has gone well you should now be looking at a pure black and white image that matches our exported image exactly. This will become our alpha mask.
This particular model is not casting any shadows, but if your model is casting shadows then you need to turn them off. Open the Shadow Settings dialogue, Window > Shadows and uncheck Display Shadows.
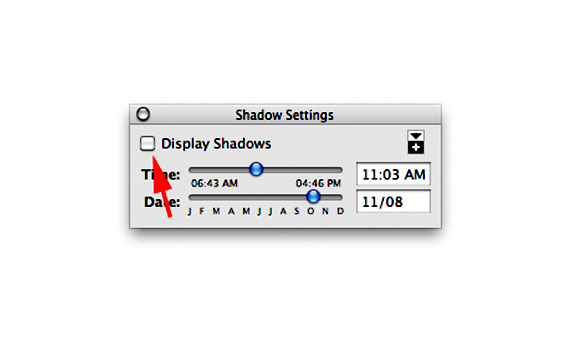
Turn Off Shadows
10. Time to export it now. File > Export > 2D Graphic. This time edit the default name to Outdoor Chair Mask and export with exactly the same settings you used to export your model. (Warning: these settings are not always “sticky”. Open Options and set the export size by hand again if necessary.)
Now we are done in SketchUp and need to put the two images together in our image editor. I shall be giving instructions for Photoshop. Firstly it is the most widely used and secondly, in my experience, non Photoshop users are, for the most part, used to translating Photoshop tutorials to their own application. Although the screen shots are from CS4 the instructions are backwardly compatible for all versions of CS.
1. In Photoshop open both Outdoor Chair and Outdoor Chair Mask.
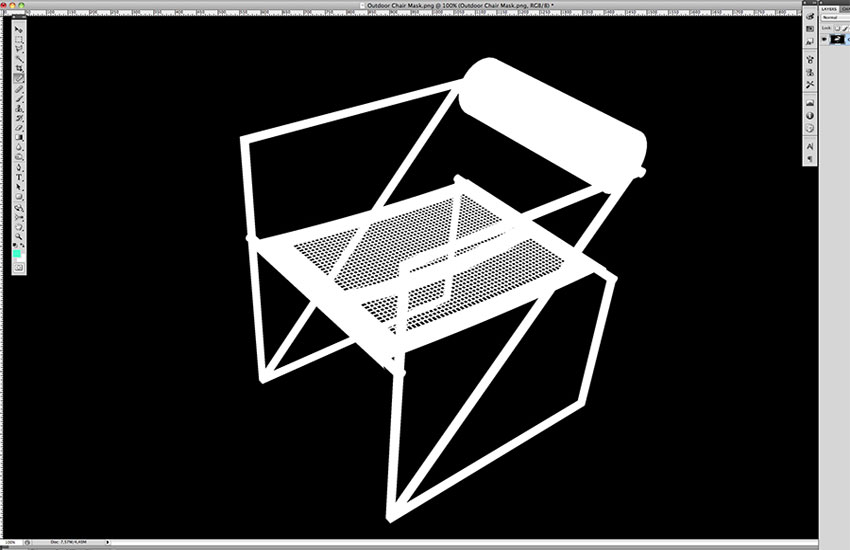
2. Select the Outdoor Chair Mask image and invert it. Image > Adjustments > Invert. This will become our mask.
3. Now still in the Outdoor Chair Mask image Select > All and Edit > Copy.
4. Now switch to the Outdoor Chair and add an empty layer mask, Layer > Layer Mask > Reveal All.
5. Alt click the white layer mask icon in the Layers Palette. The image will turn white. We are now working directly on the layer mask itself.
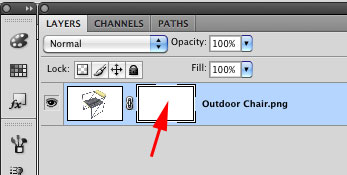
Step 5
6. Edit > Paste The mask image will be pasted into the layer mask and will show on the screen.
7. Click in the Image icon in the Layers Palette to deselect the mask and re-select the image.
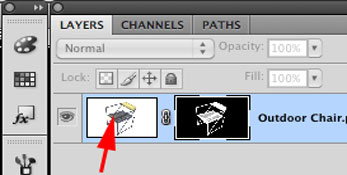
Step 7
Bingo!! Your model is now surrounded by transparency. Save it as a PSD.
This finishes this first tutorial.
In the next tutorial we will look at using Match Photo to create a model for insertion into an image and then insert it. You will need to allow about twice the time as was required for this one.
David Macdonald © March 2010



Hello David,
Thank you for posting this tutorial, great stuff.
Are the second and third parts to this tutorial available yet?
If so where can I find them
Cheers.
Bp
Tutorial 2 can be found here- http://www.sketchupartists.org/tutorials/modeling-in-sketchup-to-match-a-2d-image/.
We have added the link to the second tutorial as well, in the first paragraph of this tutorial. Hope that helps..
You can also get the same results by making the color of all your layers black. Do the first rendering as noted above, then use the same model with “color by layer” selected in the layers palette – the model will now be black. This will allow you to use the same model, allowing you to change your camera angle or do any other modifications to your scene quickly.
Thank you, I got it! Worked perfectly with The Gimp 😉
Steps 6 through 9 are unnecessary. You don’t need to change your model at all to export a black model on a white background, or vice versa.
Just open the “styles” window, click on edit, then go to face settings. under “style,” choose “display shaded using all same” (it’s the 5th shading style button), and change your front (and back) colour to black (or white, if you want a black background). Then go to background settings and change your background to white (or black, if your model faces are white).
Save as a new style, export the image, re-apply your original style, and you’re good to go! No painting of multiple component layers needed!
Thnx Joel for your suggestion. Good idea!
Thank you very much, you helped me with a very important project where I needed to insert a 3D image in the header.