Maxwell for SketchUp – architectural visualization part 1

Victor Hugo Hernandez is an architect specializing in architectural visualization. He is a member of the Swedish Association of Architects and is based in Lund, Sweden. Victor is currently working for Malmö based architectural practice [reform] arkitekter and kindly shares a two part tutorial for us. Part 2 can be found here.
This is the first of a two part tutorial about the use of the Maxwell for SketchUp in architectural visualization. The Maxwell for SketchUp plugin has been designed for rendering within SketchUp and you don’t need to export your scene anywhere. The software used in this two part tutorial is Sketchup 8 and Maxwell for SketchUp. For 3D trees and vegetation I used Arbaro (a free tree generation software) and Photoshop for final post-production. You can download the files to follow along with Maxwell for SketchUp tutorial. Here are the ‘Turfstone’ pavers/scene and grass map.
Unfortunately I can’t distribute the textures used here as they are not my property, but I can tell you where to find them:
CG TEXTURES – Plaster Bare 0122_3_S (Texture #64692), Soil Mud 0019_5_S (Texture #32070) and Metal Bare 0104_1_L (Texture #13550).
OPENFOOTAGE – HDRI 360 Field airport Salzburg, Austria
Technical Architectural Lighting (tal.be/en/photometrics) – HEB 150-150 HEB150LED.LDT
Modeling
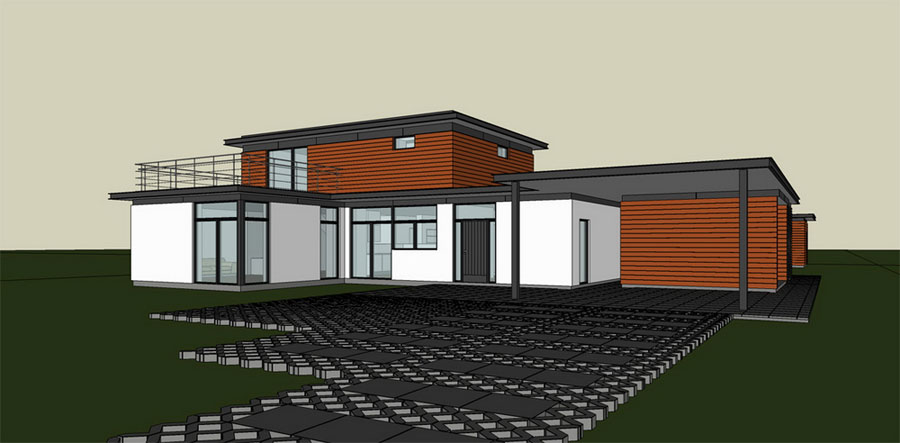
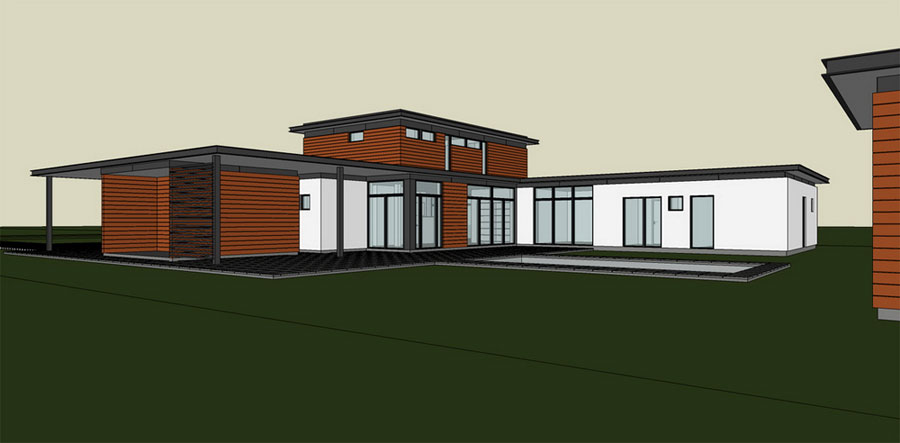
The project selected for this ‘making of’ is a private house designed by [reform] arkitekter, an architecture practice based in Malmö, Sweden; where I work. Modeling with SketchUp is so simple, and has a key role on the design process at the office. Everything starts with handmade sketches, then we create a SketchUp 3D model, we use the pro version to prepare the layouts for permit drawings. Plans, sections and elevations are then exported to CAD software to prepare the construction documents.
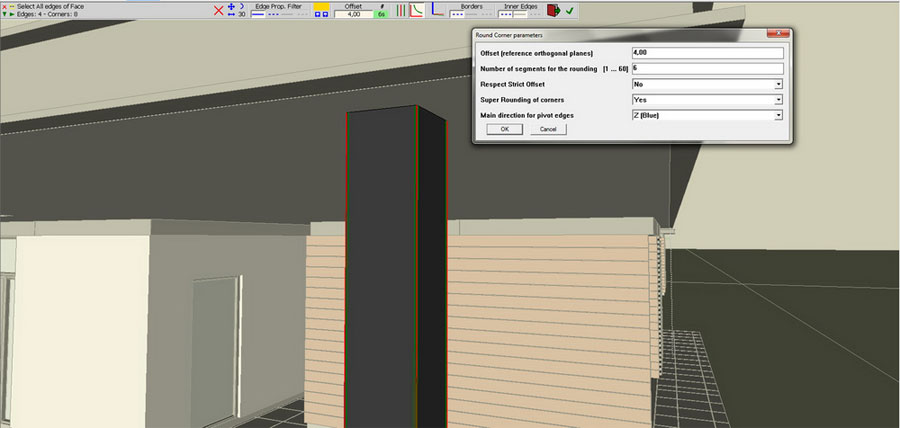
Once the design is defined, I add a little extra details to my model like beveling edges and corners with Fredo’s plugin for SketchUp RoundCorner V2.
N0te: Maxwell Render simulates light exactly as it is in the real world, this means it is important to keep your Sketchup 3D model on real world scale and units.
1. Landscaping – pavers/ grass
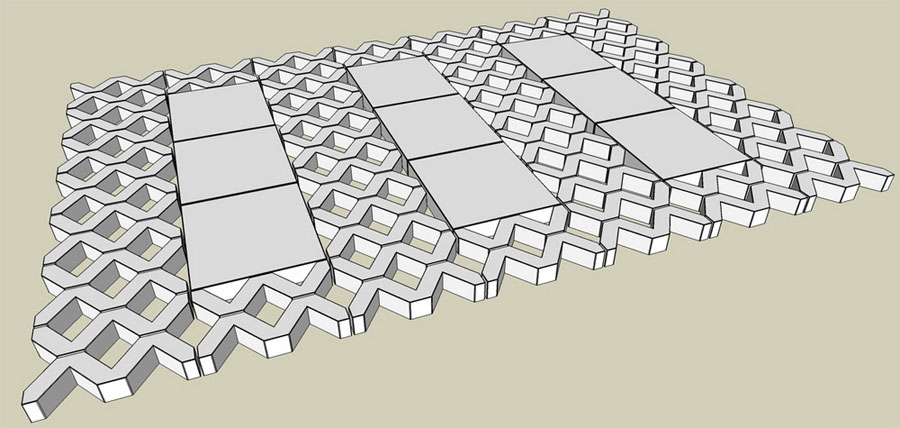
The grass is done with the use of Maxwell’s Grass feature. First I created Turfstone pavers and tiles and made them into SketchUp Components.
In order to add some variation to the pavers I used Chris Fullmer’s plugin ‘Scale and Rotate Multiple‘ for this purpose.
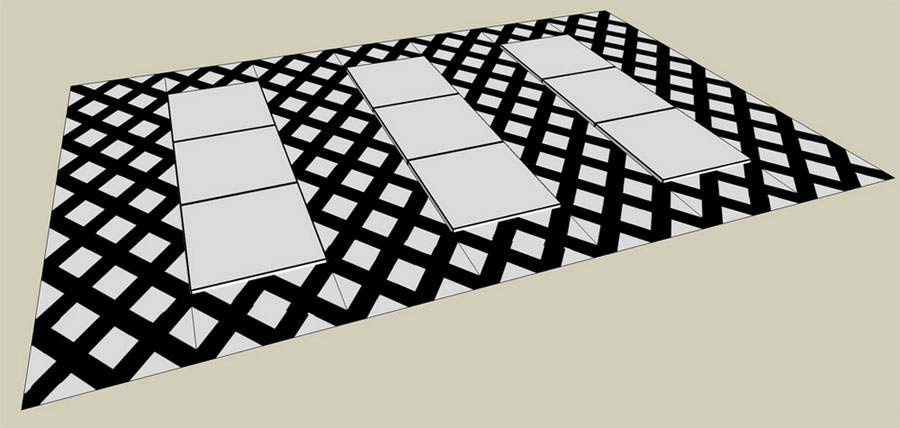
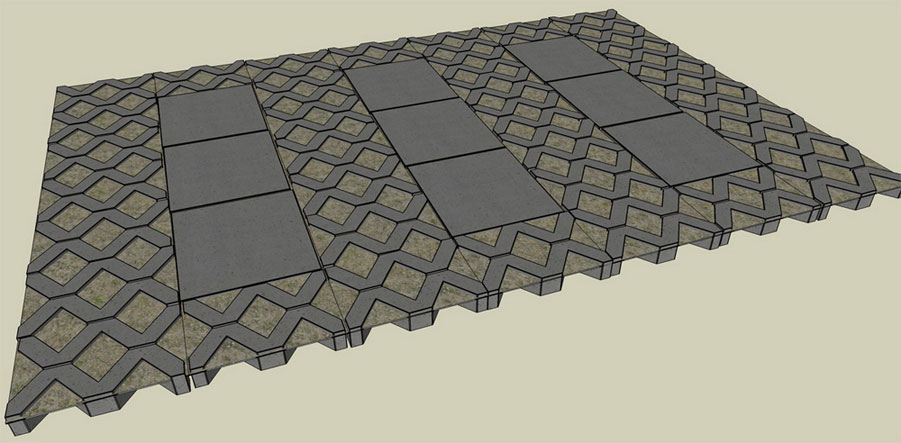
Then I used the plugin ‘RandomSelect‘ by TIG, to apply random materials with slight variations. Used the same technique for tiles on the exterior. Grass is generated per Group. I created a plane and converted it to a Group, then mapped my density map as shown (grayscale map to control where the grass will grow).
To avoid having rendered the plane with the density map, I duplicated the plane grass Group, disabled the Grass feature from this one and applied a soil texture from CGtextures and moved this plane 5 mm above the grass Group.
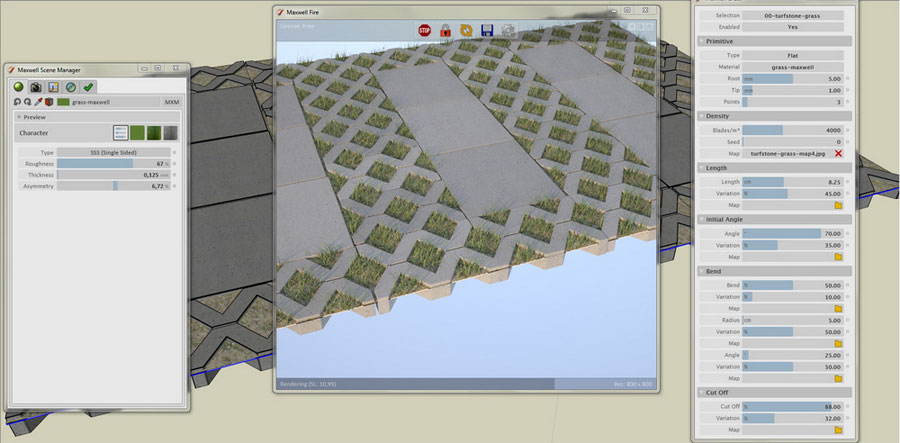
Select the grass Group and click the Maxwell Grass button. These are the parameters used.
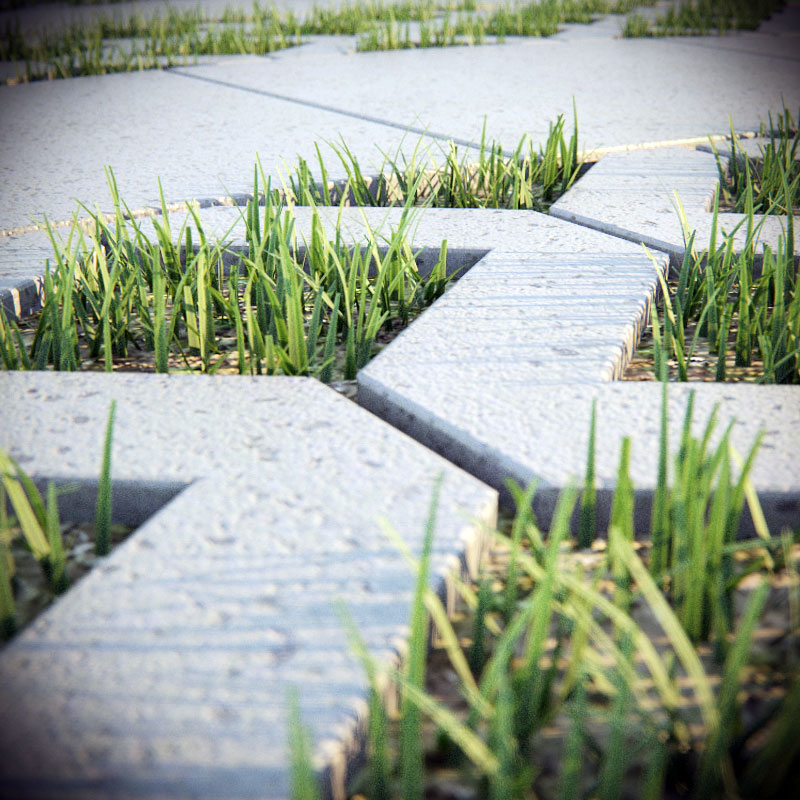
Turfstone pavers and grass.
2. Landscaping – trees
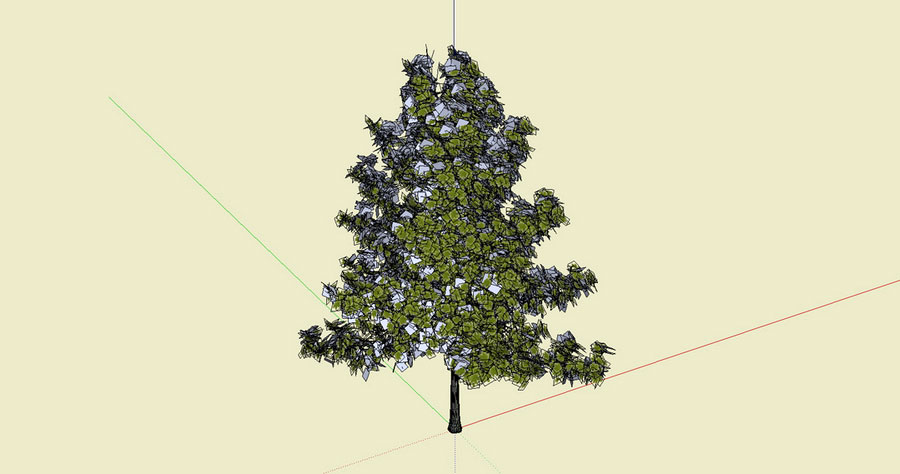
Trees, bushes and shrubs are generated with Arbaro, a free tree generation software. I took as a starting point, one of the default tree definitions and tweaked its parameters. Once the tree was ready, it was exported in OBJ format (make sure to check the tick box UV coordinates for stems and leaves). To add textures and uv map to the trees geometry, I used Blender. Import the OBJ file into Blender, make sure your texture comes in as a PNG. When read, export as Collada, store the PNG and DAE files at the same location. Open a new SketchUp file (erase the default human figure and purge the file). Import the Collada file, it should be inserted at the origin point (0,0,0).
Open the Maxwell Scene Manager and adjust the material parameters.
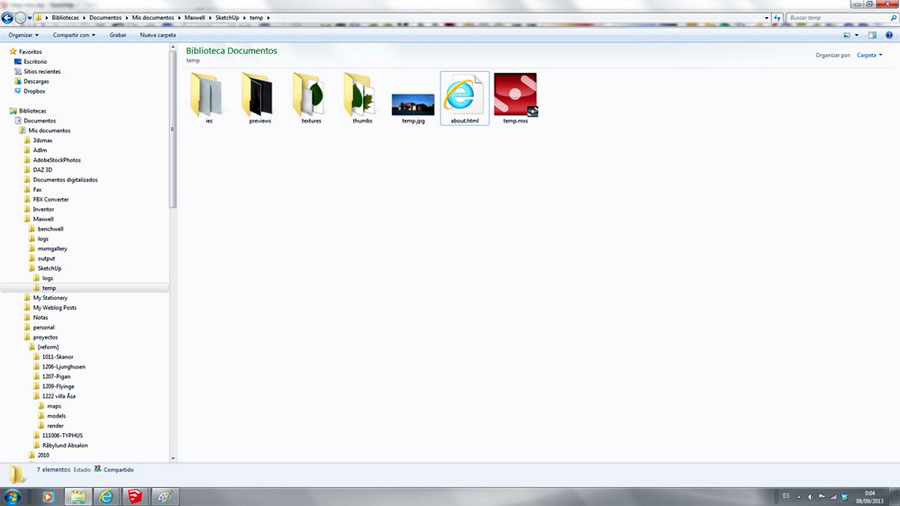
Run Maxwell Fire and while it is rendering, browse to My Documents/Maxwell/Sketchup/Temp folder.
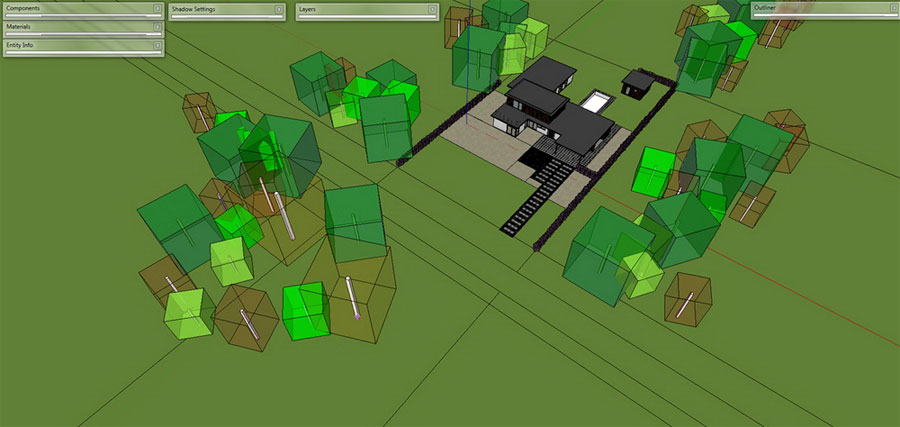
Find the file ‘temp.mxs’. Make a copy of the file to your working folder and rename the ‘temp.mxs’ file to something like ‘tree-01.mxs’. Now it is ready to be used as a MXS reference. Before scattering the trees, first insert each different kind of tree as a MXS Reference. To scatter the trees in the scene, I used another plugin called Compo Spray by Didier Bur. In the plugin’s dialog box I selected my 5 types of trees, set the spray type to ‘point’ (this way I select manually the point of insertion of each tree). The rest of settings were as follows.
Then just hit the ‘Spray’ button.
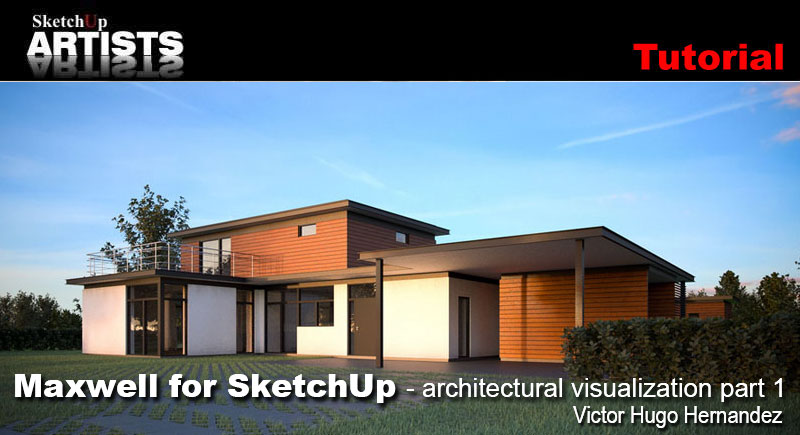
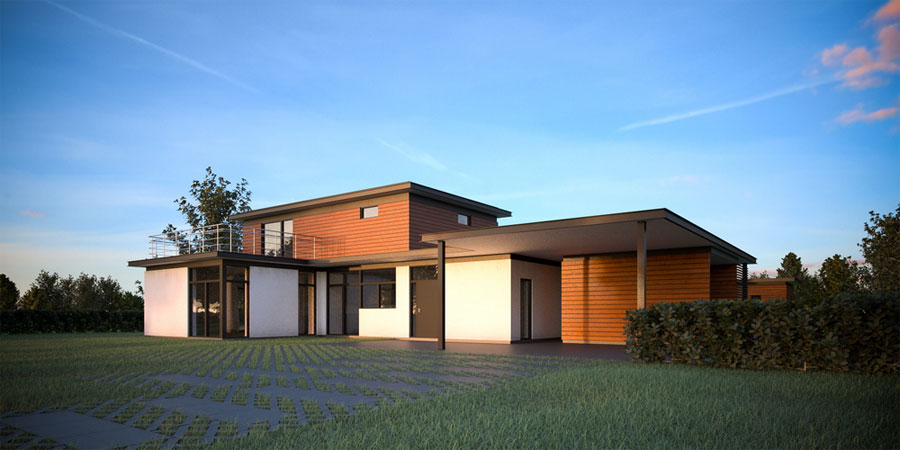
Here is a final image with Turfstone pavers with grass.
Thanks for Reading this, and don’t miss Maxwell for SketchUp – architectural visualization part 2!
Victor






[…] 2nd place winner (selected by Ranch Computing experts): Victor Hernandez […]
[…] Victor Hugo Hernandez […]
One of the best compilation SU and MR .
But I have some problem with this. The SU doesnt remember the Maxwell materials. If I create a new sketchup file, than using the same skp materials which was conected once to proper maxwell mxm files, doesnt work. Sketchup doesnt remeber mxm files. What Am I doing wrong?
regards
Bart
Hi There
I am building a house and have final plans… Drawn by hand and I am looking to have a sketchup artist render it out so I can get a feel for it in digital.
Please contact me at 505bello@gmail.com
Thank you!
Manuel