Making of Black Hawk

By Jacques Cleghorn
The Black Hawk is the Army’s front-line utility helicopter used for air assault, air cavalry and aeromedical evacuation units. It is designed to carry 11 combat-loaded air assault troops and it is capable of moving a 105-millimeter howitzer and 30 rounds of ammunition. First deployed in 1978, the Black Hawk’s advanced technology makes it easy to maintain in the field. The Black Hawk has performed admirably in a variety of missions, including air assault, air cavalry and aeromedical evacuations in difficult situations.
Preface by the author:
“This was probably the most anticipated advanced modeling project I had ever undertaken which pushed SketchUp’s limits more than I had ever imagined it would ever go to. This project took me about two and a half months to complete. I actually thought it would take a lot longer since I was doing this after hours in my spare time. The final result was quite pleasing though I wanted to do much more, unfortunately time got the better of me.
The inspiration for modeling this helicopter came from it’s beauty and design. I could have built a lot of other types of aircraft but I always seemed to come back to this one. To me this is the most beautiful machine in the helicopter range and is probably one of America’s most useful machines during war for transport, evacuation and so many other uses on the front line. So lets dip our toes again in the pool of extreme SketchUp – here she is….. Eye Candy 2”
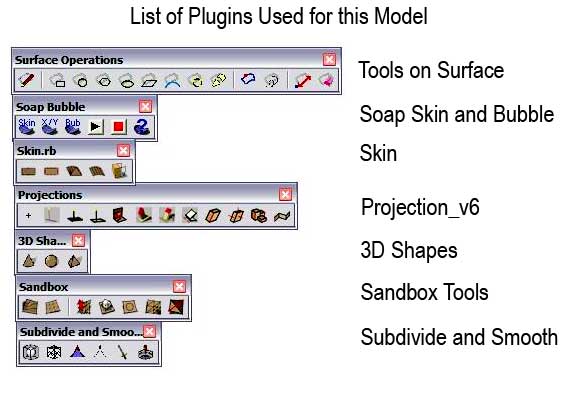
I won’t be going into to much detail on basic modeling, just a little of the methodology. You should have a fairly good understanding of SketchUp and 3D modeling to follow this. All my resources were acquired by going through hundreds of images and trying to select the right ones to get this model as accurate as possible. Making the initial basic fuselage of the helicopter was not that difficult and also involved a little trial and error too. I know its not that easy and sometimes even comes to manually filling spaces in to get the right look for the finished model. The bodywork is always the hardest to do and does take some time in a model like this so you need a lot of patience too. Since this model was made, there have been many new free extensions and plugins introduced and developed for modelers using SketchUp, which would certainly help towards modeling this complex model. Here are some of the ones I used here with their toolbar icons. You can click on the image to find out where to get them and thanks to Jim Foltz for putting the library of plugins together. Sandbox Tools is already built into SketchUp and found under Window>Extensions>Preferences.
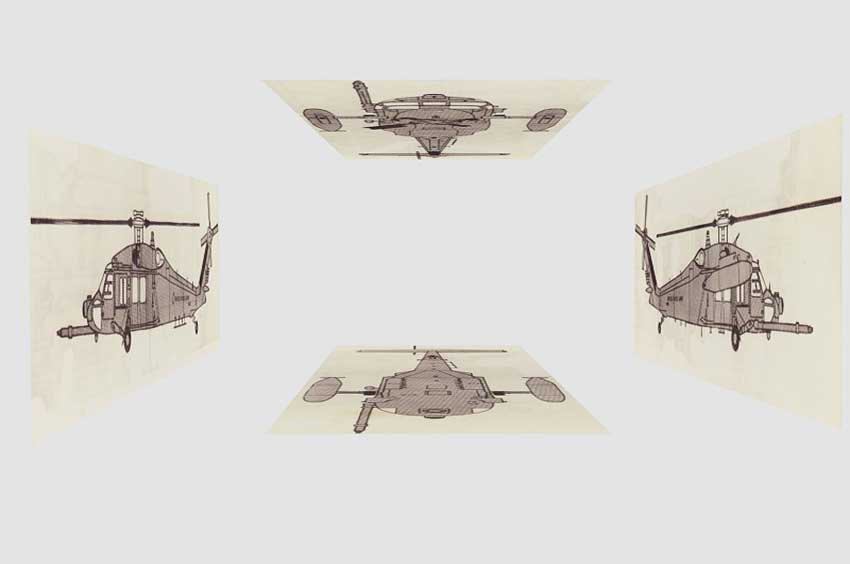
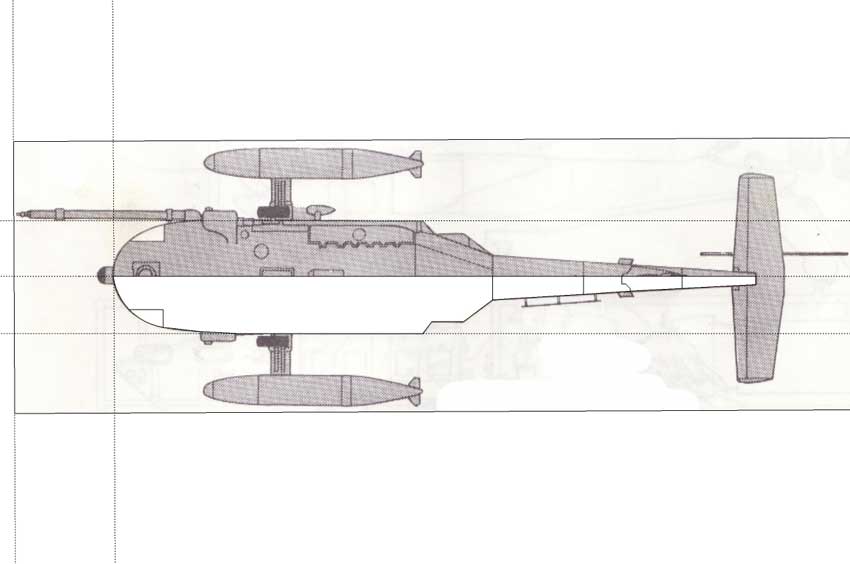
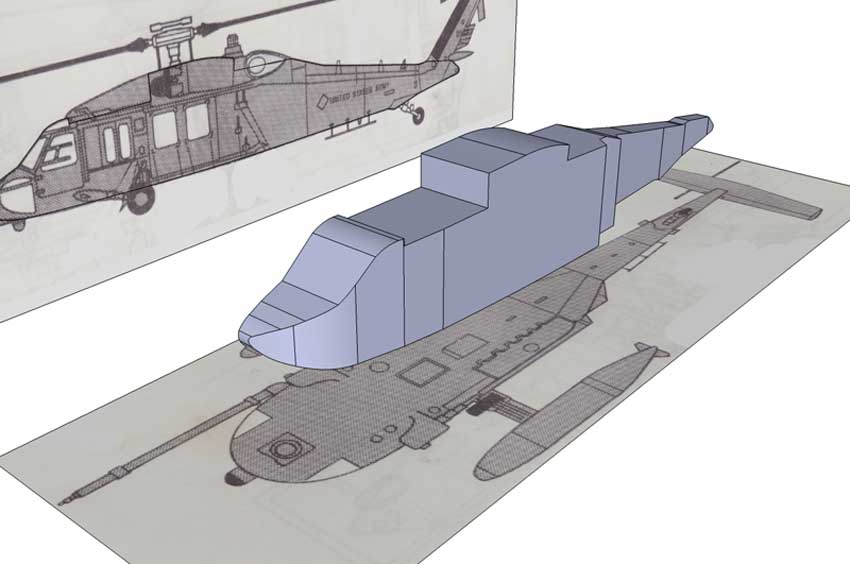
The images must be accurately lined up for the reference work as shown in the images below, putting them on their own layer so they can be turned off and on when necessary.
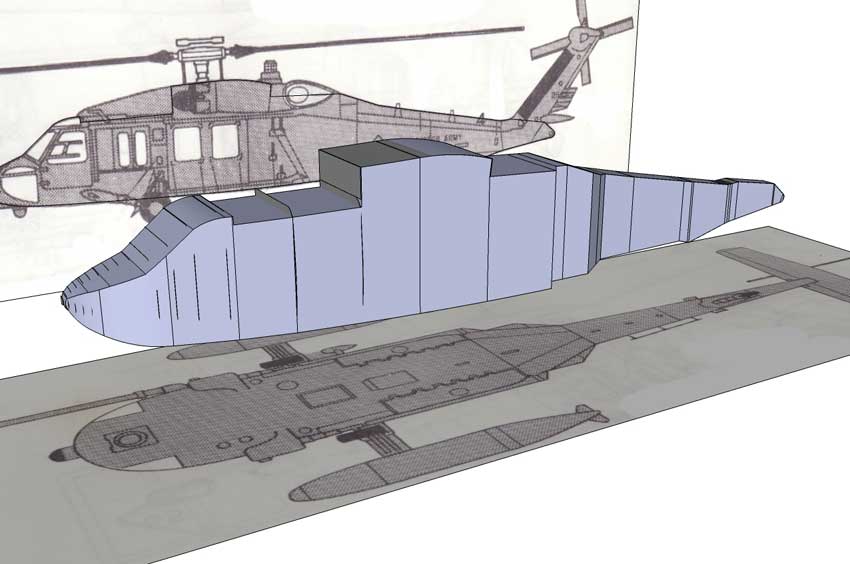
Quick clay render using V-Ray showing how the model in progress lines up with the drawings.
Second step was to trace the helicopter from the bottom and the side on the images that are accurately lined up to create two templates.
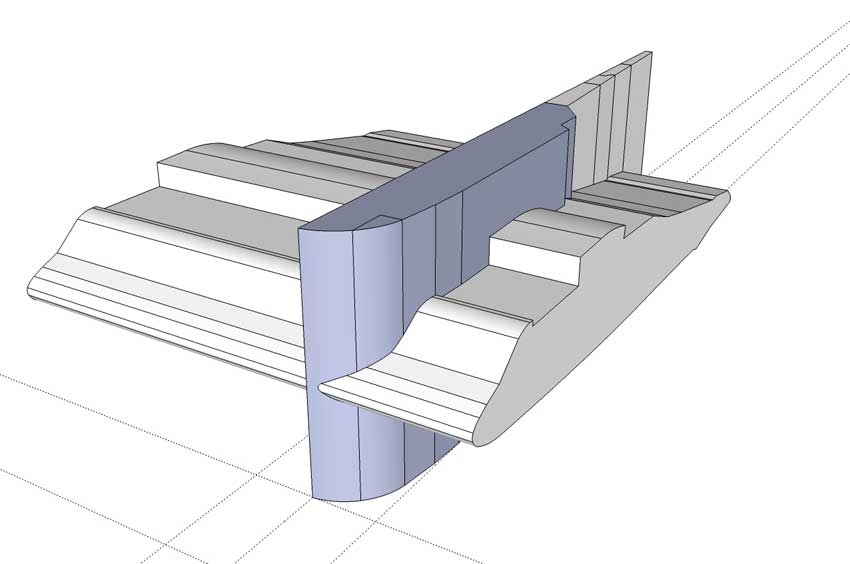
They were then extruded to intersect with each other to block out the main form/rough fuselage shape. People will have various other ways of doing this, but I found this the easiest way for me to get the rough fuselage shape.
After intersection any unnecessary geometry deleted. Only half the fuselage is needed at the moment.
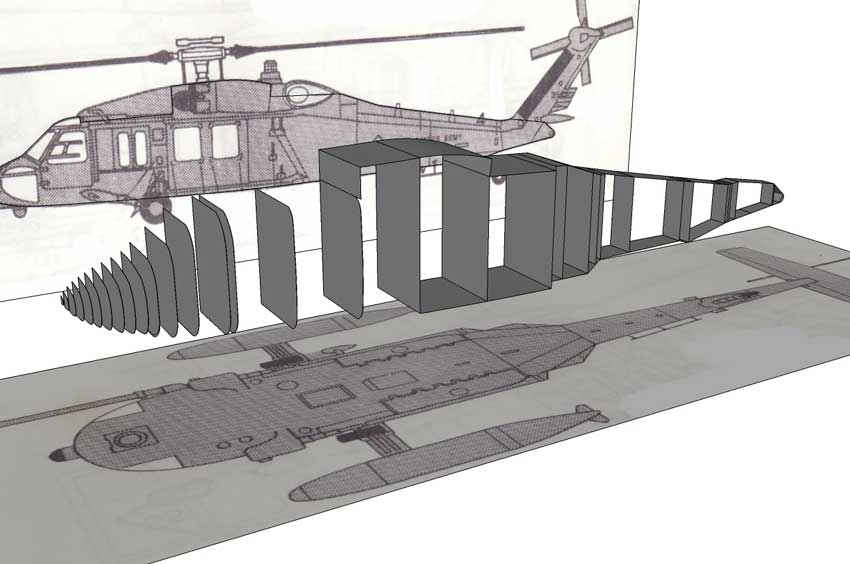
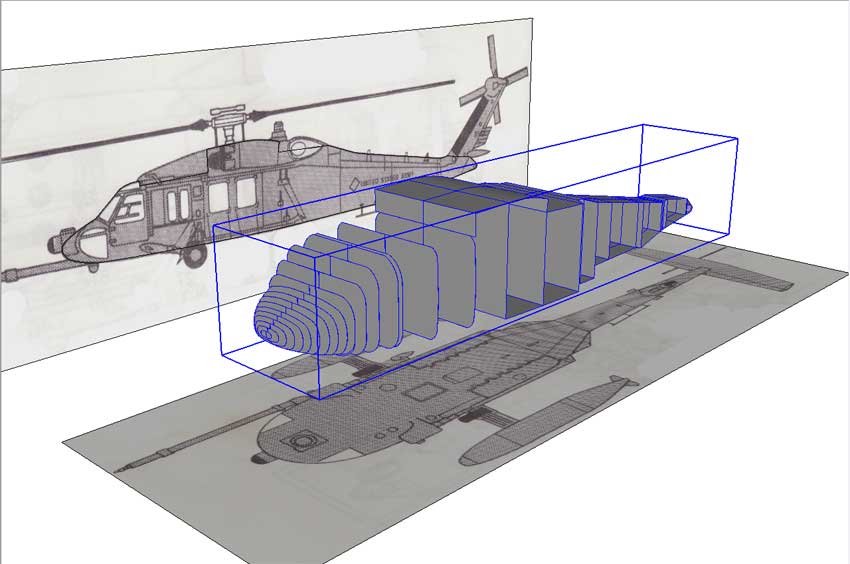
Creating ribs was a random thing and I put in what I thought would be useful further up.
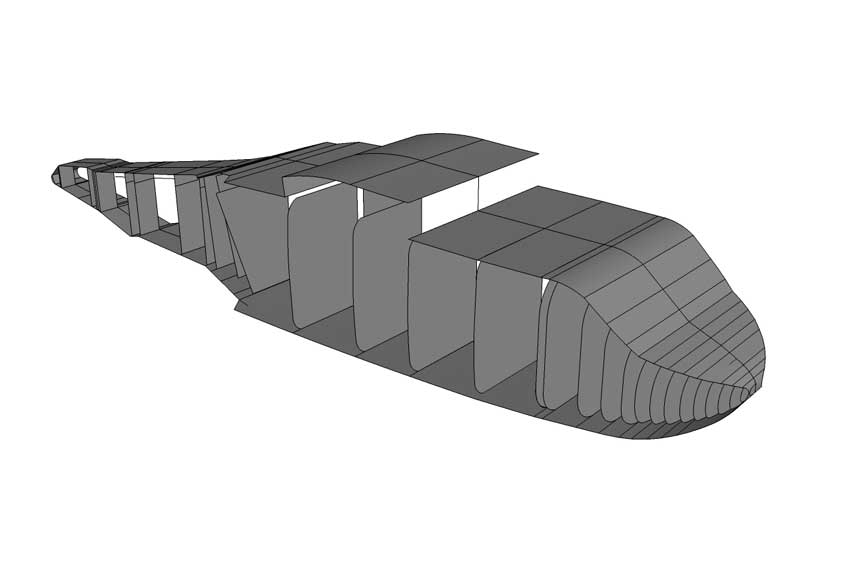
Once the ribs were in the right place, I didn’t need the rest, so that was deleted. I Rounded the edges, and then used a tool called Skin. This links two planes together. That was done to each rib to fill up the model. Since modeling this there have been new plugins developed that could carry out this process, obviously with a little practice, one possibility being Extrude Edges by Loft made by ‘TIG’ and also BezierSpline to help with your curves.
After making this into a component it was mirrored along the correct axis and made it into a group. Parts which are not mirrored and unique can be added to that group later. Making an object that will be repeated into a component will save on file size, which is critical in a model of this complexity. When modeling such a complex model you break it down into many, more manageable, smaller projects.
Getting some skin on.
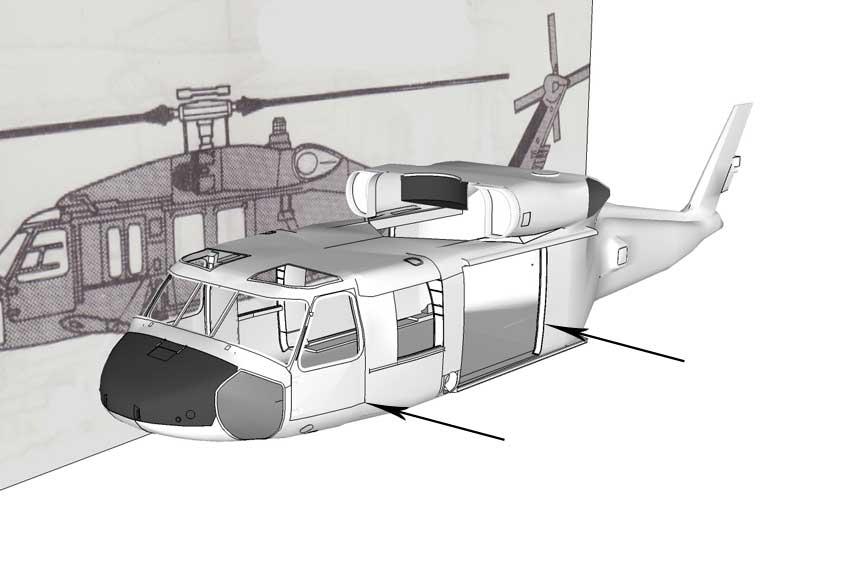
I traced over details on the plan and extruded them through the model to help in forming openings and surface detail. Then they were intersected with the model. All unnecessary geometry was then deleted from the extrusions to leave line work on the model showing details and areas for windows, doors etc.
And another clay render image showing this process of extrusion to show the process of marking out the line details on the fuselage.
Most of the detailing can be done accurately this way on the surface of the fuselage. There are plugins available now that allow you to draw on surfaces. If you can use the tool best suited for the job.
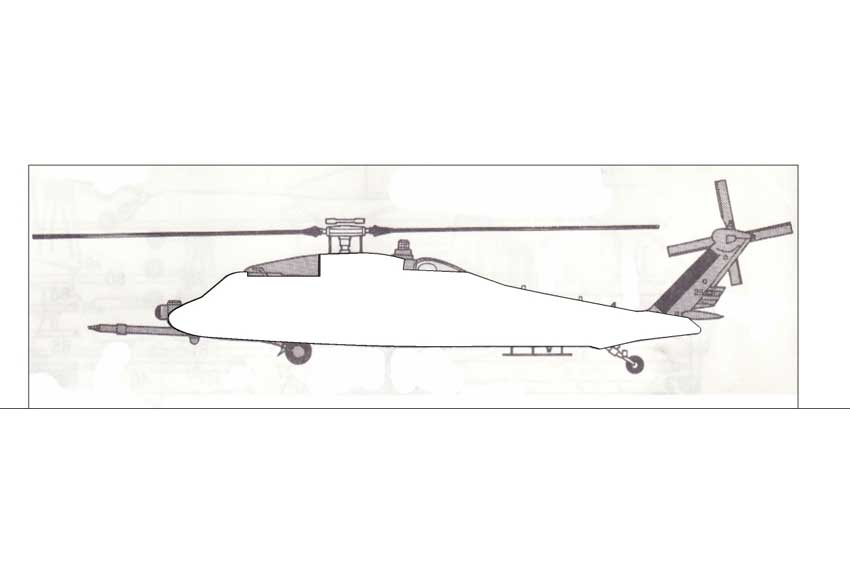
Elevation side view with reference plan.
A quick clay render during construction process using V-Ray.
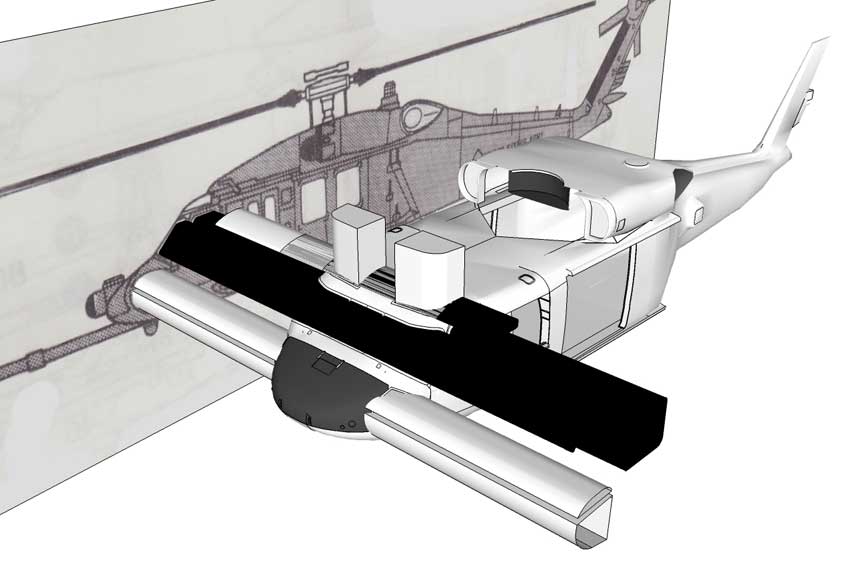
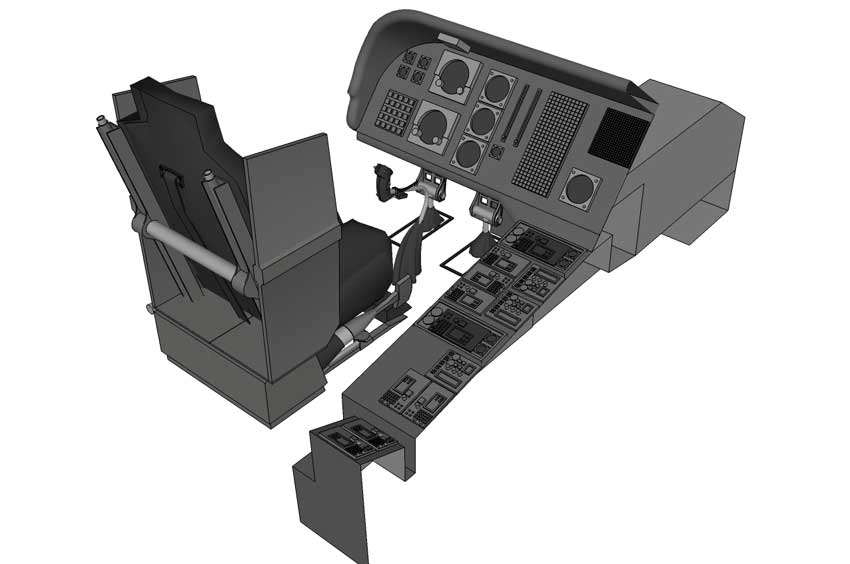
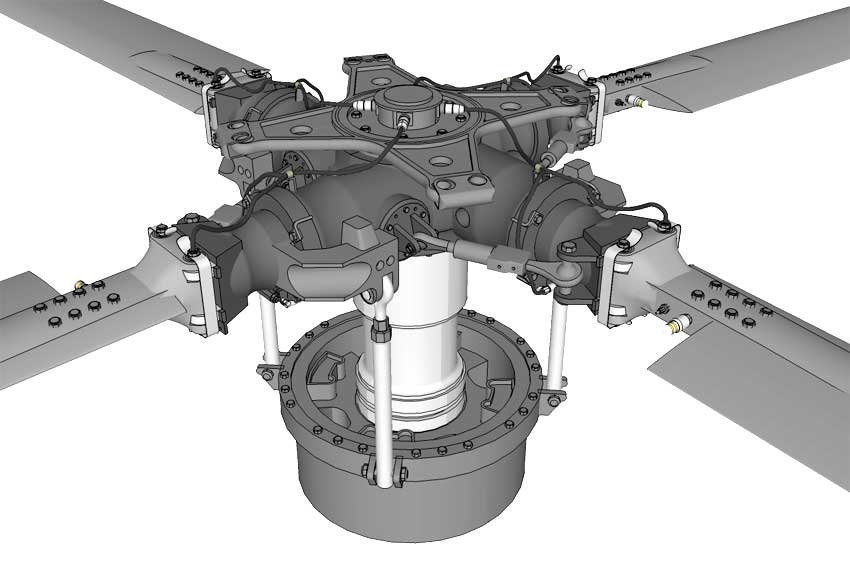
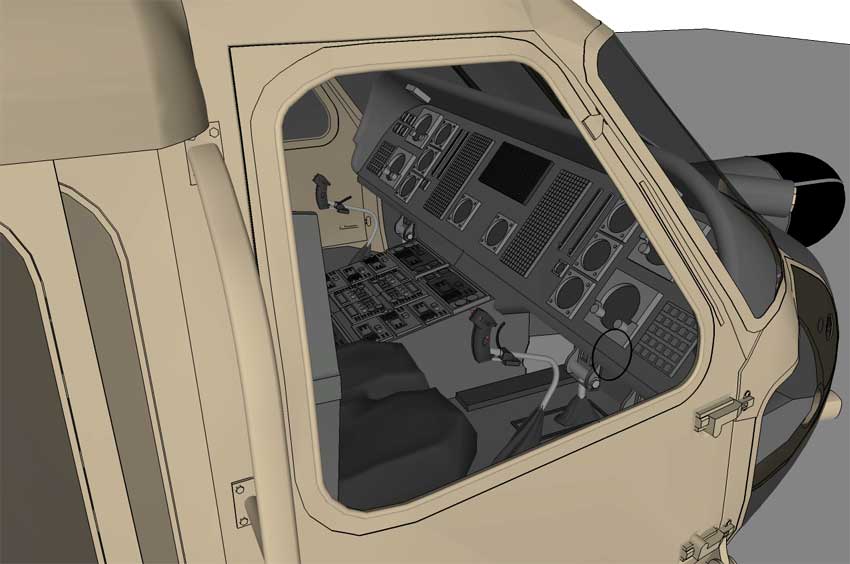
A huge amount of detail went into many other parts of this model. Many parts were modeled in separate files and only added at the end. Here we have half the Controls and cockpit.
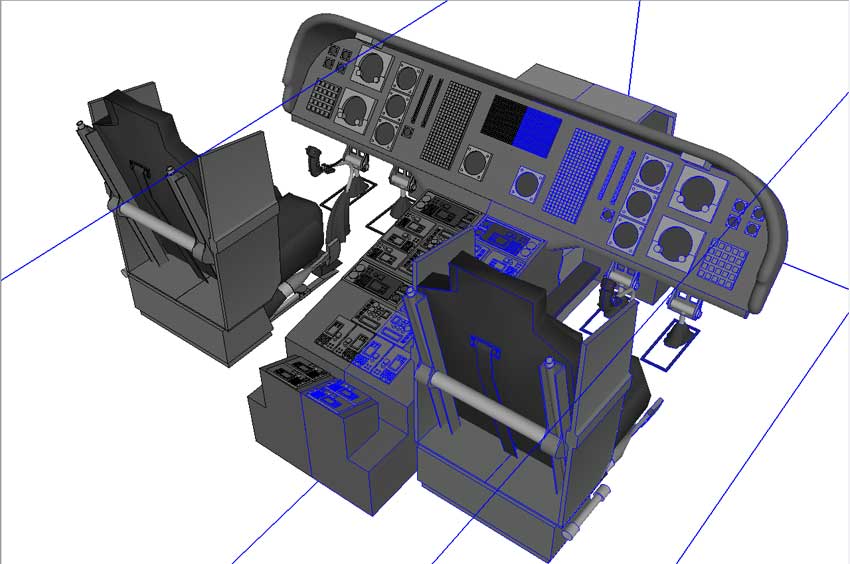
The controls were modeled separately from the pilots seat as components and then mirrored as a group as shown in the next image.
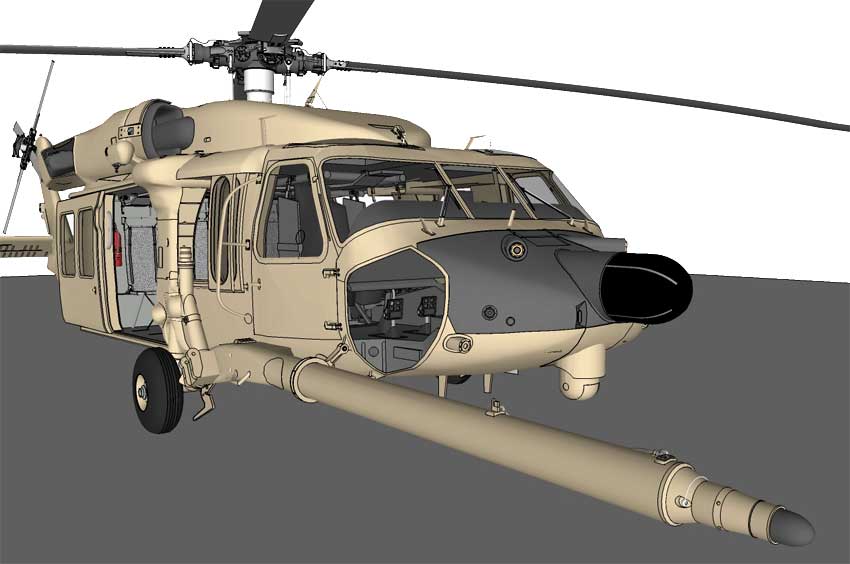
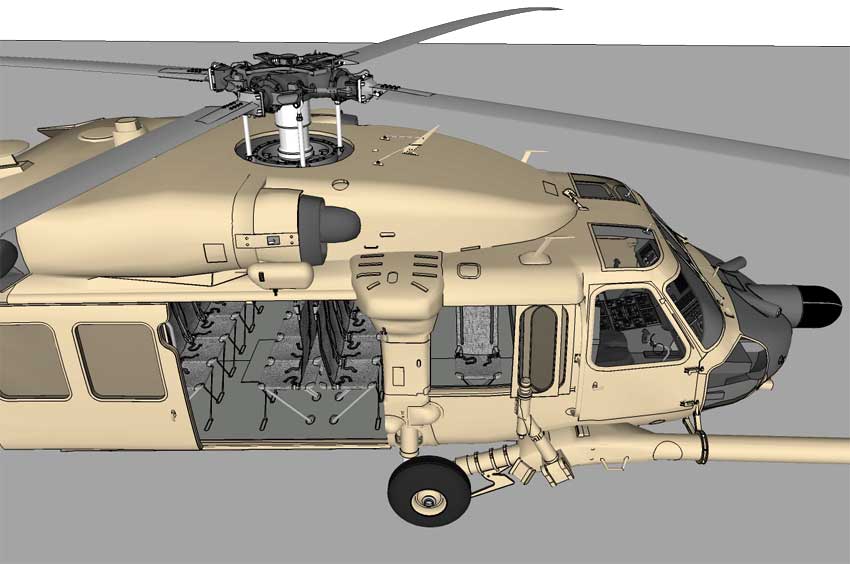
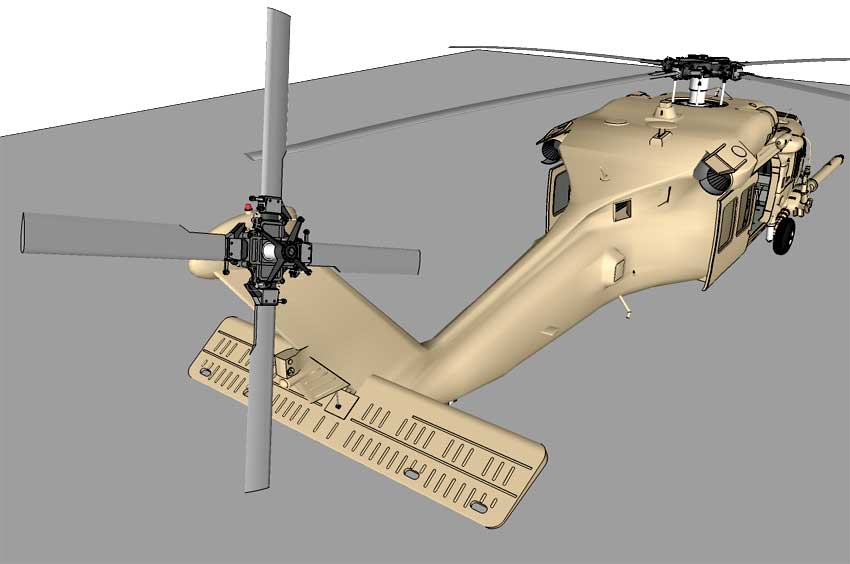
A great deal of detail was put into this model but a lot of it was lost in the renders that were made of it. Here are some straight SketchUp output images showing some of the detail.
The system I was using when I did this model, was no monster and it’s specs were:
- A dual core 3.4 Intel
- Intel motherboard with 667 ddr ram (2gb)
- Geforce 8600gt 256mb graphics card
I have recently updated my desktop too:
- Intel Core i7 920 overclocked to 3.6ghz
- 12 gig ddr3 1800 MHz ram
- ASUS Rampage II Extreme motherboard
- 5.5 TB hard drive space
- Intel 80 GB SSD main drive
- ASUS 295 GTX SLI display card
- Gigabyte ODIN 1200w power supply
- Cooler Master V10 CPU cooler
- Cooler Master Limited Edition Black Label Cosmos Case
- Windows 7 Ultimate 64 bit
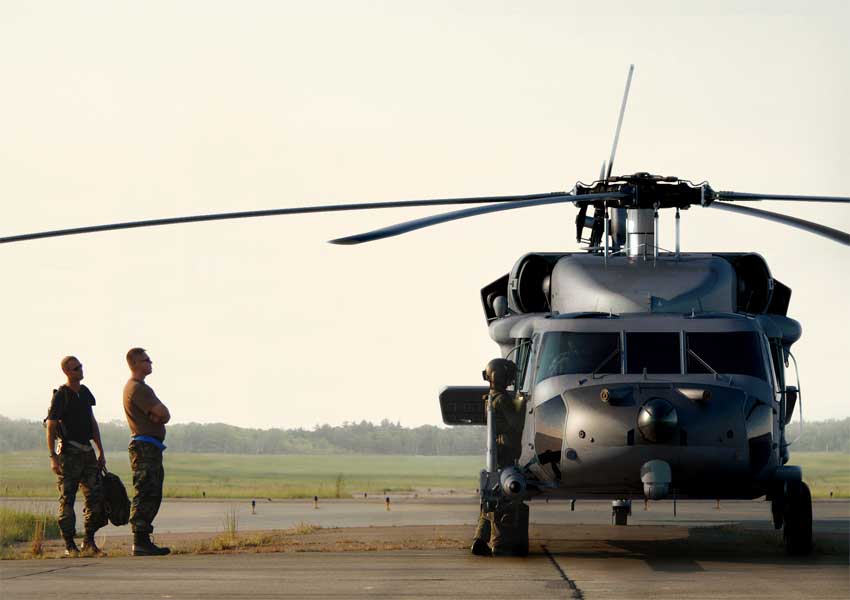
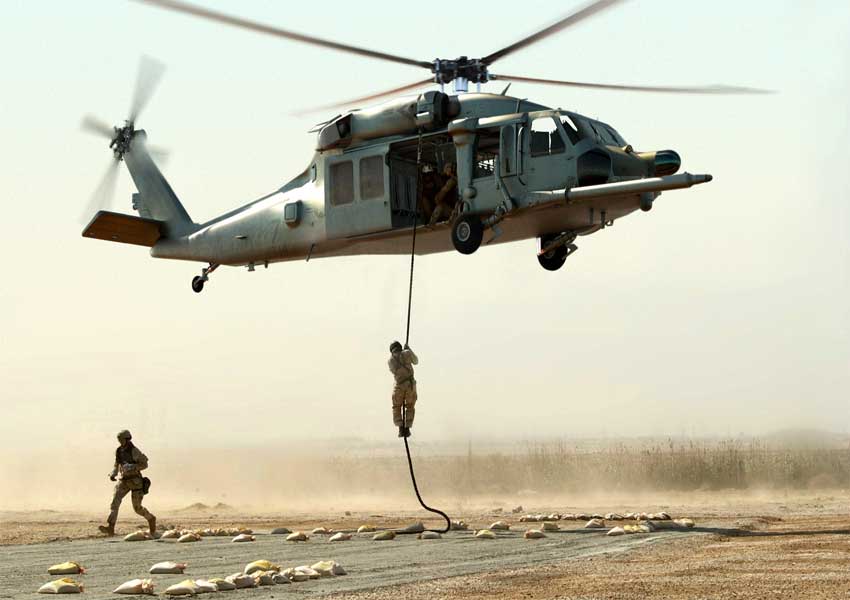
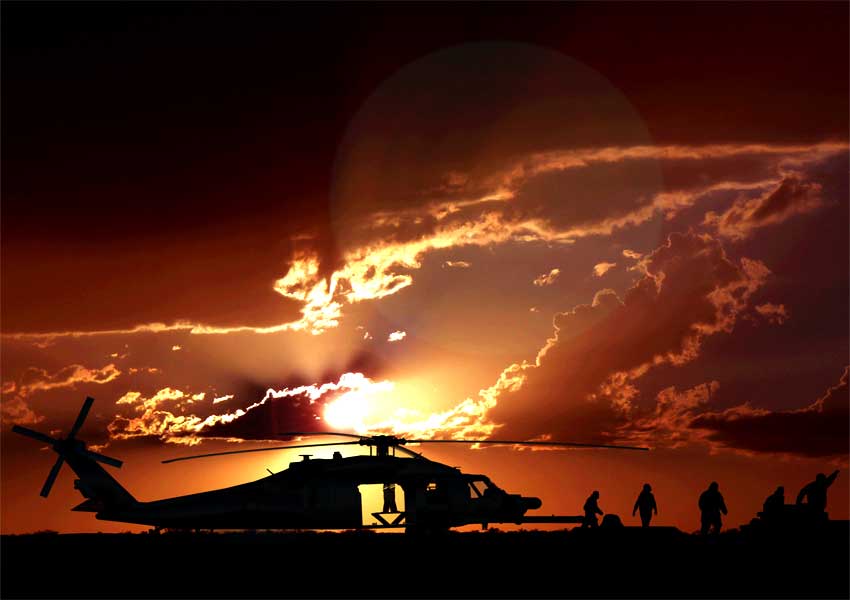
The last three images are my favorite. They are not referencing images, but renders done in Maxwell and post processed in Photoshop. They took approximately 3 hours each to render. I did not set up any special materials in SketchUp, I just named them so that I could change them once they were in Maxwell. I used Maxwell studio to work on those textures until I was happy with them and just rendered it then…the rest is basic Photoshop work with the output file.
I hope you enjoyed this little adventure into extreme SketchUp and maybe picked up some ideas of your own. You can download the complete Black Hawk model, with a few other files, here for your own enjoyment. You can see my other ‘eye-candy’ here. I used many of the same techniques I used here in that model as well.
Cheers
Jacques








absolutely fantastic
this is sketchup next level
madre mia!!! ….
Fantastic render and modelling.
Thanks for sharing your tutorial and 3d model too.
This is amazing, I think I will get into modelling because of you!
this is just AMAZING!!!!!!!!! congrats…..
Look out for eye candy 3, about 5 times more effort than this helicopter.
with about 5 million poly build in su..
sketchucation.com (look for eye candy 3) posted quite a while ago.
Eye Candy 3 is also here http://www.sketchupartists.org/tutorials-2/making-of-h-m-c-s-snowberry/
Fantastic work I have used many of your methods on my own models its a real treat to see you work like this keep it up!
J’ai des doutes sur ce tuto, il faut savoir que sketchup ralentit quand il y a trop de polygone. si vraiment c’est fait sur sketchup, qu’il prouve par une video accéléré (speed sketchup) la progression complete de cette hélicoptère ou soit une voiture comme l’audi dans matrix 2. Si c’est prouvé je m’incline.
Dude…that’s some crap load of work as some of my friends would say but jeez, u’re one hell of a genius…thumbs bro….
Great source for inspiration…..
i couldn’t imagine one could do these modelling in sketch up.i thought sketchup is to make only architectural buildings…great job dude
fantastic, great, marvelous, excelent, etc, etc, ect.
congratulations on the excellent work..
I’d like to learn how to do moving parts and how they interact with each other and you are already there congrats
may i ask where u got the blueprints from? i am planning to design the black hawk in rhinoceros and i think your views are quite nice.
and congrats to your amazing work, mindblowing!
Can you upload that blackhawk to the Sketchup warehouse? They allow 100Mb files now.
some of your images between steps are making huge jumps (ie image 9 -> 10). How did you get from one to the other?
[…] you liked the model I used in this video, go to http://www.sketchupartists.org/tutorials/sketchup-and-advanced-modeling/making-of-black-hawk/ to read the tutorial and downlaod the model for […]
Thanks for the tutorial.
I’ve using Sketchup for over 2 years, and recently added the v-ray.
This post really bring Sketchup to next new level.
And it inspired me to draw my own version of eyes candy.
I am currently trying do draw the EC-155 heli.
But I am facing some problem to create the upper part of the body, and open the windows on the face.
Can you kindly look at my model and teach me what to do next ?
I can send you the model and buleprinte through the email.
very nice tutorials, thank you for giving this
wonderfull picture, so amzing.. nice
Thankyou for tips in making fulsage
Thankyou for tips
Good Tips…thanks
excelent tips
Very good learning fulsage, thank you for the information is very happy to visit this website
congratulations on the excellent work
[…] you liked the model I used in this video, go to http://www.sketchupartists.org/tutorials/sketchup-and-advanced-modeling/making-of-black-hawk/ to read the tutorial and downlaod the model for […]
HI, how hard do you think it would be to turn your design into a workable plug for a scale helicopter shell? any ideas….
thank you for tips & excelent