Making of Hillside House
 By Ibon Enriquez
Hi My name is Ibon Enriquez, an architectural student from San Sebastian in northern Spain. This is a model I rendered for a rendering competition over at the Spanish SketchUp Forum. I hope you find this tutorial useful and gain some ideas and tips from it.
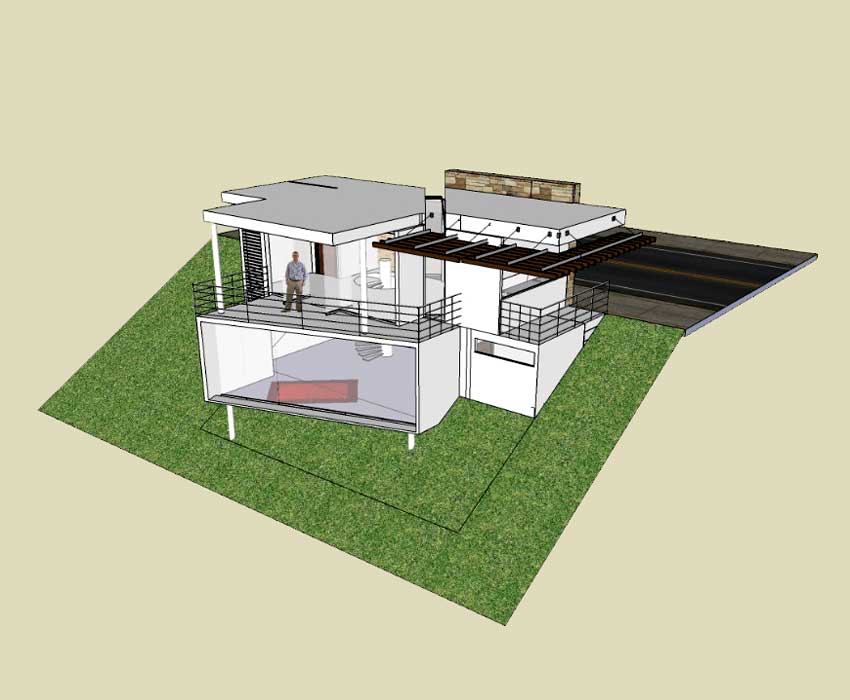
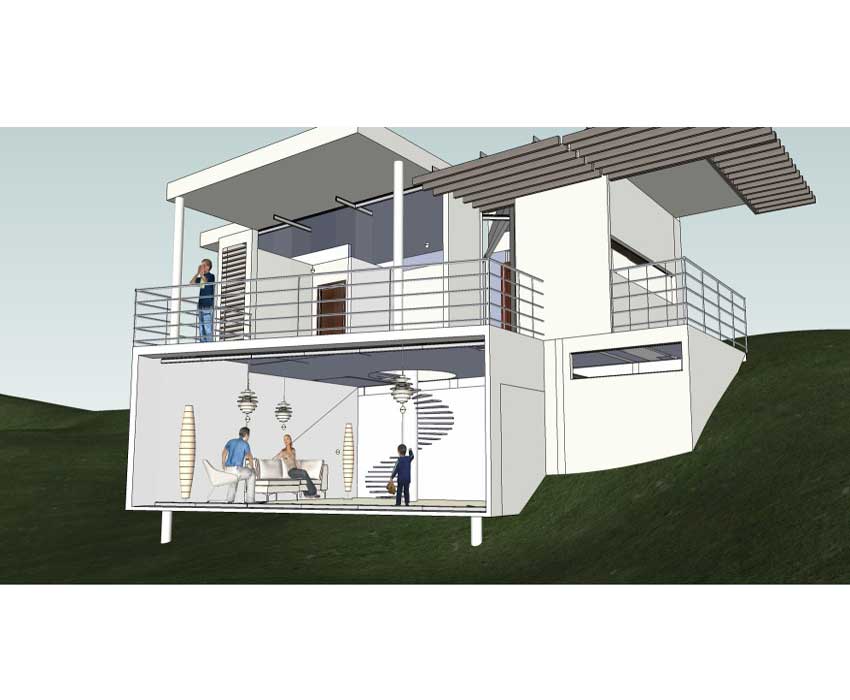
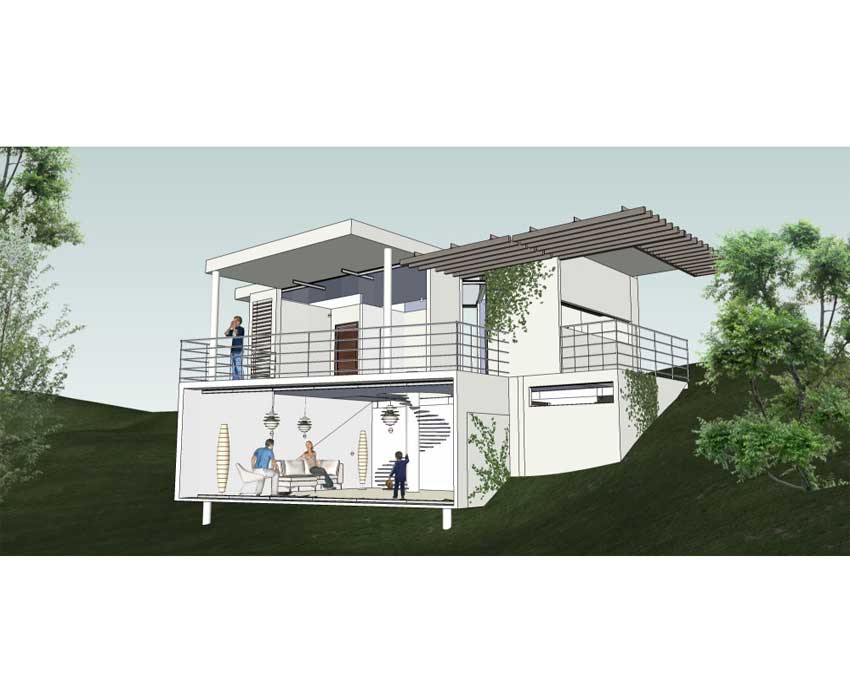
1. Open your SketchUp model. This SketchUp model was made by Carlos Villacres. You can download it at the 3D Warehouse.
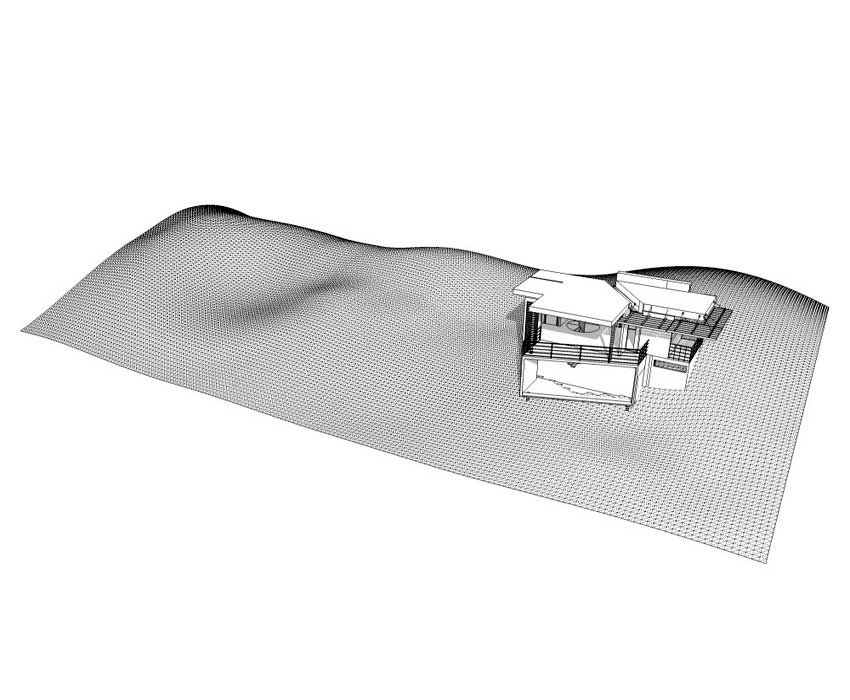
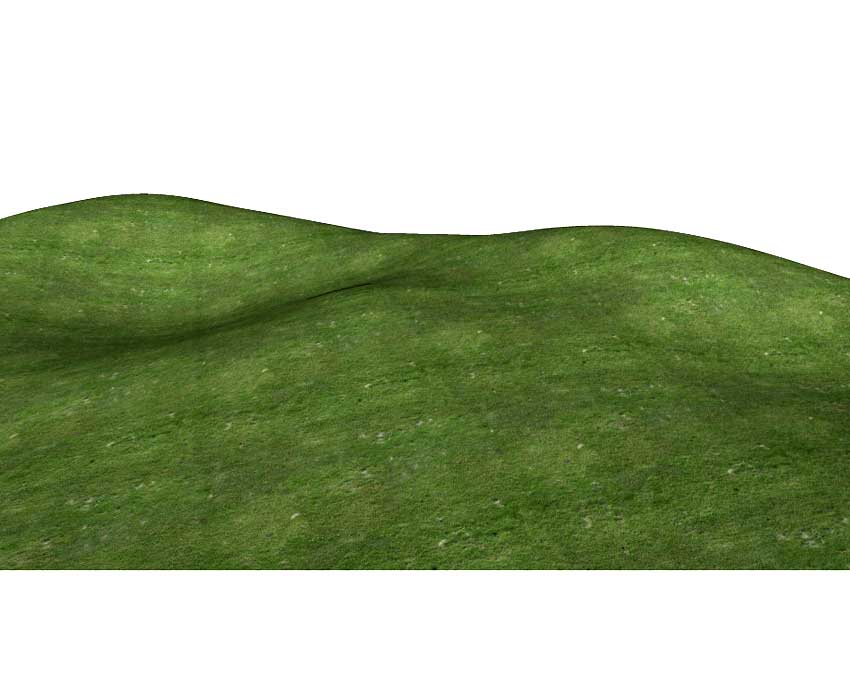
2. Next delete the original terrain and make a new one using the SandBox tool. It doesn’t have to be very high-poly, only something more organic.
3. Apply a grass texture to the entire surface by projecting it. If your not sure how to do this, here’s a little video tutorial to help. I used a high resolution commercial texture, but you can use whatever you want. Here’s what I used for this tutorial a high quality grass texture. Once you have finished, you will have something similar to picture below.
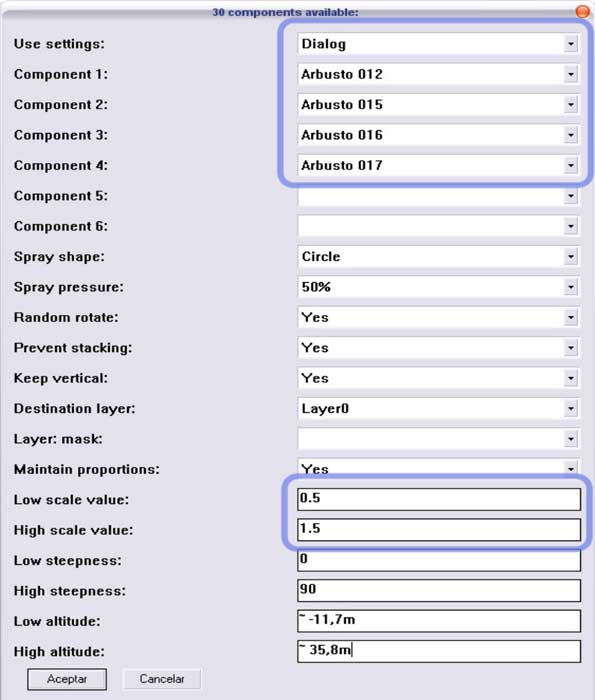
4. Now load up to 6 different grass images into your SketchUp model. They must have a transparent background for example a png or tiff. I used these images of ornamental grass textures found here. Make them into Face-Me components and load them in into the Component Spray plugin. You can find the Component Spray plugin here at the Sketchucation forum. What we don’t want is to get a flat and uniform lawn, so we have to add some randomization parameters to the plugin settings as shown below.
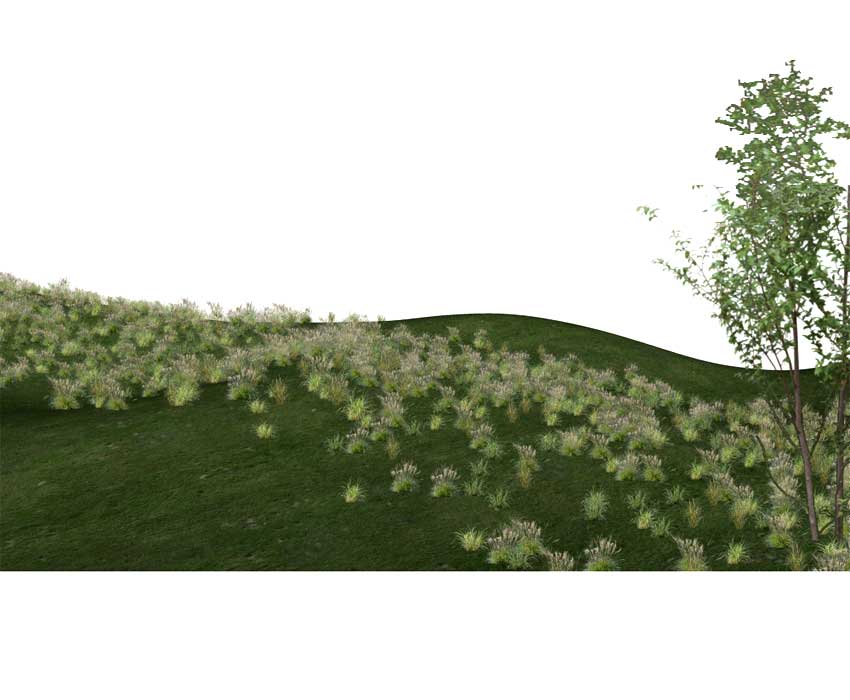
5. Next we must drop grass components wisely, we don’t want to overload the model with unnecessary elements, so put the grass only in the places visible to the camera view.
6. Delete everything you don’t need from the original model (furniture, textures…) and put your own models of choice inside the house. For this scene I used AXYZ Design people. The furniture models came from Formfonts.
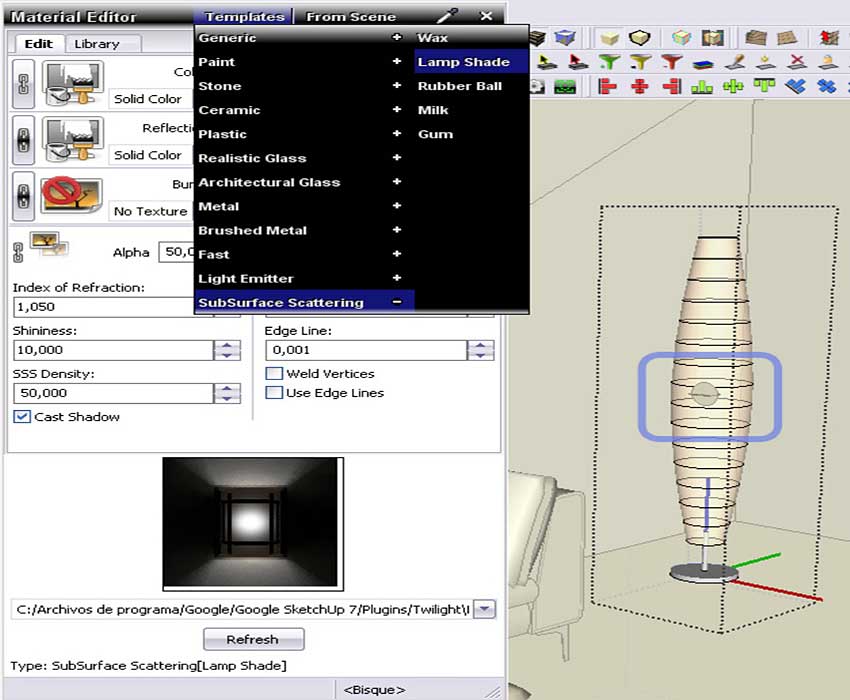
7. Now we are going to render with ‘TwilightRender‘. Let’s start setting the illumination. You have more than one way to do this.
a. You can give some thickness to your SketchUp component’s lampshade, then select it’s material with Twilight Render’s Material Editor, apply a SubSurface Scattering template to it and put a point light inside it.
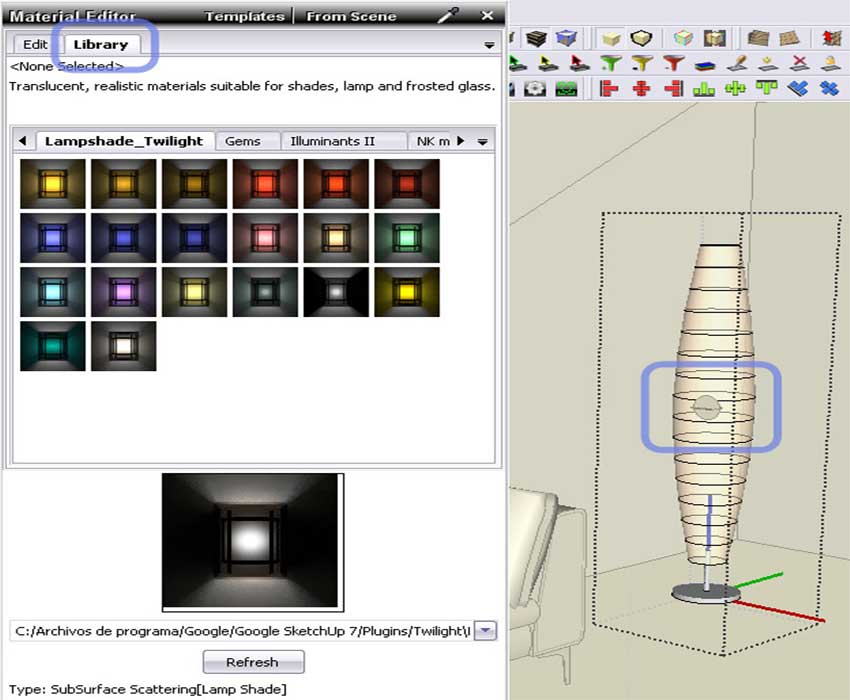
b. Or give some thickness to your SketchUp component’s lampshade, then select it’s material with TwilightRender’s Material Editor, apply a Lampshade Material to it from TwilightRender’s Library and put a point light inside it as shown in the image below.
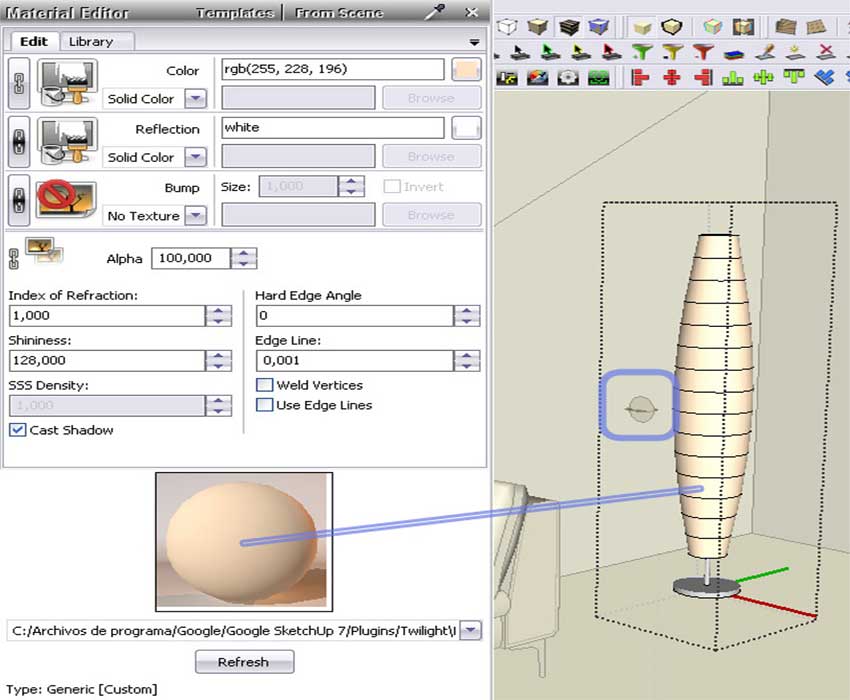
c. This by far is the easiest way, recommended for slow computers like mine. You only have to put a point light close to the light fixture component. This method is not recommended for interior and close shots, but it’s valid for this scene.
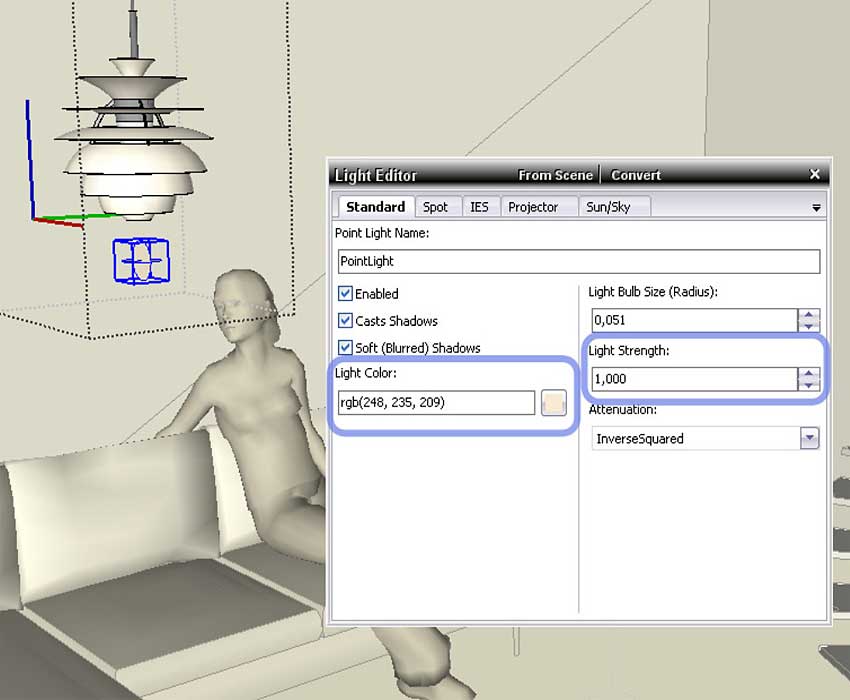
8. Now give the Point Light a warm color and play with its intensity until you are satisfied with the result.
9. Choose a good camera position and start putting the vegetation in your scene according to that point of view. I used some Furukawa Trees found in Google search and a couple of Got3D Vines, you can find them here.
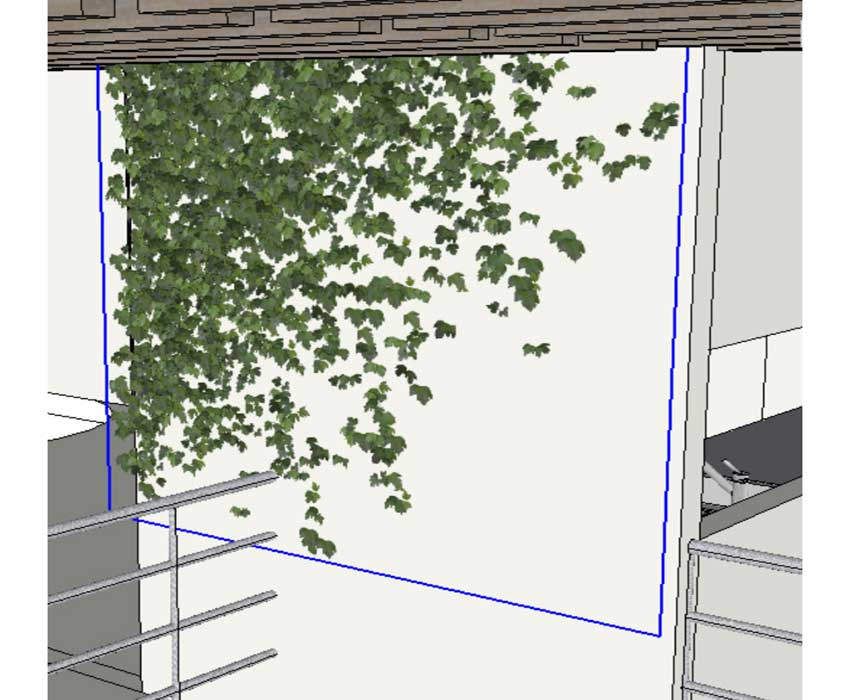
10. The vines are imported as images into SketchUp and placed a few centimeters away from the walls.
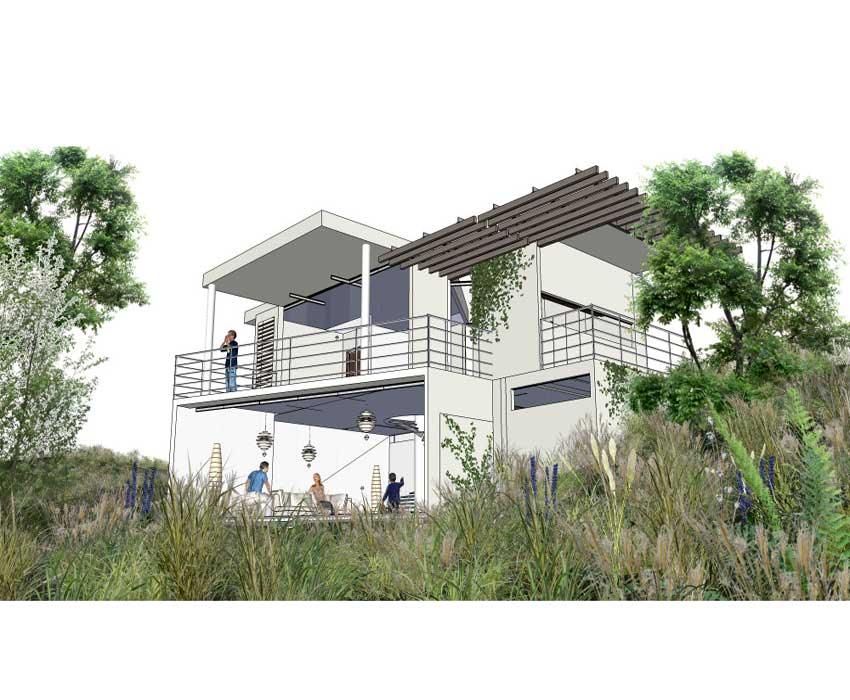
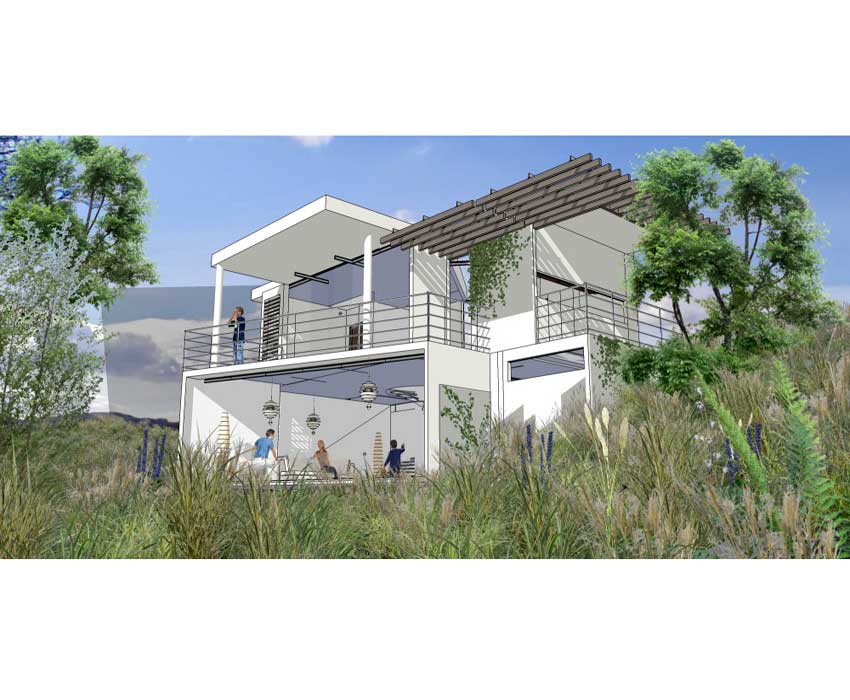
Once all the grass components have been dropped into the scene, you should have something similar to this in the picture below.
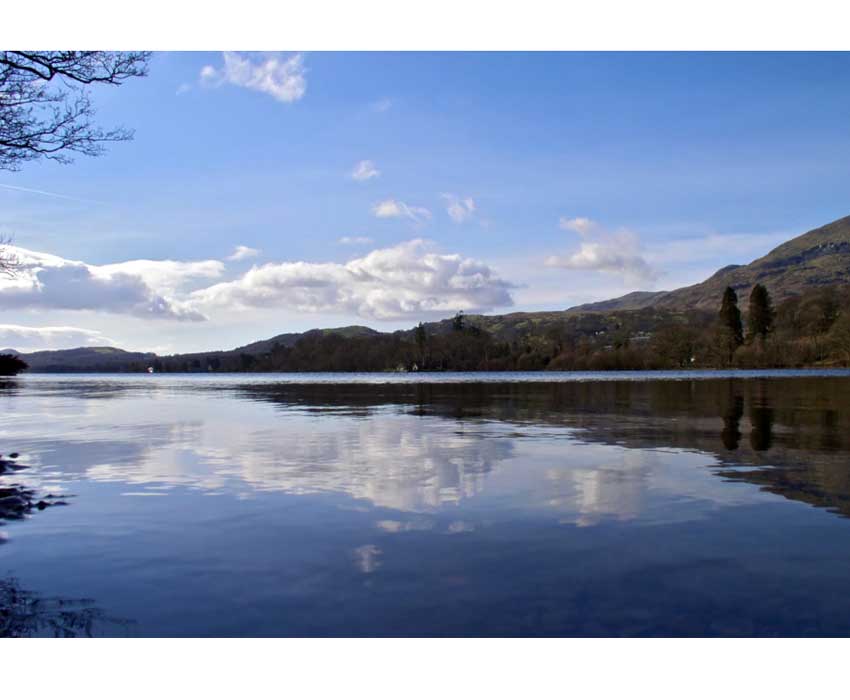
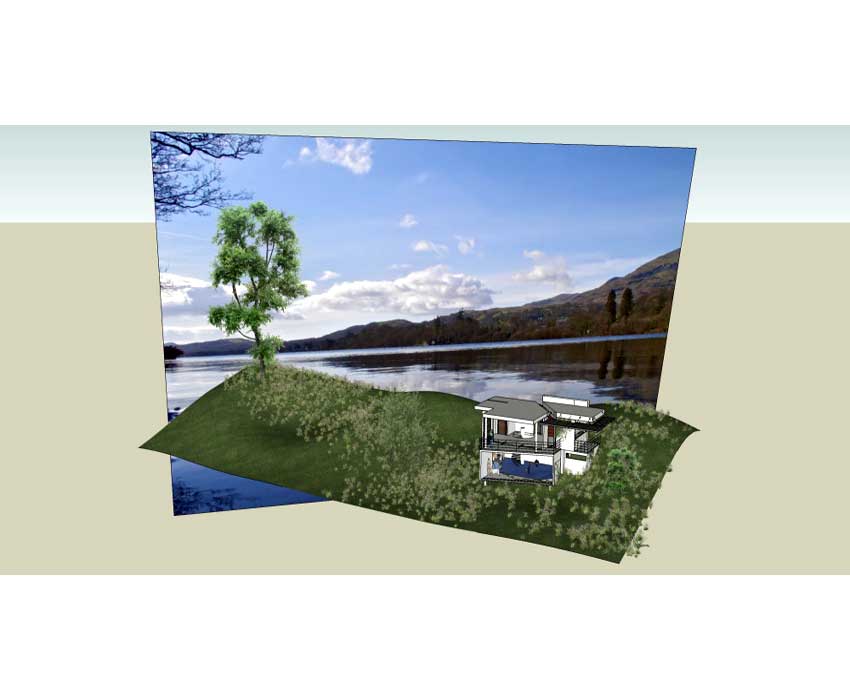
Now it’s time to set the background image. I found this landscape image in a Google search.
11. We import the landscape as an image into SketchUp and we position it to match our camera view.
12. Next we set the Shadows. We are going to render with an Unbiased Method, so the background properties won’t look faked and prevent it from receiving shadows. Because of this, the sun can’t be behind the background.
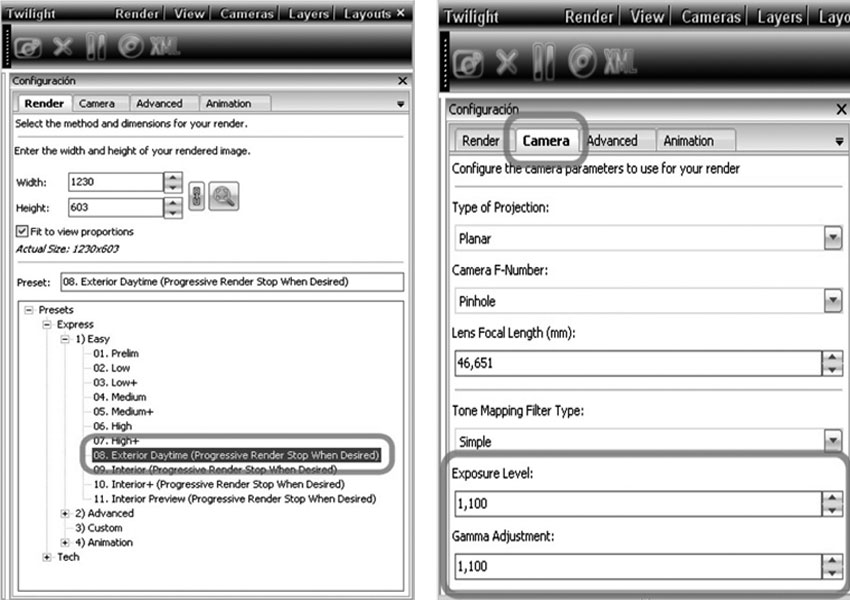
13. Now open the TwilightRender Render settings and select under Presets>Easy 08. Exterior Daytime. Under the Camera tab, set Exposure Level and Gamma Adjustment to 1,100 in both cases.
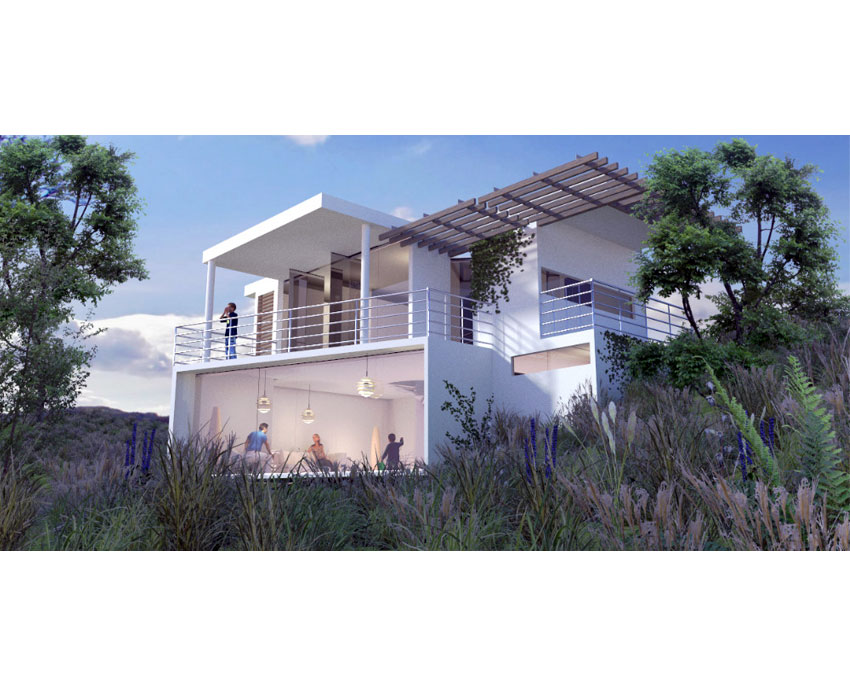
Now we let it “Cook” for a few hours (depending on your machine) and you’ll get something similar to image below.
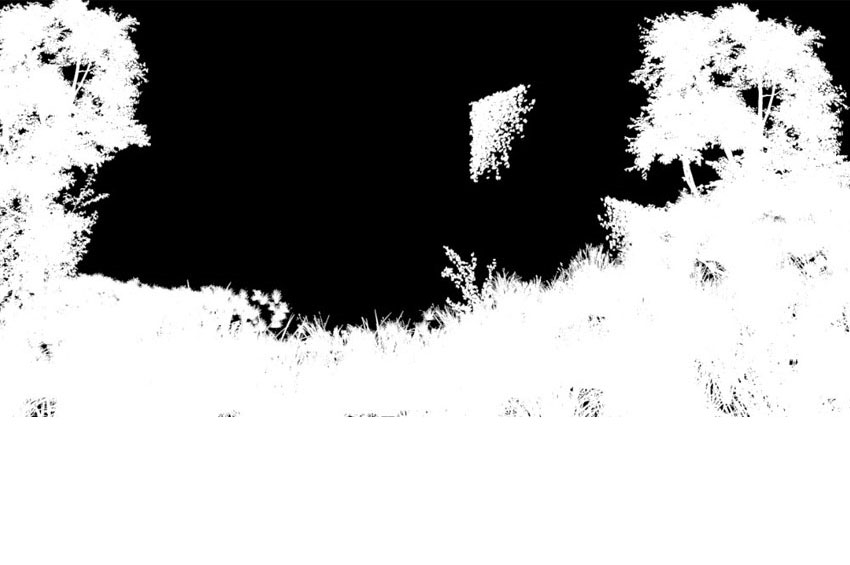
14. Next hide everything except the vegetation.
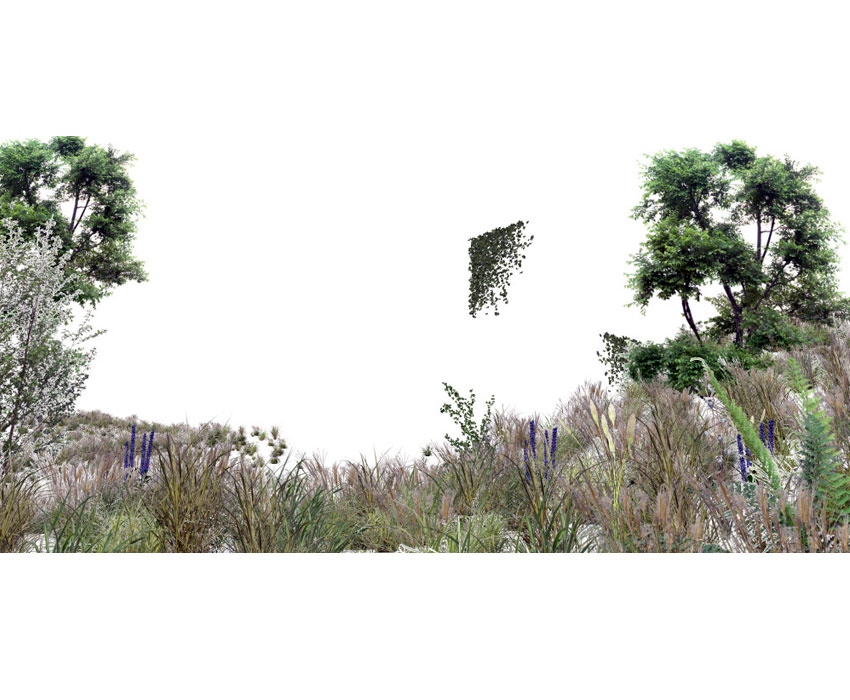
15. Select all and render the scene using the Advanced Clay 01. Alpha Mask Method.

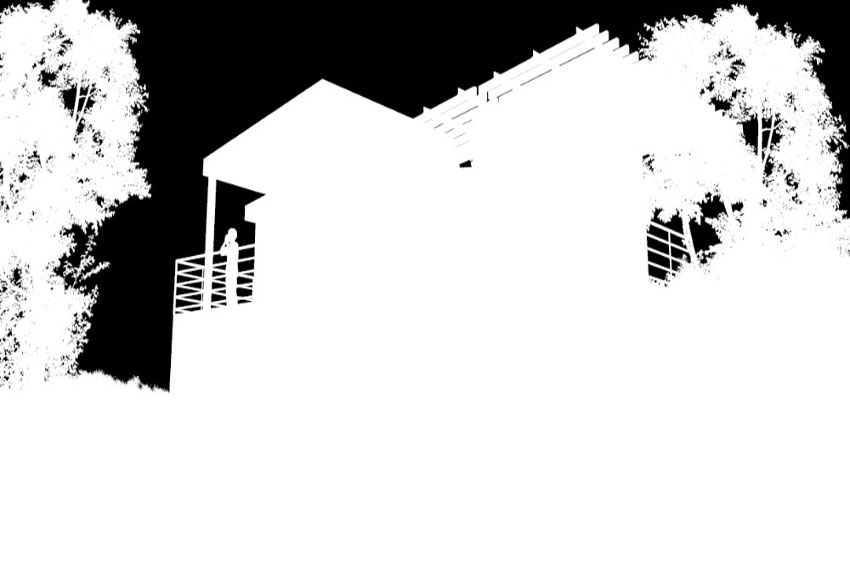
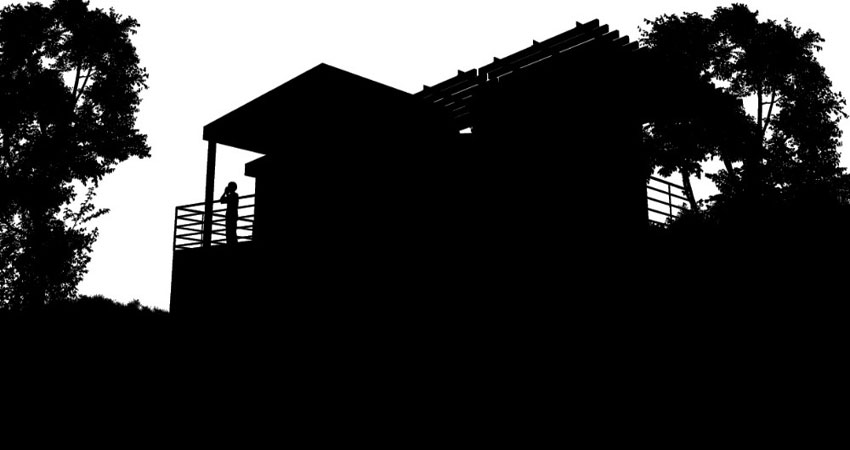
By doing this you will get the alpha. This alpha image will help us to make a more efficient post production.
15. Do the same thing, selecting everything except the background.
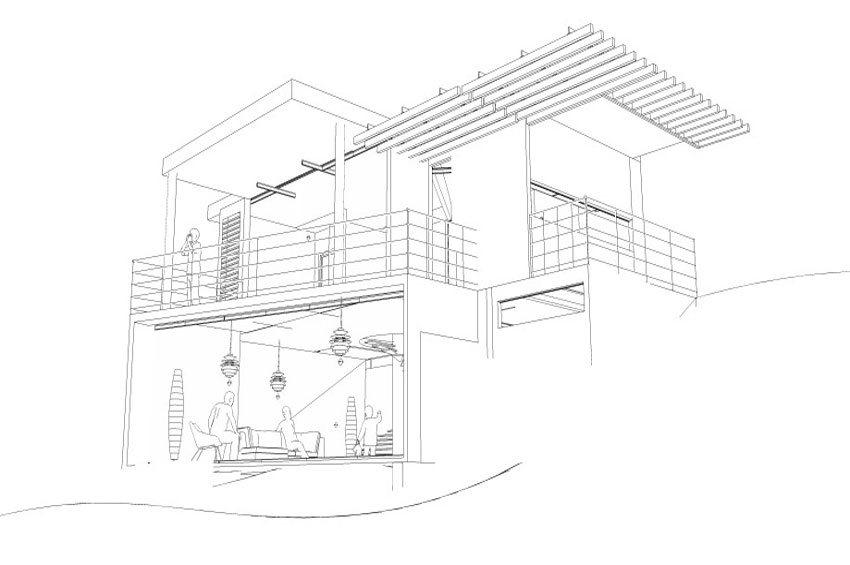
16. Export a hidden line image directly from SketchUp. The main render (Step 18) and this image must have exactly the same output resolution.
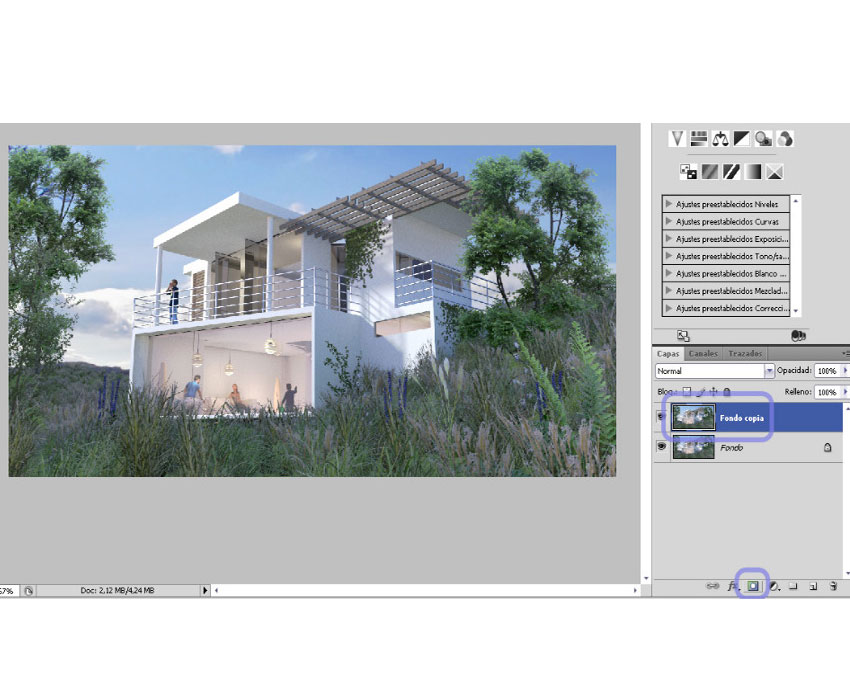
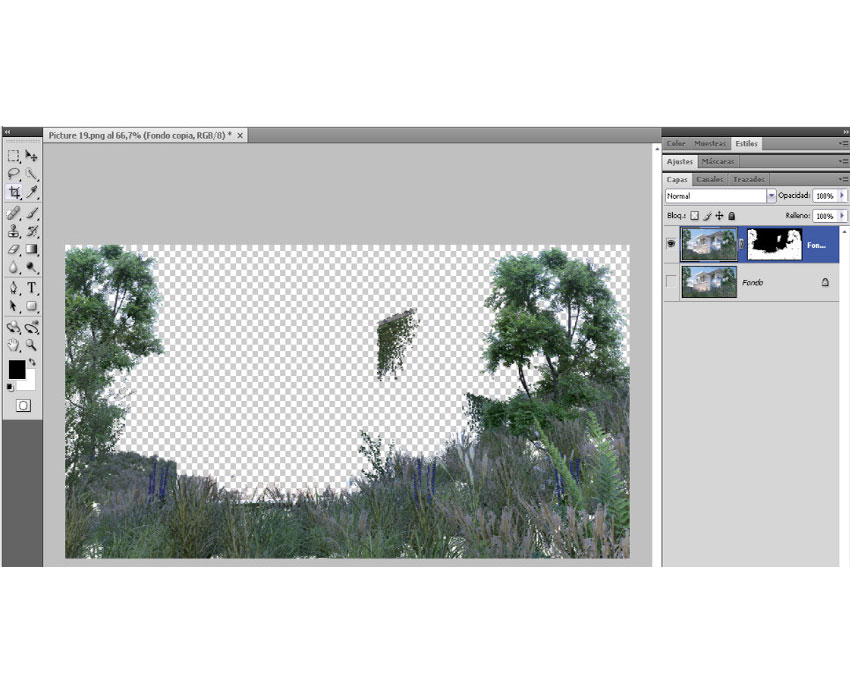
17. Open the main render in your favorite image processing software. I am using PhotoShop. Duplicate the layer and add a Vector Clipping Mask to it as shown in picture below.
18. Press Alt and left click on the white rectangle that is close to the new layer. Now we are inside the Clipping Mask. Paste there the Alpha that we made in step 14. Click anywhere (for example in the original Layer) and you’ll be outside again. Now we can tweak all the vegetation without affecting the rest of the scene elements. Change the Brightness, Contrast and Saturation values as you like.
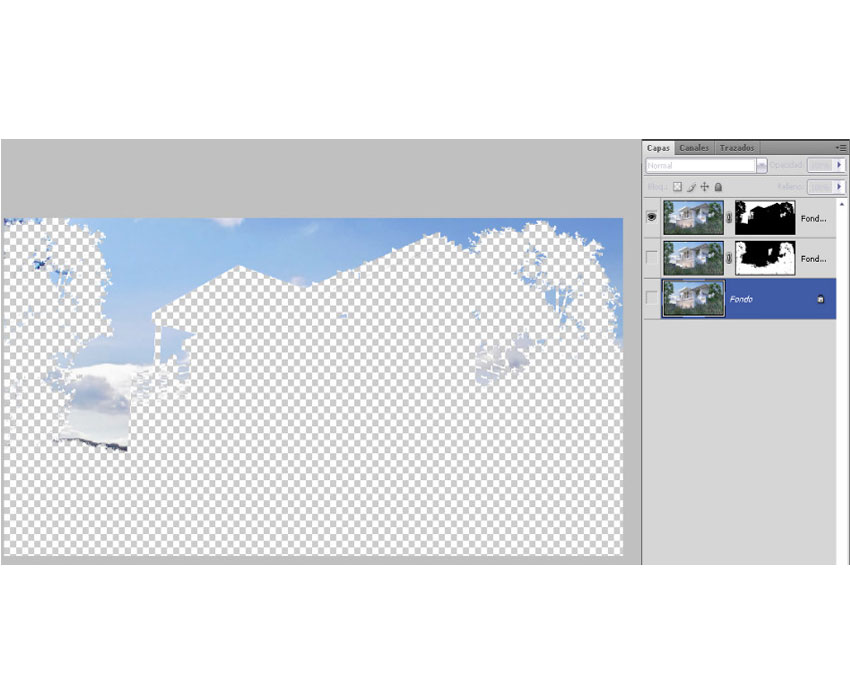
19. Take the second alpha we made in step 14 and Invert it. (Image > Adjustments >Invert).
20. Duplicate once again the main layer and repeat step 18, but now paste this new inverted Alpha inside the Clipping Mask. Now you can tweak the sky without affecting the rest of the scene elements, so change its Brightness, Contrast and Saturation values as you like.
If anyone wants to know exactly how to adjust properly those parameters, there’s a very good tutorial made by my friend Teofilo Pardo here at SketchUpArtists.
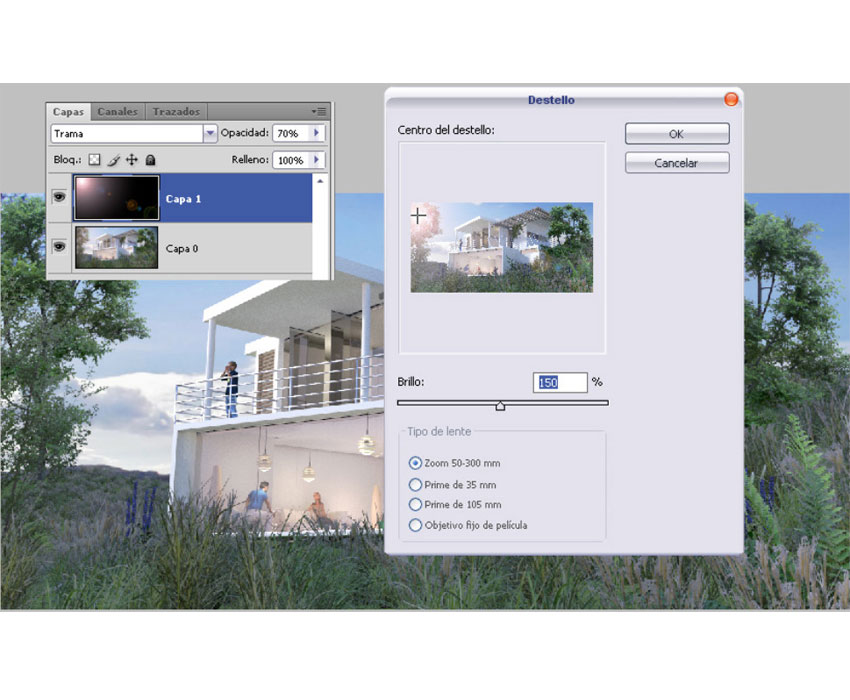
21. After tweaking the scene following Teo’s tutorial (Change Brightness, Contrast, Saturation, add Lens Distortion, Vignetting and a warmer filter…) we add a Lens Flare. There’s a quick way to do that:
Make a new layer. Fill it with black color. Make a Lens Flare there (Filter> Render > Lens Flare) with a power of 150 and set its Blending mode to Screen. Now you can change its Opacity because it’s in a separate layer, and that way you control its intensity.
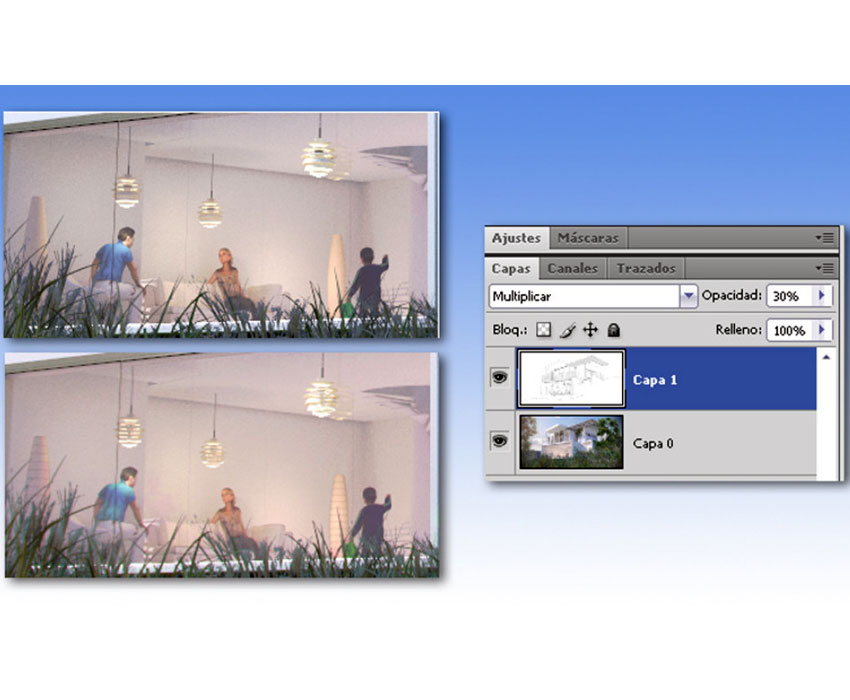
22. If you want you can copy the Hidden line image on top of the main render and set its layer’s blending mode to Multiply. That way you can add details to some elements like lamps.
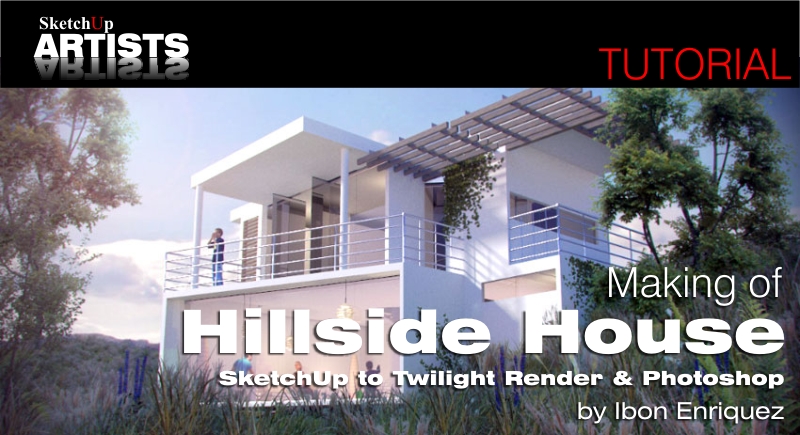
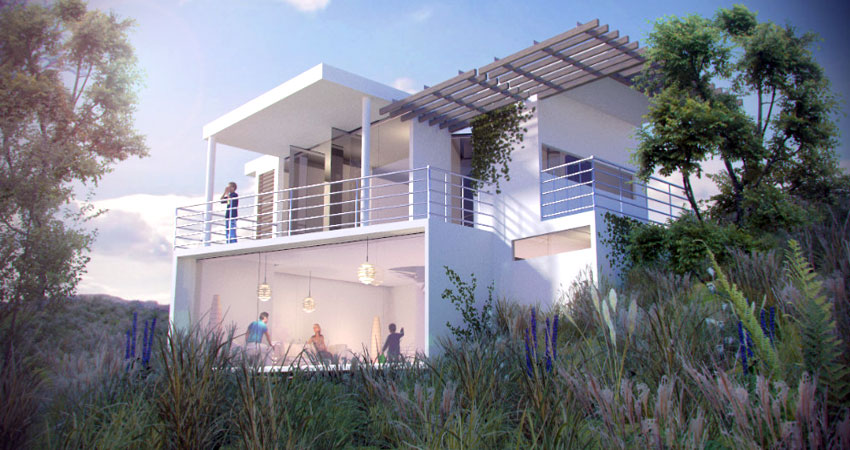
And that’s it! We have finished our render. This is the finished image.
I hope you have enjoyed this tutorial and thanks for your patience. See you soon!
Cheers
Ibon Enriquez



very nice tutorial, thank you
HI ITS WAS GREAT I NEW TO SKETCUP AND TWILING CAN U HELP ME WITH IT? I HOPE TO HEAR FROM U SOON
ash
Sure Ash, write me if you need anything:
ibon83@gmail.com
hi im new to twilight…can give me a tutorial on how to create lights…not from sun..and rendering interiors also….im hoping for your help…
Hi Van, we will have a tutorial by a Frederic Yves Moro, French interior designer in the next couple of weeks, with an overview into his technique for rendering an interior scene with Twilight Render..in the meantime check this out in the Twilight Render Forums – http://twilightrender.com/phpBB3/viewtopic.php?f=12&t=732 and http://twilightrender.com/phpBB3/viewtopic.php?f=12&t=1993 and maybe this http://twilightrender.com/phpBB3/viewtopic.php?p=13446#p13446. There are a few things here in their Tips and Tricks Master List…http://twilightrender.com/phpBB3/viewtopic.php?f=12&t=1645
Hope this helps for now…
thanks for this…….much appreciated.
i
i
i
very good work and the final render its great