Creating Perspectives with SketchUp

By Jim Leggitt
In recent years, SketchUp modeling has become the preferred digital tool for academic and professional design environments allowing students, architects, interior designers, planners, industrial designers and practically anyone involved with design to easily build, manipulate and view 3D digital mock-ups of their concepts. Constructing models may be easy, but establishing the right kind of perspective view can be tricky. If you were a photographer, your camera angle, viewing height, lens focal length, lighting, framing and composition all work together to create great pictures. When establishing scenes in SketchUp, an identical visual “checklist” must be considered so you can present your design concepts in their best form and avoid 3D digital disasters! Here are a few tips to consider when viewing your models.
Pick the Best Perspective Type
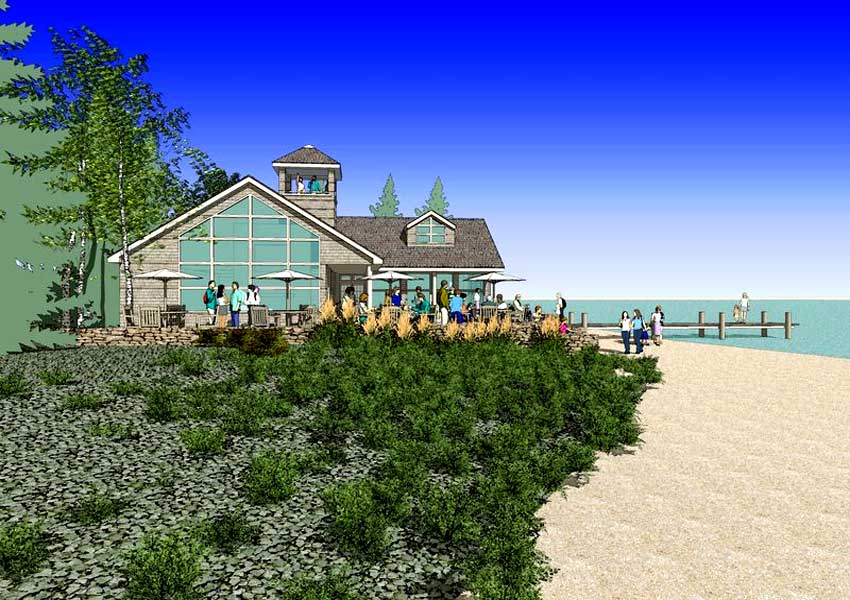
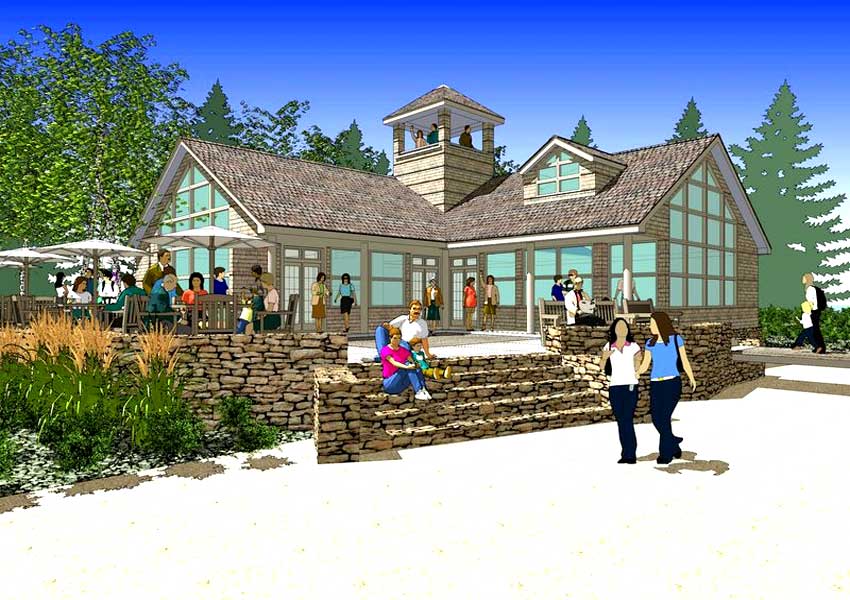
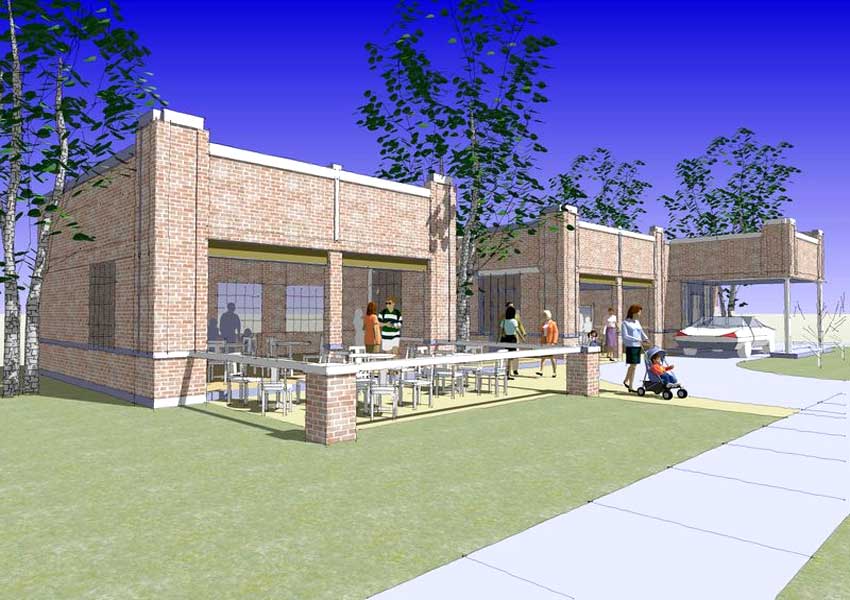
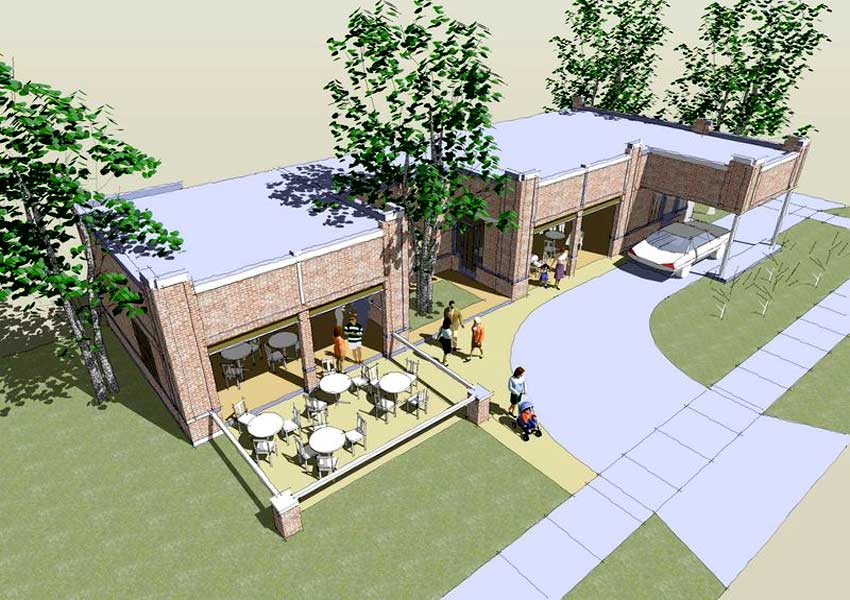
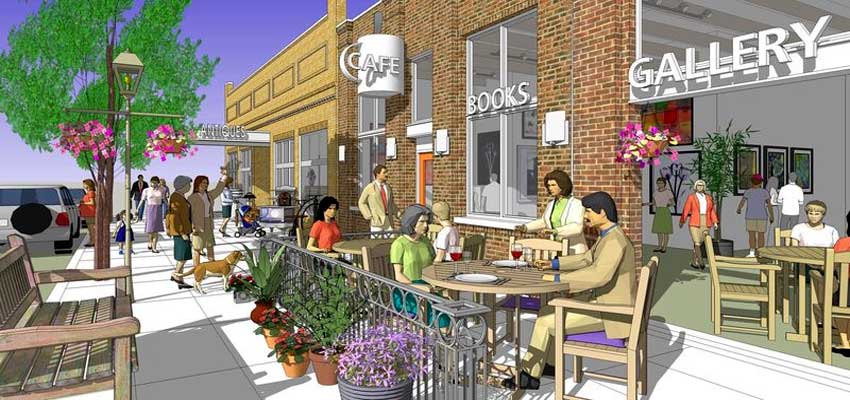
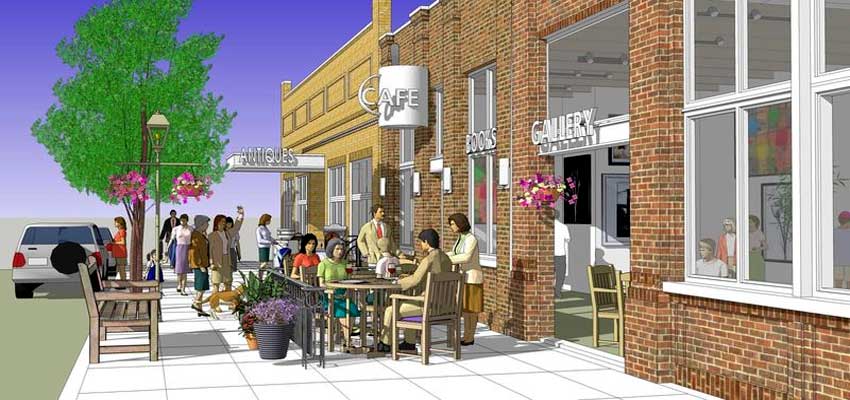
SketchUp allows you to freely spin your model in any direction with the option of viewing it in one, two or three-point perspective. The one-point perspective view emphasizes an object’s elevation as if you are looking perpendicular to its face. The two-point perspective view reveals multiple faces as if you were looking into the corner of an interior space or outside corner of an object. Finally, the three-point perspective is quite effective when looking down on an object or a large area of a site plan – but – it can often create visual distortions that confuse viewers. I once overheard an architectural client commenting that the buildings he was seeing in a 3-point perspective were falling over! The confusion may have been avoided if the SketchUp model was presented to the client as an easier to understand 2-point perspective.
Select your Viewing Height
I have categorized viewing heights in three basic options;
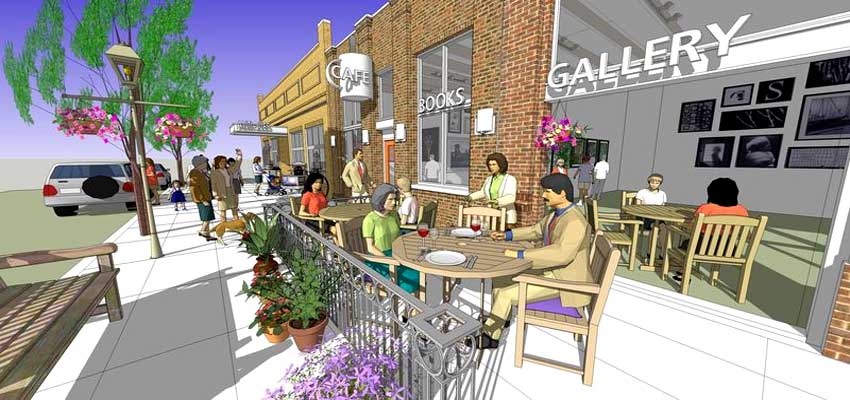
- eye-level view for the most realistic and natural presentation
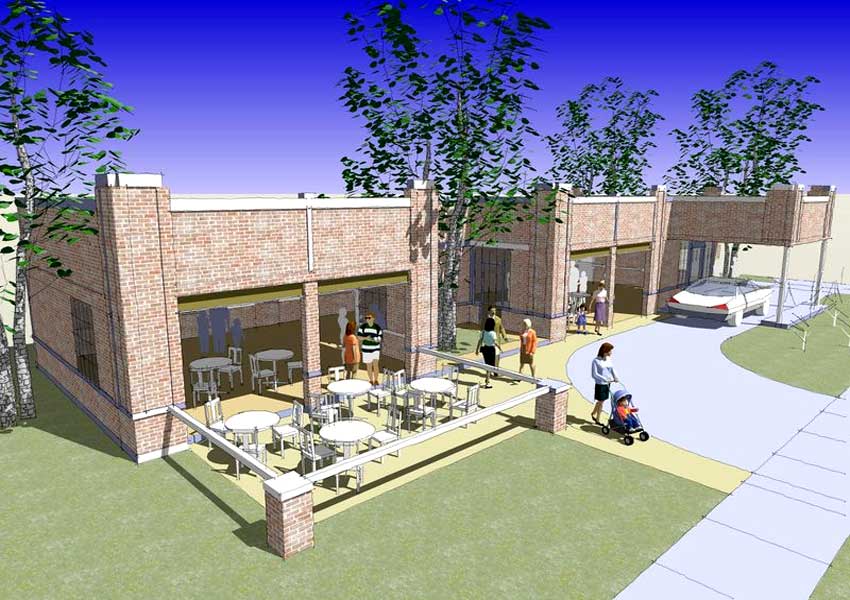
- roof-level view when I want to reveal more of the ground plane (this is like standing on a bridge looking down at a scene from above)
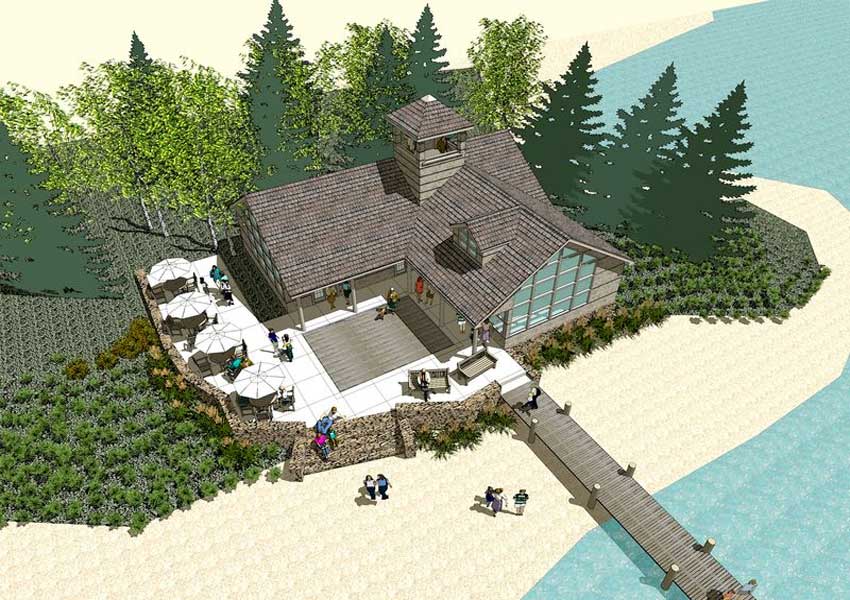
- aerial view for observing the subject in context within a larger area. All three heights are important to understand and how each can be selected to enhance your SketchUp model view. Although rarely used, an optional ground level view looking up at the object can be used to present a subject that may be situated on a sloped site.
Optimize Camera Focal Lengths
Similar to interchangeable lenses on a digital SLR camera, the SketchUp Zoom tool (from the camera toolbar) allows you to manipulate the focal length (FL) of your view. The default FL of a SketchUp model is 57mm and is set to what your eye naturally sees. I always adjust the FL in my models to fit the specific subject – generally using a wide angle (24-35mm) for viewing interior spaces and telephoto (65-85mm) for aerial views of large models. My favorite focal length in most models ranges between 45-55mm. Caution – when using a wide angle focal length, be aware of severe distortion in your vertical lines. SketchUp offers the “Two-Point Perspective” option in the Camera toolbar to straighten out those flared vertical lines. Great tool to use!
To learn more about Creating Perspectives with SketchUp, pick up Jim’s new book Drawing Shortcuts Second Edition or visit www.drawingshortcuts.com.



Excellent tutorial and very easy to understand, undoubtedly help us to improve the views of our perspectives.
hi Jim, great tutorials…..!
One question; with SU, the FOV input is in degrees, How do you convert that to millimeters as with photography? Cheers,
This was really helpful! Thank you!
I want to model a piece of metal art work that changes its look depending on what direction it is viewed from. Any ideas?