SketchUp and Thea Render: Christmas Garland and Glass Ball

By Eric Lay
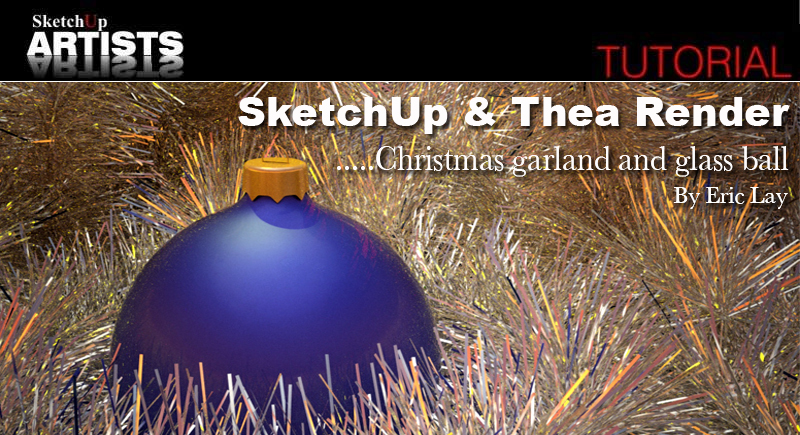
My name is Eric Lay. I am a 3D artist living in Alabama and currently working for KPS Group Architecture. While I spend most of my work day in front of the computer screen drawing I still find it relaxing and quite fun drawing in my spare time. I use a variety of programs but mainly Revit, Google SketchUp, Photoshop, Twilight Render and Thea Render. This tutorial will take you through the creation of my latest rendering. I will also mention that I have never created an image of this type before. I am sure there are many ways of accomplishing it but this is how I did it.
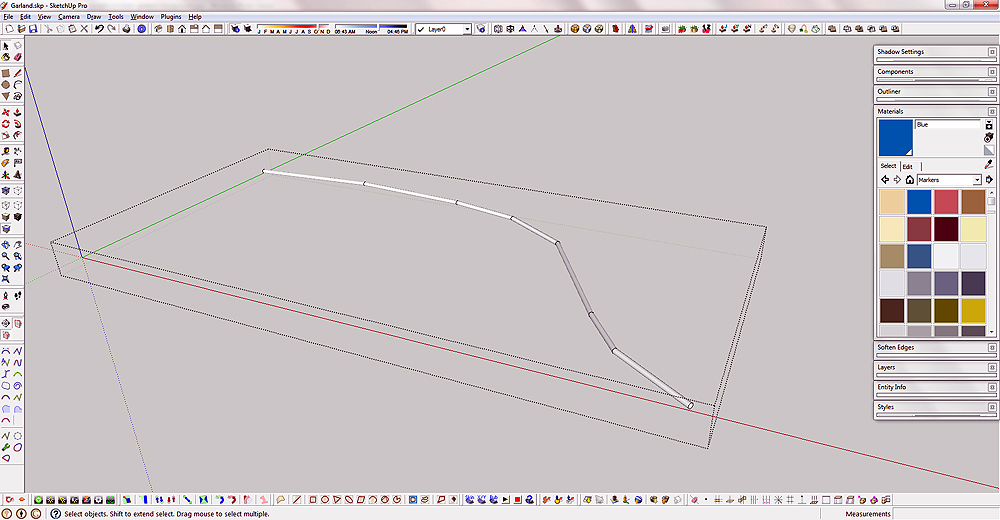
1. The first step is to create the garland in SketchUp. I made a random path with the Line Tool then used the Pipe Along Path Ruby Plugin to give it thickness.
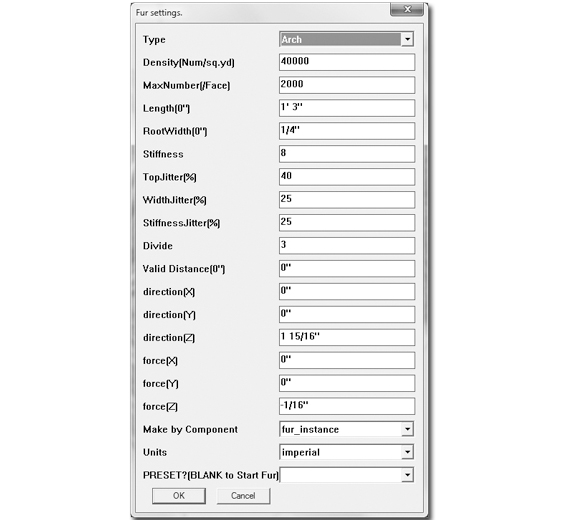
2. Next I selected the pipe and started the Make Fur Ruby Plugin. Here you can see the settings I used. Note the length in the fur setting. If I were to create this at actual scale, SketchUp would have a problem with very small polygons. For this reason I made this Not-To-Scale. I can resize the final product later.
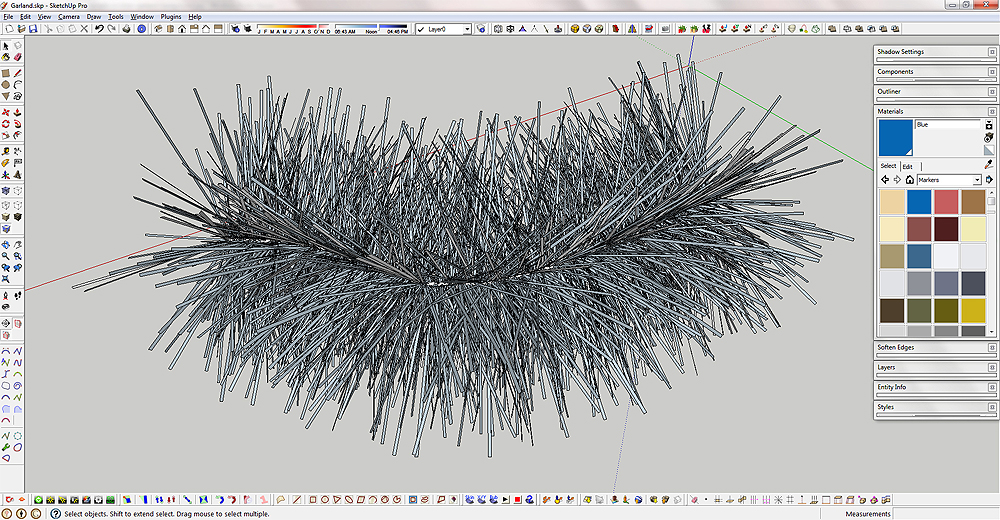
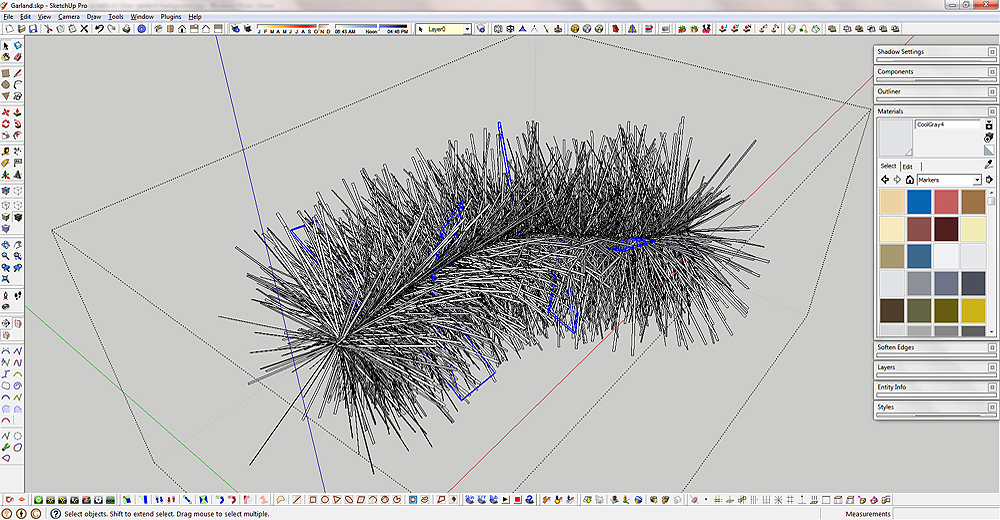
3. In this next step you see the garland as I want it to look. When the Fur Plugin finished creating the blades they all came to a point. Since I selected “Make by Component – Fur Instance”, I was able to edit one component to square them all off in a single step.
4. Next make a few of the blades unique because I want them to be a separate color.
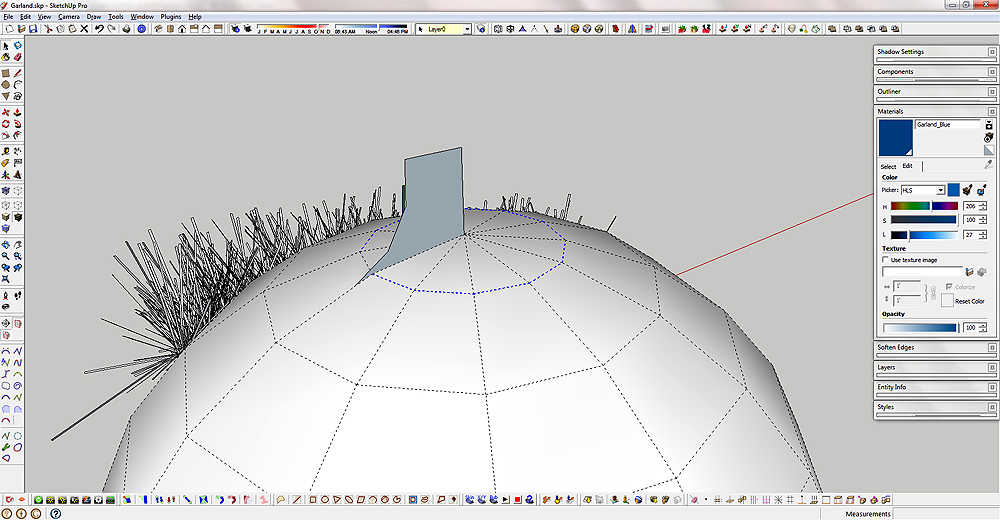
5. Now that I am happy with the garland I move on to modeling the glass ball. I used a Plugin called Sphere that allows you to choose how many latitude and longitude lines you want; I use 12 for each. I then create a profile for the top of the ball and use the Follow Me tool to sweep it around the top.
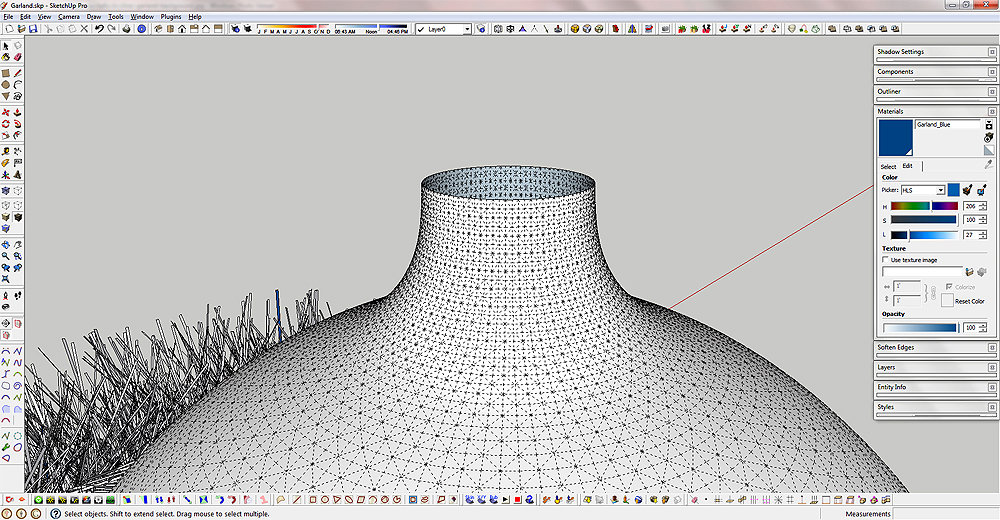
6. In this next image you see that there are many more polygons than previously. After I did the sweep at the top I used the Subdivide and Smooth Ruby Plugin to smooth out the mesh. For this I use 3 iterations as I want it smooooooth.
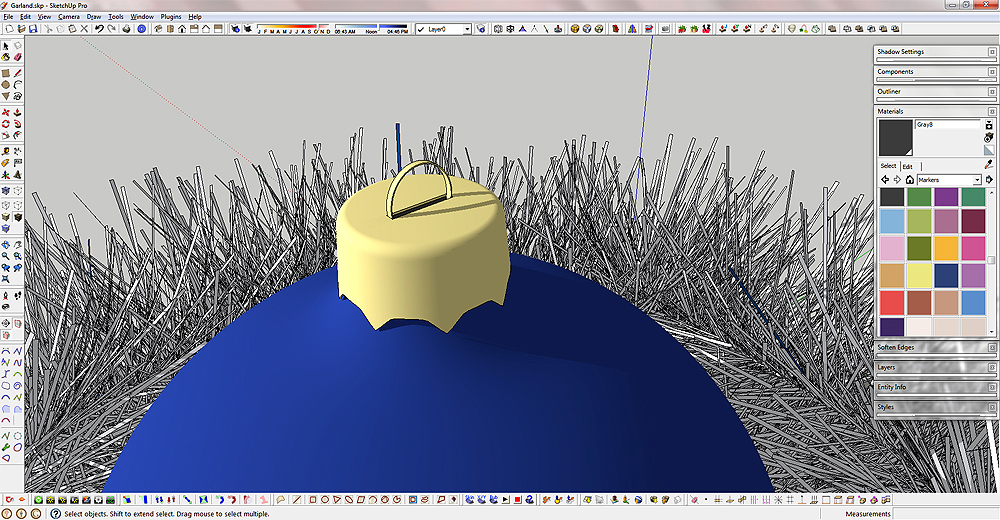
7. This is the finished glass ball. I made a brass cap by creating just 1/8 of the shape then copy/rotating it around. I then cut a hole in the top and placed the ring inside.
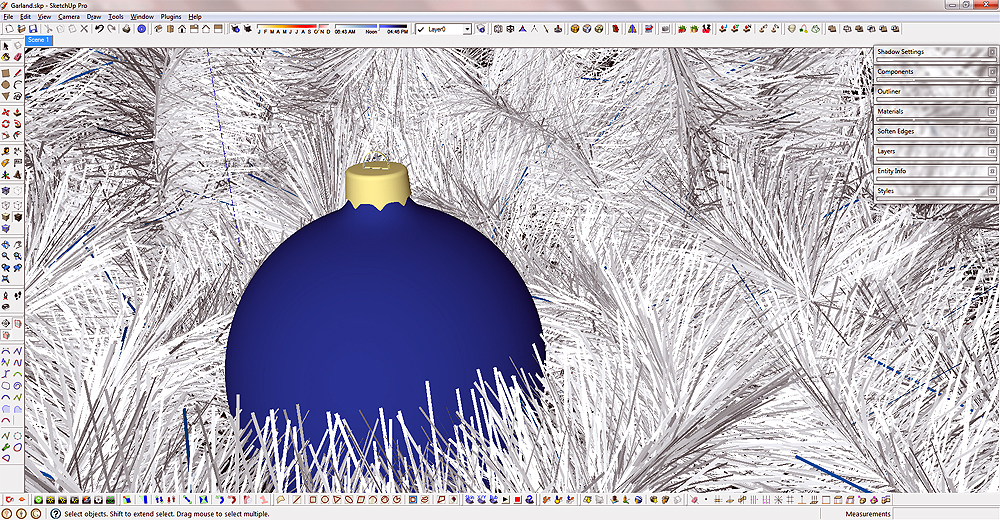
8. Here is the setup prior to exporting out to Thea Render. I copied the garland component a number of times and placed and rotated them around the glass ball. Now I was able to pick a view that I thought was pleasing. I then used the SketchUp to Thea (SUTH) Ruby Plugin to bring the scene into Thea Render.
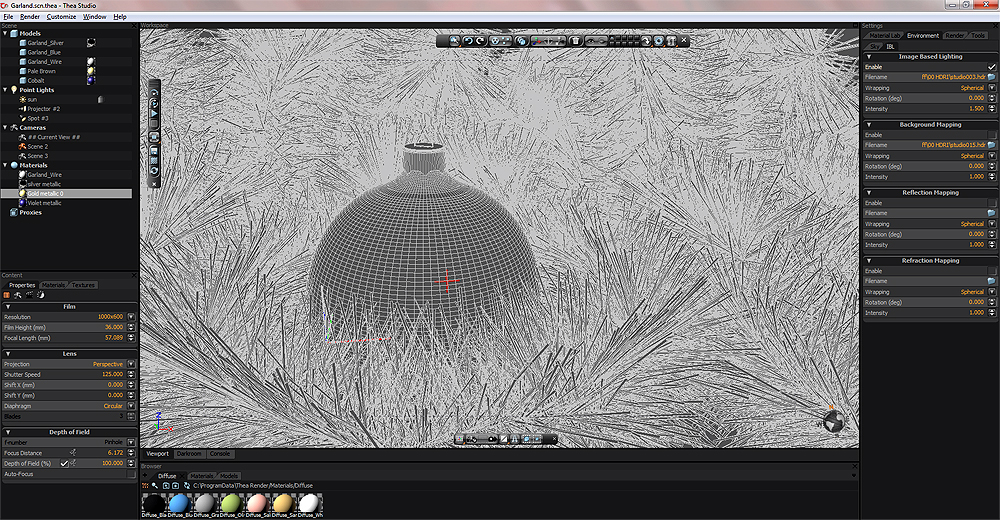
9. This image shows the imported scene in Hidden Line mode. Now I can tweak the materials, add lighting and render the scene.
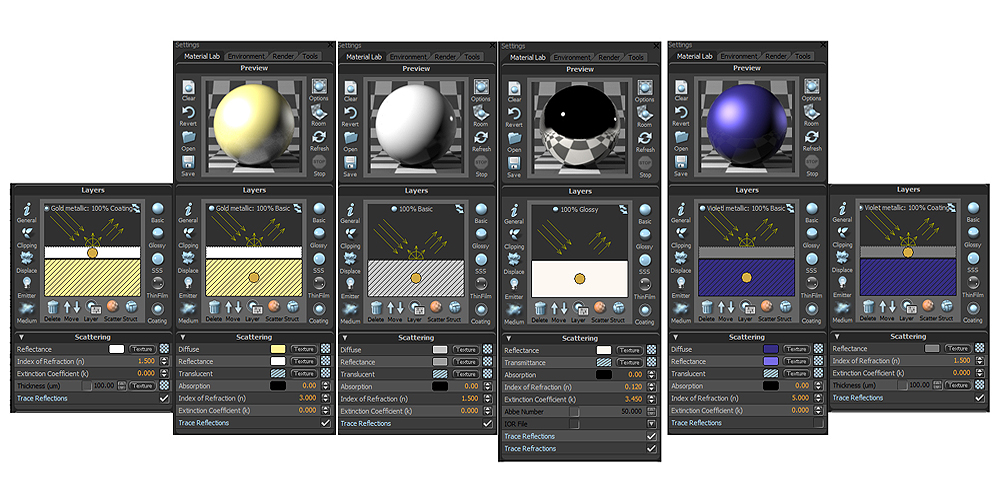
10. These are the material settings I used.
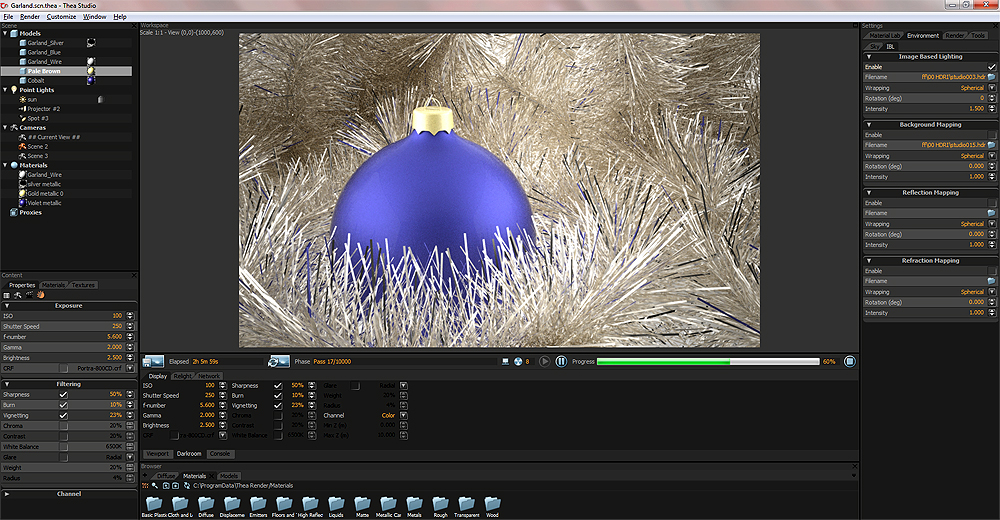
11. Here is the rendering two hours in. At the bottom and sides you can see some of the render settings used. In addition to the HDRI for lighting I placed a light behind the garland and above the ball.
Final Renders
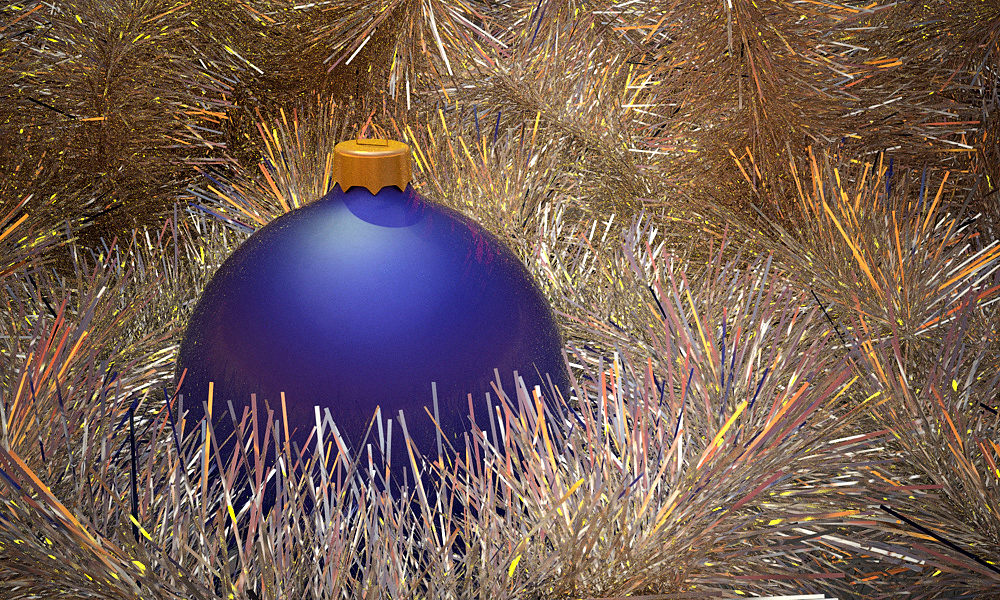
Here is the image with a different HDRI background and some colored Omni lights.
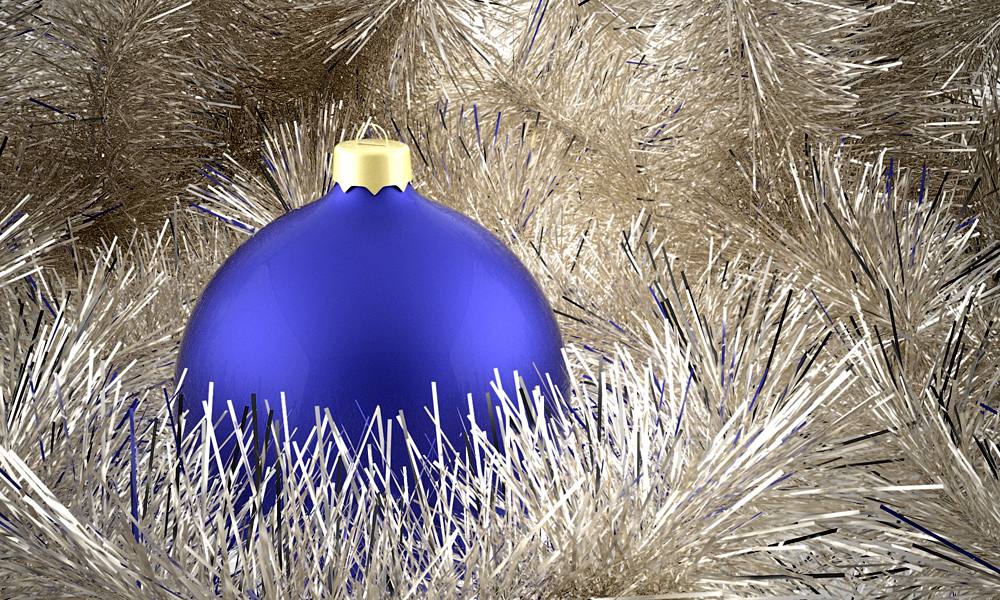
And that is pretty much all. Here is the final result after sleeping on it. The final SketchUp file is 4MB and has 173,265 faces in case you were curious.
To recap, here is the list of software and Ruby Plugins used in this tutorial:
- Google SketchUp
- Pipe Along Path Ruby Plugin
- Make Fur Ruby Plugin
- Sphere Ruby Plugin
- Subdivide and Smooth Ruby Plugin
- SketchUp to Thea (SUTH) Ruby Plugin
- Thea Render
Thanks for spending some time reading my tutorial and I hope you find it useful in some of your own 3D creations.
Eric Lay



very nice tutorial.thanks!