The Quasi-Clay Style
 By Oliver Shea
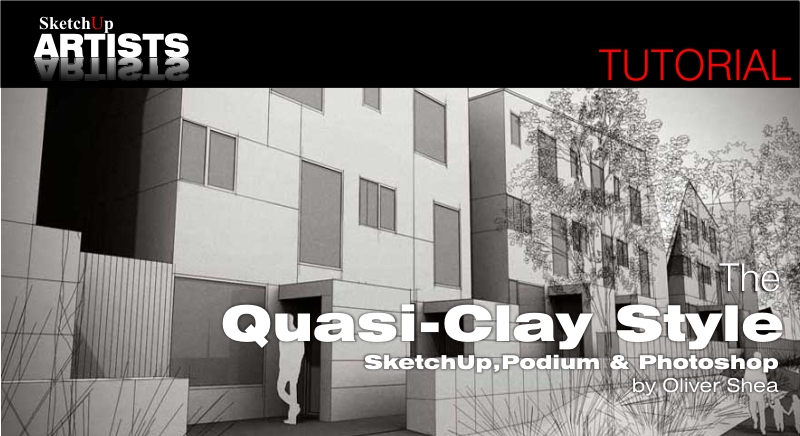
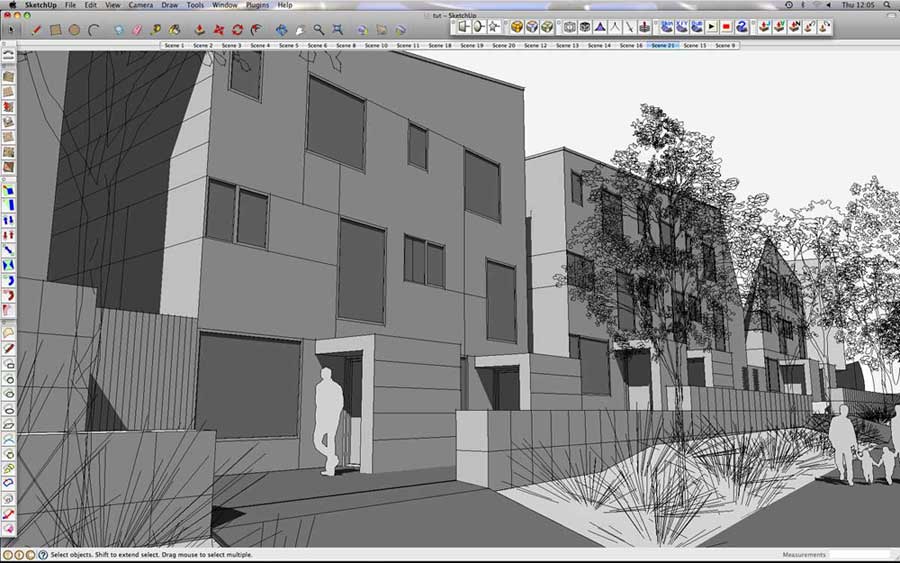
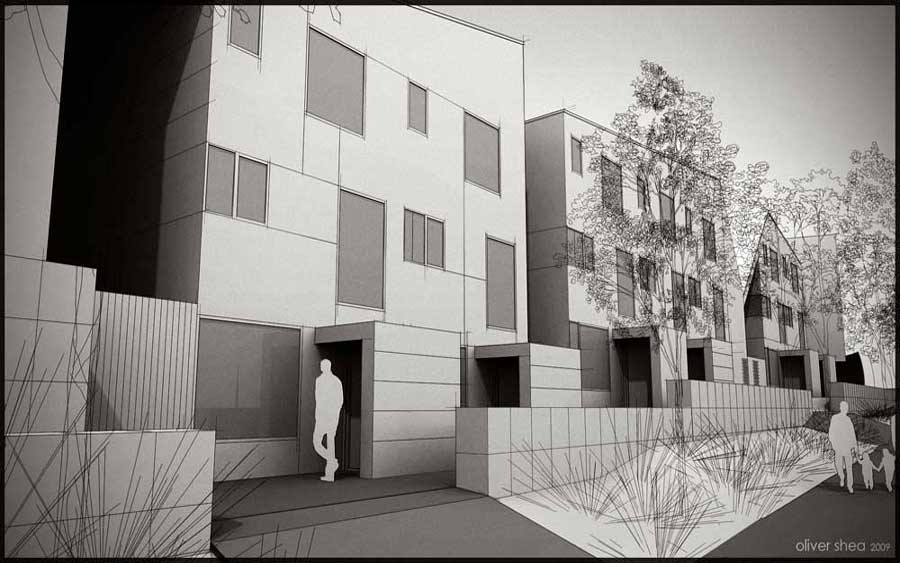
The image I am using for this tutorial is part of a housing project I worked on a few months ago. We are going to try and achieve a fake or ‘Quasi – Clay Style’ effect in this tutorial. For this tutorial I used Podium as my choice of render application, but you can use anyone you prefer for your raw render image. You will also need Google SketchUp and Photoshop.
1. Open up your model in SketchUp.
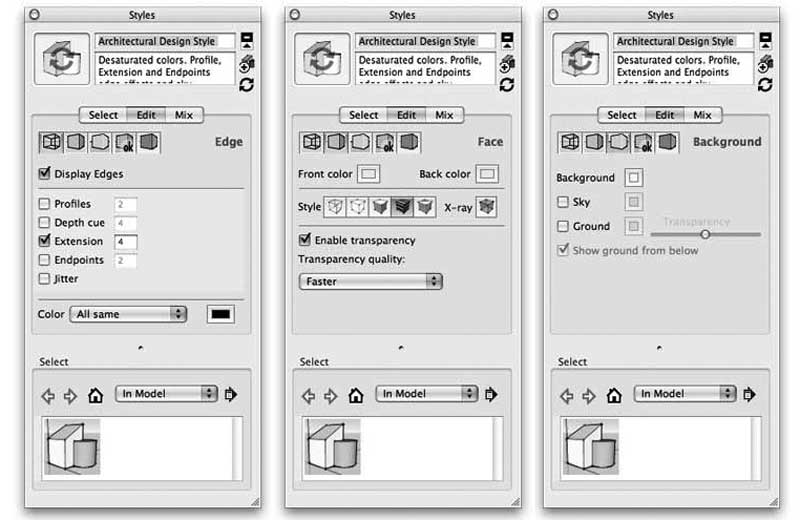
2. In the SketchUp Styles window set the line Extension to between 3 and 5. Set Front/Back face colour to light grey. Set Background colour to very light grey (never use absolute white for renders). Now paint your windows a darker grey and add a very small amount of reflectivity if desired. Highlight certain areas by using deeper grays/colour if you like. See settings in below images:
3. In the SketchUp Shadows window Display Shadows. Set Time and Date to compliment your scene. Set the Dark slider to between 8 and 15 (this affects the sun strength in Podium). Check “Use sun for shading” (this produces soft shadows in Podium).
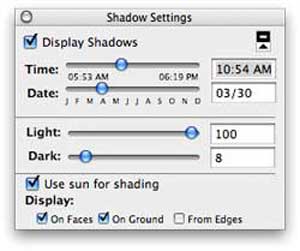
Step 3
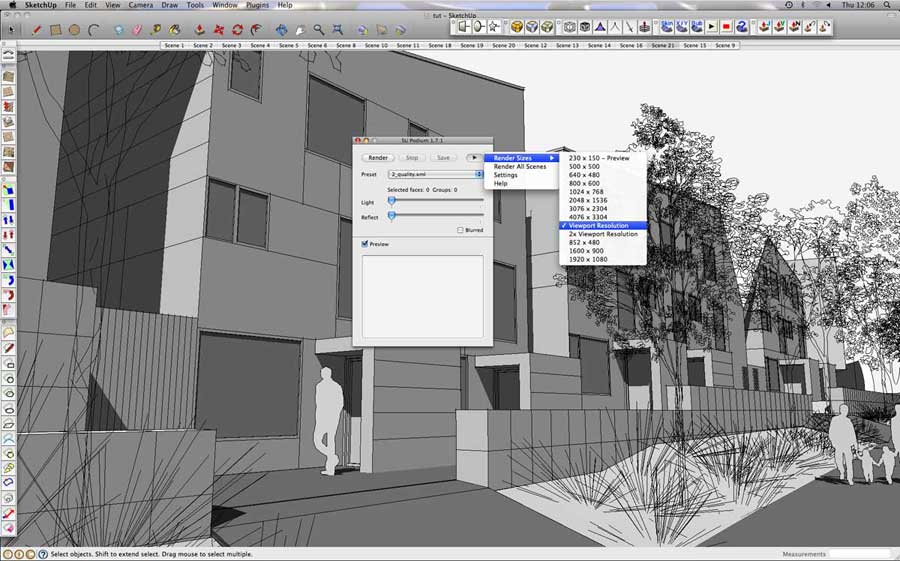
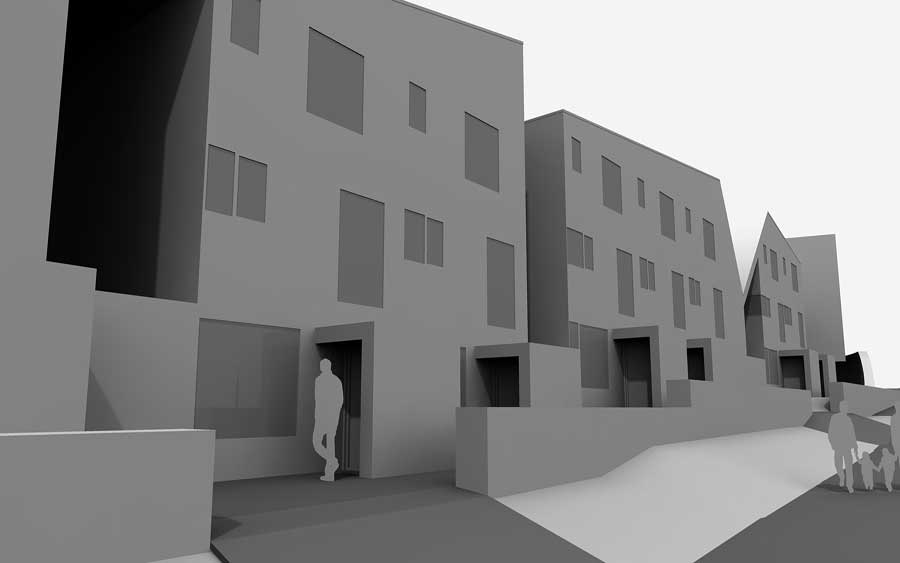
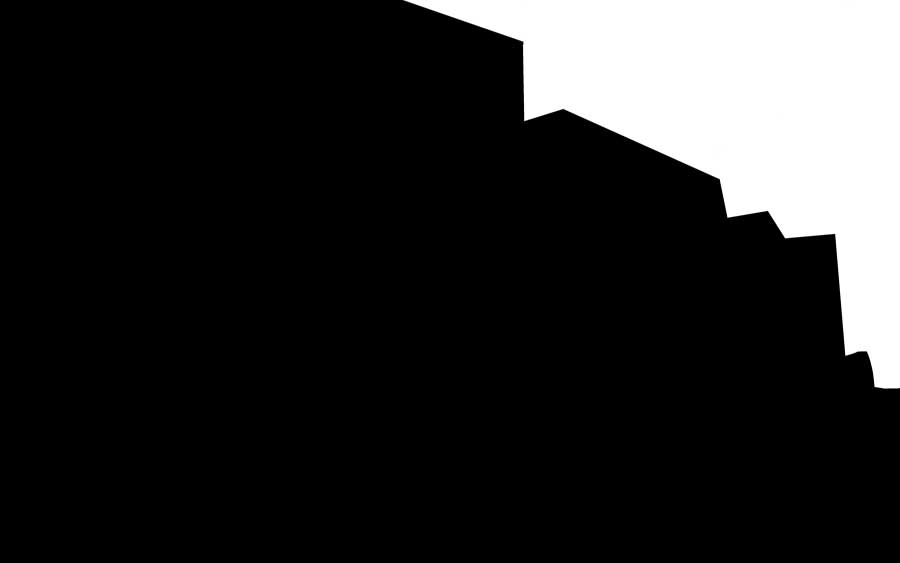
4. Now open SketchUp Podium. Make sure you have the latest version. Set Render Size to at least the Viewport Resolution. Set Quality and Smoothness to Full. Select the 2_quality.xml preset. Click Render and wait for it to finish. Now change preset to “Black and White.xml” to create a mask of your render.
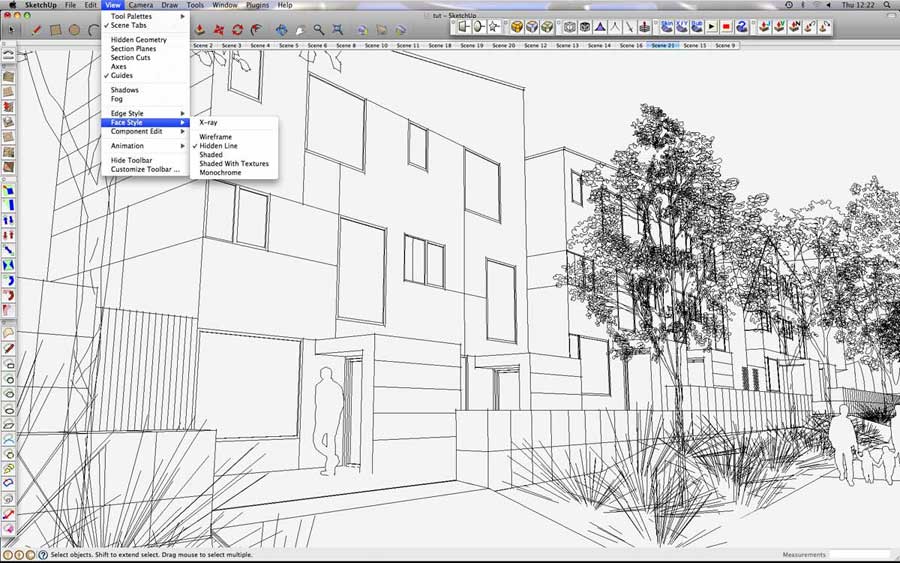
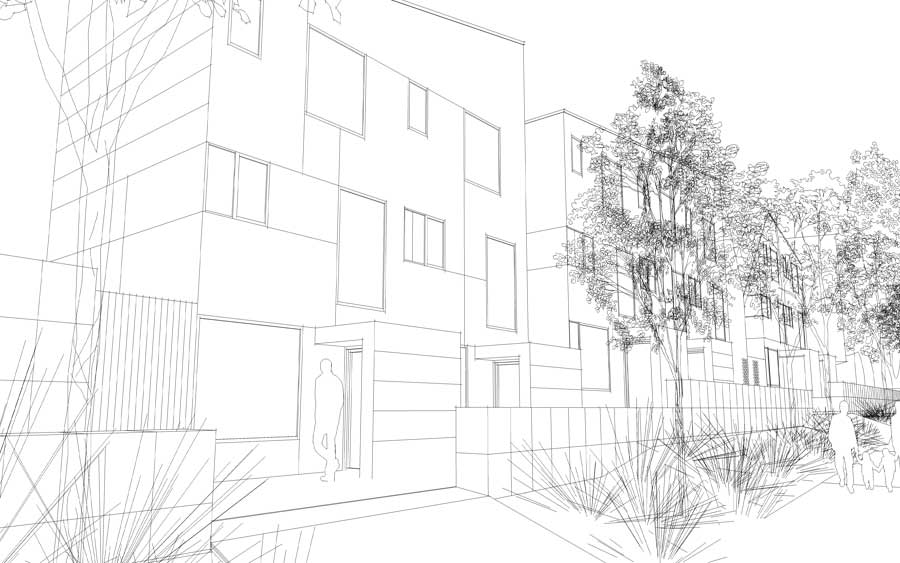
5. Now change the SketchUp Face Style to “Hidden Line”. Turn off Shadows. Change Background Colour from very light grey to white.
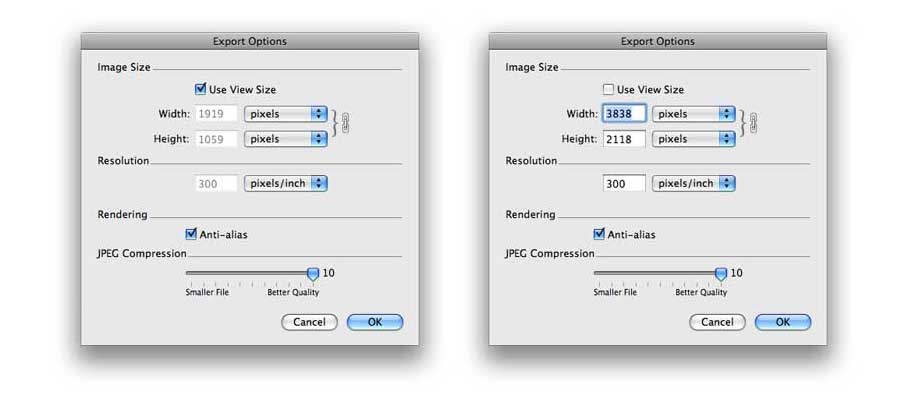
6. Export image at twice your Viewport Resolution (this will give crisper lines). See settings in below images:
You should now have a raw render, line export and mask to begin the next step.
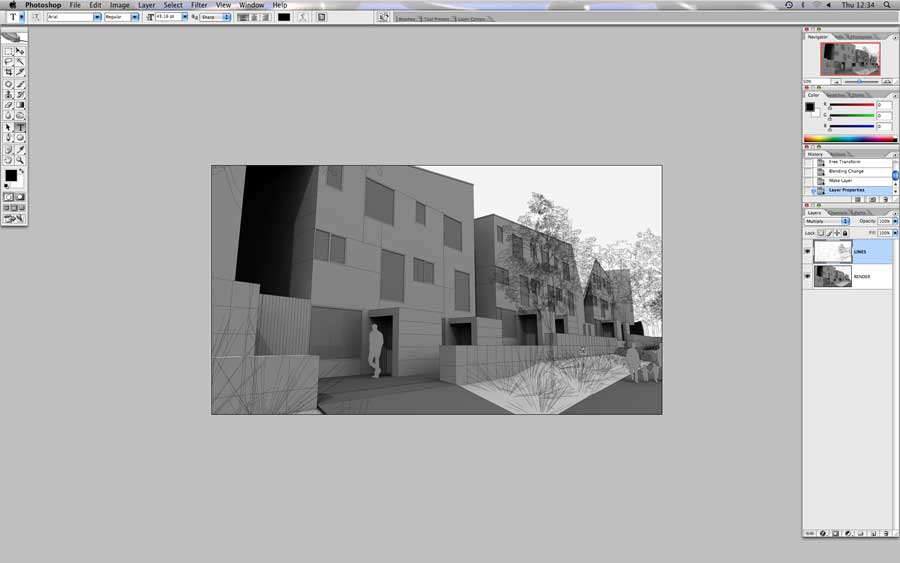
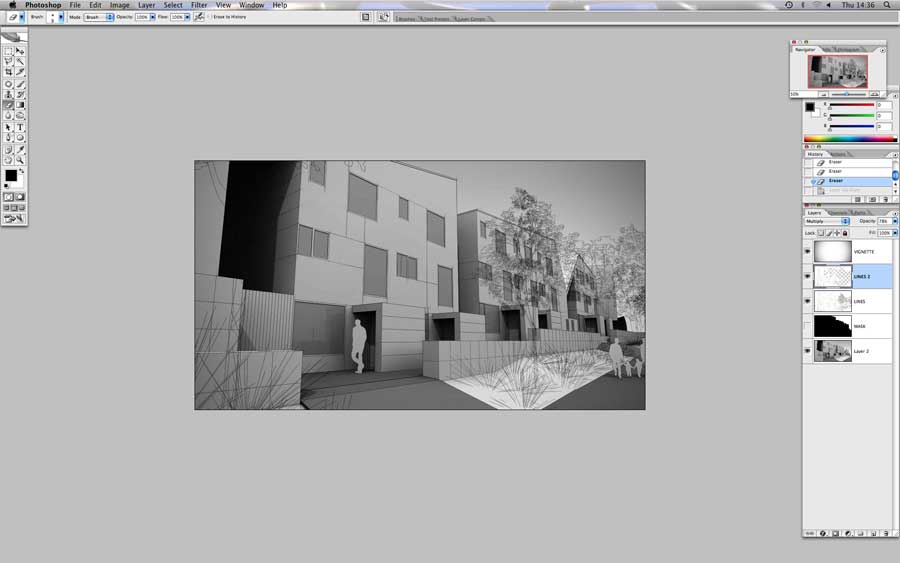
7. Open up Photoshop or similar image editing software. Open the render, line export and mask. Copy and paste the line export over your render. Re-size (accurately) and change blending mode to “Multiply”. Your layers should look like this:
8. Set Blend Mode to Multiply
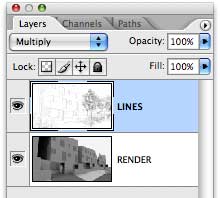
Step 8
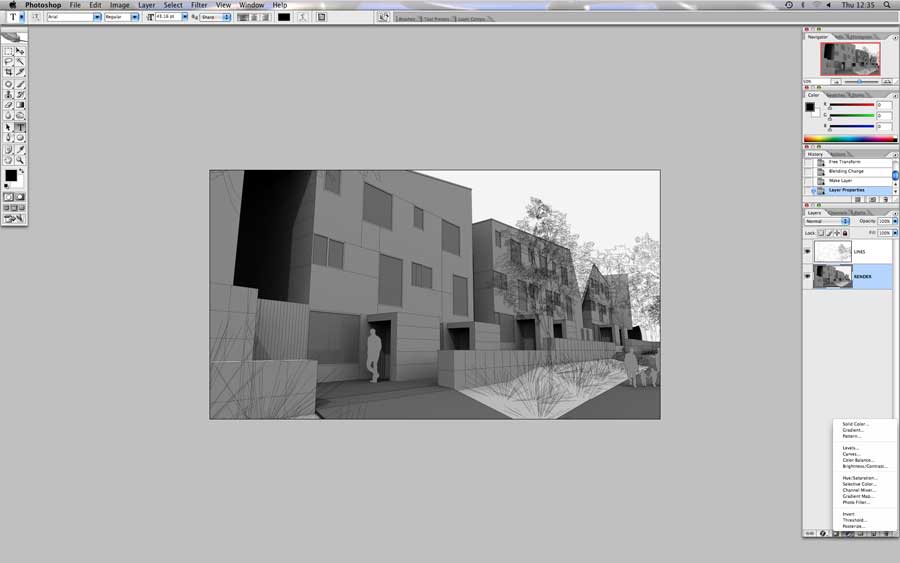
9. As you can see, the render is quite flat in tone. We need to adjust the levels to create a more contrasting image. Select your render layer and create a new adjustment layer (levels). Check “Use previous layer to create clipping mask”. Up the whites and lower the blacks. See images below:
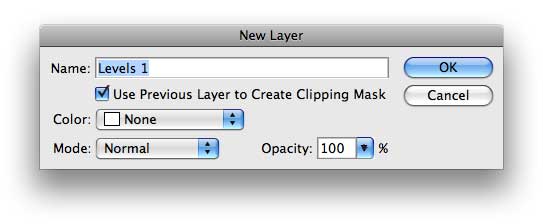
Check 'Use Previous Layer to Create Clipping Mask'
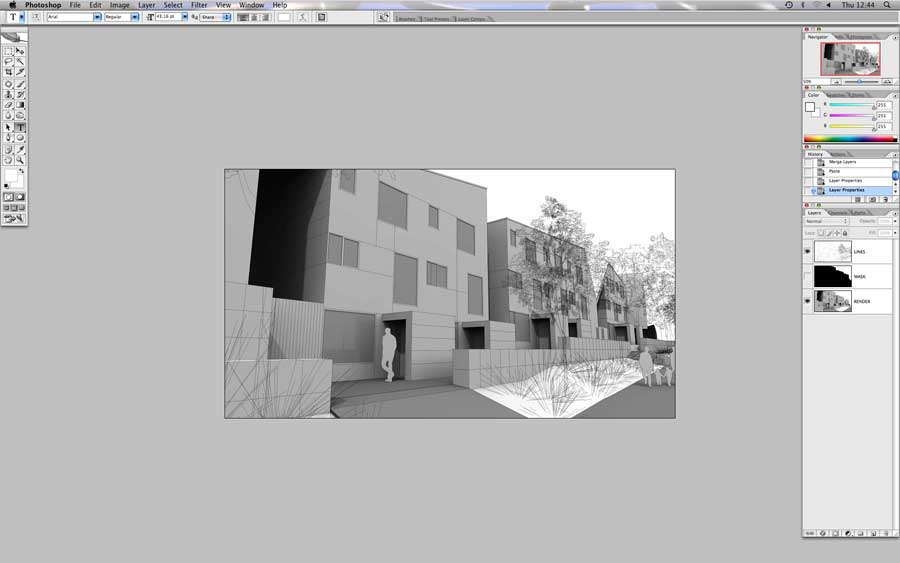
10. Now open up your render mask. Copy and paste over your other layers.
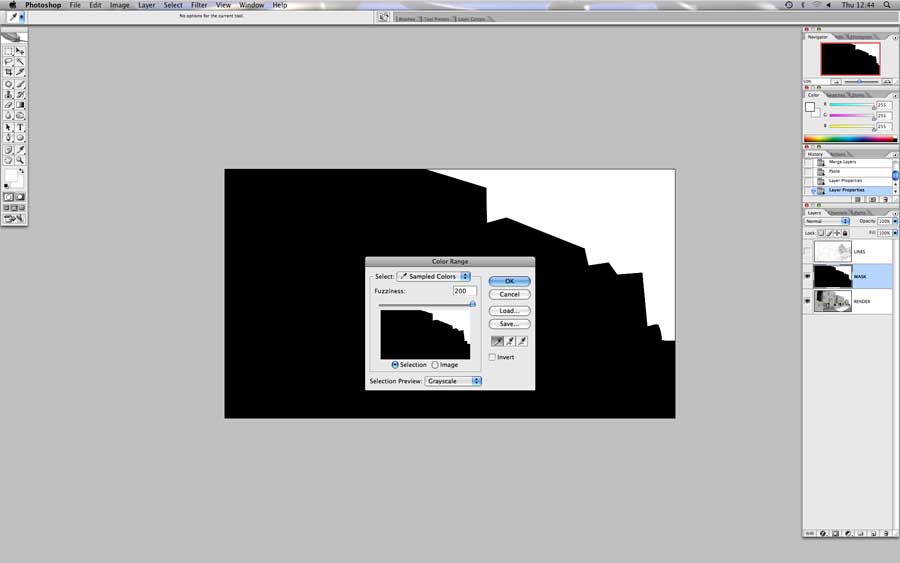
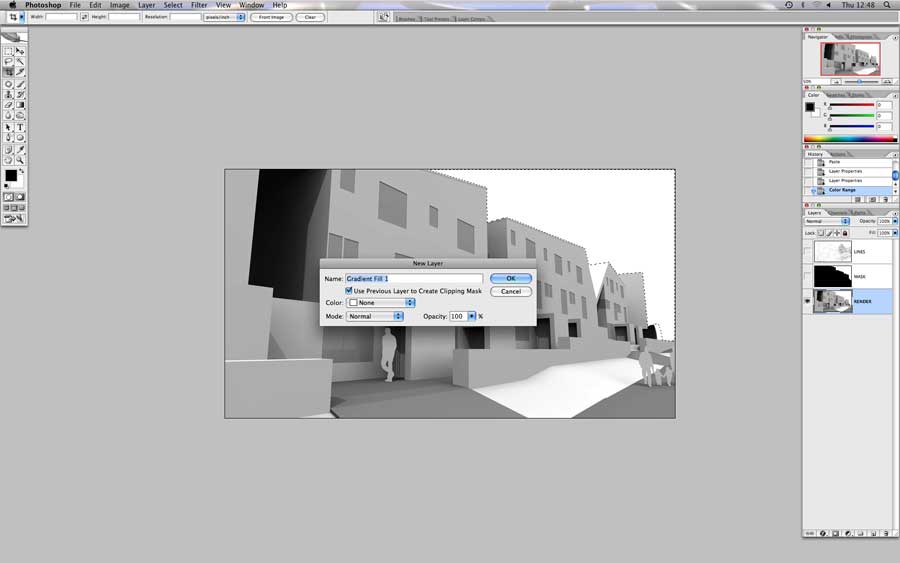
11. Select the white using “select color range” tool.
12. Now, while the sky is selected, select your render layer and create new adjustment layer again, but this time choose “Gradient…”. Check “Reverse” when you get the option. Change the opacity of this layer to around 35% (opacity depends on your scene).
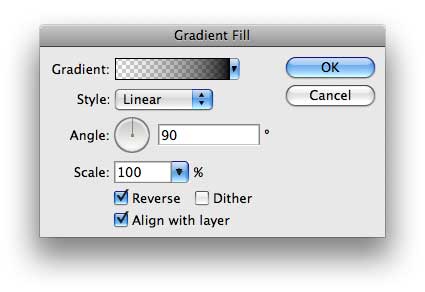
Choose Gradient and Check Reverse
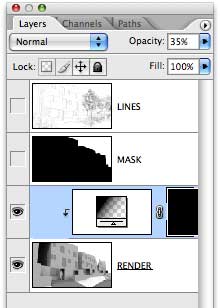
Set Opacity at 35%
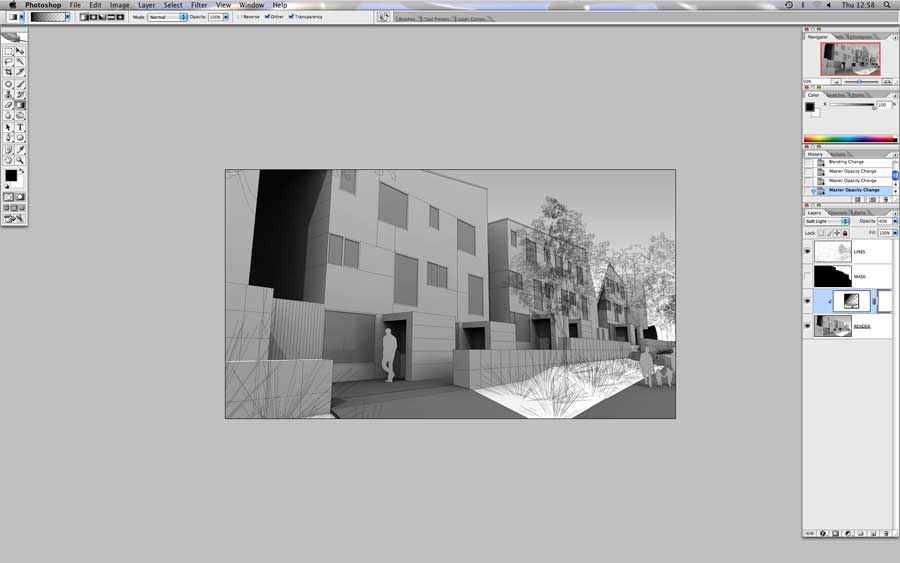
13. Now create another gradient over you render layer. Change the blending mode of this layer to “Soft Light” and opacity to around 40% (again, opacity depends on your scene).
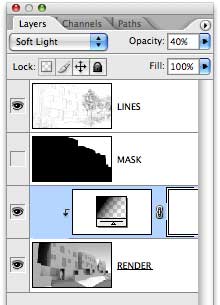
Set Blend Mode to Soft Light and Opacity to 40%
14. Merge the gradient layers to your render layer when you are happy with the results.
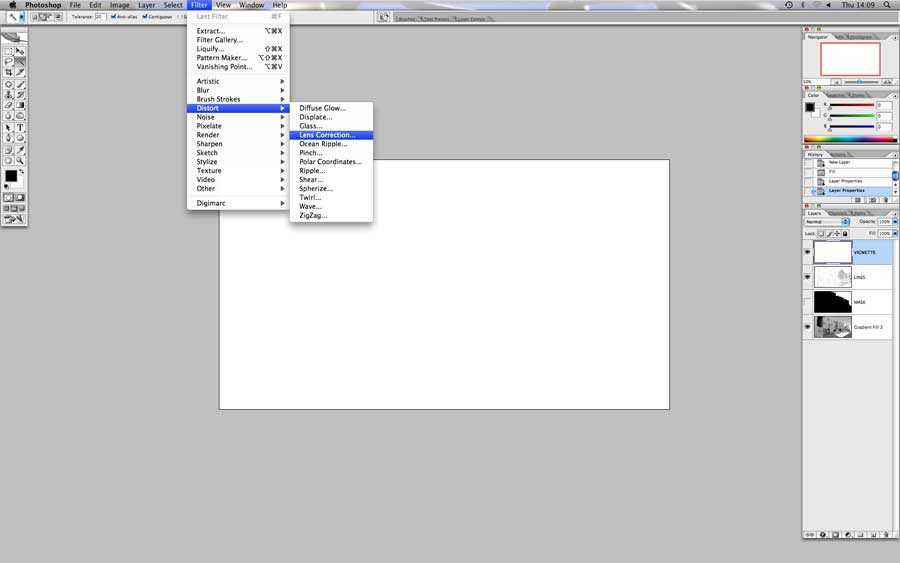
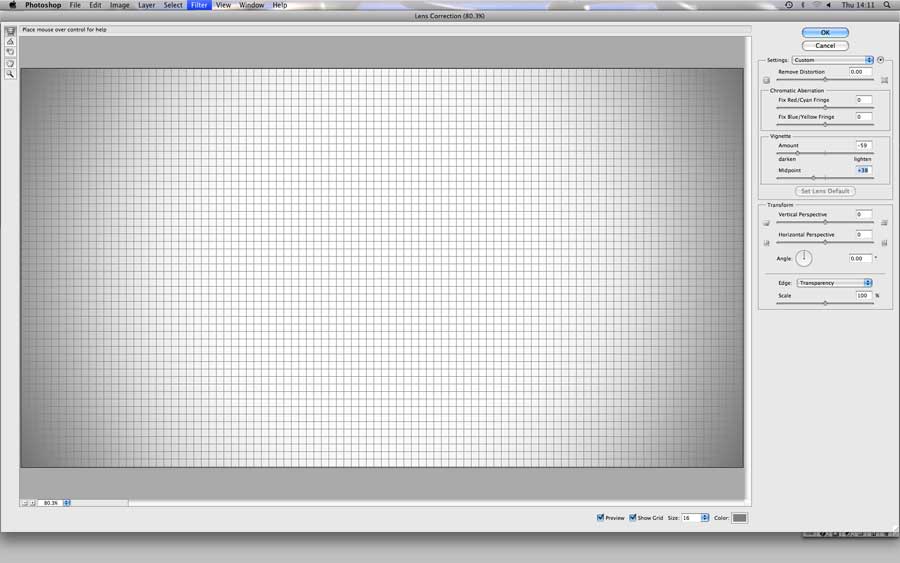
15. Create New Layer. Fill White. Go to Filter>Distort>Lens Correction. Adjust vignette level. When you are happy, change the blending mode of this layer to multiply with opacity around 60-80% (again, opacity depends on your scene).
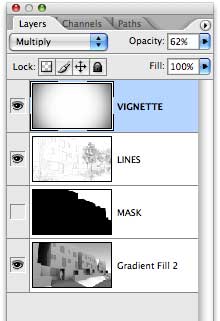
Blend Mode to Multiply and Opacity to 62%
16. Your image is nearly finished. You may want to add more variation to the line export layer to give a more hand-drawn impression. In SketchUp, change the line extension to 30 and export another “Hidden Line” image of your scene. Place this second line export over your image and erase some parts here and there. This step is not completely necessary but it ‘softens’ the transition between line and render. Change opacity to suit your scene.
17. Now do some final levels/contrast adjustment to make image more ‘punchy’. You may want to add some more gradients/overlays to balance the image. Also, a high pass filter overlay can help bring out some lost details.
18. Select the render layer. Add noise (Filter>Noise>Add Noise…) try 2 % monochromatic gaussian noise or less (don’t use too much). This step is vital.
19. You can also add some warmth to the image using Photo Filter or ColorAdd. Finally add a border to finish the image. That’s it!
I hope you enjoyed this tutorial and find it useful in your workflow and presentations.
Oliver Shea
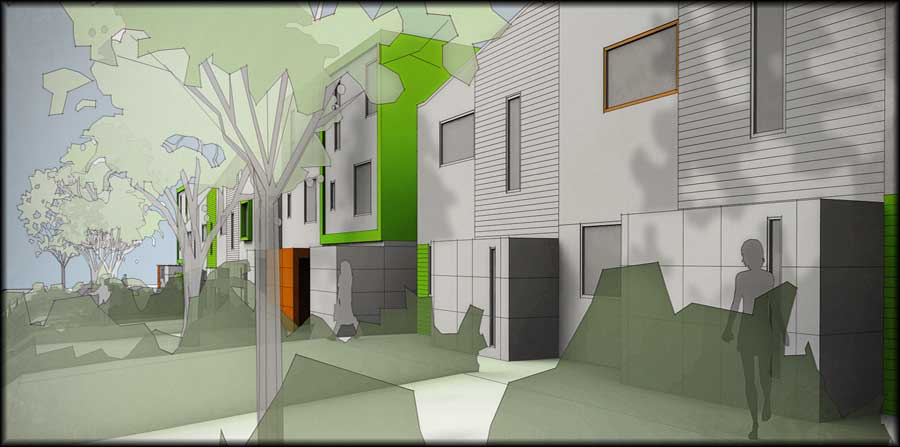
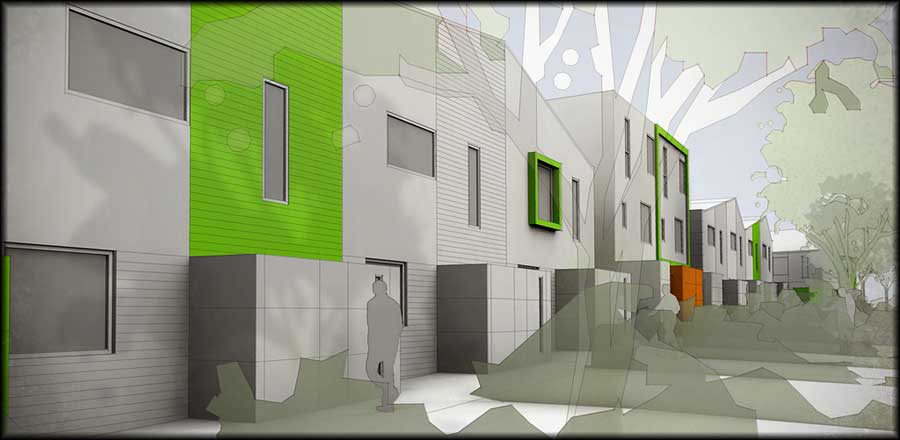
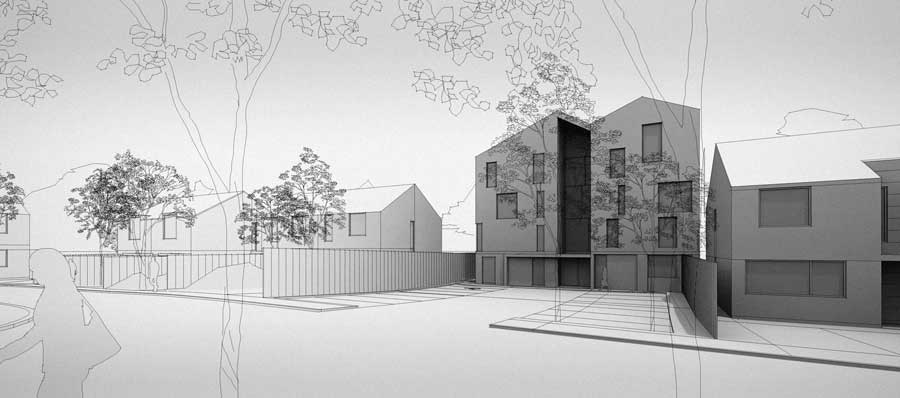
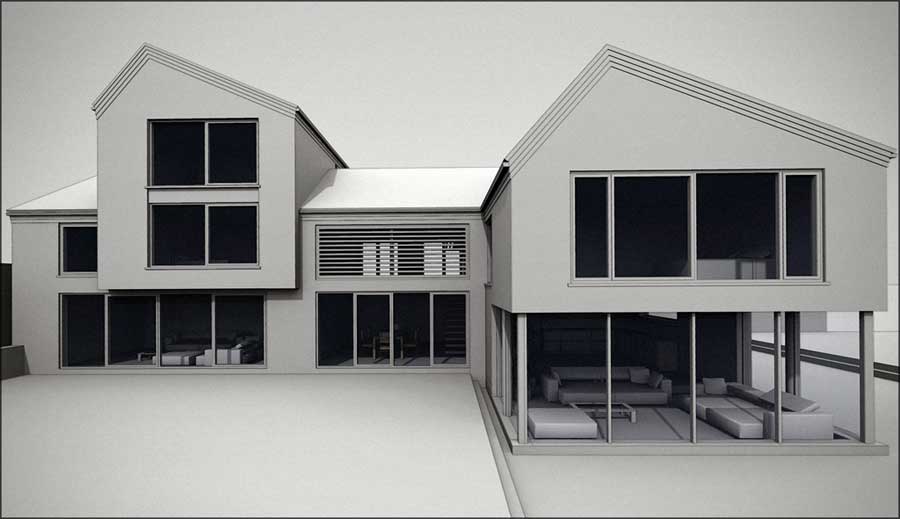
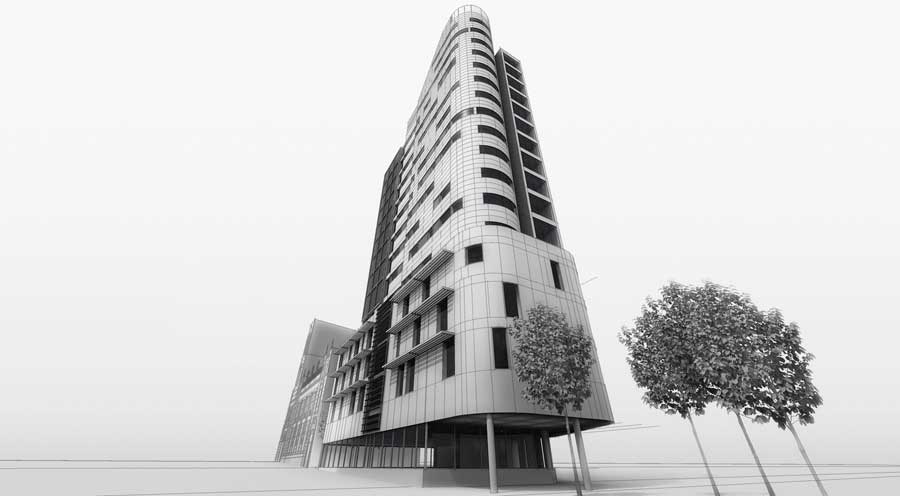
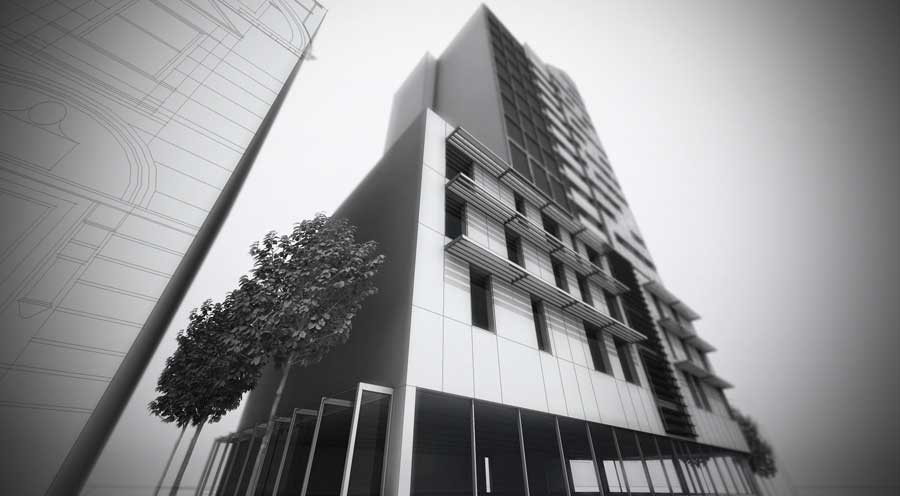
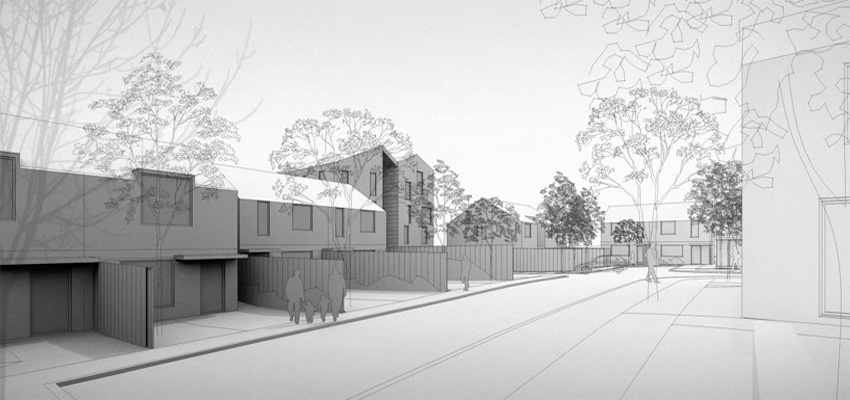
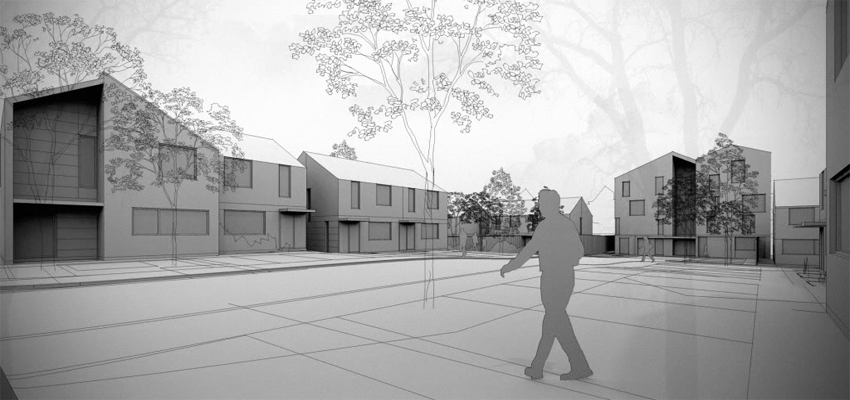
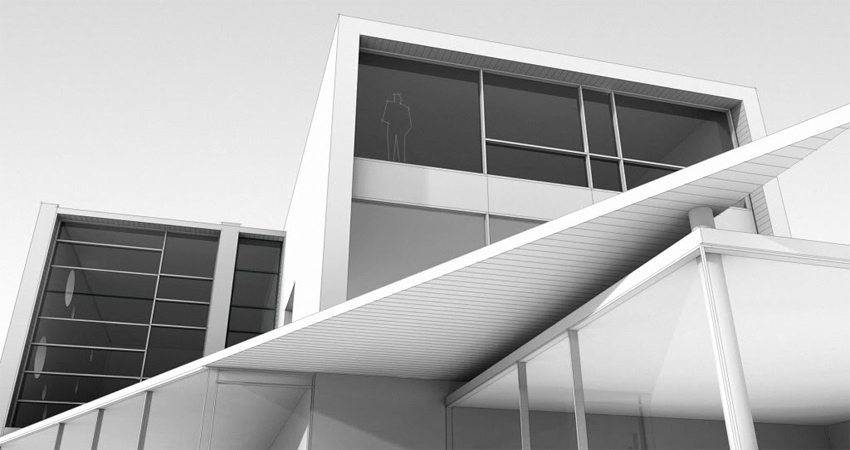
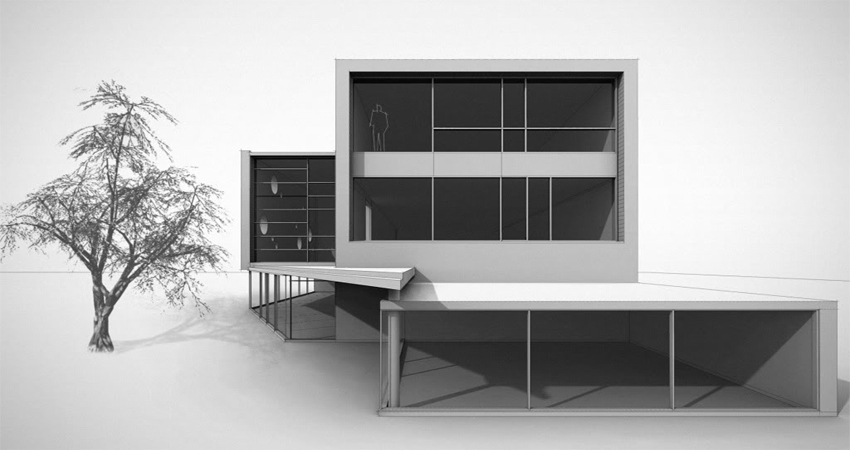
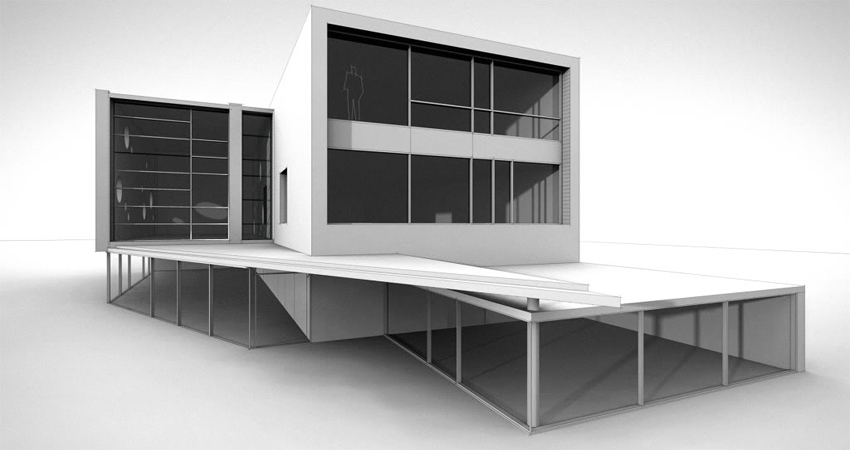
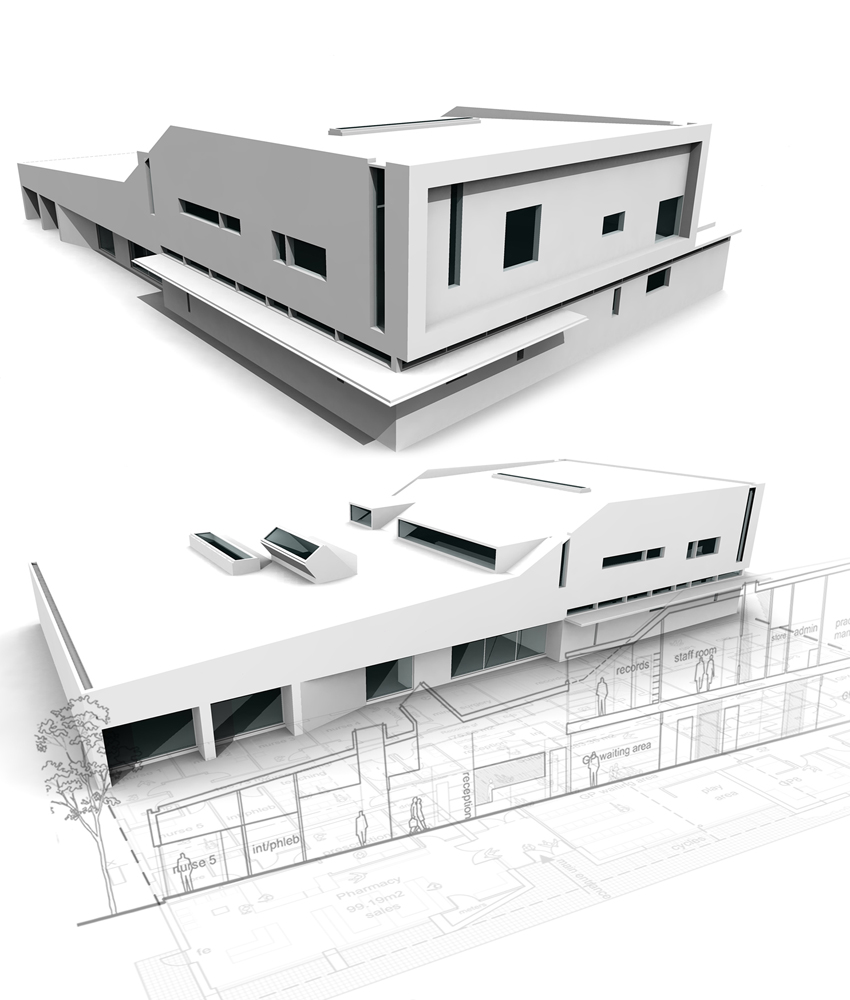
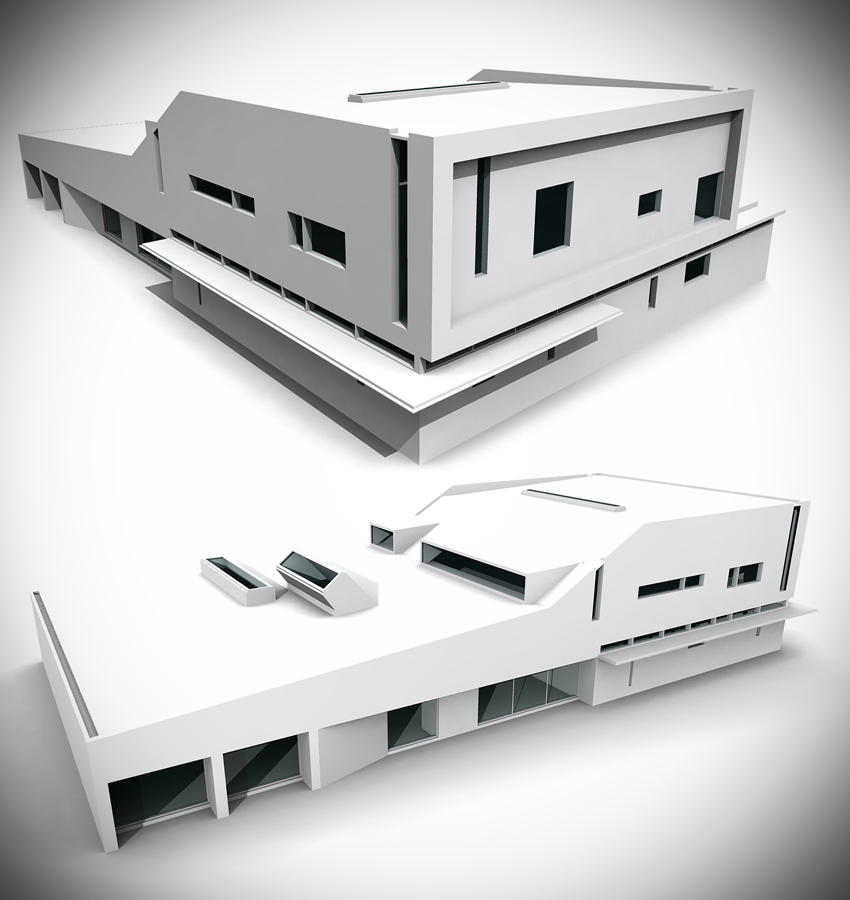
Here are a few example images of Oliver’s work. They show different ways of using his style with and without textures/colour.
Some new recent Images by Oliver




Great tutorial Oliver. Thanks so much.
OMG Shea! You the best!!!
Hi,
I just loved ur presentation,and style of doing it…Really Fantastic work…
I’ve some doubts regarding the last images.How did u add color to trees with green?Is it done in photoshop or sketchup…?
Thanks in Advance
Rose
The colour to the trees was added in Photoshop-magic wand and fill. Nothing complicated really. The other colours are from SketchUp.
Thank you for the comments and I hope you find the tutorial useful.
Those are beautiful renderings! I am very impressed. Thanks for posting this!
thanks for great work!
how can find ‘Quasi – Clay Style’ ?
thanks again
Hi there,
I have sent you several emails regarding this, you will have to be more specific.
Do you mean you can’t find the line style? All screenshots are taken from the mac version SketchUp, so your menu may look slightly different.
thanks oliver
and sorry for several emails!
i found it !
have nice times
Hey, i really want to create renders like this for my presentation. Just a few questions though.
1/ Im struggling to finr the black and white.xms (I have SUPodium 1.7) any link to this?
2/ When i try to render with ‘Hidden Lines’ It still shows colour’s.
3. Where did you get those trees and people? 🙂
really nice job, specially liked image num6 where you used the croos section. how do you manage to do that?
thanks
Hey Oli,
I’ve been messing around with your Quasi-Clay style, trying to achieve a similar effect, with varying results. It’s really an incredible look. I’ve had some difficulty following the process you have here with the new V2 layout. The presets you mention aren’t available in V2, or at least not with the same names. I’ve been tinkering around with stuff, but haven’t had the best luck. Are there any suggestions you have, or any way you could explain how to achieve this style using V2?
Thanks so much!
I’ll have a look into that Trevor, there is always a solution.
Hi,
I really love this style but I am having the same problem as trevor. I have podium v2 and cant do a black and white.xml render and its really frustrating me. I am kind of new to podium and would love some more tips on how to achieve this look.
many thanks and keep up the fantastic work.
Luke
OK. Solution for SU Podium V2.
Go to Styles in SketchUp. Turn off sky and change your background colour to white or pale grey.
In Podium V2 Environment Options, change Background to “Default (set in SketchUp)”
Now the sky and model will no longer be blue when rendered.
Hello Oliver
I downloaded a trial version of Podium to try your Quasi Clay style model. Will that work? It seems like will not be able to control the render size.
Also I am having a hard time rendering out the model in general. I know that I have the ram because I practiced on the models in podium. Any suggestions?
I am also wondering about your trees – they are terrific – where did you get them and why do they look different in your model from the photoshop version?
Thanks
Liza
Hi Sir Oliver,
You’re tutorial is useful and easy to understand. But my problem is my podium trial does not appear in plugins, i’m stuck. I need your help
Thanks in advance
Hi was wondering how you got the site drawing effect shown in image 6? Great tutorial and thanks
Hi guys sorry about the late reply. Any questions regarding installing of Podium or any podium-related problems should be directed towards the Podium forum. It’s very active and you will receive good help. Liza: sometimes I add trees in photoshop; you can simply use a tree paint brush stamp. Thanks and take care.
Hi Oliver,
I am loving your clay-style renders! I have just installed SU Podium V2.5 Plus (2015). Can you please tell me what Environment settings to use in order to achieve the same look as your renders? The renders keep turning out too bright.
Currently they are set to:
Preset name: default.pps
Background: default
Sun/Sky Brightness – Intensity and exposure: centre/medium
Options: clay
Thanks in advance – very much appreciated.
Hi sir Oliver Shea, I saw your Fotosketcher outputs. They look really nice. May I know your settings? I plan to use it for my landscape concept perspectives. Thanks!