Pencil Sketch Tutorial

By Snoopywang
This tutorial is an attempt at creating a pencil sketch effect with Piranesi. To achieve this effect in Piranesi the general idea is to create a strip of brush, as brush strokes have a feeling of a pencil. Then continue to adjust brush size and drag the brush to form the effect. With selected brush parameters, dragging the brush and spacing the brush with direction a nice pencil effect can be achieved. The following are some of the steps used (some basic knowledge of Piranesi is needed for this tutorial).
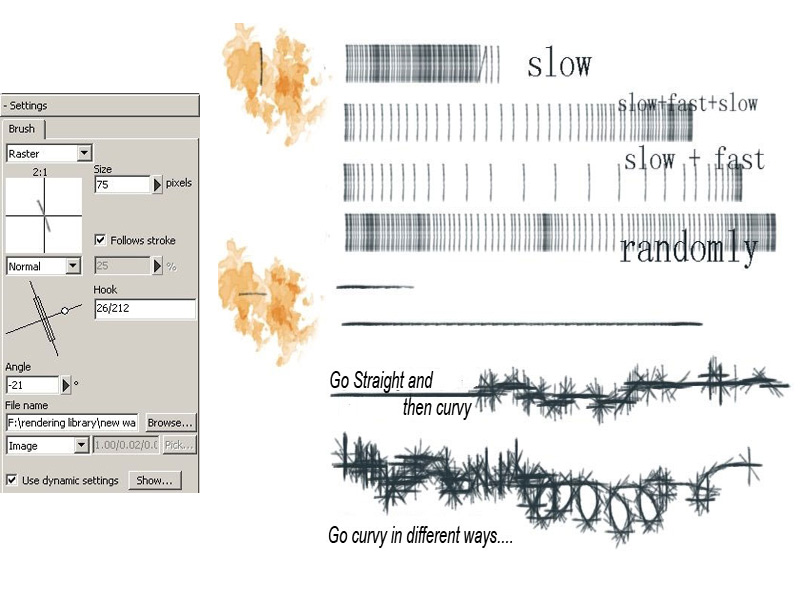
Step 1. First of all I made this raster brush shape which can be saved as a new brush in your Piranesi brush library.
Step 2. Using the brush just saved, open the brush settings parameter window. Select Normal mode. When you drag the mouse quickly the strokes will be produced between, with a relatively large gap. If the mouse is dragged more slowly the stroke gap will be very small or even not seen. In this way, try to use different speeds (slow, slow + fast + slow, random mode, etc.) to drag the mouse.Then, check the Follows stroke, when you drag the mouse, the strokes have the effect of sloshing around. In this way, try to use different speeds and direction when you drag the mouse.
Step 3. Attempt to approximate the trajectory of an arc, with different rates and drag the mouse. You can get a group of lines arranged along the arc. We can use this freehand style of lines to express the outline of trees. We can adopt a different rate of dragging the mouse to create a set of different density lines, which is a good way of showing a trees density use this to compare the expression of intense lines near the trees, with relatively sparse distant lines of plant expression
Step 4. Using these previous methods may still be a problem. If I want light lines and you drag the mouse slowly, the lines may be difficult to compare the formation of a smooth path along the arc (after all, the mouse control is not so good). Thus, we can adjust the parameters of a paintbrush to solve this problem: The Normal is adjusted to Spaced, and at the same time the interval can be adjusted from the brush (the figure is 225%).
After this operation, we can quickly drag the mouse and not have to worry about lines that are too intensive.
We can also use the brush in more flexible creative ways. For example, the frequent adjustment of the size of brushes, and then use a “stamped” way to draw tree branches; we can also regulate brush size to very small, and then drag the mouse to draw entire tree trunks and branches. In fact, the brush is not important the most important thing is your imagination. After all…..this is “art”.
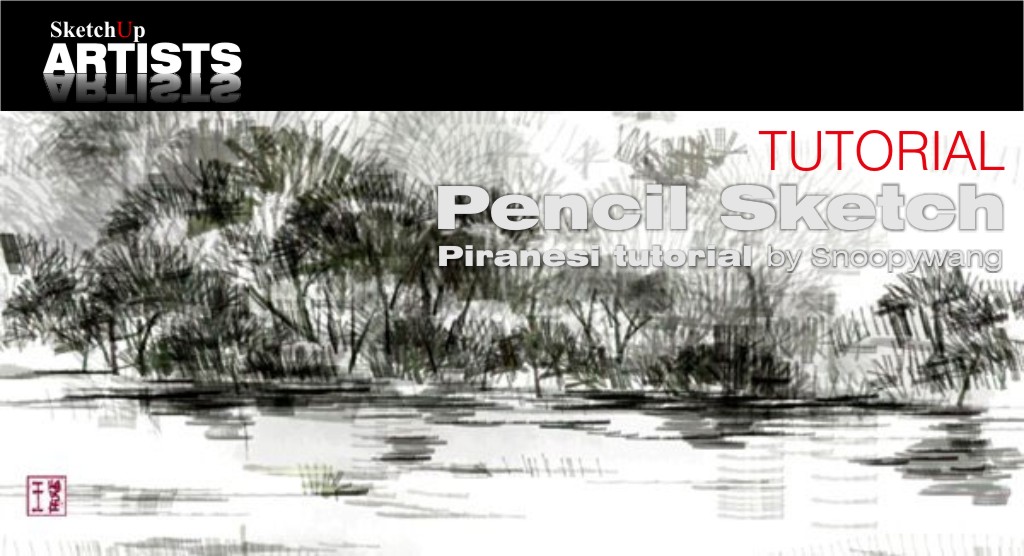
And the finished image.
I hope you enjoyed this short tutorial.
Cheers
Wang


great job snoopy! great tut
I would like to learn about the technique … and i believe there could be a free download program in order to do so, am I right ?
Thank you very much.
@ Yisel arias you can download a 30-day free trial of Piranesi 2010, which is fully functional here http://www.piranesi.co.uk/trial/trial_home.asp
Wang, you are brilliant. I bow to the master. I am amazed. So technological and artistic at the same time.
Thank you!
Wang,you are the besT
It is possible to you to know about the techincs to do
the brushes?What program is the best
VERY THANKS
Its a fantastic drawing, thanks Wang
I am doing some test with trail version 2010 Pro but I can’t seem to find the ‘follow stroke’ option in brush settings?
Guess I was trying the deault brushes, all ok now 🙂
@TaranQ Glad all is OK now and you resolved the problem 🙂