Pencil Overlay

By Sid Porobic
This tutorial stemmed out of the need to produce attractive “hand made” images which are to be used when discussing architectural projects with clients and planning authorities alike. In my experience I have found a need to create relatively abstract images which are to serve the purpose of keeping a project open in the early stages of the design process.
The process itself is relatively simple. You will need software like Photoshop which supports layers and blending modes. Although I personally use Photoshop you may find that open source image editing software could be perfectly adequate for this exercise. Download Pencil Stroke and Base Image files for this tutorial here.
First you need to load your image file. It could be an image export directly from SketchUp. If that is the case you will need an image with shadows and no edges.
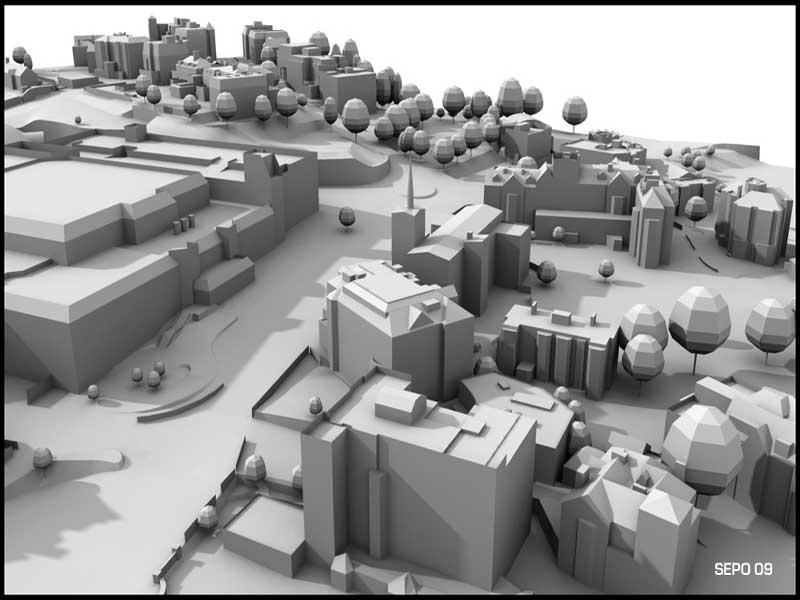
I use so called clay render done in Podium which sports occlusion and transparency. I also use a rendered image with fully fledged material definition. Most of the preparation of the base image is in adding richness to the base image.
The things I usually go through are adding a small amount of noise and small amount of blur. This allows me to control contrast in the image better, without creating artifacts. The other thing I do here is changing color either by adding additional layers of gradients or/and filter for manipulating tone mapping.
Second element you need is the image file containing pencil strokes. You either scan handmade pencil strokes or create the image in image editing software like Photoshop. I prepared such a file earlier in Photoshop. You can further manipulate this file by changing Sharpness, Blur or Contrast. You also could add small amount of Noise if you wish.
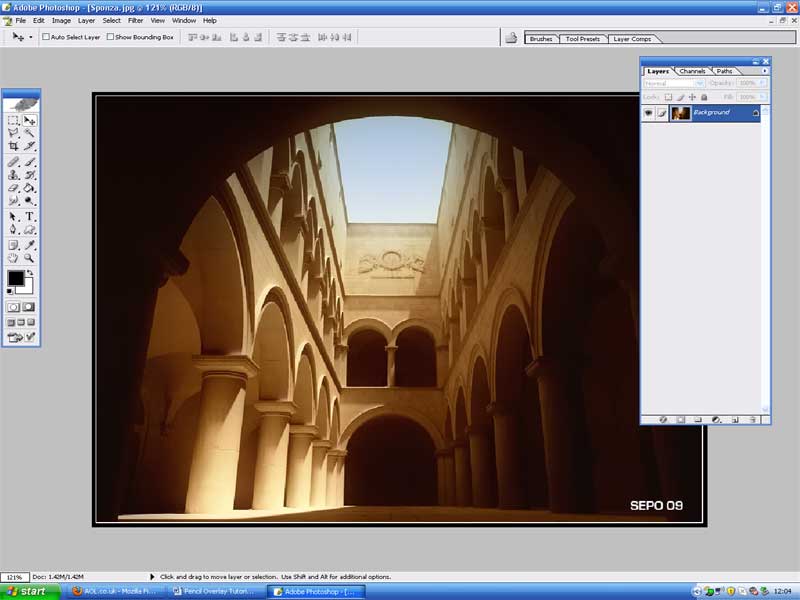
These are the prepared base images using the methods described above:
1. To begin with you need to open your base rendered image. I normally use Normal Blend mode for this image.
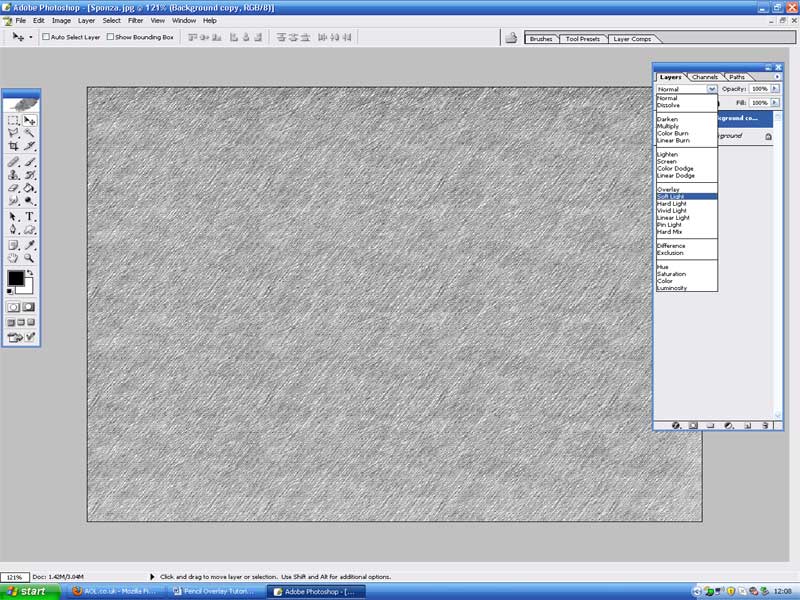
2. Next thing you do is open your image with pencil strokes. You will need to make sure that the image is as big as or bigger than the base image.
3. Position pencil image over base image.
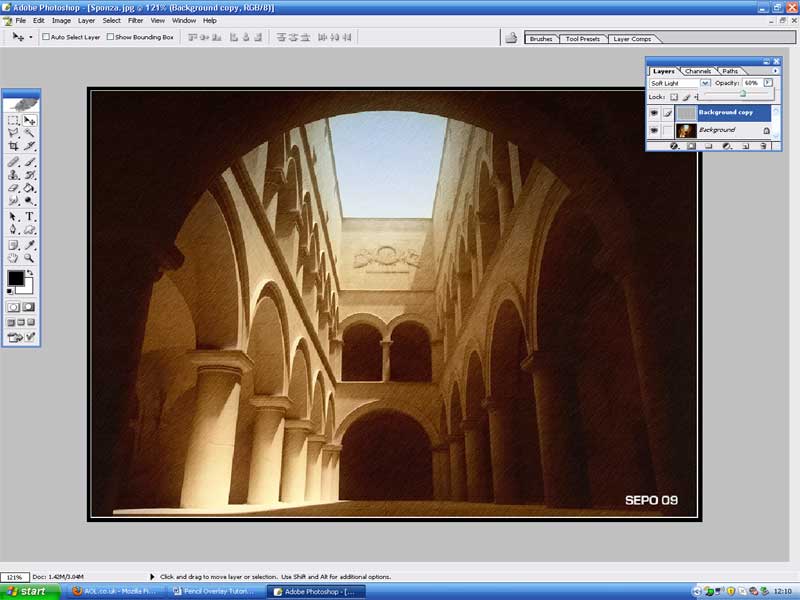
4. Now set the Blending mode to Soft Light.
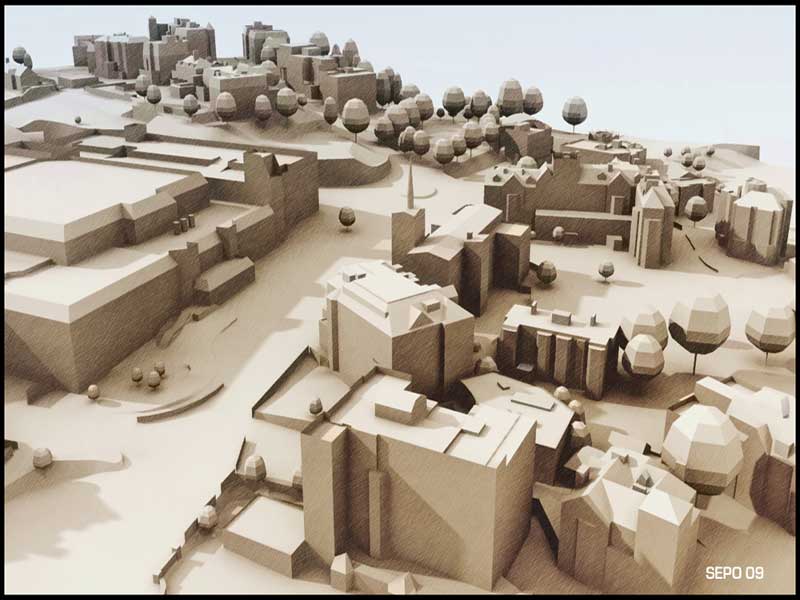
5. This gives it a nice rich contrast. Adjust the slider to anything between 30% and 60%, subject to your liking. One more thing you could do is selectively erase parts of the image pencil strokes in order to bring variation. If you choose to do that I suggest you use eraser tool with 50 % transparency to allow for smooth transition. Experiment until you feel you are comfortable with the end result.
6. Once happy with the blend, Merge the image and then do a final contrast and curves adjustment. There, you now have an attractive ‘hand made’ like image. I hope you found this tutorial useful and you manage to incorporate it into your daily workflow.
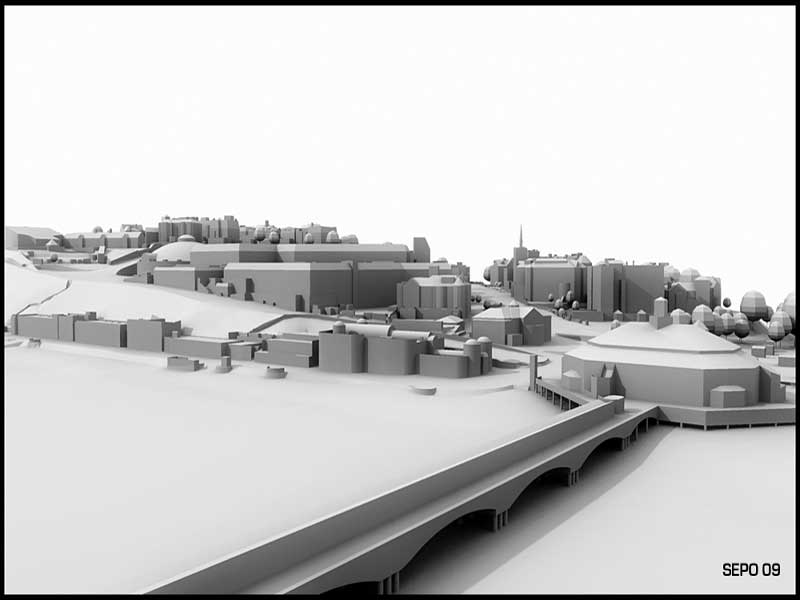
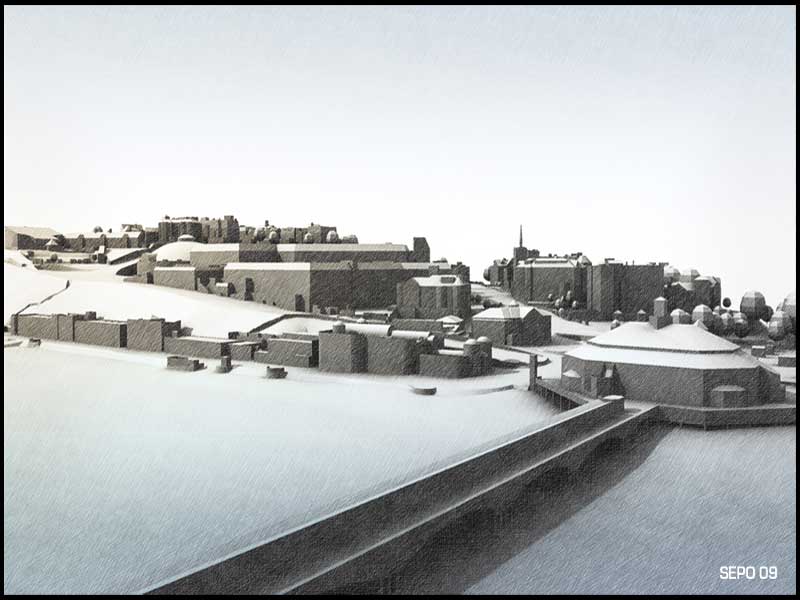
Further images using this Pencil Overlay method (base image clay render).
Thanks for reading this tutorial.
Cheers
Sid
S. Porobic (AKA ‘Sepo’) Chartered Architect.
Director of – S.Porobic Associates, Chartered Architects and Designers.
Director of – Renderclinic Ltd.
Member of Podium Development Team.
Lecturer at – The School of Arts, University of Northampton.
For any further information regarding Podium training or rendering services you can contact me on renderclinic@porobic.co.uk







thanks, i like this imagens!
It is a very simple method, yet so effective.
Thanks sepo
Very effective indeed.
Thanks, great work!!!
Mateo
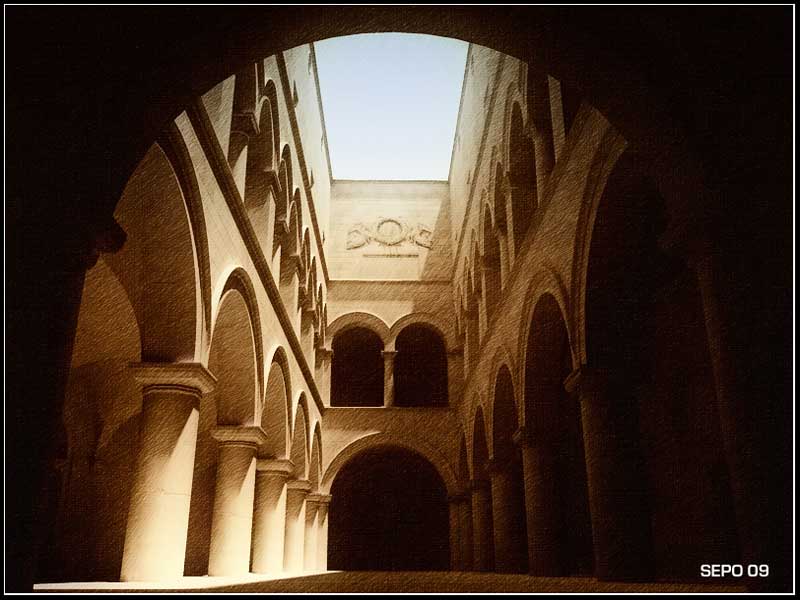
BTW: Did You know that the Sponza Palace is situated in Dubrovnik ,my
home city . The original File was modeled by Architect Marko Dabrovic
in Lightwave. You can download the original file here.
Thank you guys for nice comments.
Mateo not only that I know but I have been in the Sponza. The model has been used by every render engine that I know to test sunlight and ambient lighting. It is probably the most used 3d model in the world.
BTW missing drinking coffee on Stradun and watching world go by.
Dear Sepo, thanx for sharing.
You are very welcome Majid. I hope you find it useful.
Fantastic!
Would you like to send me the pencil stroke image since I can’t find the right one. And the images I find on the Internet are with low pixel.
Here’s my e-mail:
minnow.chu@gmail.com
Or would you like to tell me where I can find the materials I want.
Thanks a lot!
I have sent an image, let me know if it is OK.
I have got the image.
Thanks a lot!
really cool dude
Sorry , missed this….thanks Mateo/James…..MINNOW glad it is working for you.
Thank you Mohan. 🙂
that’s excellent. simple & effective.
would you mind me to have the pencil stroke image as well?
my email is 8mb.king@gmail.com
really appreciate that.
thanks.
@dlf I have emailed the image too you, hope its OK for you.
Regards
James
thanks all for showing the interest.
Great tutorial! Great technique! May I also have the sketch image file sent me, perchance? Thanks!
czeckone@hotmail.com
that’s excellent. simple & effective.
would you mind me to have the pencil stroke image as well?
I have sent the image to your email address HuyLin, hope it is OK for you..
hey there 🙂
I know that this tut is in here since a while. just came across it and think that is really nice and helpful !!!
would really love to have that pencil image in a higher resolution as well. would that be ok ?
here s my email:
verkleinert@gmx.de
thanks a lot !!!
[…] Model : Thai Beach House Texture : Sketch pencil Tree sketch : Designpresent_sketch tree Paper texture […]
thanx a lot
hi, marvellous tutorial ever!
can u email me the pencil image?
may i use the pencile stroke image that you used on this teturial for comerccial use? or could you sand me image like this that is alloud to use ?
Please is it possible you could send me the pencil texture.
I have spent two days trying to find it. It’s the best one out there.
Email: artbox22@yahoo.com
@ Barry….There is a download link in the second paragraph under ‘here’.
I really do appreciate the quick response.
A BIG “THANKYOU” for your help 🙂
hello
can i know where you got the 3d file of bournemouth please?