From SketchUp to Digital Watercolor

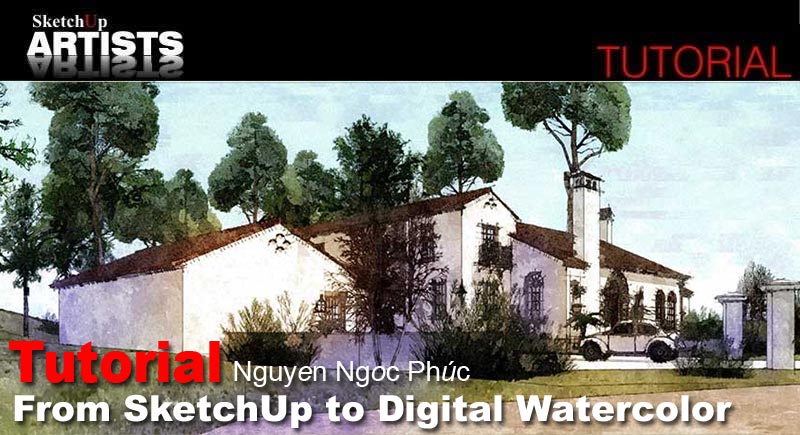
In this tutorial I will be covering the basics of SketchUp to FotoSketcher (a free filter software) and some Photoshop post processing to create a really nice digital watercolour painting.
Adjust Camera & Scene (SketchUp)
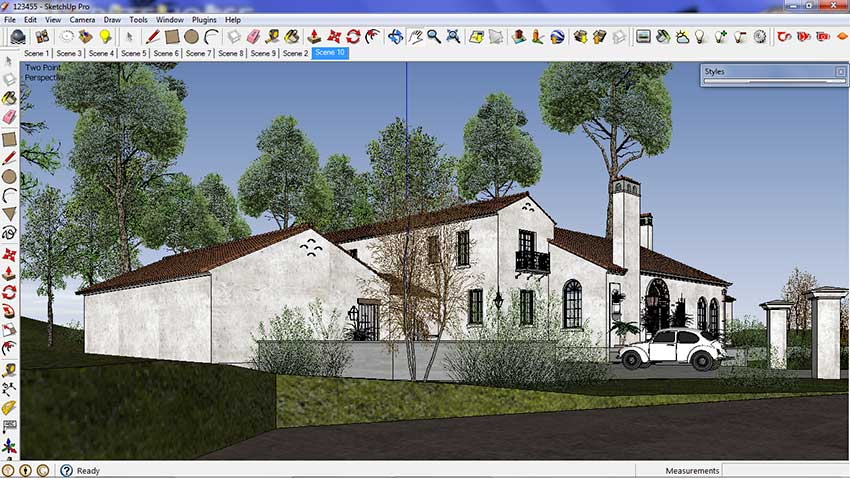
With your model textured to your liking in SketchUp, adjust the camera to Two Point Perspective (Camera>Two Point Perspective) and when happy with the view save it as a Scene ( View>Animation>Add Scene then click Create Scene).
Image Exports (SketchUp)
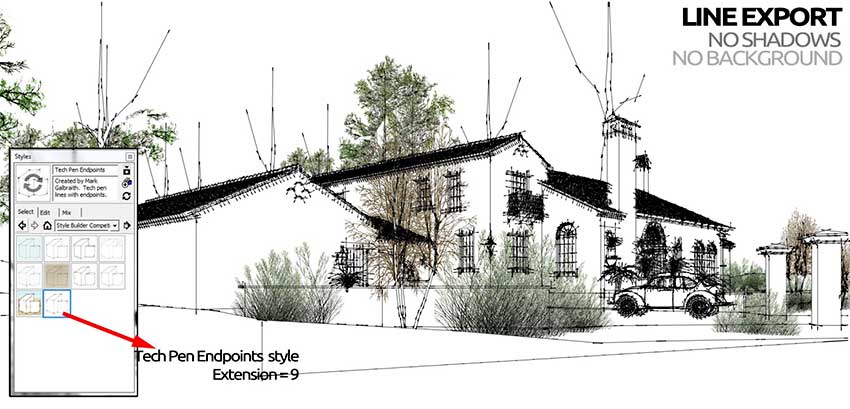
Image 1 – Select the ‘Tech Pen Endpoints’ Style (Window>Styles and choose from Style Builder Competition Winners collection). Set the Extension to 9 by going to the Edit tab in the Styles dialogue box and adjusting the Extension value accordingly. Next export the Scene as a JPG (6239 x 3000 pixels) by going to Export>2D Graphic.
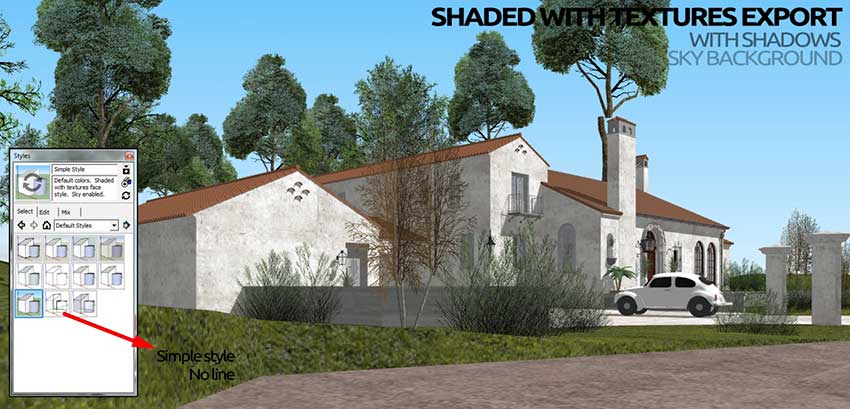
Image 2 – Select the ‘Simple Style’ from the Default Styles collection. We don’t want lines showing so make sure the Edges are turned off under Edit tab). Select Shaded with Textures (View>Face Styles>Shaded with Textures),with Shadows and Sky background on.
Photoshop Editing
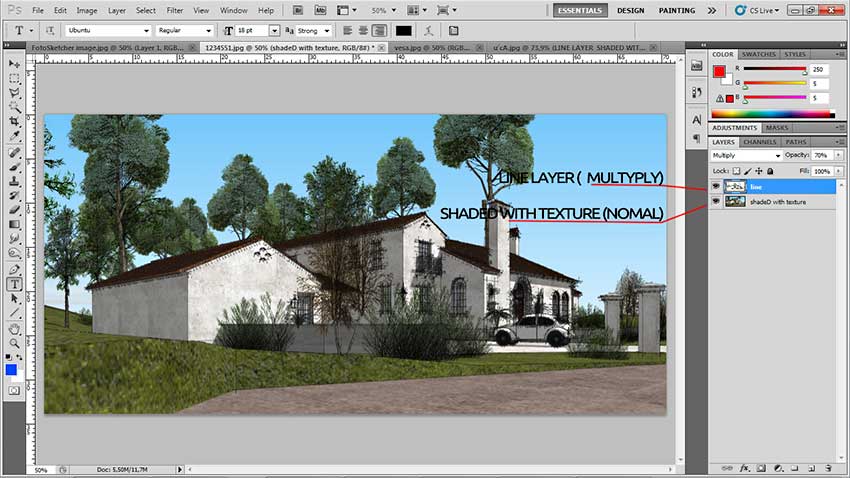
Open your images in Photoshop and name your Line Export image “Line” and the other image “Shaded with Texture”. With the Line Layer lined up on top of the textured Layer set the blending mode to Multiply and the Opacity to 70%. Leave the textured Layer underneath set to Normal.
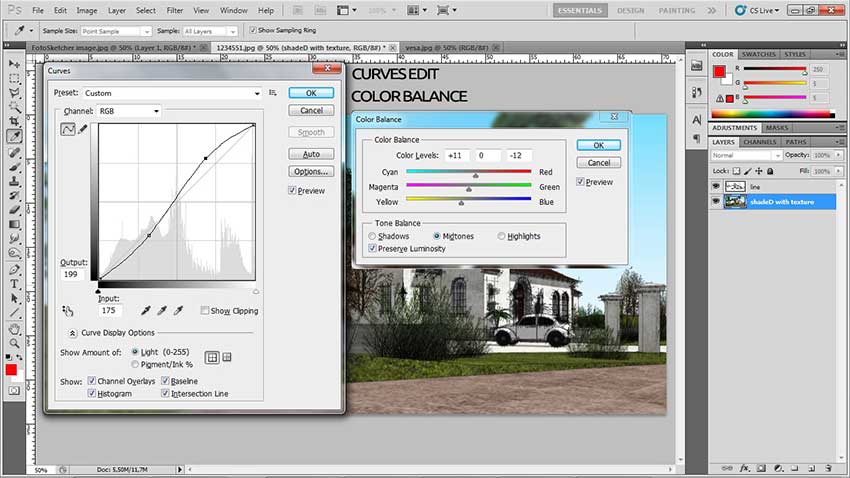
Curves and Color Balance – Adjust the Curves and Color Balance as needed. These were my settings for these images.
Flatten and Save your image.
FotoSketcher
In FotoSketcher open your image (Ctrl+O) and use the Painting 5 watercolor filter with the following settings:
Strength of effect – 200, Image simplification – 10, Color intensity – 41, Darken/Lighten – 129, Brushstrokes intensity – 106. All other fields are left unticked.
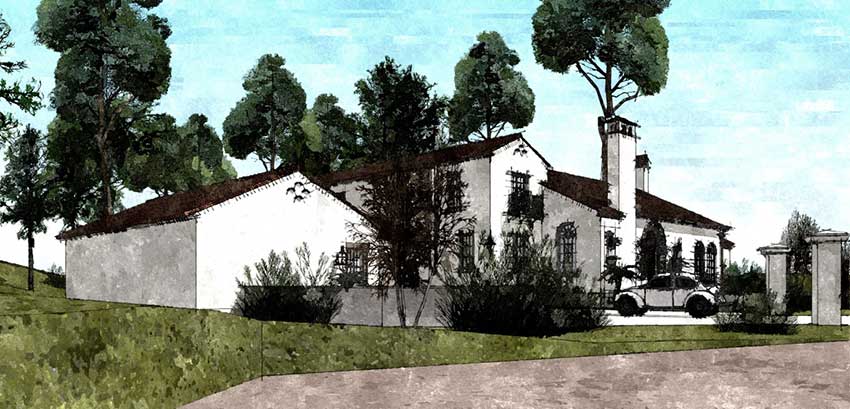
Result so far after applying filter.
Photoshop Post Production
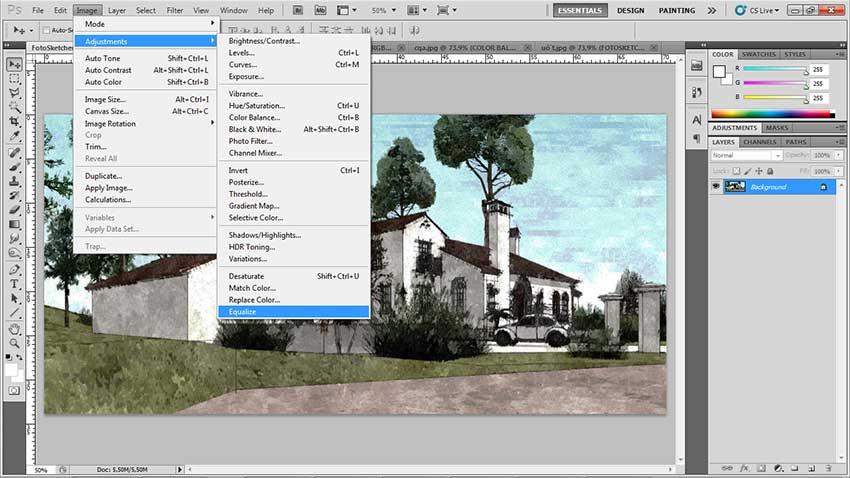
Open your image in Photoshop for further post processing. Go to Image > Adjustments > Equalize.
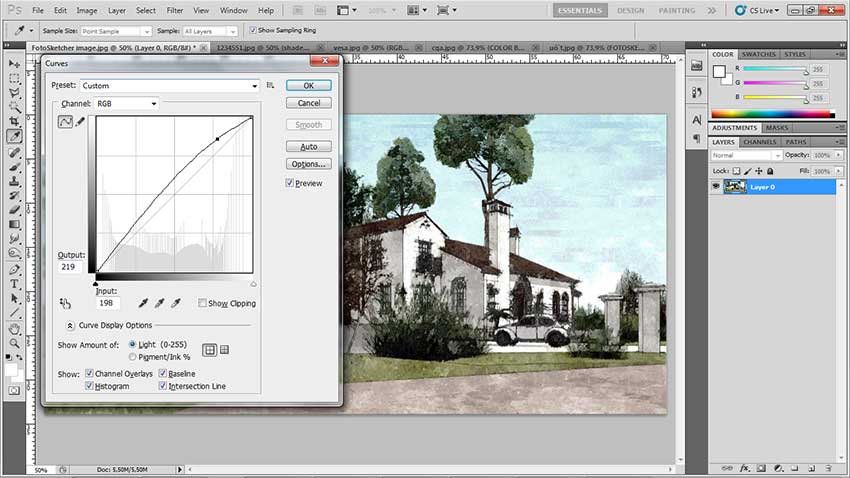
Next go to Image>Adjustments>Curves. I used the settings in the image below for this image.
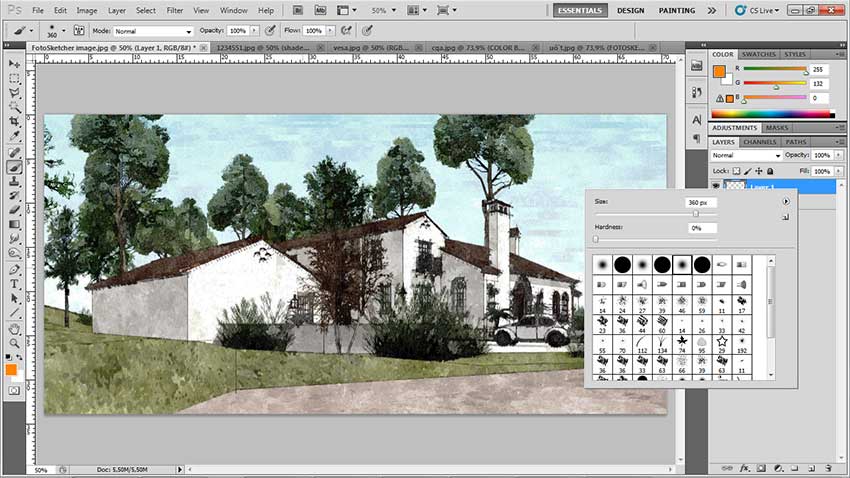
Create a new Layer. We are going to paint on this Layer. Use the color as shown in the settings below.
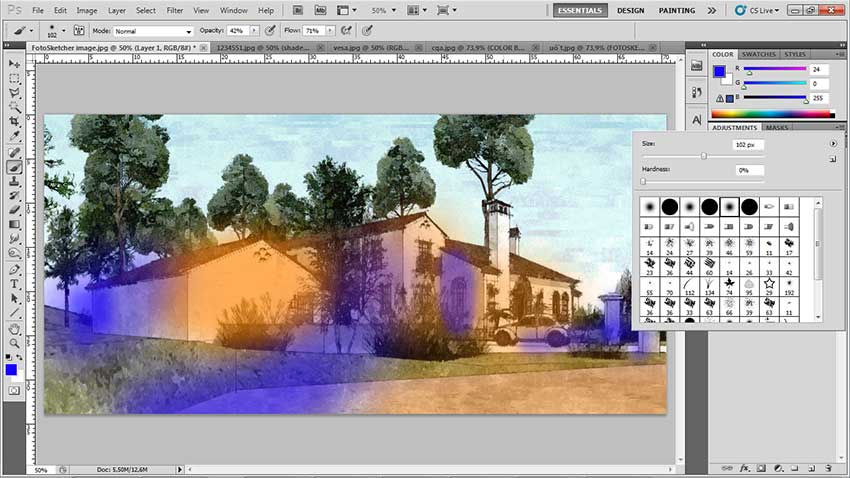
This is the settings for the second Soft Brush and color.
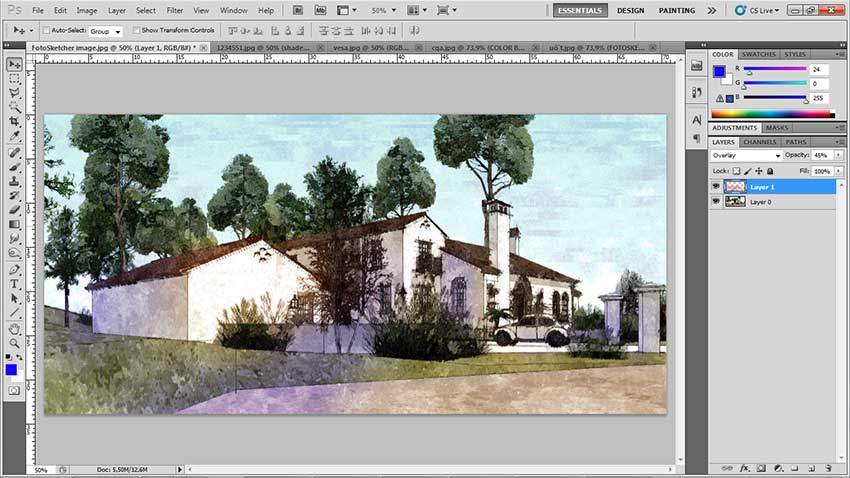
With these colors applied and the Opacity of this layer set to 45%, it creates a slight color wash effect.
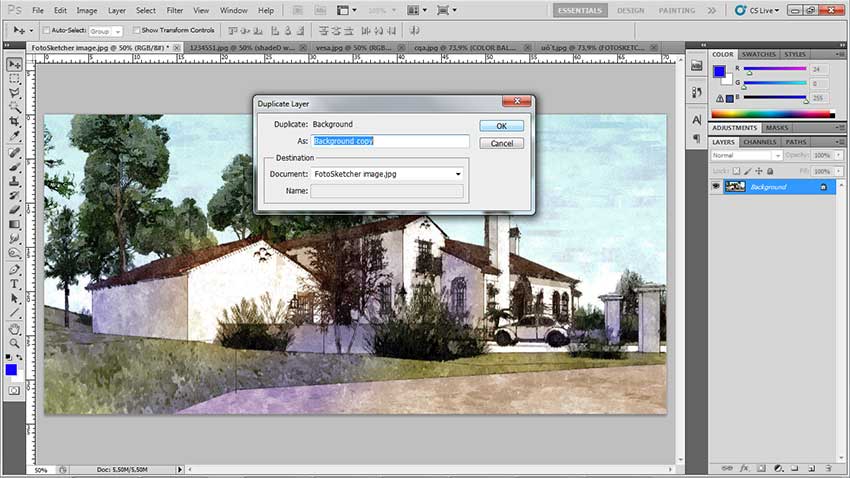
Flatten your image and Duplicate your Layer.
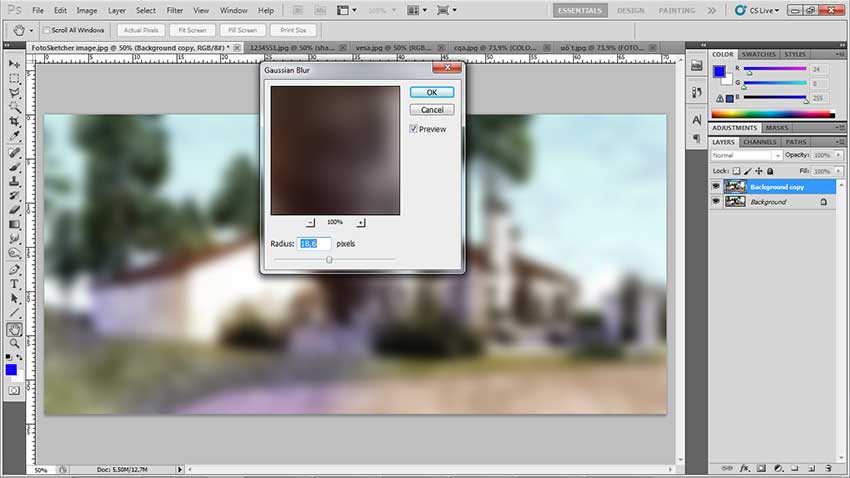
Next go to Filter>Blur>Gaussian Blur and apply a Radius value of 18,6 pixels to the duplicated Layer on top.
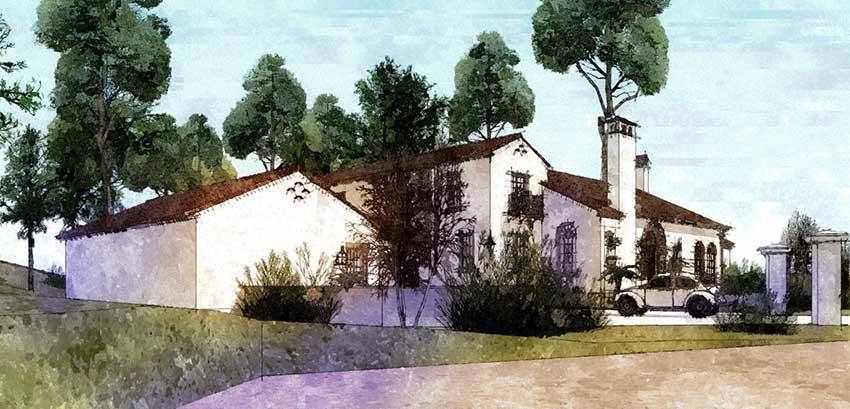
Now set blending mode of the top Layer to Overlay with an Opacity of 35% and Flatten your image.
That’s it…..job done!
Thanks for reading and I hope you can apply this technique or at least get a few tips from it to help in your own works of art.
Nguyễn Ngọc Phúc
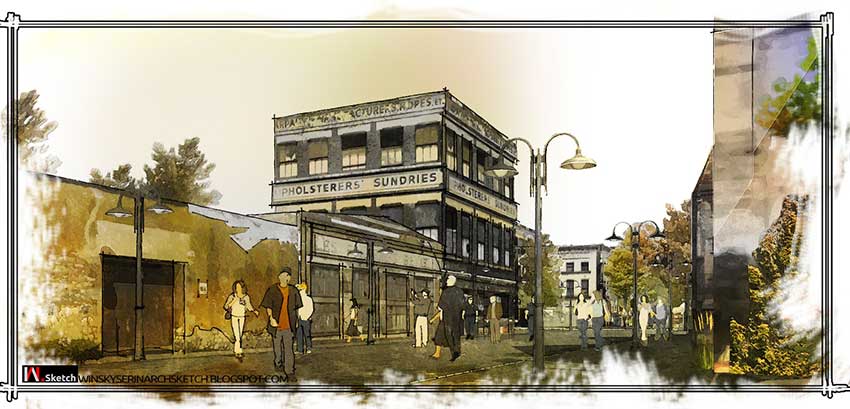
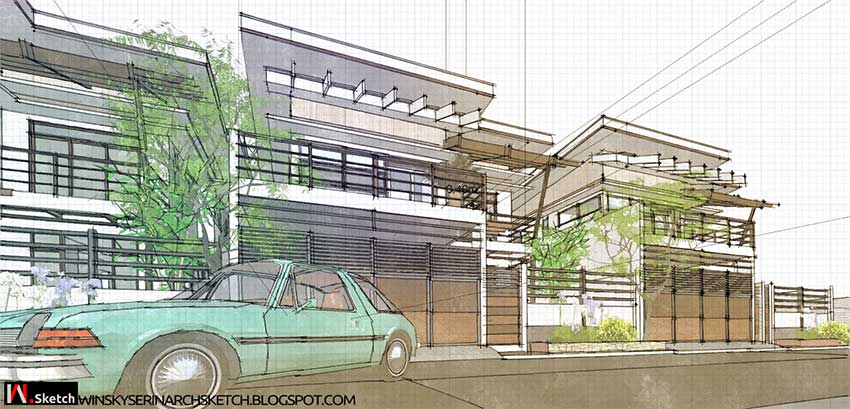
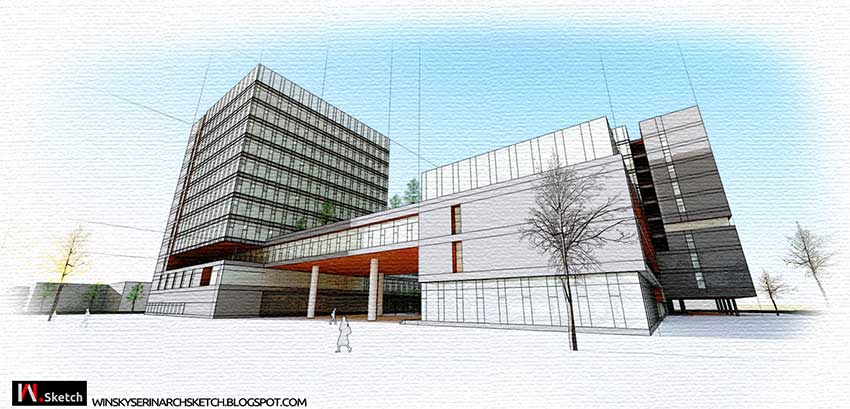
Some more of Nguyễn Ngọc Phúc’s work :
Don’t forget to check out his website.
Thanks





rat thich phong cach nay. Phuc mail cho minh file sketchup nay de lam theo duoc khong? Cam on nhieu (Enjoyed this style. Phuc intelligent mail this sketchup file to follow it? Thank you very much)
Nguyen is a great artist of SU