Creating Fog and Night Effect Using GIMP
 Creating Fog and Night Effect Using GIMP by Matthew L. Facundus
Matthew L. Facundus sent us a super easy tutorial for creating the effect of day time fog aerial view and then using that same effect for a night scene. This method is used to create the illusion of fog for an aerial perspective using GIMP . GIMP is an acronym for GNU Image Manipulation Program. It is a freely distributed program for such tasks as photo retouching, image composition and image authoring. You could use other image editing software to achieve the same effect, such as Photoshop.
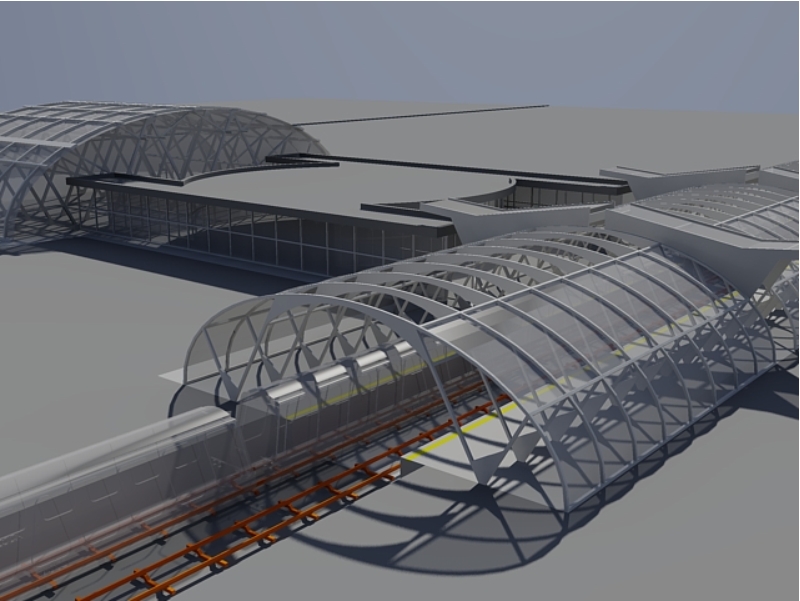
This model was rendered in AutoCAD 2010. The shown image below is uninspiring and needs something to show a sense of scale.
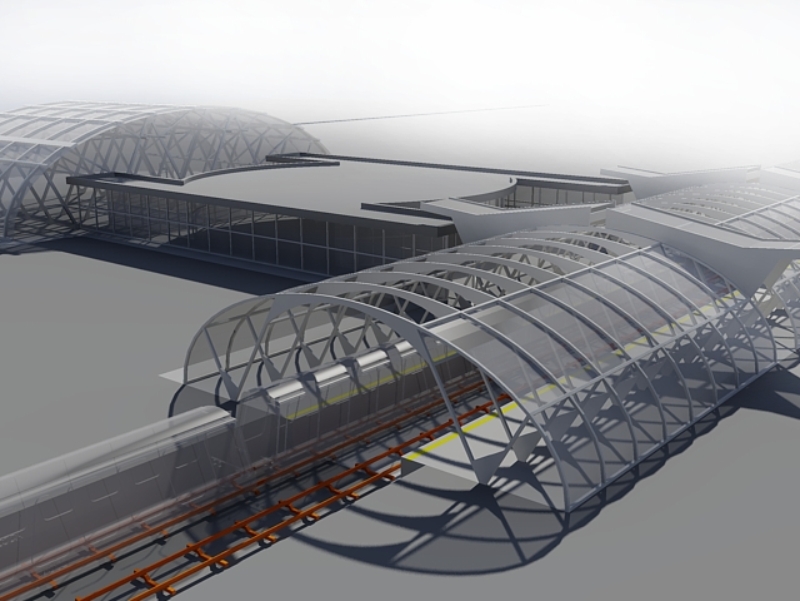
I saved the rendered image as a .jpeg and opened it in Gimp. I used the airbrush tool and selected the color white to add the illusion of fog. This simple technique completely changed the appearance and gave it a much better look.
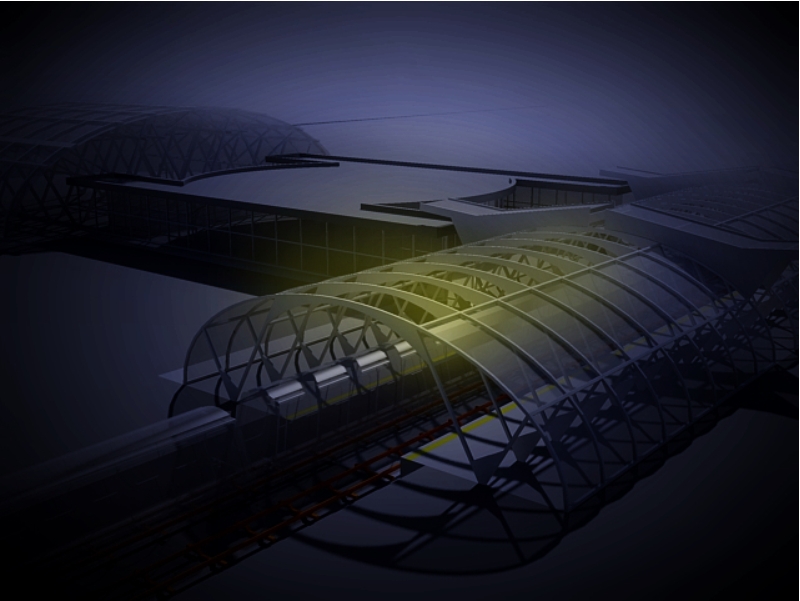
Using the same image as above, I went on to use the airbrush tool to create a night scene. I airbrushed black around the edges and a slight touch of yellow in the center.
These techniques are super easy but create a nice look and remember not to get carried away with the air brushing – a little goes a long way.
Matthew L. Facundus


