Add a Rotoscope Effect to Your Image
 By Rocky Vezeau
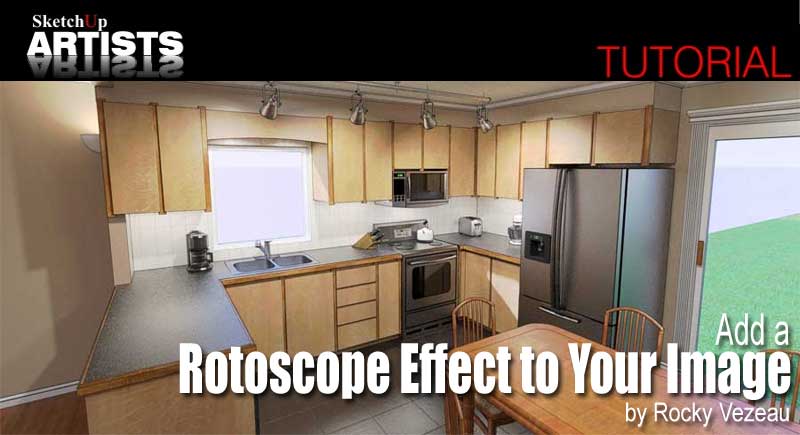
A quick and simple method in achieving a Rotoscope effect for a rendered image by Rocky Vezeau, aka ‘xrok1’. A regular contributor on the SketchUcation, Twilight and Podium forums to mention a few and now here at SketchUpArtists.
Forward by the author:
“A comment was made about this image in the TwilightRender forums, that it has a kind of rotoscope effect so I decided to do a quick tutorial to help others achieve this effect. ‘Rotoscoping’ is the term used when artists paint or trace over live-action film, frame-by-frame, to create an animation and it is being used in everything from television commercials to Hollywood movies. In this little tutorial we are going to give your output image a quick rotoscoped effect. The process is very quick and will give your image a slight ‘cartoon’ outline effect”.
1. Render your SketchUp model for your initial output image. I rendered mine in TwilightRender. Save your image as a jpg.
2. Change your SketchUp Face Style to Hidden Line and export your 2D graphic from SketchUp as a jpg. Export this at 2x the resolution and then reduce the image size by 50% to get rid of any jaggies.
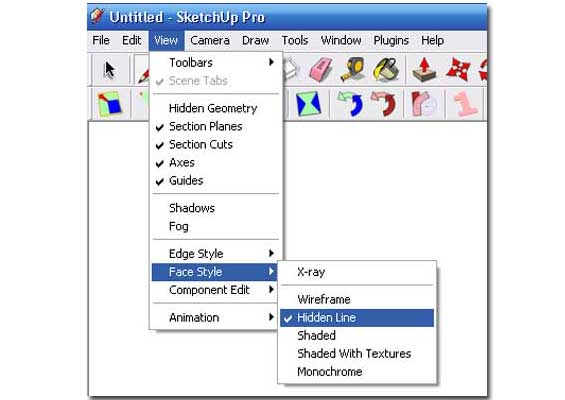
Step 2
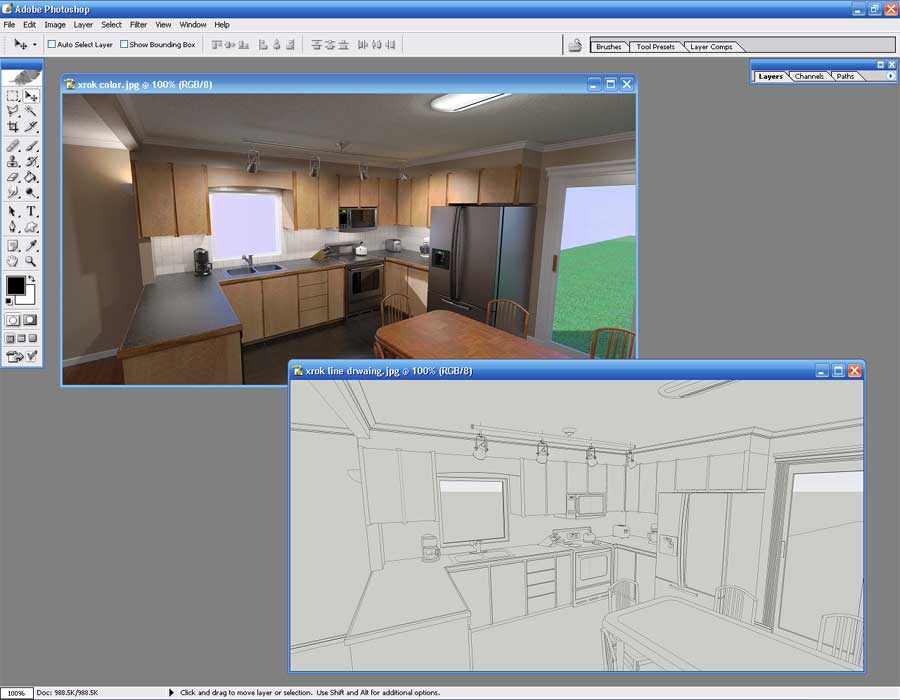
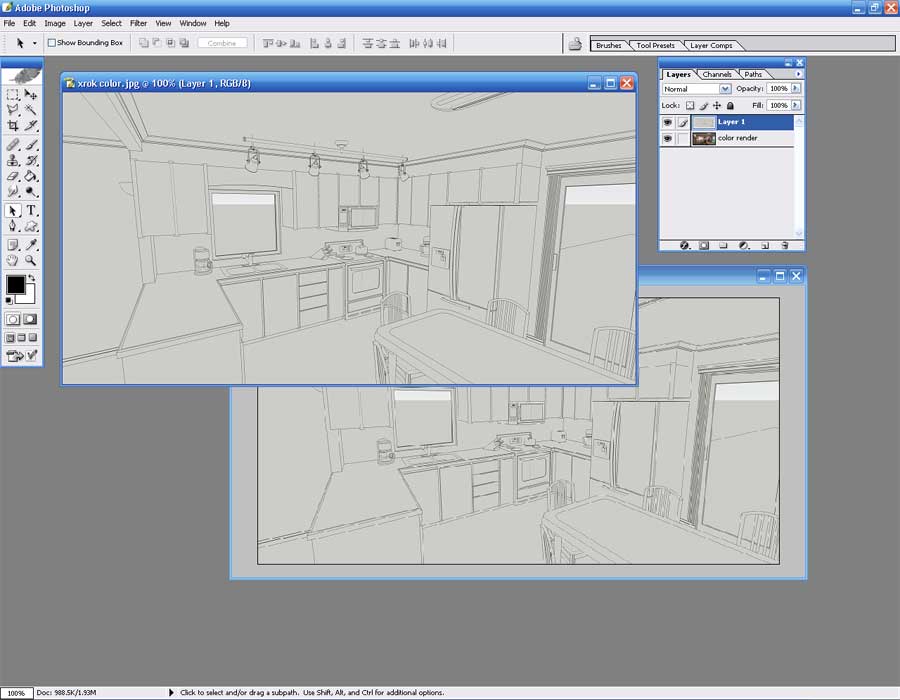
3. You should now have a rendered image and hidden line image saved now as Jpg’s and both identical in size. Open Photoshop and open you’re rendered image and hidden line image as shown in the image below.
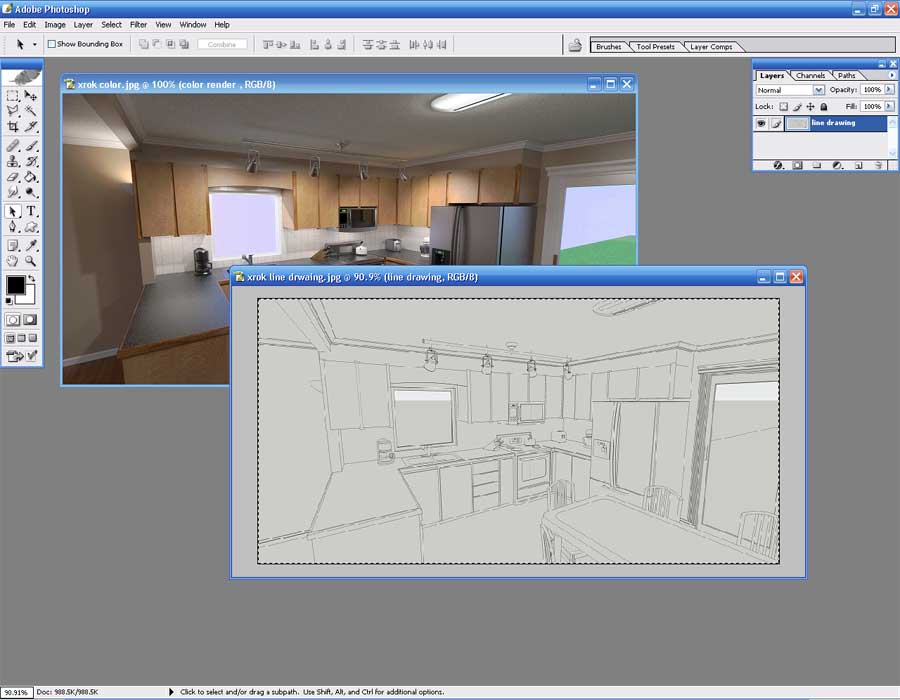
4. Select your Hidden Line image (Ctrl A) and copy it (Ctrl C).
5. Now paste it (Ctrl V) on top of the colored render image. It is important to copy and paste this way as the two images must line up accurately. Delete the first Hidden Line image now as we don’t need this anymore.
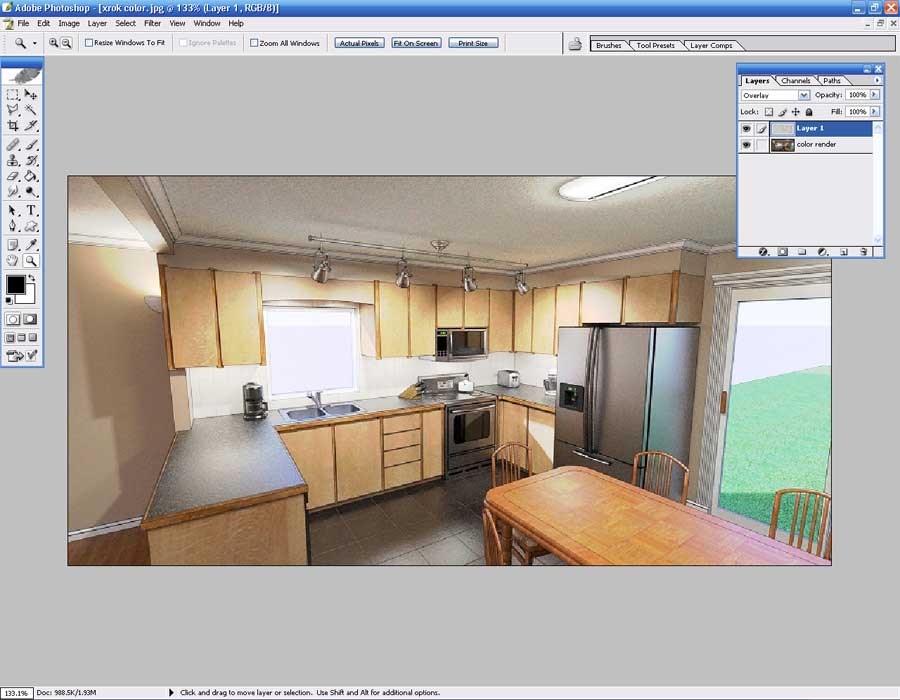
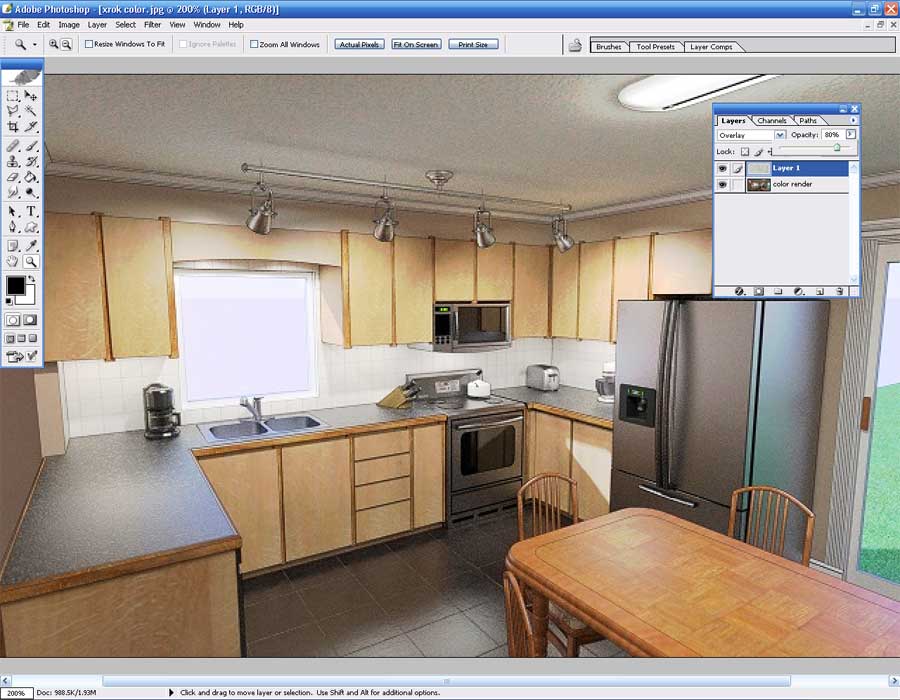
6. Change the Blending Mode to Overlay.
7. Now slide the Opacity down until you like what you see.
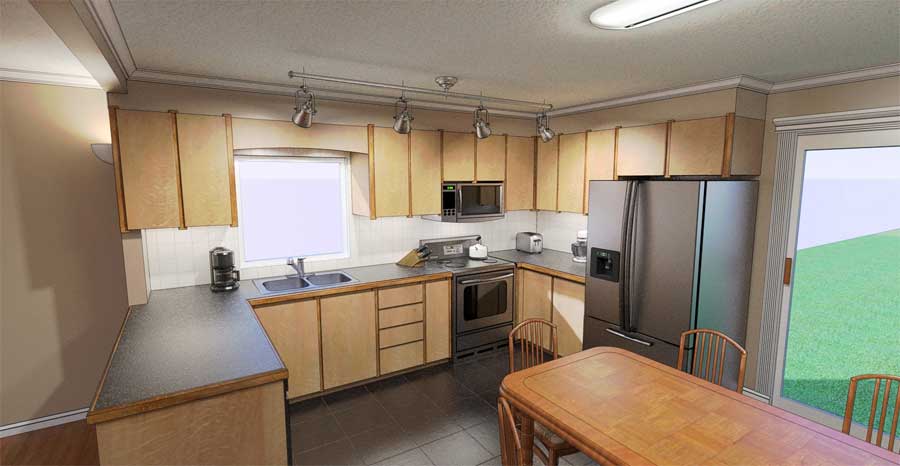
Thats it, job done and the final result is below.
PS. don’t tell anyone how easy it is!
I hope you enjoyed this tutorial and find it useful in your workflow and presentations. Experiment with it to see what you can achieve with this method of image overlaying.
Rocky



wow!!!..this is great!!..thx for nice tutorial..GBU:)
nice tutorial. thank 🙂