
How to Make a Topographic Profile – SketchUp and Layout
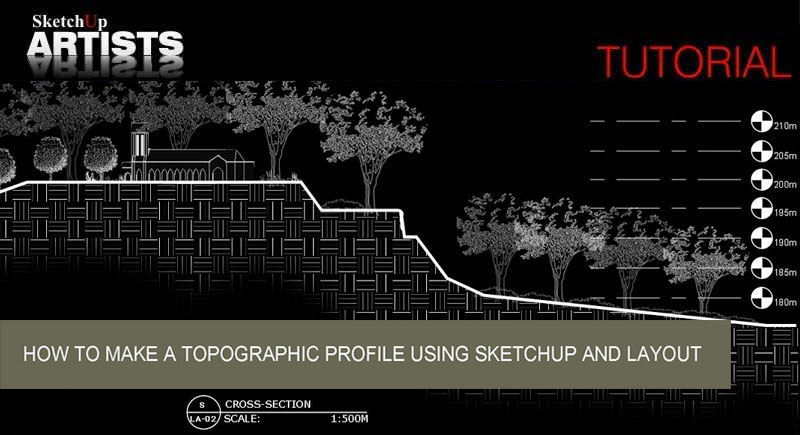
A topographic profile is a two-dimensional cross sectional view of the landscape. It provides of the relief of the terrain along a line drawn between two locations on a topographic map. In this tutorial, we will learn how to make a topographic section using SketchUp and SketchUp Layout.
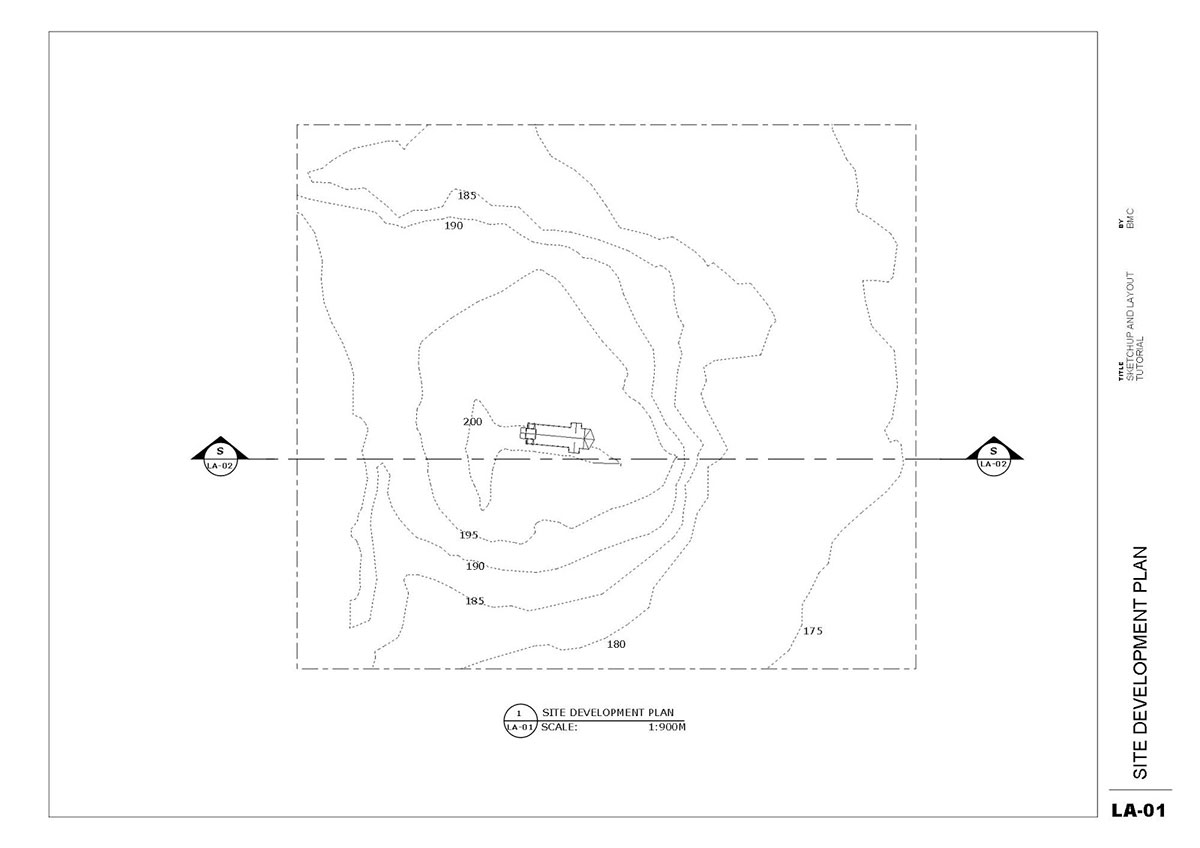
Site Development Plan (Reference)
STEP 1: Open your SketchUp terrain model

Terrain model
STEP 2: Insert 3D entourage
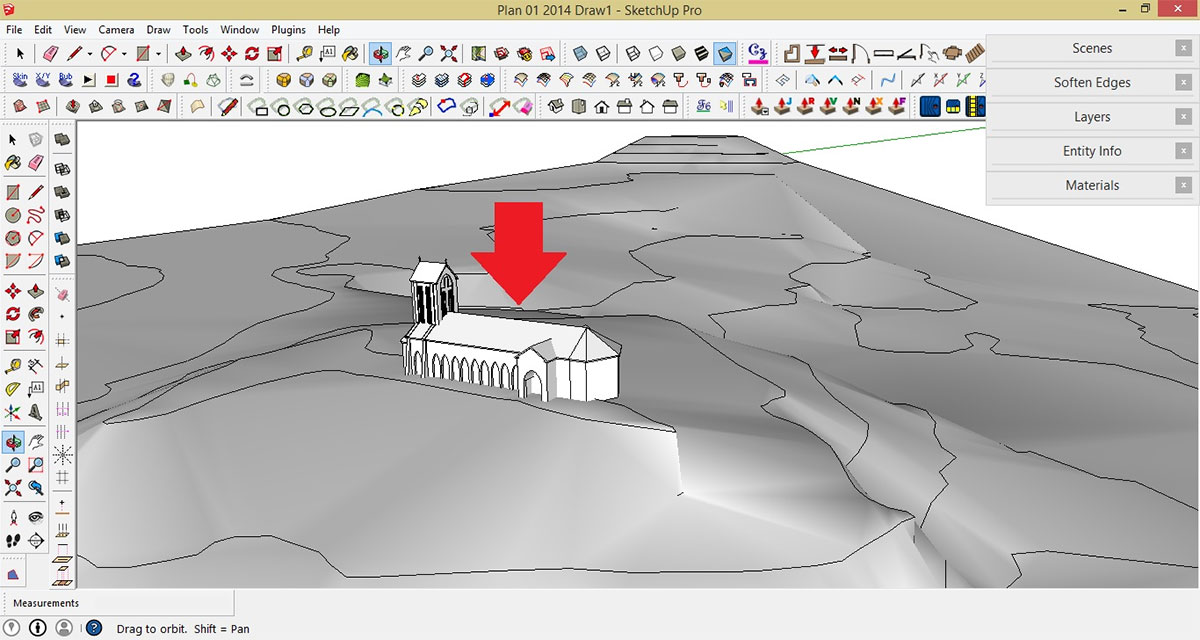
Entourage
STEP 3: View your model in ‘Parallel Projection’
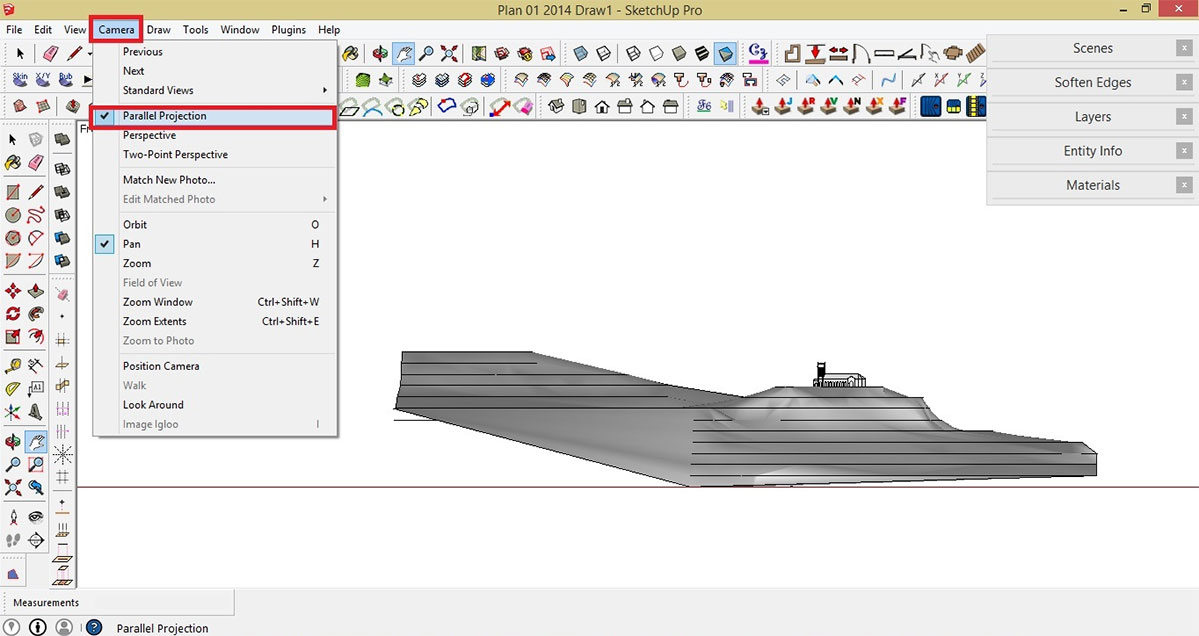
Select Parallel Projection
STEP 4: Go to View> Face Style and select ‘Hidden Line’

Select Hidden Line
STEP 5: Draw a square or rectangular plane. Place it beside your model

Draw a square or rectangular plane
STEP 6: Using the Push/Pull Tool, drag the face of the plane vertically (perpendicular to your model)

Extrude face with Pus/Pull Tool
STEP 7: Again, use the ‘Push/Pull Tool to drag the surface, parallel to your model. This will serve as a guide for our elevation profile. Make sure to align the face according to the position of the ‘section symbol’ from the Site Development Plan
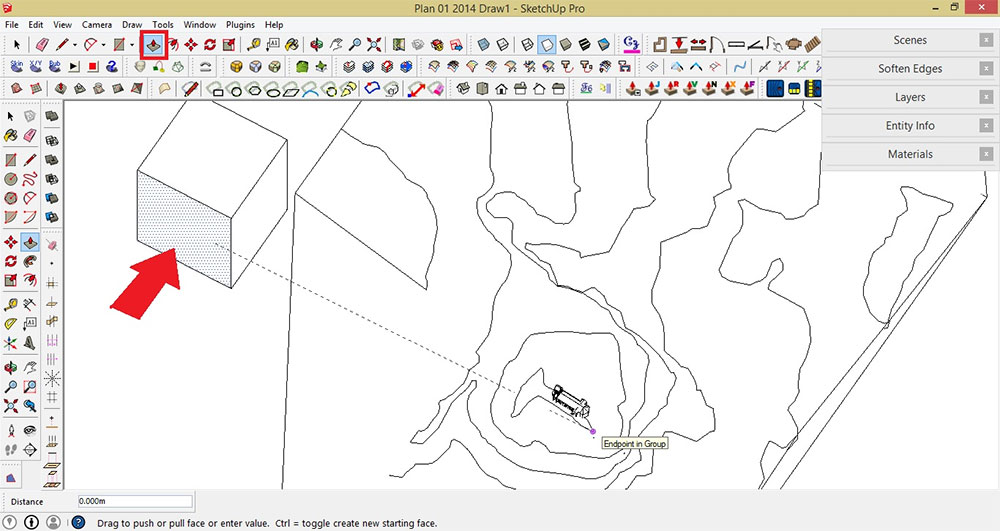
Use the Push/Pull Tool to drag the surface
STEP 8: Go to Camera>Standard Views>Front
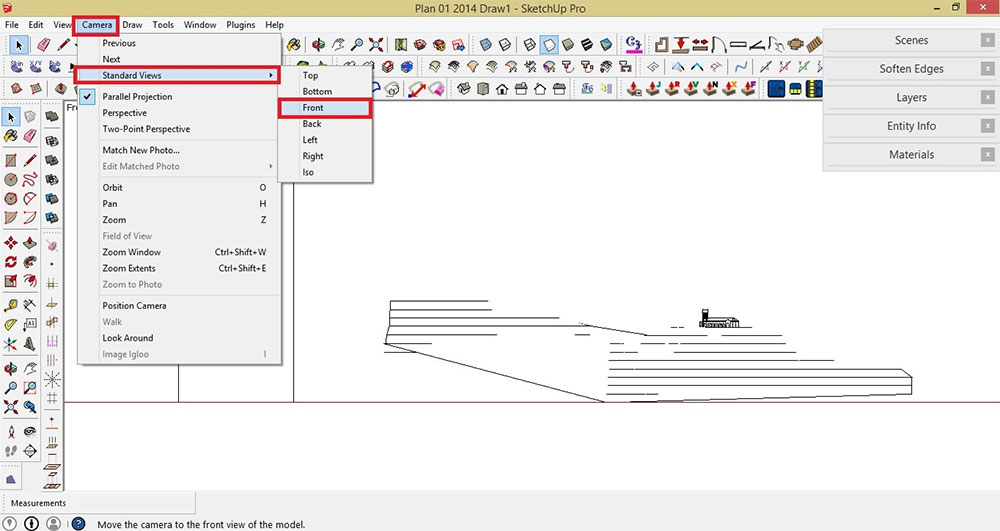
Go to Camera>Standard Views>Front
STEP 9: Place the ‘Section Plane’ on face. Here, the elevation profile is created showing the cross-sectional view of the model
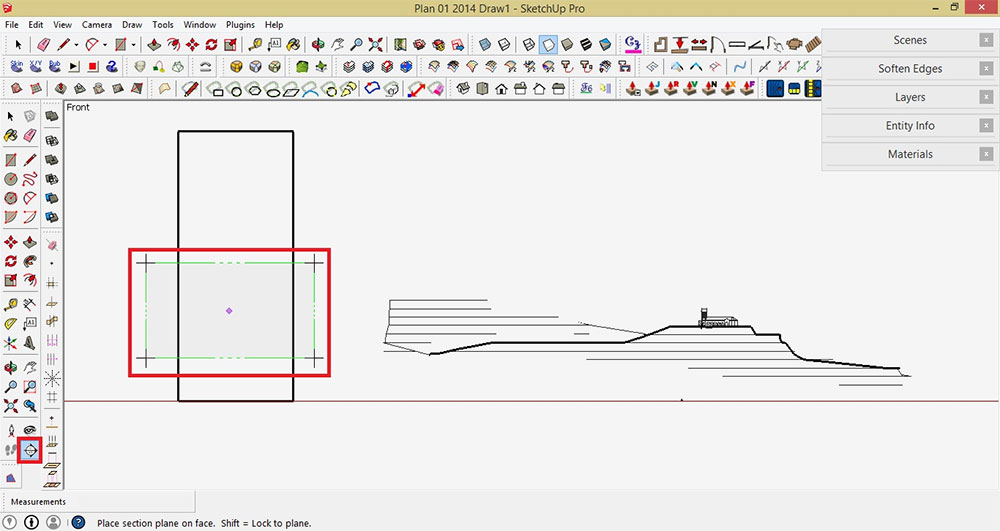
Place the Section Plane on face
STEP 10: Save your work> Send to Layout

Save and Send to Layout
STEP 11: In Layout choose your preferred template
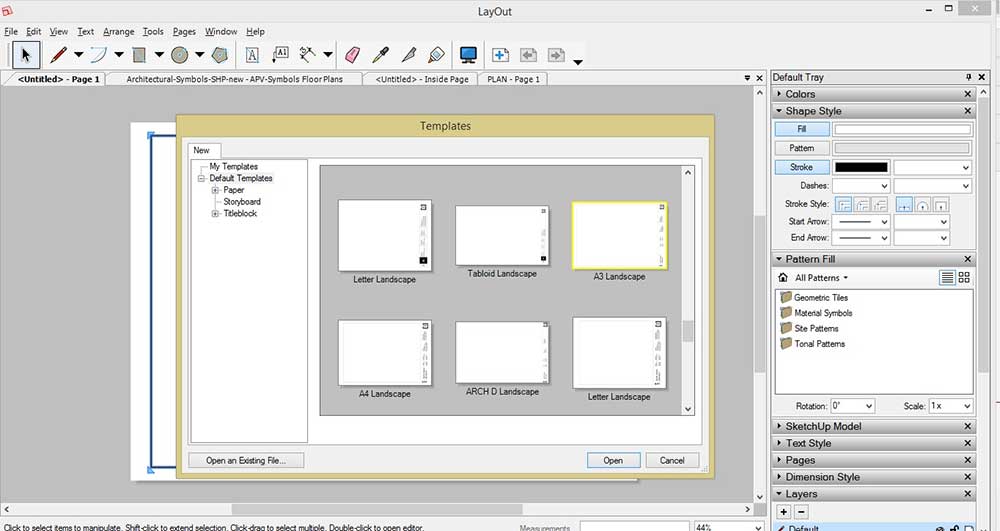
Choose preferred template
STEP 12: Change the scale. To do that, Right click and select Scale and scroll down to choose your preferred scale
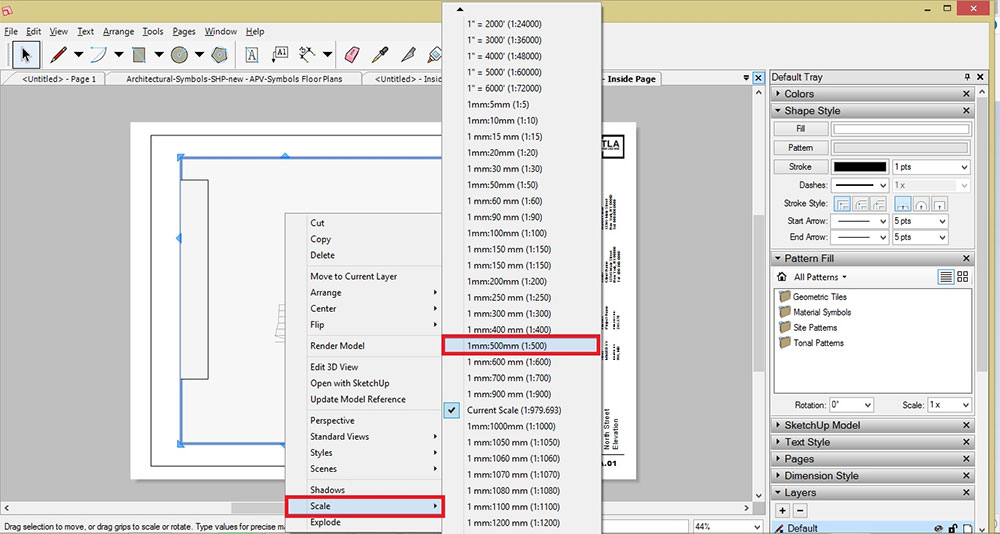
Choose preferred scale
STEP 13: Adjust all corners
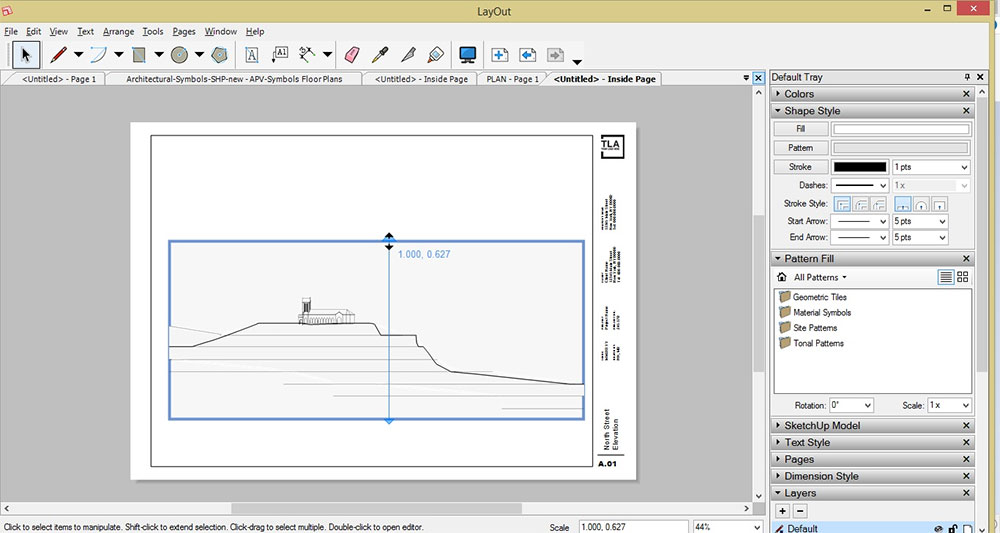
Adjust corners
STEP 14: Fill the ground with a soil texture. To do that, click the ‘Fill’ and ‘Pattern’. Under ‘Fill’ option, click the white color texture. Go to ‘Pattern Fill’ option and select ‘Earth Compacted Fill’ texture under the ‘Material Symbols’. Close all corners from the terrain section using ‘Lines’ Tool
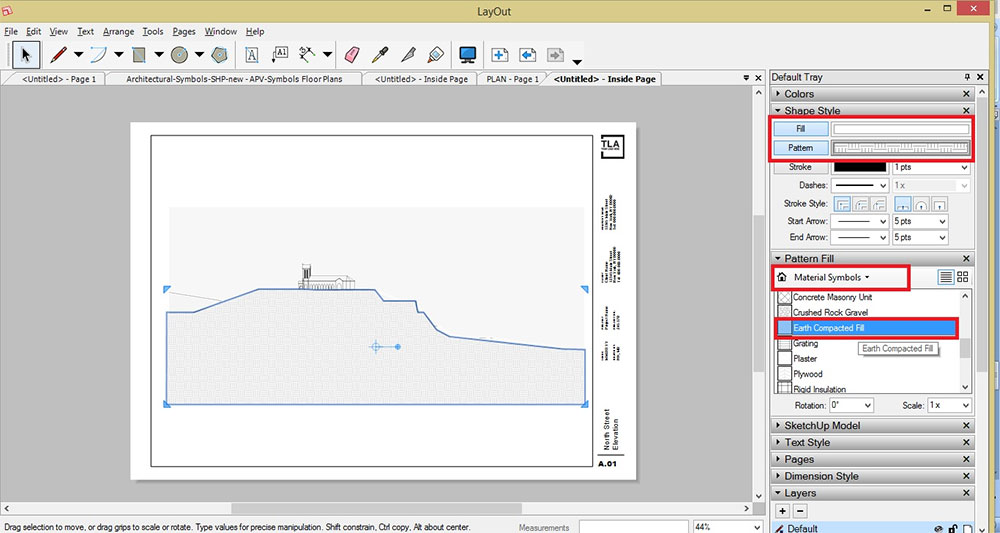
Fill the ground with soil texture
STEP 15: Make a topographic profile. To do that, click the ‘Lines’ Tool and select the ‘Stroke’ option with 2-3 thickness point. Then uncheck the ‘Pattern’ and ‘Fill’ option and then draw the line along the ridge

Make topographic profile
STEP 16: Fill the upper portion with white color texture
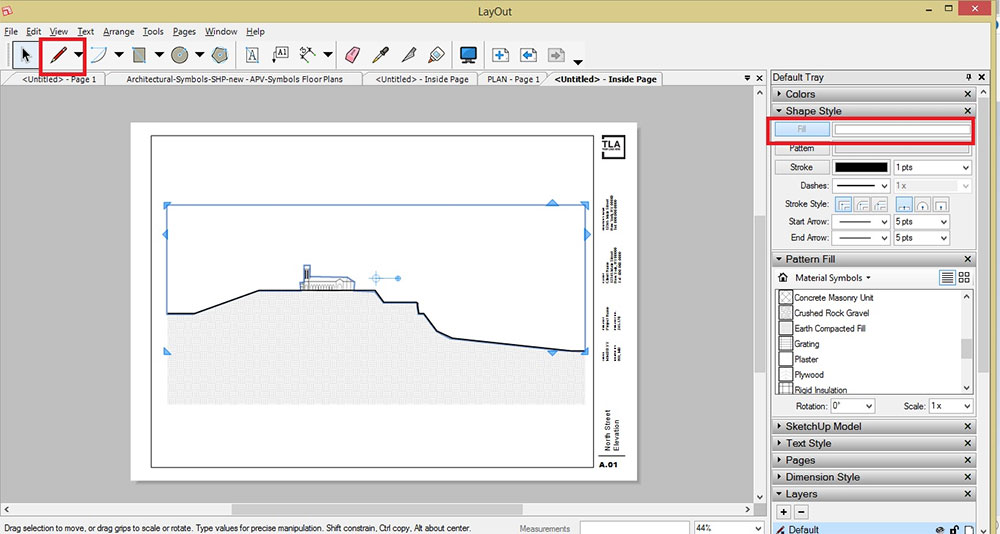
Fill the upper portion
STEP 17: Label each line with the elevation of the corresponding contour line

Label each line
STEP 18: Make a title block. Result so far
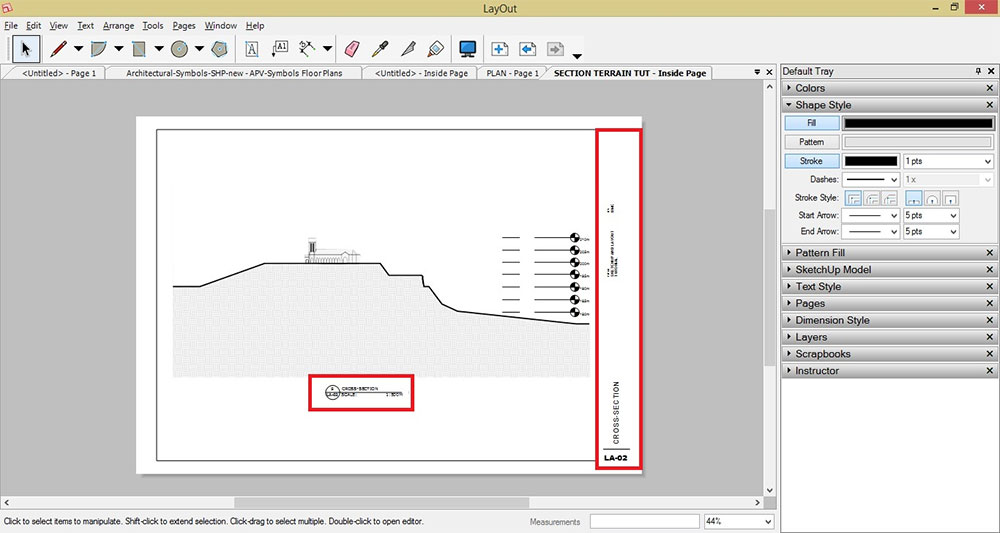
Make title block
STEP 19: To save your work, go to File> Export>Images and save in JPEG or PNG format
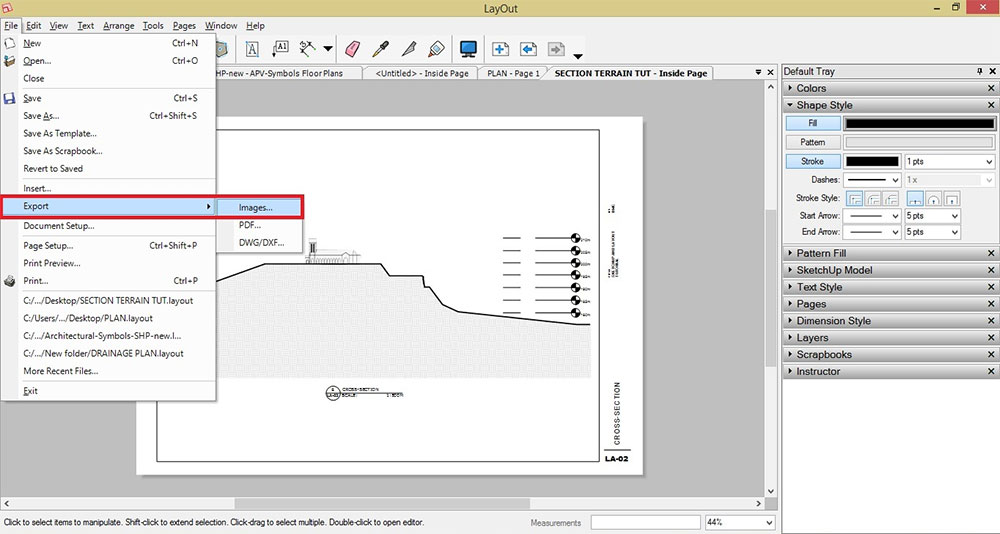
Save work
STEP 20: Add trees and entourage using Photoshop

Add trees and entourage
Final Output
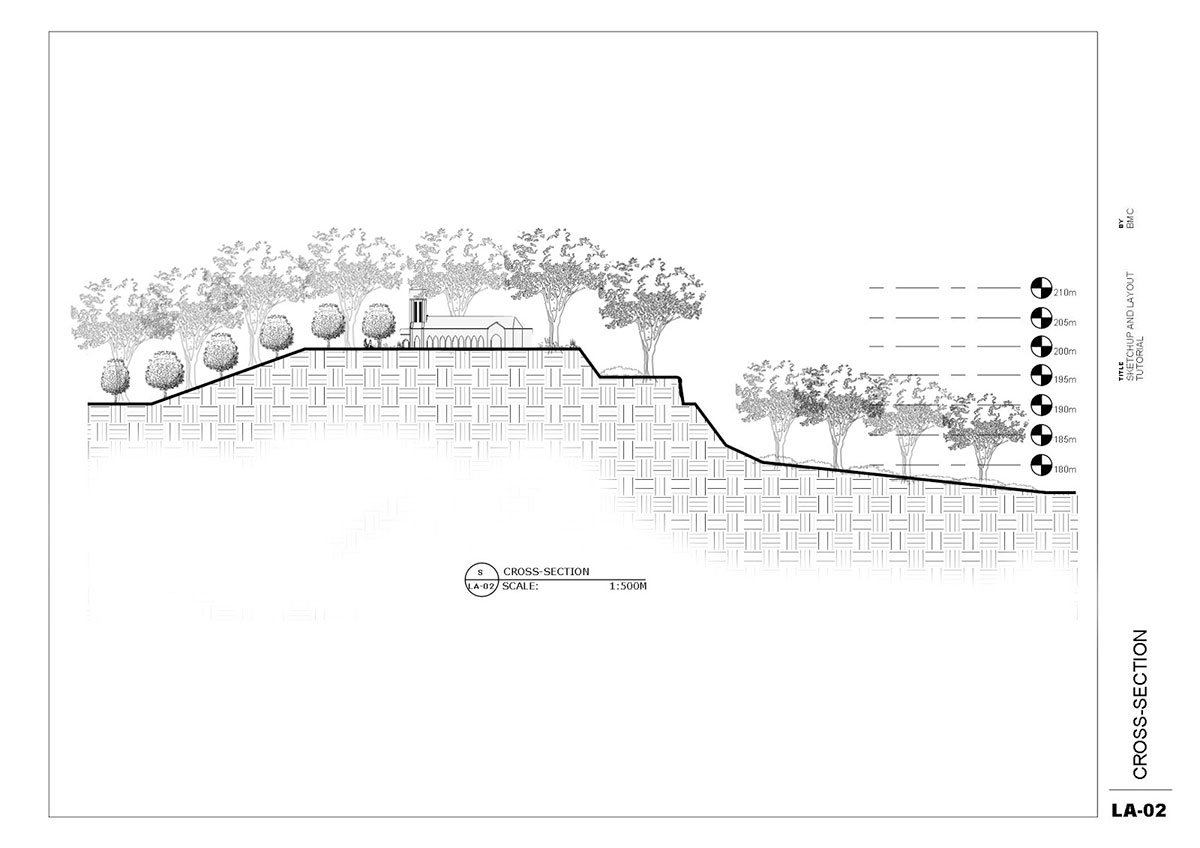
Final output
Final Render Output
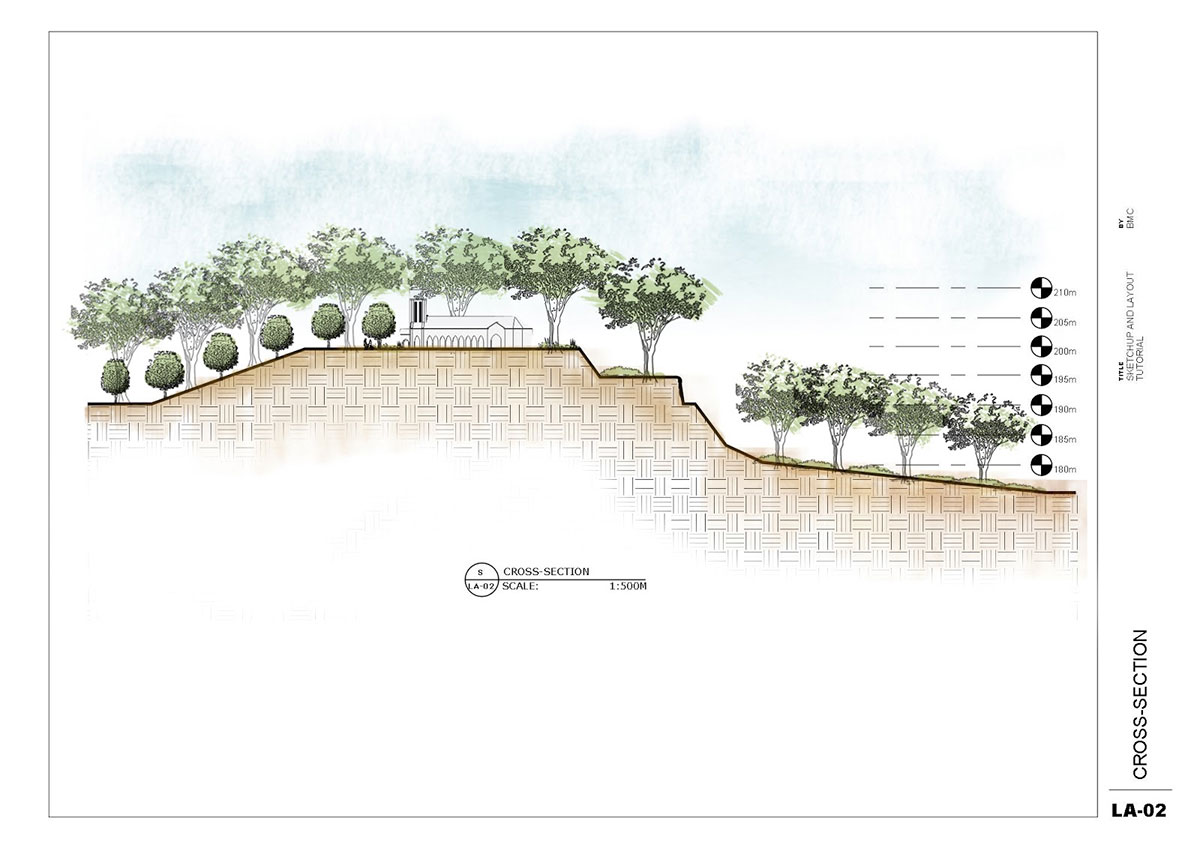
Final render
Thank you for reading.
Benedict Martin Caliwara
Profile Builder 4

Artisan Organic Toolset

PlaceMaker Version 3
Skimp Pro Import Extension

BIM Bundle Special Offer!
SketchPlus Artist Bundle !
Bevel Tool
V-Ray 5 for SketchUp E-Book
