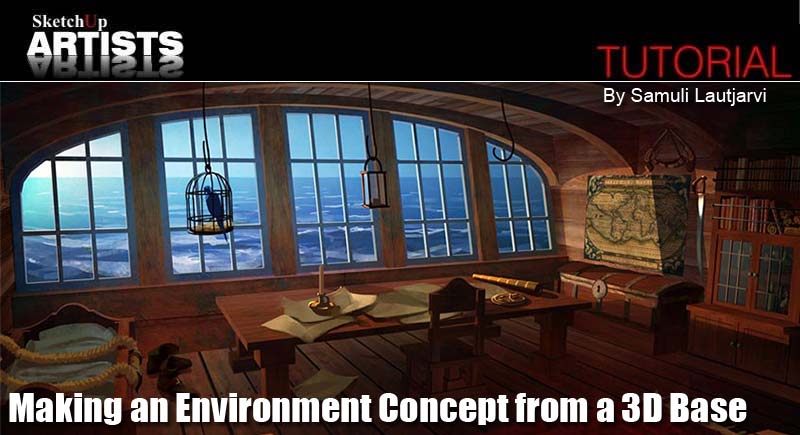
Making an Environment Concept from a 3D Base

If you prefer the freedom of painting your lighting in Photoshop, this tutorial teaches you a fast way to set up masks in Photoshop from renders with red, green, blue and black, without the slow tedious work of tracing them by eye with the Paint Brush or Lasso tool. The masks used in this tutorial are two different renders using the Red, Green and Blue channel. One render separates the faces facing different directions, the other separates different objects.
Samuli Lautjarvi is a 24-year-old digital painter from Finland. He has been working in a mobile game company for half a year and doing minor freelance gigs (CD covers and game graphics). His biggest enthusiasm is painting environment concepts, for some of which he uses Sketchup models as a basis.
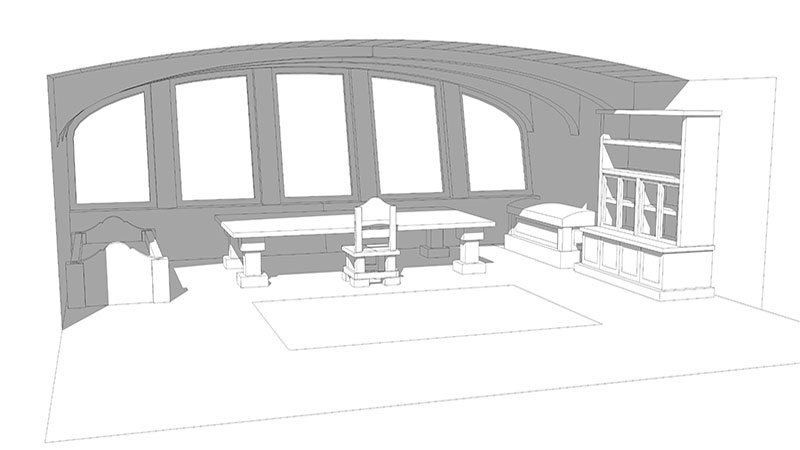
For 3D modeling and rendering, I used SketchUp and Kerkythea (both free) and then Photoshop for the 2D part of the process. I won’t go into detail about how to model in Sketchup, if you’re new to the program, there are many good SketchUp tutorials here to get you started. I have also included the model with Scenes for download here if you want to just practice the rendering and Photoshop work.
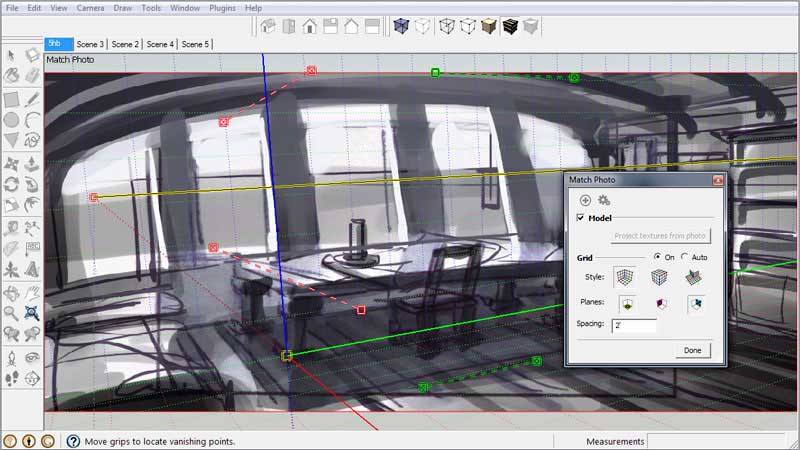
1. Make or find a good image/thumbnail and set it up as a background in SketchUp by going to Camera > Match New Photo. Adjust the red and green lines so that they match the perspective of your thumbnail. Then check the position of the yellow horizon line and move the little yellow box, which marks the origin of the grids, so that it’s at some corner of your model. This will be the point where you start modeling. When everything is set, click Done on the Match Photo window and close it out of the way. If you need to adjust the perspective of the model in relation to the background later on, go to Camera > Edit Matched Photo > [your image].
2. Begin modeling the environment you are working on starting from the point of origin. Whenever you have to rotate the view, you can get the original view with the background photo back by clicking the Scene Tab with your image’s name on it.
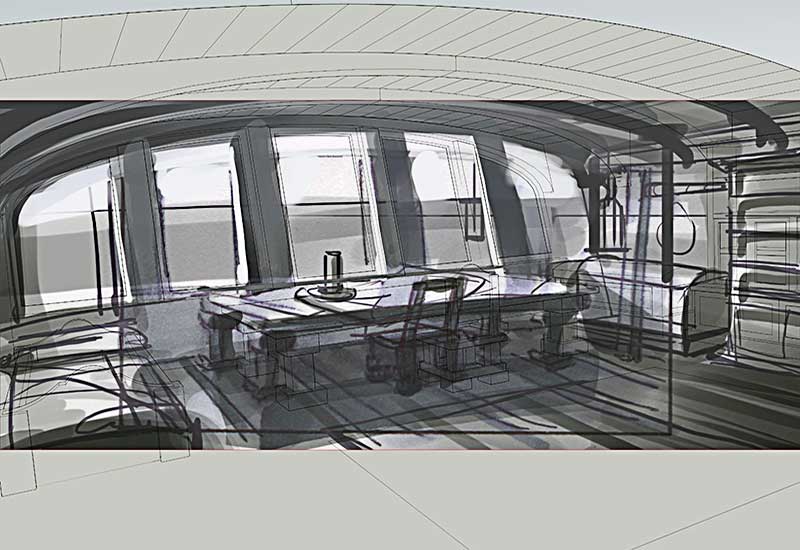
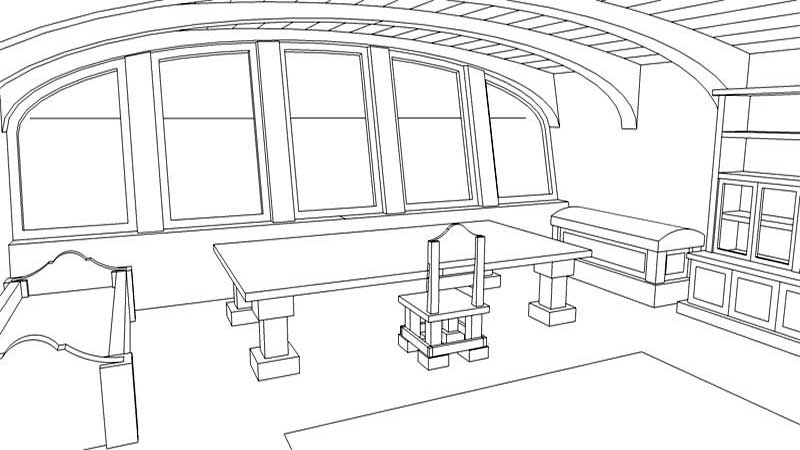
3. When your model is complete and cleaned of unnecessary lines, you’ll need a line picture of the model to clarify things later in Photoshop. At this point, make sure the file is saved. If you’d export the picture now, the background would be included so you need to get rid of it. To do this, right click on the tab with your image’s name on it and choose Delete. Then go to View > Animation > Add Scene to save the view (works the same way as adding a camera).
At this point, make sure the viewpoint and focal length are optimal. You can try out different views and save them by adding new scenes. You can change focal length by selecting the zoom tool and typing for example “50mm”. A smaller focal lenth expands the view to the sides, makes things far away smaller and gives more perspective distortion.
Choose Window > Styles and in the window you opened, make sure Default Styles is selected in the drop down list. Choose Hidden Line and close the Styles window . Then resize the SketchUp window the way you want the scene to be cropped, choose File > Export > 2D Graphic. After this, throughout the next steps, try not to change the size of the Sketchup window so that when you pile up the line picture and renders in Photoshop, everything will fit in place without cropping or moving. When you have to rotate around the model, again just click the tab to get to the saved point of view.
4. It’s time to get ready for coloring the model. Click the paint bucket tool, and Materials window should pop up. Inside it, open the upper drop down menu and choose Colors.
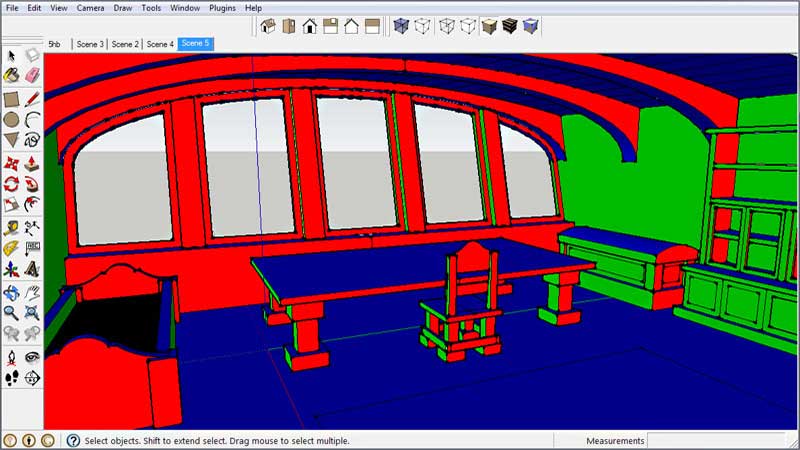
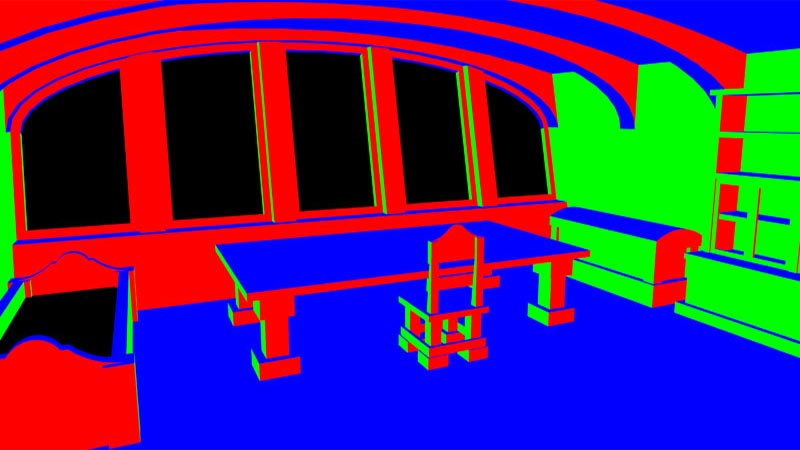
To explain the next steps a bit, you’ll need two renders with red, green and blue color on black background to get the masks you need to paint the lighting and confine the textures and colors for different objects. First render, which I’ll call “Light Map”, will have different colors for the planes facing different directions. I like to color them so that each face has the same color as the axis against which it’s positioned. The second render, which I’ll call “Object Map” will have different colors for different objects in the scene so that there are as little overlaps of the same color as possible. I think four colors (counting black) should be enough in most cases but if you need more, you can use bright cyan, magenta and yellow (more accurately, the colors with two of the RGB channels white and one black), and later on in Photoshop, select the yellow parts by loading the intersection of red and green channel as a selection and so on. White is another option, for which you’d have to select the intersection of all three channels.
Light map: Choose pure red color (named Color_A01) in the Materials window. With the paint bucket tool, color the faces against red axis. Then use pure green (Color_G01) for the faces against green axis and pure blue (Color_I01) for the sides facing up and down. Save the scene with a new name. Then make sure nothing is selected and export the model to Kerkythea (Plugins > Kerkythea Exporter > Export Model > OK).
If you want to use a shortcut for making the colors self-luminescent without tinkering with the materials in Kerkythea, take a look at the asterisk under step 5.
Object map: Save the scene with a different name. Now color the objects in the scene each with red, green, blue or black (remembering that your background, if there’s any visible, will also be black) so that preferably no two objects with the same color overlap. If you need them, you can also use the bright cyan, magenta and yellow with the names Color_H01, Color_K01 and Color_E01.
5. Open the Light Map xml file in Kerkythea. Press V to see the surfaces. Even though it looks a bit different in the viewport because it’s extended to the sides, the view is exactly the same as it was in SketchUp. The Scene you saved in SketchUp is saved as a camera in Kerkythea and you can see its name under Cameras at the left side of the window. Above those, under Models, you can see the colors you used as materials with the same names. Right click on one of those and choose Edit Material. Under Self Luminance, right click on Radiance, choose Add Color, pick whichever color you’re working on from one of the swatches at the bottom of the window after white and black, and click Accept. Then, still under Self Luminance, uncheck Emitter. This means whether the material emits light to its surroundings. Unchecking it makes rendering much, much quicker. Click Apply Changes and Close Editor. Do the same steps with the other colors.
Note: You can also make the colors self-luminescent in SketchUp without having to touch the materials in Kerkythea. To do this, open the Materials window, select In Model from the drop down list and rename the colors so that they end with “EmitFake”.
6. This step is necessary only if you have empty background showing behind your model. Go to Settings > Sun and Sky and click the Next button. In the drop down list, choose Background Color, click on the box next to Map/Color, choose black and click Finish.
7. Click the green icon with a running man or go to Render > Start. In the window that pops up, you can scale up the resolution but make sure it has the same aspect ratio – the resolution that it suggests is the size of the SketchUp window at the time you exported the model. There’s no worries about rendering time with materials this simple, I made my renders 4000 pixels wide. Next to Settings, choose Ray Tracing – High + AA 0,3 and click OK. You can look at the scene being rendered by clicking on the little landscape icon. If it seems to take a lot longer than a minute, close the Rendered Image window, click the red x icon to stop the render and see if any of your materials has Emitter checked on. When the rendering is finished, save it, close the Rendered Image window.
Open the exported Object Map model and repeat the steps from 5 – 7.
8. Now you’re through with the 3D part of the tutorial. Open the line picture and the Light Map and Object Map renders. Resize the line picture to the size of the renders and pile up the pictures as different layers so that the line layer is at the top of the Layer stack set the blend mode to multiply. It’s also a good idea to open the original image and put it as a layer at the top of the stack, so you can check if the values (if it had them) are coming out as planned.
Make a new layer at the bottom of the stack (or use the background if you still have it). Hide the two renders and image layer. Take a big grunge brush and paint some texture using dark colors with some lively variety of hue and temperature. The purpose is just to get an interesting looking base to start overlaying colors and textures on.
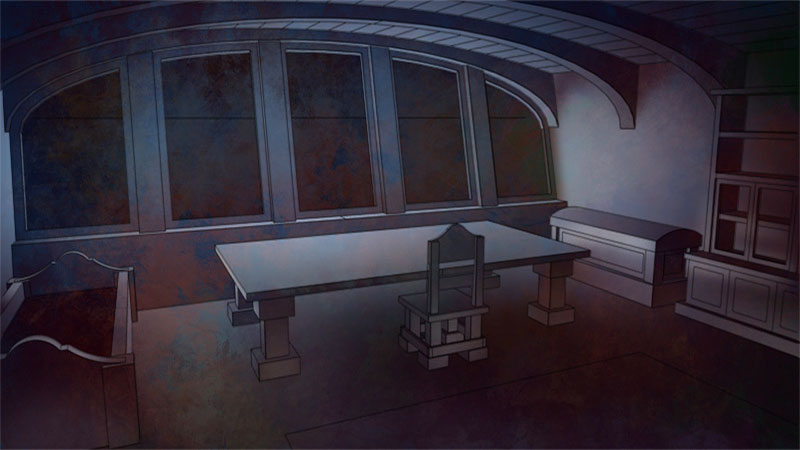
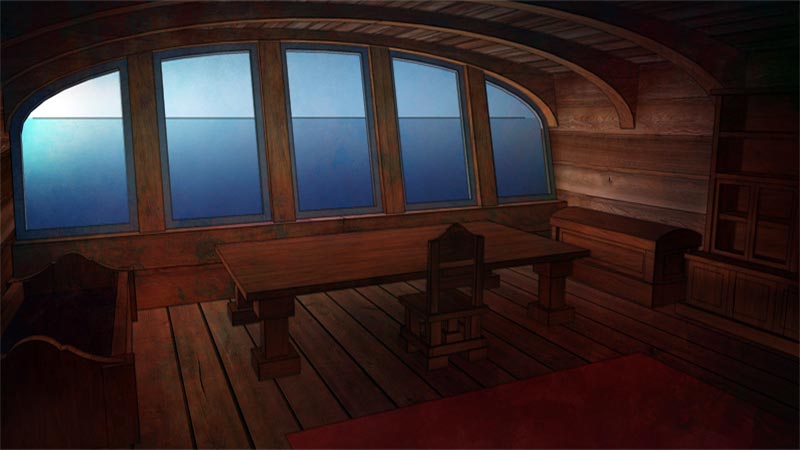
9. Add a layer with Screen layer blending mode on top of the layer you just painted on. Hide the line layer and show the Light Map layer. Either go to Channels palette and CTRL + click the red channel or press CTRL + ALT + 1 to select the red parts of the render. Make the line layer visible to see what you’re doing and on the Screen layer, using a big airbrush, paint the lighting on the selected areas with the light color of your choice. Then do the same for the green and blue parts by pressing CTRL + ALT + 2 and CTRL + ALT + 3. What you get should be something like the image below.
10. Make a new layer set on top of the Screen layer and name it “Textures”. Inside it, make a layer set for each object in the scene and name them accordingly. Hide the Line layer and show the Object Map layer. Using a combination of the quick keys listed on the last step and the selecting tool of your choice to unselect the unnecessary parts, make a selection for each object and make it a mask for the object’s destined layer set you created (with the object selected, click on the layer set and click on the white circle inside a box at the bottom of Layers palette). When you need to select black, press CTRL + A to select all, go to Channels palette and CTRL + ALT + click the red, green and blue channels to substract them from the selection. If you’ve used cyan, magenta, yellow or white in the Object Map, you can select the intersection of two channels by CTRL + Clicking the first channel and CTRL + ALT + SHIFT + Clicking the second one.
11. Hide the Object Map layer and show the Light Map layer. Select the red channel and inside one of the layer sets for objects, make a new layer, make a layer mask for it of the selection and name the layer “Red”. Do the same with green and blue channels. Change the layer mode of the three layers into Overlay. Then select them and ALT + drag them into the rest of the layer sets. You can see what the layer setup should look like below.
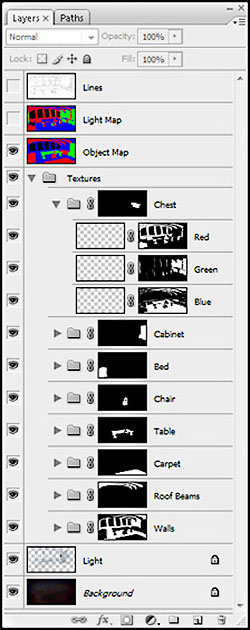
Layer Setup
12. Now you can add textures. Add a texture for each layer and transform it to place (CTRL + T). You’ll probably want to give some of the layers a color other than that which comes with the texture. To do this, make a new layer topmost in the layer set of the object, set it to Hard Light or whatever suits you and fill it with a color (ALT + Backspace fills with the foreground color, CTRL + Backspace with background color).
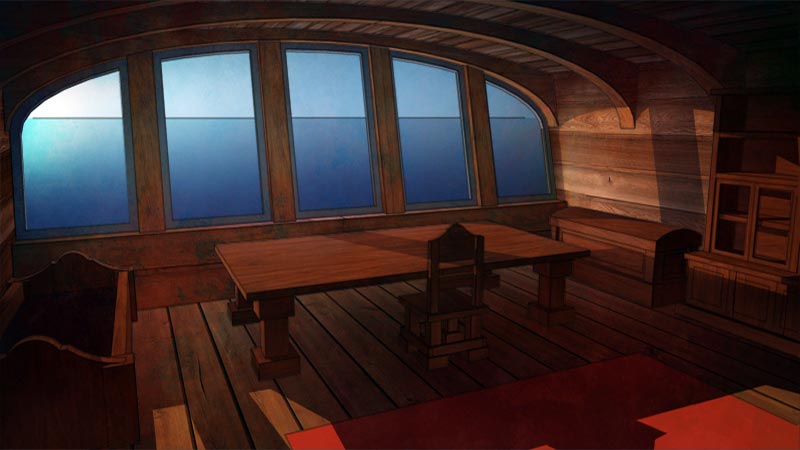
13. Next I painted some light shapes by first selecting the faces I wanted the light to fall on from the Light Map, and then unselecting the parts that would be left in shadow with the Polygonal Lasso tool. To select the arc shape at the upper right, I used the pen tool. I used this combination of selections as a mask for a Screen layer I created below the texture layer set and filled with a bright yellow. An Overlay layer placed on top of the textures would’ve done the same trick though.
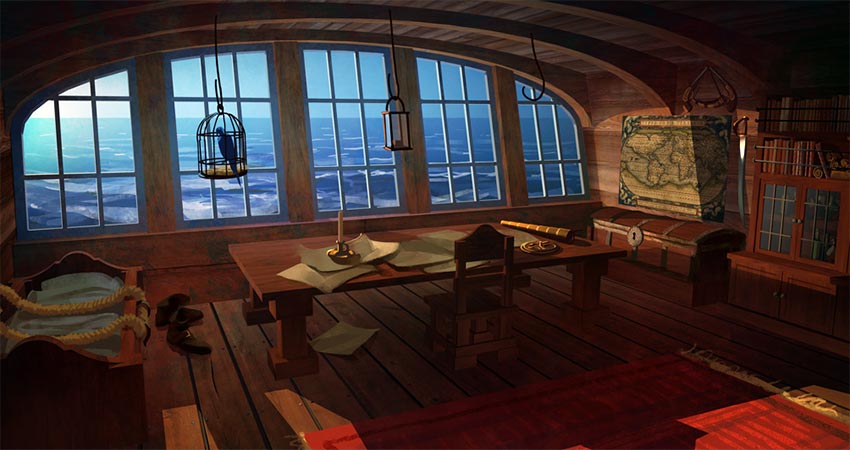
14. At this point, to free up some memory, you might want to save the image, merge the layers (without lines), save with a different name and make a new layer before starting to add details. Rest of it is just painting work.
If you’ve stayed with me for this long, thanks for reading and I really hope you can make use of this technique.
Samuli






very nice sir!.. thanks for the tutorial..
Very cool, thanks for sharing.
Hi there!
First of all, thank you so much for sharing the steps for this work method! I learned quite a lot from your tutorial and I’m thrilled to see the results of my own attempts.
I am using Sketchup to set up large exteriors and I was wondering if there is a way to speed up the proces of setting up the Lightmap in Sketchup.
Is it possible there could be a way to instantly select all faces on a set axis, instead of clicking on them manually?
Thanks again for this article, it’s really useful !
Cheers!
-Michiel
Hi. I would like to save this final picture to paint it myself, just wondering if I could save this picture. I tried looking for the copy right & didn’t find it. I am not so techy. I decided to ask you your permission. Your work is beautiful. My mom is an artist & works like this, I am her caregiver since 2013, She has dementia & Macular eye degeneration & is slowly losing her sight, I have never learned the techniques that you are showing, Maybe one day I will. I would like to try & paint this on wood for my grandson’s pirate ship, I think it would be so cool for him. That is the reason I am asking. Kim