Making of H.M.C.S Snowberry
 By Jacques Cleghorn (AKA silver_shadow)
Preface by the author –
“I bought this plastic model ship about 4 years ago and built it with my dad, doing a lot of research into it and actually trying to build every single detail on this ship. He passed away that year and building completely stopped. Last year when I finished the ‘Black Hawk’ in September 2008, I looked at a lot of images. I thought, what I can model next that can top the Black Hawk? Then I got this insane idea, maybe I should model that plastic boat I never finished. I looked at the manual over and over again and thought, this is insane. It will take forever to get this done. Every time I picked up the book I had my doubts. What if my drawing program won’t handle it? So I closed my eyes and started about 8 days after I posted ‘Candy 2’. It took me roughly 7 – 8 months to build it in my spare time and a lot of trial and error went into it to get it started. The compilation took about a week of rendering and finalizing. I was always fascinated with how the movie industry can model something, and use it in their film to make it believable. I am still wondering too, how much detail they do model to make it work for a film. I am also a keen gamer and love seeing how people show off their skills in building sets for these games. Maybe one day I would like to do that for real. All these renders are modeled only in Google Sketchup®, the ocean and boat. The sky was modeled in Vue. The final renders were only rendered in Vray for Google Sketchup® and a bit of Photoshop.
I want to thank my wife for putting up with me all these nights, not coming to bed and trying to finish this model. I proudly present, my most anticipated model I have done to date, the H.M.C.S SNOWBERRY – this one is for you dad”.
TUTORIAL
I was always fascinated by the way some people built in models in such great detail and decided to start the ‘ Candy’ series, trying to emulate them, but by only using Sketchup with no other external applications for modeling. This tutorial is a quick overview of ‘Eye Candy 3’ The H.M.C.S. Snowberry. I go through some tools that I used and how some of it was built. All the plug-ins used in this tutorial are widely available on SketchUp sites and forums.
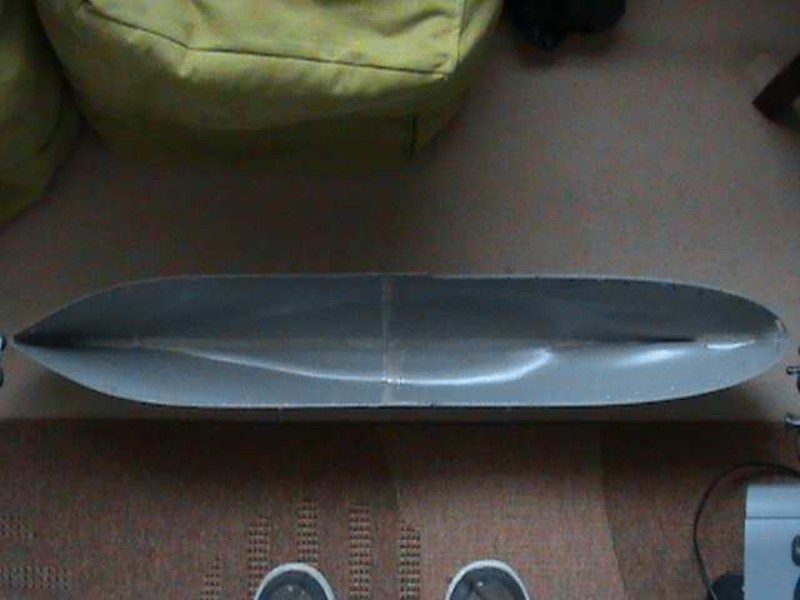
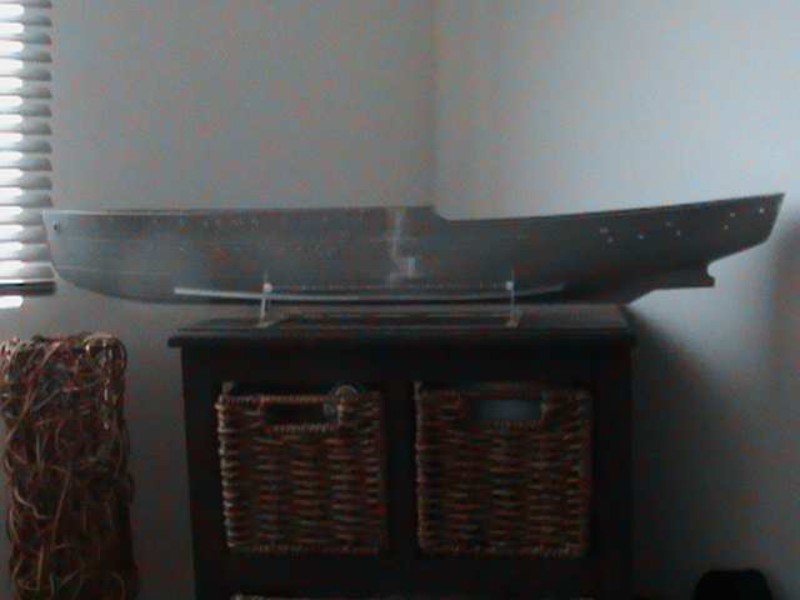
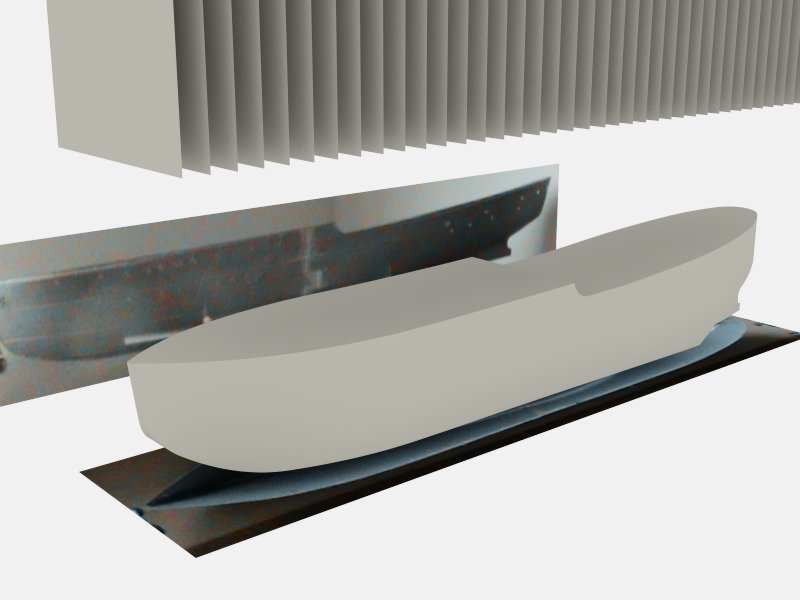
I had this plastic model lying in my closet for years and decided to model it. Luckily it was half built and I could separate elements, which enabled me to make a start on it. Firstly I needed a side view and a top view. I set up my video camera on a tripod, not a great outcome, but at least it was kind of straight. (Images 2-3)
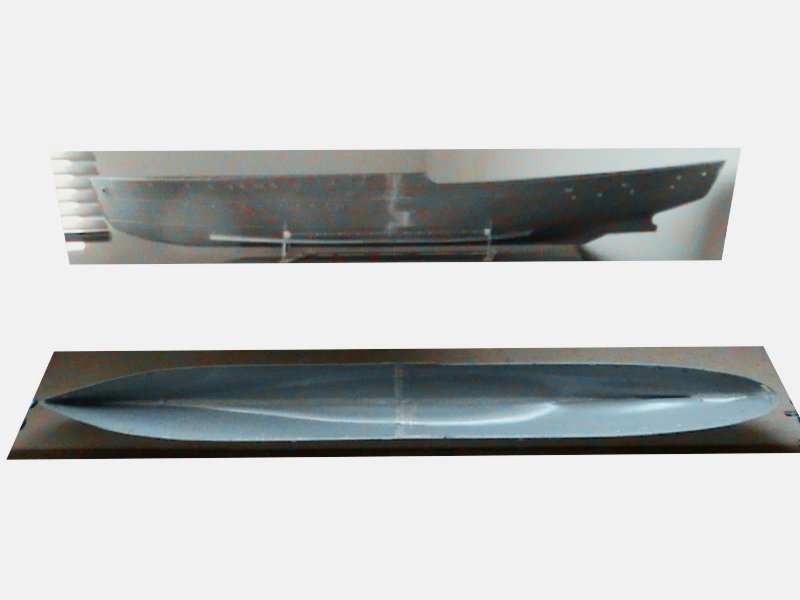
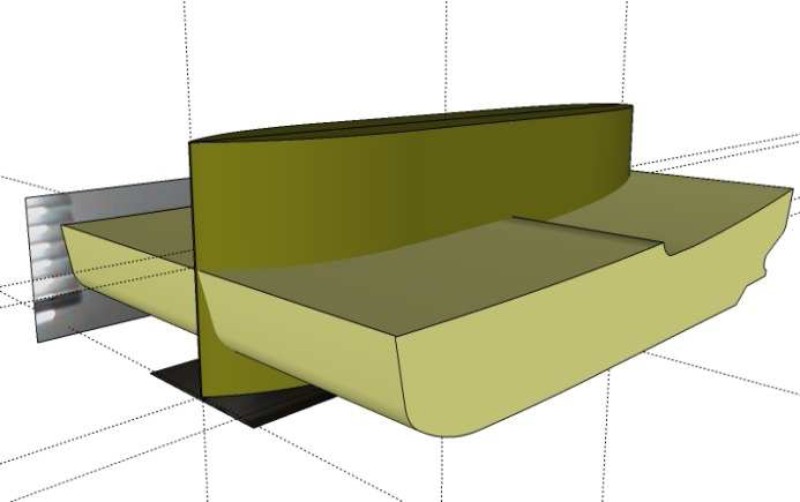
The next step was to import it into SketchUp by just dragging it into the program and lining the 2 views up. Once that was done I traced the plan and side view on the image. Once traced I extruded it over each other as indicated below (Image 4).
I intersected both objects and cut away the parts sticking over the edge that I didn’t need (Image 5).
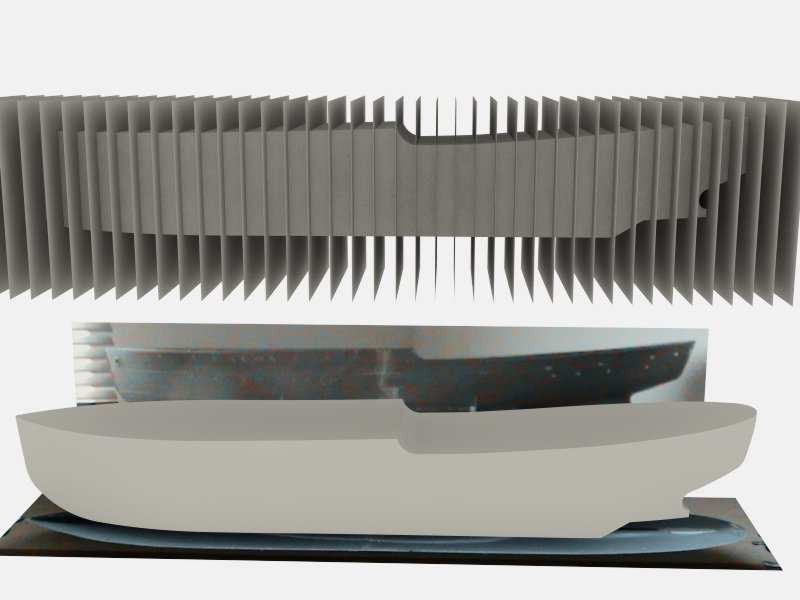
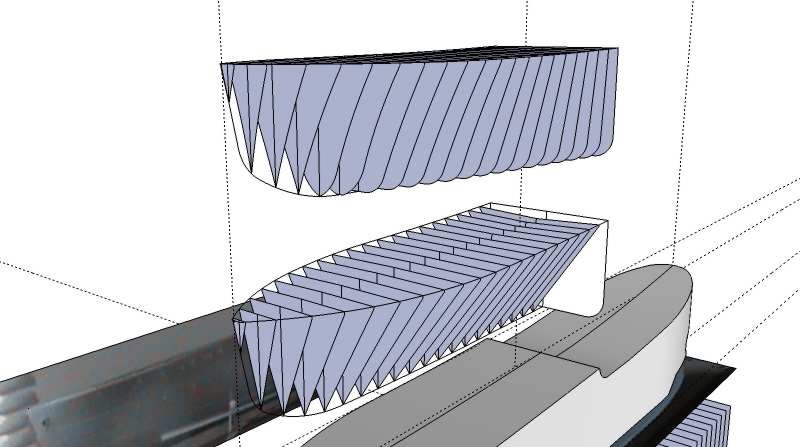
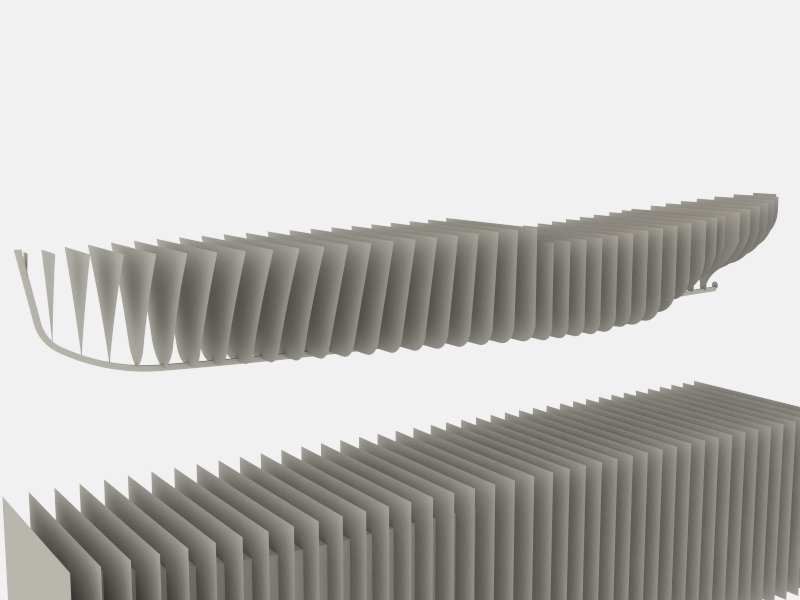
The next step was to create ribs. I had to space them quite neatly to make this to cover the model not at strange places. Again I intersected the model with the ribs and deleted, so I only had the profiled ribs left. Now, I am still not a ‘Guru’ in this and actually did the next process about 4 times until I was actually happy, and spent a lot of time making my grids work nicely. I started with the middle section because that was the widest. Rounded its edges and worked towards the front making it smaller and smaller as I got to it. A lot of trial and error went into this part and I couldn’t measure curves, so I had to eye it till I was really ok with it (Images 6-9).
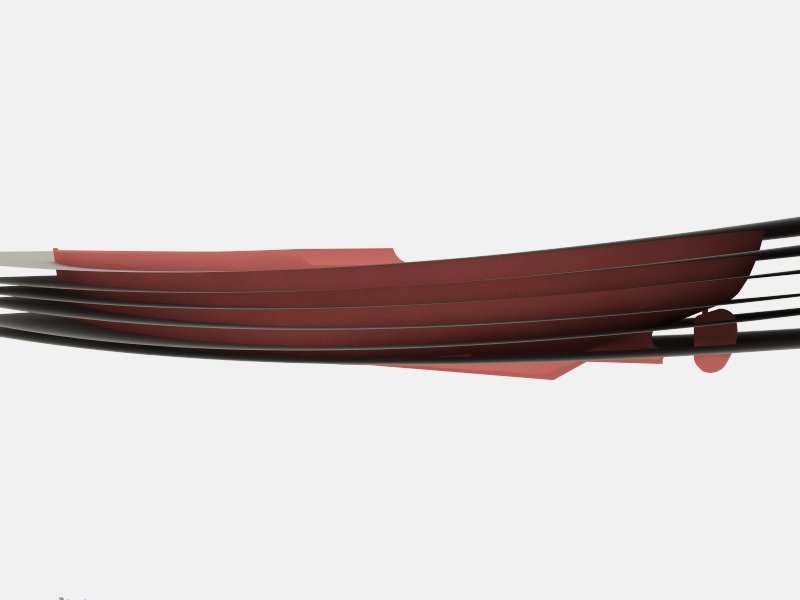
Once this was done, I used a plug-in called ‘Skin’ and used the second last icon to connect each surface with each other. When all done and all the faces are linked, you will find a total mess of lines. Smooth it so it will go away temporarily. The next thing I made was horizontal curves and positioned it over the model and intersected those too (Image 10).
Once done, I actually cleaned this model painfully by building it block by block. I made (grid cuts) by deleting it one by one and re- modeling it to have a semi constant amount of polygons per block. When I reached the back it did not work as well as I thought but did manage to make something work.
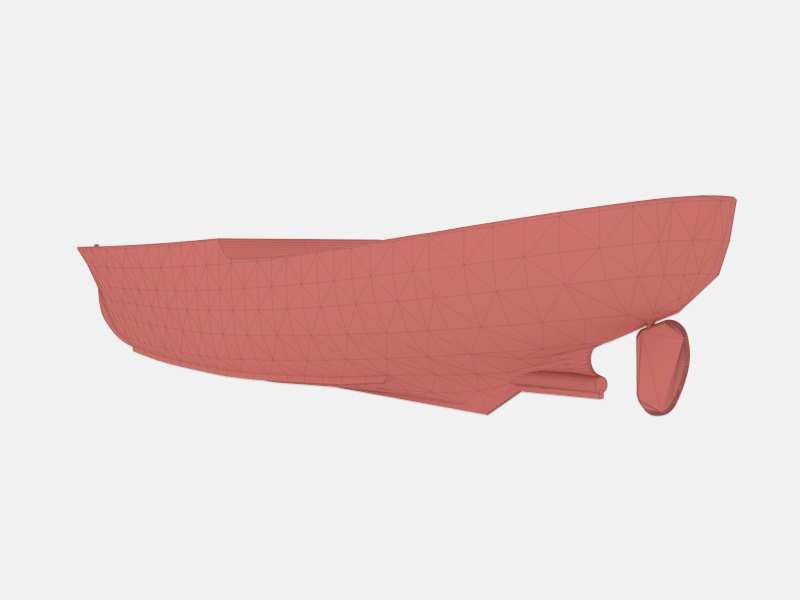
Because it’s a mirrored image (the left side is the same as the right side, I deleted half of it, made it a component and put it on the other side (Image 11).
THE PROP
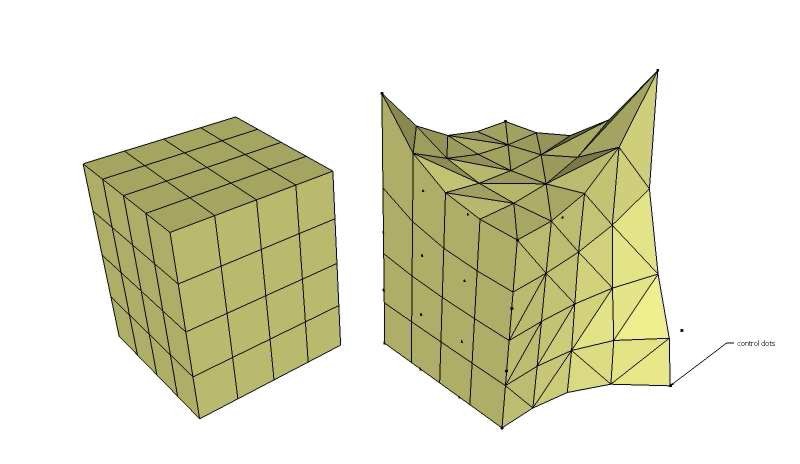
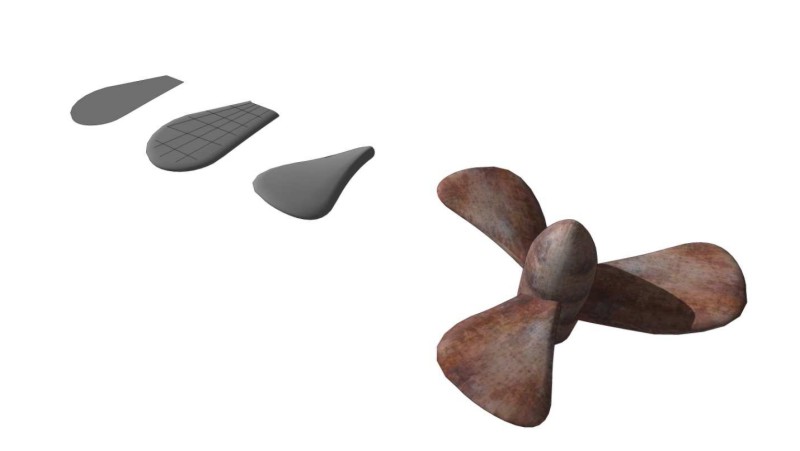
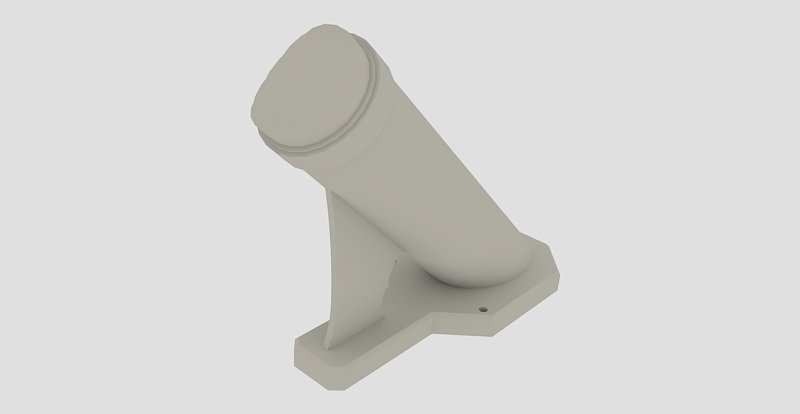
I made this quite quickly actually. I started off with a block and put some cut lines into it to divide it up into more segments. Then I used a plug-in called ‘SketchyFFD’ This tool gives you the ability to manipulate a group and keep the structure in tack as it gets modified. It creates a couple of control points around a grouped object and pulling those points makes the object change. I added it to one fin, rotated the edge and got a curved blade. The block below is just a demonstration of ‘SketchyFFD’ (Images 12-13).
THE OCEAN
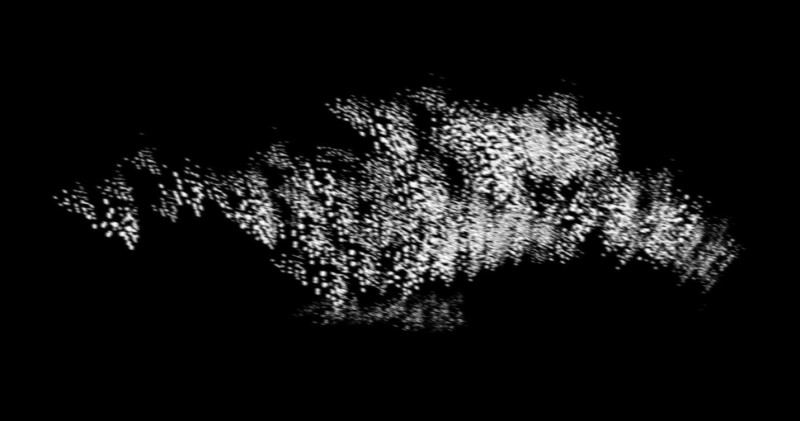
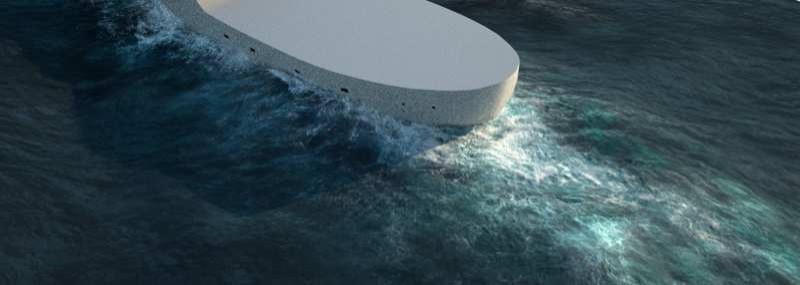
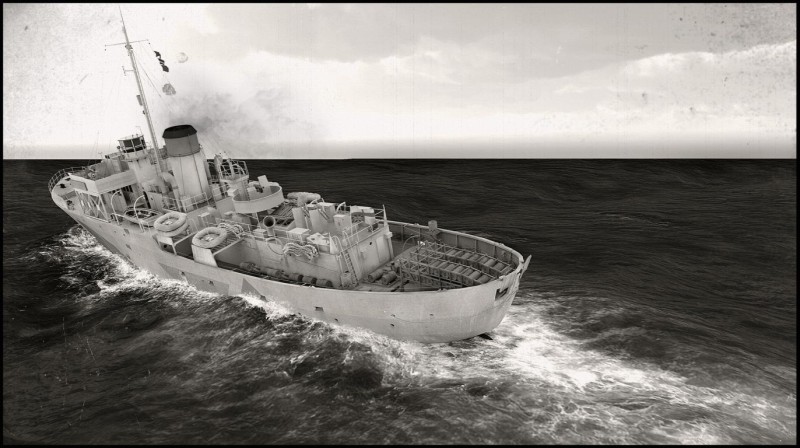
This took me over a month of trial and error and tests. I first wanted to create a real stormy sea, but toned it down a bit. I wanted to make real splashes and modeled one droplet, made it a component and start packing them viciously. It actually looked really good, but it was too much info and the machine really suffered. So I decided to make clip maps of one of those bunch of water droplets. I then blurred it in Photoshop, but it was so small in the render, I completely left this out on the final renders.
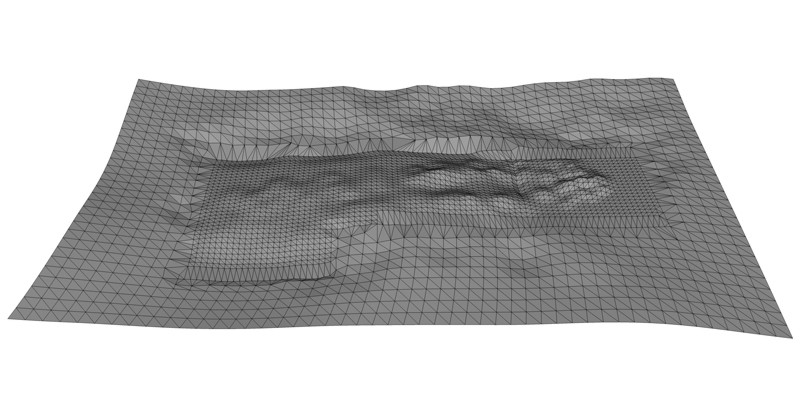
The ocean was probably the most difficult thing for me to make because I had no idea what I wanted to make. I used plugins in Sketchup (sandbox: images 15-16) and made a simple mesh. I also placed the model on to the mesh and formed it around the hull. A much finer mesh was used around the model itself.
Image 15
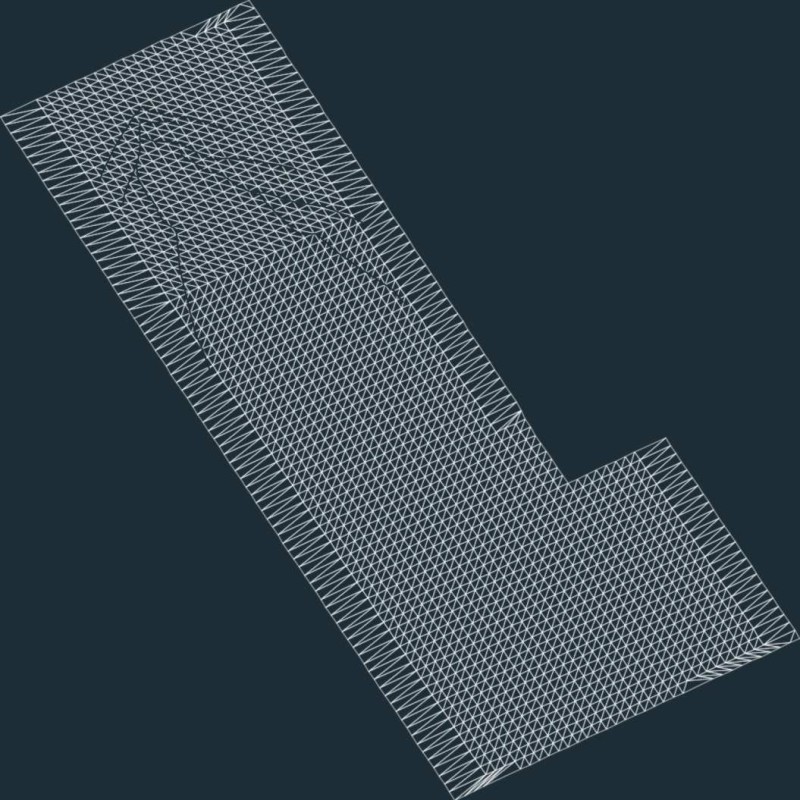
The texture took some time too because I wanted to make my own water effects where I wanted them. To do so I had to export a flat image of the water mesh and brought it back into the SketchUp file. I smoothed the mesh and positioned the texture right above it. Once happy, I projected the mesh texture on to the smoothed surface. Now I have a smoothed surface, with a projected mesh texture on it. In Photoshop I started drawing some lines to find the kill (front part) of the boat.
Then I saved the file, re-linked the texture file and I would see on the model how far I was out until I got the position by doing this a couple of times.Then I just started adding more and more detail, checking with the SketchUp file, how it looked, until I was happy. I made a displacement map to add more detail to the water and this was the result tested in Maxwell render.
BACK DECK
I had some reference images (actually a whole file of them) and tried to add as much I could source to be as accurate as I could find. Most of the main model is basic modeling. To save some space, I split the deck in half and made it a component and mirrored it. Some elements that could not be mirrored, I placed outside the component. I usually start blocking up details and its position, even if it is just a block indicating the size and where I want to put it, copy the block, and paste it in place in a new drawing. Then I start detailing this up until it is done, and copy it back again on the main model file.
I usually start blocking up details and its position, even if it is just a block indicating the size and where I want to put it, copy the block, and paste it in place in a new drawing. Then I start detailing this up till it is done, and copy it back again on the main model file.
The more detailed the deck got, the harder it got to work on it, so working on separate files is really the most efficient way to model this. I also layered detailed elements that slowed down the main file, so it can be switched off to speed up the work-flow.
FRONT DECK
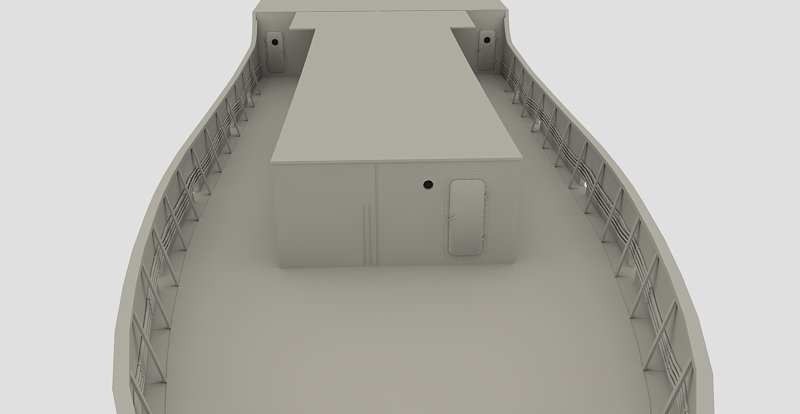
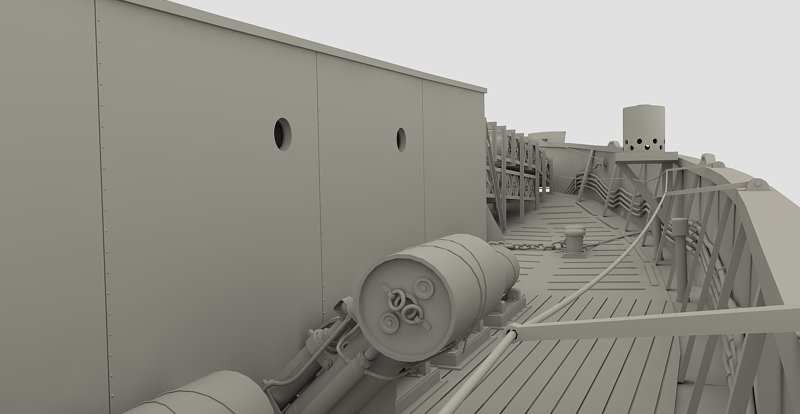
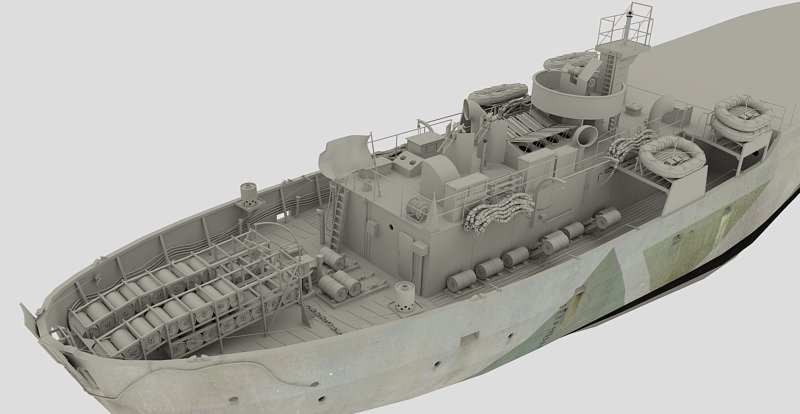
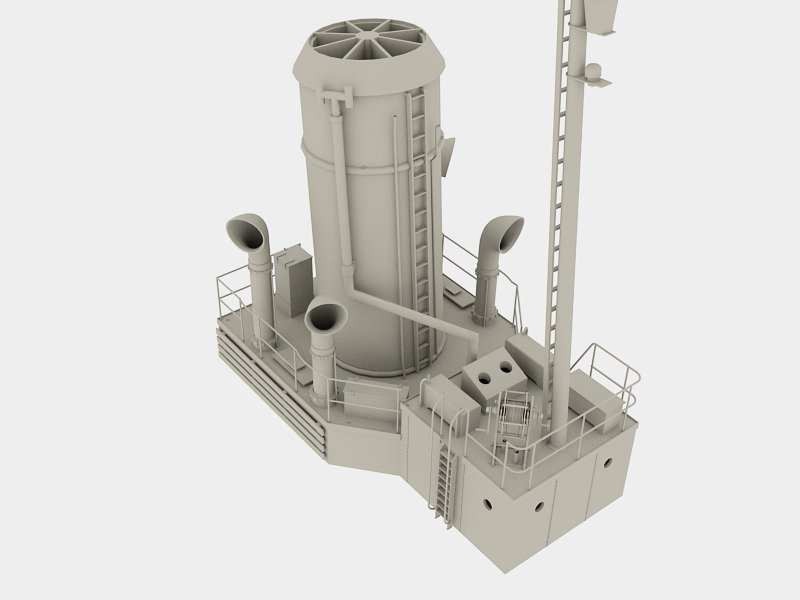
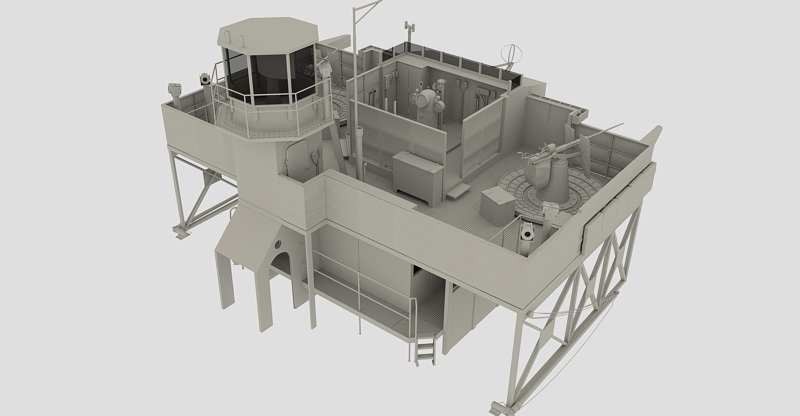
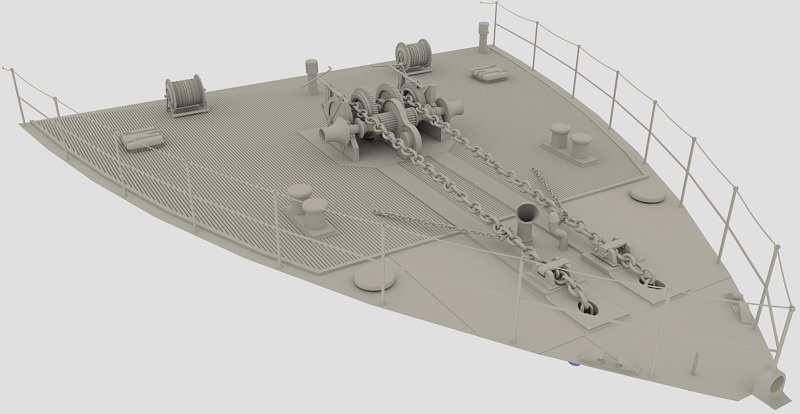
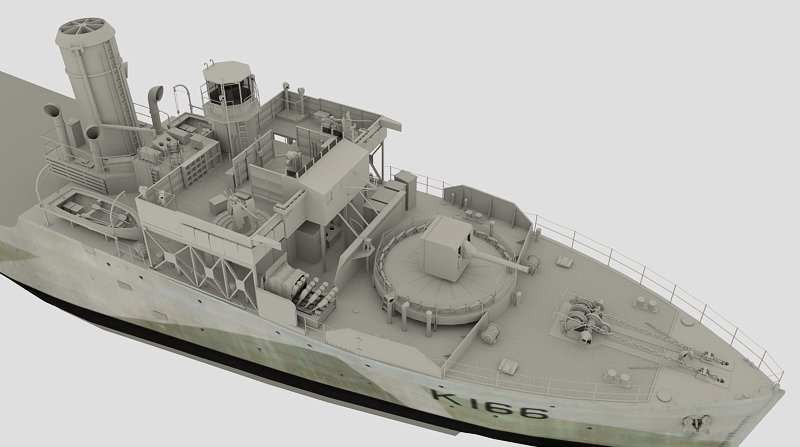
By now, the file was already around 38mb and decided to model the front deck in a separate file. I started on the funnel area. This to me was the most fun part of the model to make. Blocking it out was easy and detailing it up was really fast. As the model progressed some detail could be re-used like boxes and rope fixtures etc, thus saving time.
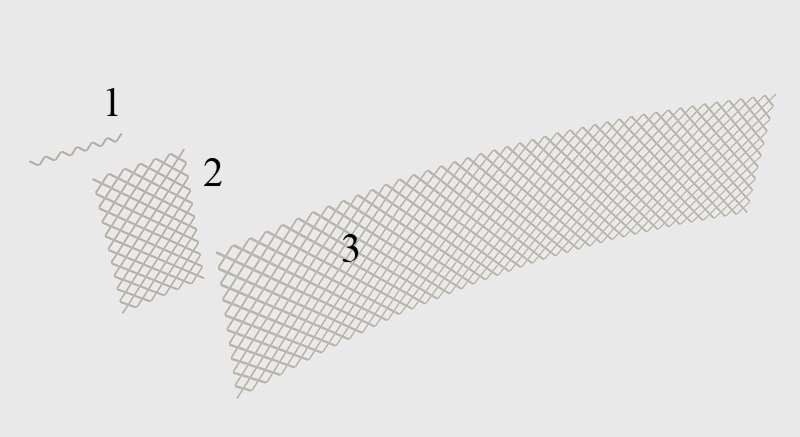
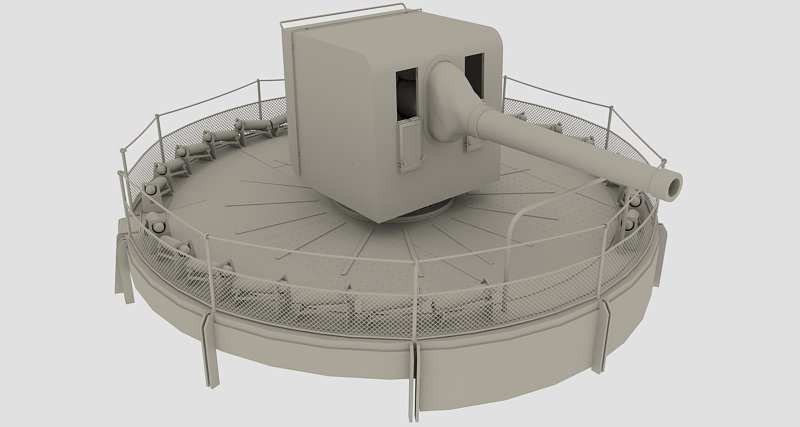
The main cannon was also quite fun and a bit of tiny detail was added into some elements. I did worry about the fence that prevents the shells from rolling off the deck. I had to find a way to show it, but not by using textures. So I built a portion of a zig zag pattern. I made it a component and then started tiling it until it made a nice fence.
The bag that sits over the turret was simple geometry smoothed with ‘subdivide & smooth’ and trial and error based.
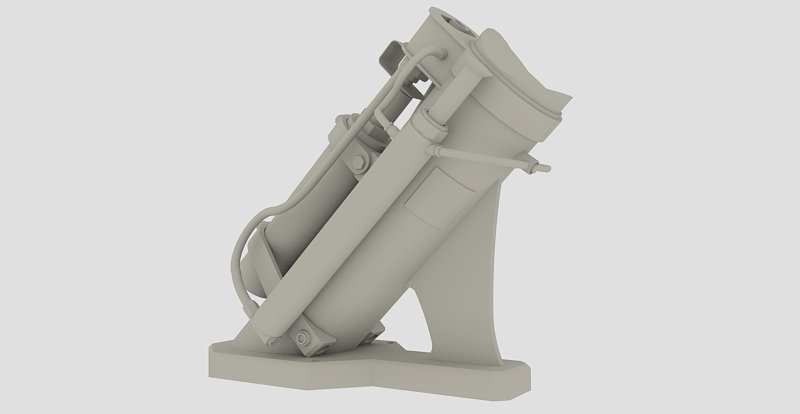
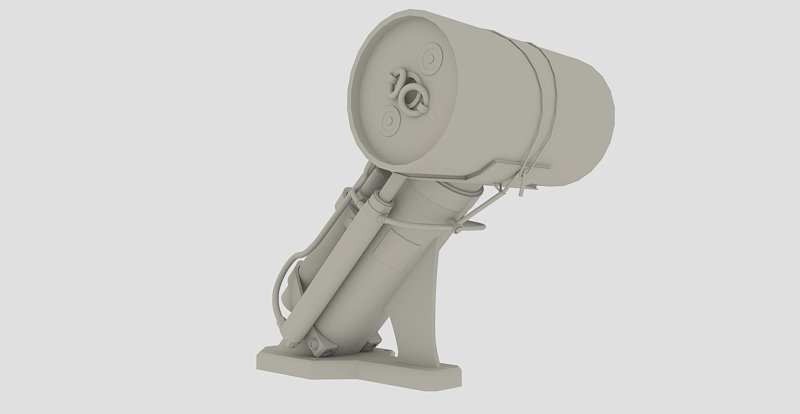
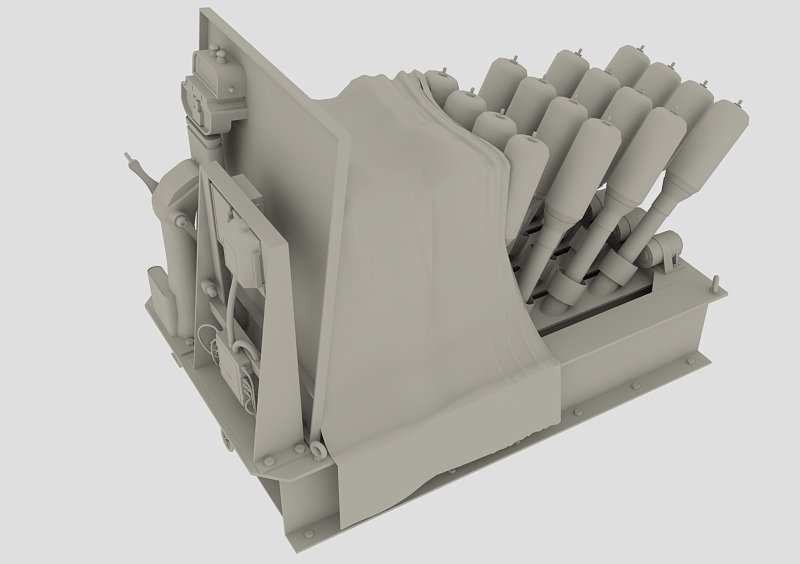
I started on a mortar launcher after that, called the ‘Hedgehog’. Modeling it was fairly quick because half of it consisted of components. The back part I played a bit with, using reference images and ended up putting a cloth over the mortars. The cloth was made using Chris Fullmer’s ‘Simple loft tool’ and some stretching afterwards when it was done.
The main deck was started after this and went really fast.
The front deck followed and was also completed in no time, using some of the elements already detailed and modeled in some cases.
I was quite excited now knowing a lot was done and I had not seen all of this model in one file yet. I started assembling all of it, copying part by part into one file until the whole model was put together and I was relieved that it is still holding up quite well.
I used the ‘TubeAlongPath’ ruby(there is also ‘Lines to Tubes’) quite a bit, it allows you to draw one line, and the make it into a pipe ( or in my case a handrail or rope). Saves hours of time when you are dealing with a lot of rope like elements. I used ‘Subdivide and Smooth’ also but not that much, building a simple element, and making it high poly for a smoother result. One thing I picked up was that SketchUp does not close faces when you draw something smaller than 1mm. So to solve that I made a symbol of that element, like a line I want to make a pipe, but is smaller than 1mm in diameter, scaled a copy of it. Then it is big enough to do what you want it to do and will close those faces. Once done, you can delete the over-sized copy because the correctly scaled down element you first made a component is in the correct position and size and because it is a component it copied what you did on the scaled up version. Last tip for new builders. Keep your drawings clean, delete lines you don’t see, make components where you can wherever you use them again, and try keeping the file size to a minimum if you can. Enjoy ‘Eye Candy 3’.
The Final Images
Silver_Shadow’s ‘Eye Candy’ models were intended to be models only made in SketchUp from scratch. No borrowed information or external applications were used to aid in the modeling process. Since modeling ‘H.M.C.S Snowberry’ there have been many new plug-ins developed since, and undoubtably added to the modeler’s arsenal, so you may find certain aspects of this model could be constructed using these as well.
“I hope you have enjoyed this tutorial and that you have learned some new methods and techniques in the art of 3D modeling”.
Jacques
Some History –
H.M.C.S Snowberry
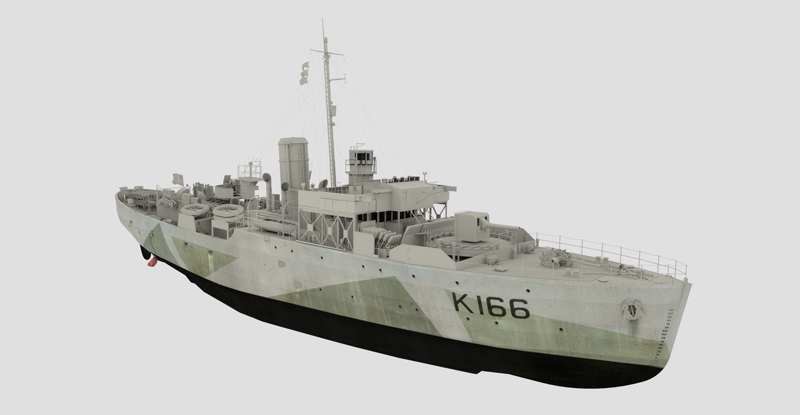
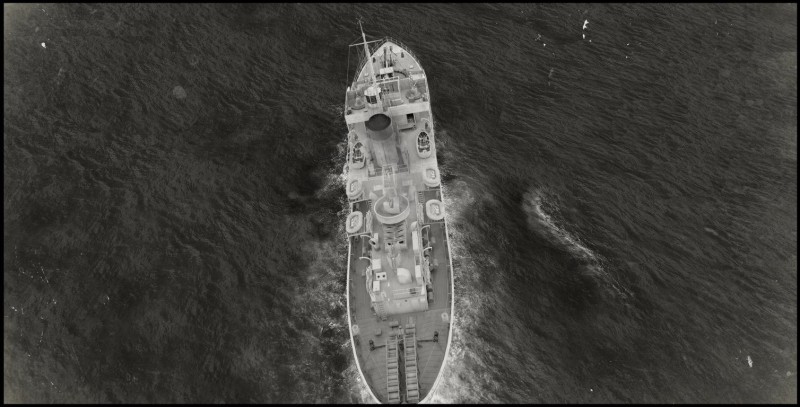
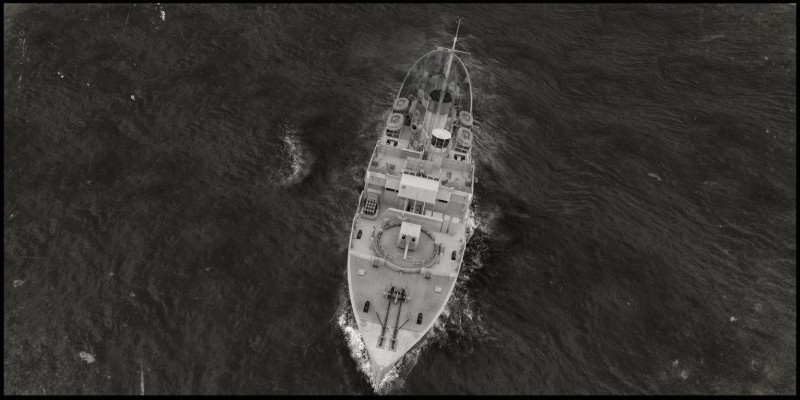
The ‘Flower Class’ corvettes will always be associated with the Battle of the North Atlantic, even though they were also used in all theatres of World War II. Alongside other escort ships she bore the main burden of the battle against the German submarines. The escort ships of this class were divided from the collaboration between the British Admiralty and the Smiths Dock Company, which in 1938 had a successful design for a commercial whaler called the Southern Pride. The main feature of this original design was that in accordance with merchant shipping practice it could easily be built in many small British dockyards and its basic engines could be handled by civilian dockyards. Sixty ‘Flower Class’ corvettes had been ordered before war broke out and by the end of 1940 at total of 141 of the original design had been ordered. The first vessel (launched on 24.01.1940) was completed in 5 months, the subsequent ones at a rate of one every twenty three days. Once it had been decided that corvettes were no longer to be used as coastal escort ships, but on the high seas, some modifications had to be made. Later the vessels were given a different hull with extended forecastle that improved their thrust and overhang to protect them against the Atlantic seas. During the course of the war the corvettes were equipped with radar, more and more powerful anti-aircraft weapons (AA MG or 20mm ‘Oerlikon’ guns), more depth charges and at the end of 1941 with the ‘Hedgehog’ anti- submarine weapon. From 1943 they were equipped with better electronics. During this period many modifications were made to the bridge to incorporate new equipment and protection. These ships proved to be the most seaworthy and were used by navies throughout the world. (Total build 265) Displacement: 940 tons, power plant: 4-cylinder triple-expansion/Scotch boiler; capacity: 2750 hsp; speed: 16 knots; range: 4000 miles at 12kts. When in the spring of 1942 the German submarines moved their zone of operations to the American coastal region. The US Navy found itself obliged to make up for this full deficit of suitable vessels from British corvettes. Ten corvettes were immediately delivered to America, and a further 8 from Canadian shipyards which included H.M.C.S Snowberry. This ship built by Davie Shipbuilding, Lauzon, Quebec, was completed on 30th November 1940. She was ordered by the British Navy and on completion was transferred to the Royal Canadian Navy and used as a convoy ship in the North Atlantic. In November 1943, assisted by other escort vessels, she sank U-boat U536, 500 miles west of Cape Finisterre. She spend most of her life in the North Atlantic and a brief period in the English Channel, before she was returned to the Royal Navy in 1945 and scrapped in 1947.
ARMAMENT
Primary 1 x 4-inch gun
Secondary 1 x 2-pounder gun , 2 x 20mm machine guns , Hedgehog in many
STATISTICS
Speed (Knots)
Design / Trials 16.0
Crew 6 / 79
Jacques
A friend once told me, ”If you want to be happy, find something you love doing so much that
you would do it for free. Then do it so well that people will pay you to do it for them!”





great post as usual .. thanks .. you just gave me a few more ideas to play with
Hi Jacques,
Great work indeed, as Paul staed you gave me some ideas too,although you make it look too easy. I follow your work up to image 4/5, but canoont seem to cut or follow the rest of your steps, do you have an email I can send you my save file to look at?
Thanks, mate
P.S. my email is mikegross_65@yahoo.com
Thanks again
Hi Mike
Yea sure, my email is cleghorny@gmail.com
Sorry for being so vague about this tut, it was a 8 month process and was a bit hard to capture this process over the time. First post was on SCF forum, posted 250 images of the model and basically step by step how it went onwards. The tut sort of ties into the areas where people probable had questions looking at the 250 renders. But thanks for the comments, and for those who never saw this before 😀
amazing Modeling skills
amazing Jacques, hope that oneday SU could handle such model when textured
Hi,
Your amazing talent for detail is breathtaking.
It´d be a great plesure for me and other sketchup fans for sure to see other inspiringtutorials like this.
Keep working, and best of luck
Jacques is the BOSS.
WOW, that is a great piece of work! I do a lot of my woodworking and stained glass designs in cad and Sketchup. I am just starting on the first sailboat project (the Amigo from Glen L designs) The same both in the tv show NCIS. I am greatly inspired by your skills and hope I can do my project with the same detail.
Thanks for posting this!
[…] Snowberry images and the artist’s approach here […]
total respect! your work really inspired me a lot. 100 times bow from me to you
amazing focus and resourcefulness, total props.
Fantastic, just fantastic.
I’m 2/3 the way through my Snowberry and just wish I had seen you work earlier.
Congratulations
Regards
Alan
Hello
Love your work, thanks so much for sharing! I was wondering/ hoping I could have you make a late Spruance class DDG (DDG-985) ??? I would like to have the tutorial to help me hone my skills, so I can make a modern fleet.
I used someone else’s Kidd Class and tried modifying it, but it didn’t turn out so well.
Here’s to hoping, thanks again!
Respectfully, Mike G.
Hi Jacques,
Do you have a 3D ( dxk or similar) of the flower hull you could share.
I making the model (radio control) and starting to do some CNC work, the hull would be a great too to size items
Regards
Isn
Amazing work bro… have never seen so much detail n patience in any work… its really marvelous work… keep it up… 🙂
That is outstanding! I can only presume the ammont of time necessary to create all those parts in such detail!. That is awesome!
Such details make this look just like the real ship 🙂
Have you posted a video of the model on youbube?
Respect!
Wow truly inspirational! Amazing work, your attention to detail is unrivaled
Amazing work on the Corvette model. I am in the preproduction stages for a low budget ww2 movie, that has a sequence that is set on a Corvettte. Would you be open to allowing me the use of your model in the film please contact me at davidconnellan68@gmail.com
Cheers
Amazing work