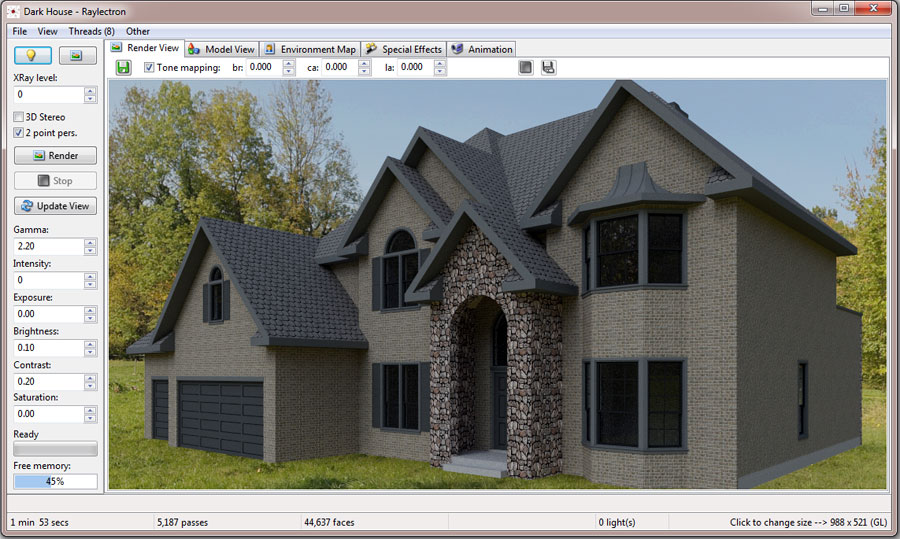
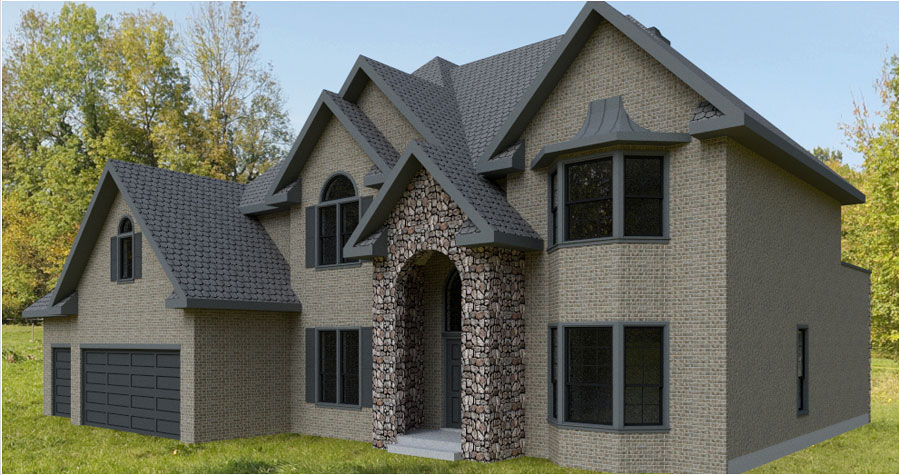
Render a Simple Outdoor Scene with Raylectron

This tutorial is ideal for anyone rendering for the first time and wanting to get a simple insight into some extremely good reasonably priced software. Though software specific, this tutorial will give the render newbie, some idea of what is basically involved and how simple it really is to create a nice 3D render with little fuss.
The tutorial will show you how to load a model from the 3D Warehouse and make a simple render of a house using an environment map, change a few materials, including the glass. On completion of this tutorial you should be able to achieve similar renders from your own SketchUp models, and all within minutes. Software used in this tutorial is Raylectron V3 and the 3D Warehouse model is the Grey House by Paul Palamara (also known as Paulwall on 3D Warehouse).
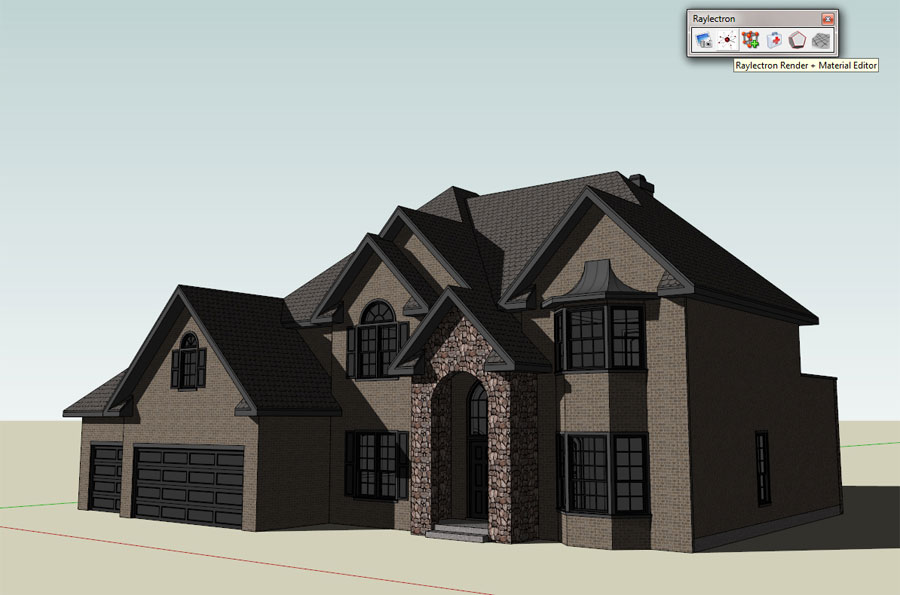
1. Open SketchUp and click the Get Models icon. Select a model of choice from 3D Warehouse (you can download the model used in this tutorial if you wish from the 3D Warehouse). Click on the Raylectron toolbar icon to start the process.
2. While in SketchUp the small Raylectron Material Editor window will open with “No material selected“. It has Render, eyedropper and Close buttons. Simply click on the Render button (without editing your model). You will be asked to name your file and save it. Your model is then exported to Raylectron and the Raylectron render program window will now open. You can close SketchUp now if you wish, which will also close the small Raylectron Material Editor window. You can edit your material later in the Raylectron Material Editor, see step 4.

Material Editor Window 1 while in SketchUp
Or…… If you click on the Eyedropper rather than the Render button a larger Raylectron Material Editor window will appear, as shown below, and you can start editing some of your materials (adding bump, glass, roughness etc..), click on the Apply button to save each setting you choose. Once done click on the Render button. You will then be asked to name your file and save it (it will be saved into a .rof file so you can re-open your model using Raylectron instead of SketchUp). Your model is then exported to Raylectron and the Raylectron window will now open. You can close SketchUp now if you wish and continue within the Raylectron render program, where you can adjust things further.
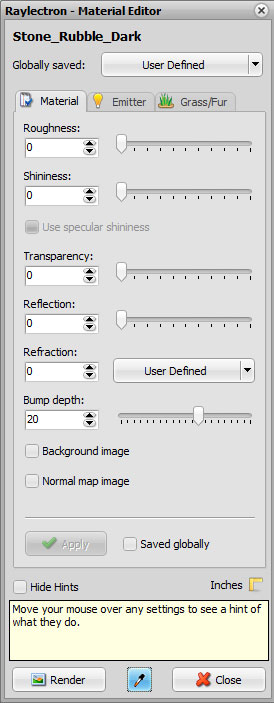
Material Editor 2 using eyedropper while in SketchUp
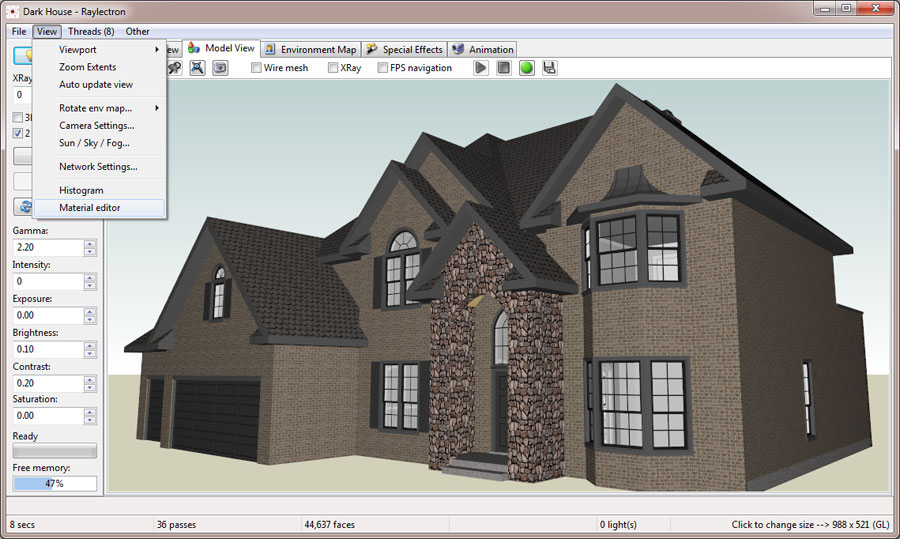
3. In the View tab of Raylectron we used rotate, pan and zoom tool to position our model (you can use your mouse buttons and scroll wheel to position your model as well).
4. If you did not edit your material in Sketchup using Raylectron Material Editor you can do so in Raylectron. Open Raylectron Material Editor (View>Material Editor) and right click on material in your model to select it. Edit materials according to your needs, in this case we added some depth (Bump) to the bricks, stones, shingles. Transparency and shininess was adjusted for the glass in the windows. Make sure you click on the Apply button to save each setting.
Settings:
- Roofing Shingle: Bump depth = 20
- Stonework: Bump depth = 30
- Bricks: Bump depth = 15
- Glass: Transparency = 100%, Shininess = 10.337
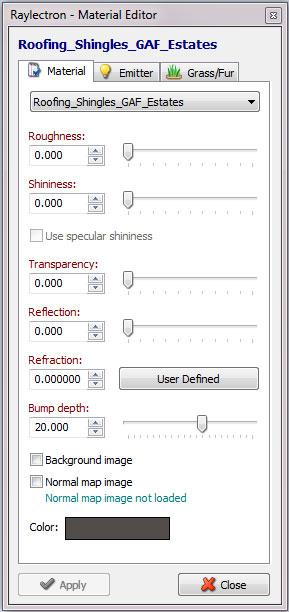
Material Settings (Roofing Shingles)
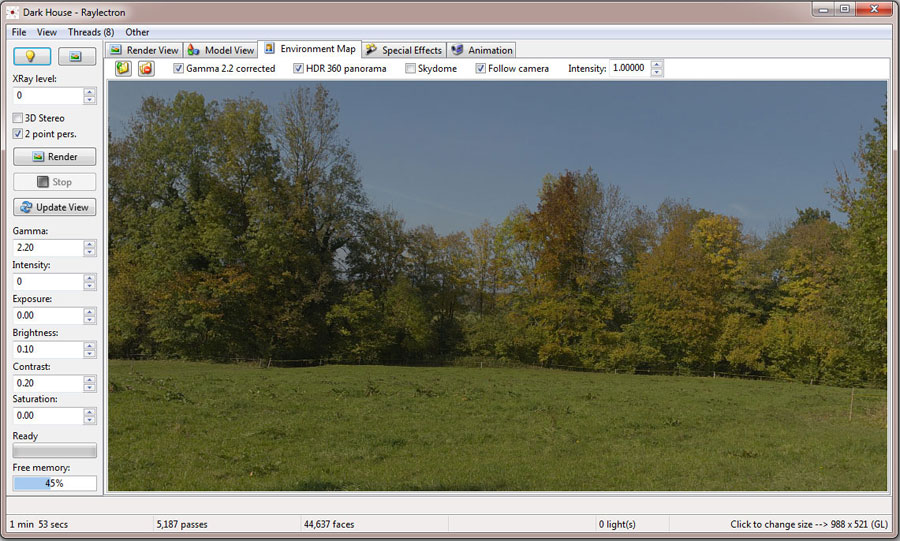
5. Next we downloaded a 360 degree HDRI Environment Map from openfootage.net and loaded it into into Raylectron (File>Load 360 degree environment map). This will provide us with the outdoor light we need.
6. We also checked the box “2 point pers” (with this selected all vertical lines in the model will appear straight. In others words keeping all verticals parallel).
7. Click on the Render button. You can adjust the rendered output while it is rendering (all optional).
- Check the box “Tone mapping“
- Brightness = 0.10
- Contrast = 0.20
Raylectron automatically updates your render view when new frames (samples) become available. Depending on your requirements, you can achieve photorealism in less than a minute, and for the perfectionist, you stop it when you know its perfect!
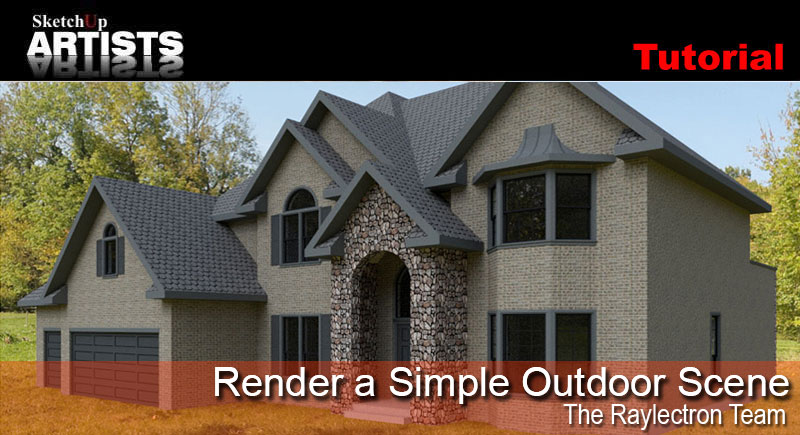
The image above took about 1 min and 53 secs to render on an average PC with 8 threads. We hope you enjoyed this little tutorial and learned some of the basic components in a simple render.
Raylectron also have some video tutorials and a help manual (user guide) which you can find at their main website. If you have any further questions regarding the use of Raylectron, you can visit their Support/Forum page. The Raylectron free version is fully functional, providing you do not mind the faint watermark and available in their download section here.
Thanks for reading.
Raylectron Team

