Adam Warner – Identity Nightclub

Adam Warner is a full time Architectural Illustrator and Intern Interior Designer at Desmone & Associates Architects. Adam received his B.S. in Interior Design from LaRoche College, where he was recognized as a top contender for the 2009 Interior Design Educational Achievement Award. As an Architectural Illustrator, Adam specializes in computer rendering and 3-D animation.
The Project:
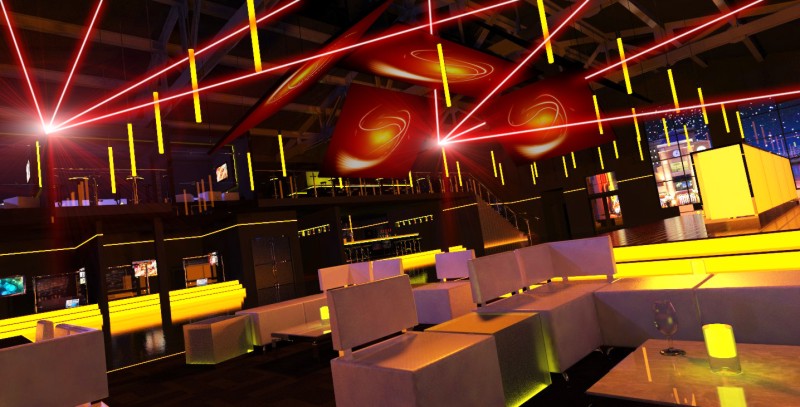
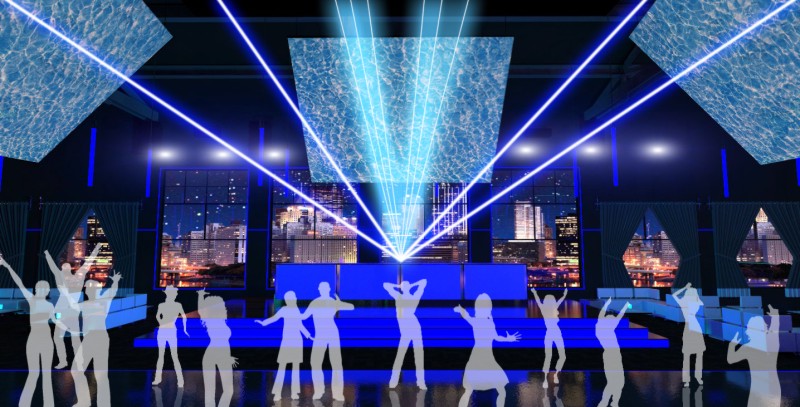
Identity Nightclub was an eight-month process where I had to conduct various forms of research, write a research paper, and take that information and turn it into a design project. The research part of the project lasted for about four of the eight months, and then we had to find a local site in Pittsburgh, PA and obtain existing drawings, photographs, and anything else we needed to be able to implement our design ideas. We had to go through most all of the phases of a typical interior design project: space planning, accessibility issues, occupancy calculations, furniture & finish selections, construction documents, and final presentation graphics & boards. We were not required to even use 3D software or come up with anything even close to an animation, as many other students used traditional hand rendering techniques, but I decided to utilize SketchUp form the very beginning, and challenge myself to create a fully animated promotional video that made up the bulk of my final presentation. Using SketchUp from the very beginning was essential because it gave me the flexibility and speed to completely design my space in 3D, and it really made the project a lot of fun and almost not even feel like work. I created a lot of extra work for myself, but I do not regret it for a second.
The Process:
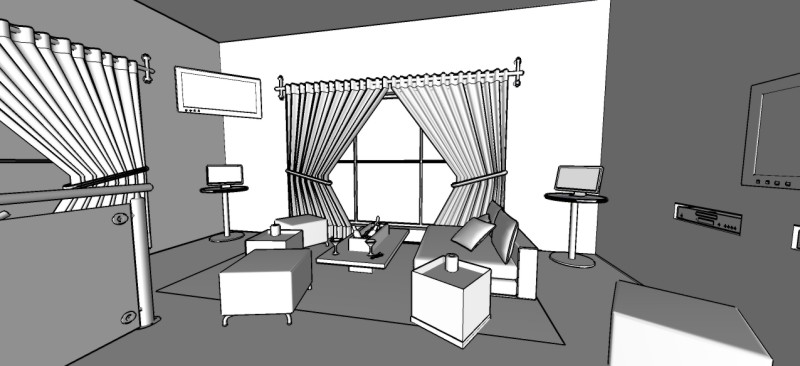
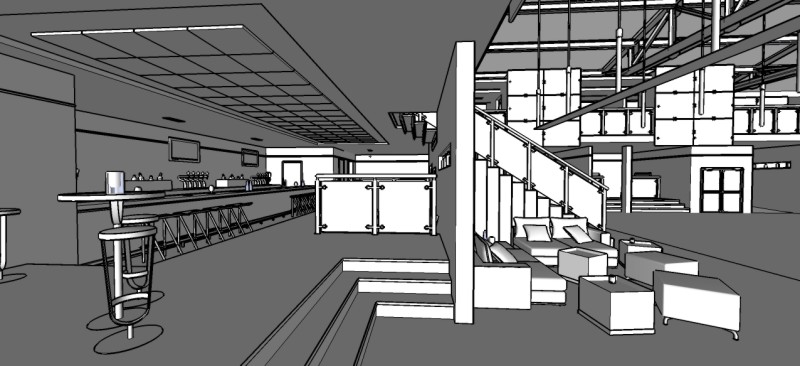
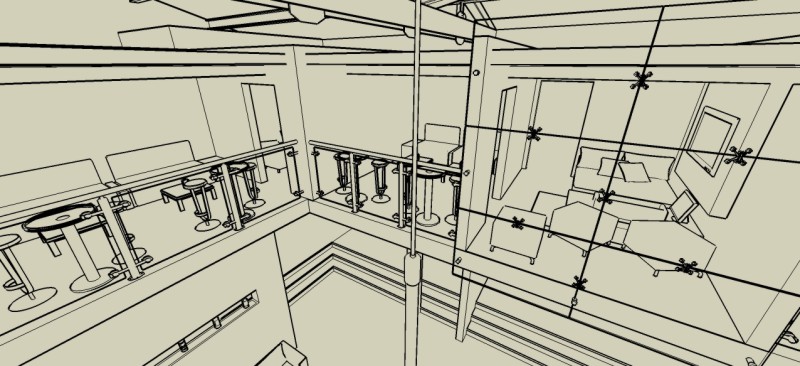
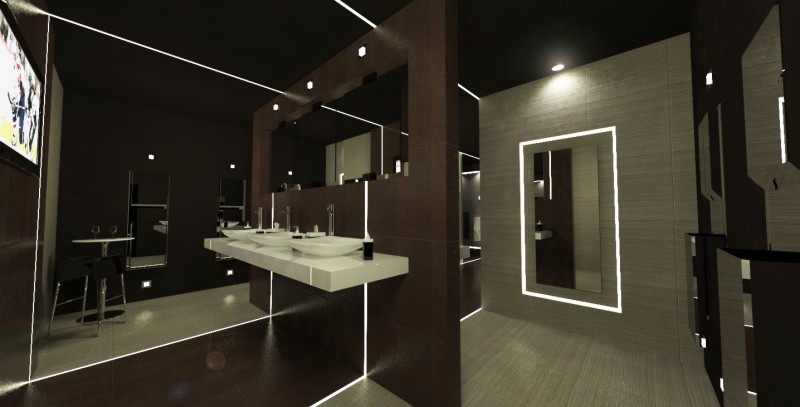
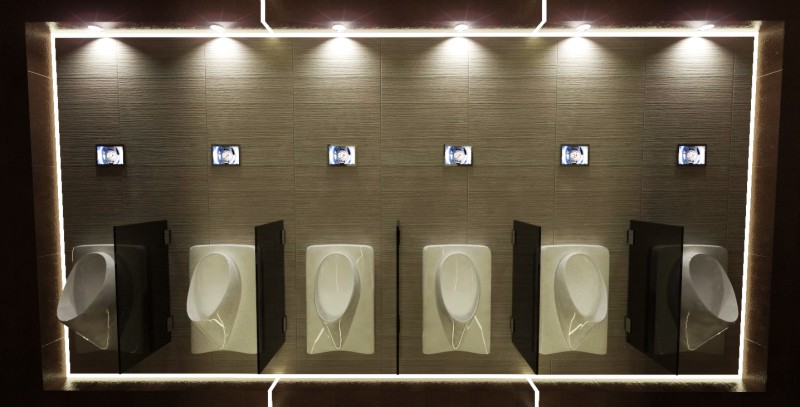
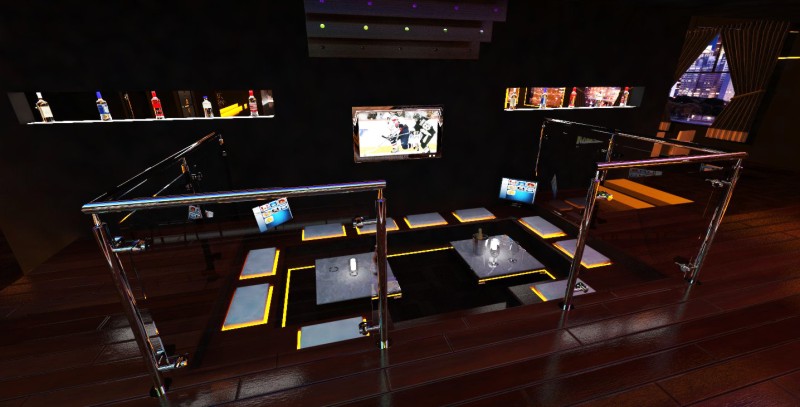
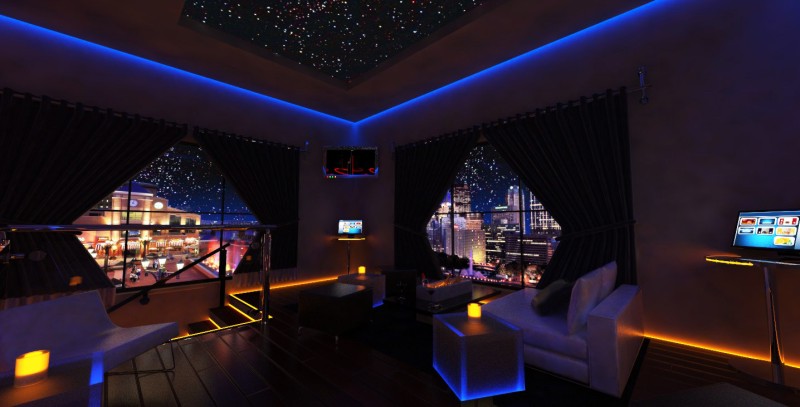
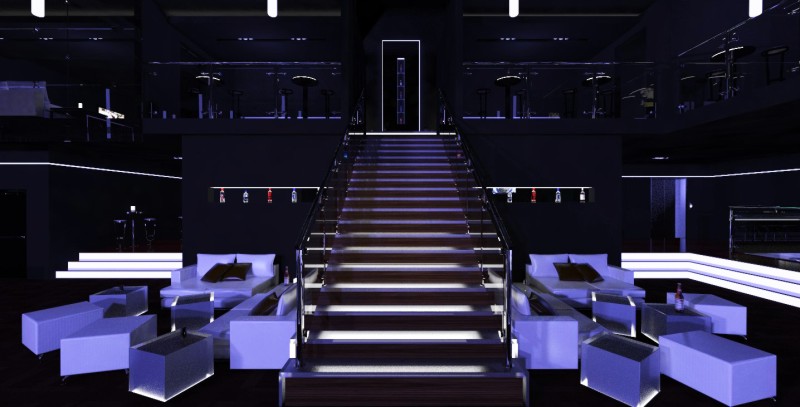
First, I divided my space in to separate models, because one model for all of the areas would have been a much too large file and SketchUp would have never been able to handle it. I had to be creative and carefully plan out what I needed in each area to make sure that what you saw in the view, included everything to have the scene make sense. I had separate models for the exterior, the bathrooms, the entrance lobby, the dance floor areas, and V.I.P. sections. I was working with each of these files simultaneously as I designed, and it was challenging, because each model needed separate lighting and material setups, but as I went, I was able to copy and paste things like lights and material settings. This helped make the process possible.
After having everything that I needed modeled, I used V-ray as my rendering engine and began to collect the footage I needed to later compile my animation. The limitations of SketchUp when it comes to camera & animation options made this a challenge. The limitations of network rendering with V-ray for SketchUp also made things a bit difficult. First, I must say that I would have never been able to do this if I had not had the extra computers at my work. Everyone there was kind enough to let me set up a small rendering farm at our office, and I was using up to 10 computers at a time (anywhere from 30-40 cores) during nights and weekends. The rendering spawner for V-ray does not necessarily work perfect in SketchUp so I had to use this work around in order for network rendering to work. I did not use any scripts for my camera movements and relied solely on setting up scenes. I wanted to completely eliminate the jerky movements that you get when transitioning from scene to scene in SketchUp so I was limited to frames collected between two scenes. I was ok doing this, because if you pay attention to a lot of professional animations, many of them do not have all too complex camera movements. Depending on the subject matter of the animation, several of them use simple camera movements with creative transitions between sequences. They just have so many sequences that it looks like a ton of various camera movements. This brings me to a good point…if you want to create animations and any type of illustrations for that matter, study the people and companies that are already established and doing it well. Personally, I still have a lot to learn…but since I, like many others, rely on teaching myself most of this stuff, I would constantly study the way larger illustration companies do their work. Even when just sitting around watching television, I am starting to watch commercials with an observational eye to see how their motion graphics are done to see what works and what does not. I use anything I see on TV, you tube, and various forums as precedent studies. When you start doing that, you will begin to realize that there are many things that are common in the industry and techniques that are easy to use, and everyone uses them because they work. You can then take some of these fundamentals, and with time, incorporate your creative ideas to add to a solid foundation. This will help take your animations past just setting up a camera path and letting it run. That technique may fit for certain projects, but I have found that to be a little boring and kind of lose me as you just follow a camera around a scene. Like I said, it can work for a client that just want a visual walk through, but to really be able to sell a design and project, you need to breather life into it and make your animations have character and a working concept that fits the project appropriately.
Ok, back to the actual process: because of some of the limitations and needing to use the network rendering, I ended up only being able to use the maximum value of 100 seconds in between two scene tabs of SketchUp (Can be found in window-model info-animation-scene transitions). I also set the scene delay to 0. So this resulted in 100 frames for each of the sections of my animation. I went through this process in each area of my nightclub and compiled hundreds of frames for each section that I wanted to include in my animation. After doing this long, computer hungry phase, I had to take what I had and compile the final animation. Because, I only had 100 frames to work with for each section, I had to heavily rely on post-production to make it all work. A common number for animations to have is anywhere from 24-30 frames per second to get smooth looking animations. With only 100 frames to work with, that would have given me only 3-4 second animated sections and the camera would have been moving entirely too fast for my purpose. So I used various tools in post-production to stretch and blend my frames into longer sequences. If you have the ability to collect more frames in your rendering process, I would recommend not using this sort of workflow, because the animated sequences definitely suffer a bit in quality and smoothness due to the limited frame count. The challenges with using SketchUp for animation, and the time constraints that I had for the project forced me to do this, so post production software can really make a huge impact on your animations, as it certainly did for mine.
There are several pieces of software out there that you can use to put together animations. Because of how much I use various Adobe products, I found Adobe ‘After Effects’ to be the right tool for me. It is a powerful program for motion graphics and it was what I used to compile my collected frames, but also add the additional special effects that you saw throughout the animation. The clouds projected on the screens above the dance floor, the ipod transition, and flashing boxes in the intro are just a few examples of the motion graphics that after effects allowed me to create to make my animation come together. It is hard to get into the specifics of how I did things in ‘After Effects’, because there are so many little things that I could never properly explain, but there are several free resources out there that will help you get into ‘After Effects’, and you can get started pretty quickly with a few beginner tutorials. Honestly, just Google “After Effects tutorials” and you will find more than enough to get started. If I had to make a comparison, it is like Photoshop for animation, and because it is an Adobe product…many of the same concepts are found in ‘After Effects’ (like layering, adjustments layers, blending modes, and etc…).
Now the whole time while doing this project, I knew that I wanted to have my animation go along to music. You see most animations do this, because it makes the project more interesting and engaging. So, while I was designing everything and doing all the grunt work before compiling my animation, I had a play list of songs that I thought I would want to use. I listened to them over, and over, and over until I figured out the right one, and then I listened to that song over, and over, and over some more to just think of ideas and effects that would go with the music. I would play the song at least one or two times every time I drove somewhere or before I went to bed. Lets just say, I do not really listen to that song too much lately, because I did get fairly sick of it. The final song I chose was called “Antenna” by an artist named “Zion”. This brings up another good suggestion, create your animations to go to the music and let that be the determining factors for the effects that you use and when you use them. Do not compile an animation with effects and transitions and try to make the song match up with that. It just will not work and everything will seem off, because your effects will not match up with the proper sounds and parts of the song. You have to remember that all pieces need to work together to get a feeling and aura that sells your design. If you have the time to do so, I would create storyboards for your project that outline all of the ideas and sequences of your animation. The time constraints of my project did not allow me to have that luxury and I had to frantically do most all of this in my head and on a few sketches in my sketch book, but I can guarantee 100% that it would have been easier to have storyboards to help me put together my ideas and that is probably the process you will find production companies go through.
Lastly, SketchUp and V-ray were essential for creating this animation. Nobody is going to argue that SketchUp is a powerhouse for animations, but if you are creative about your approach, you can definitely come up with some interesting work. I will say, that this would have never been possible without SketchUp, because of its intuitive nature and fast modeling capabilities. I was able to completely design my project in SketchUp and do it in a timely manner that most other software would have not allowed. Who knows, maybe a few more adjustments and additions to upcoming versions will make animation in SketchUp even better, but just keep pushing the envelope with the software and communicate with all the talented artists on the forums, and you will find a way to make the software work for you one way or another.
This newly created demo reel highlights several completed projects and works-in-progress by Desmone & Associates Architects. All of the materials seen in this video were created “in-house” by Desmone’s graphic artist.




wowooo ! well done
can u tell me some good vray for sketchup training
thanks
Brilliant work, APPLAUSE!
You seriously enthused me with this project – and I think I know what I am talking about because designing nightlife was my profession for the past twenty years.
(SU and Vray, what a powerful combination – although laser beams are still to be improved, i’d say)
If you ever feel like calling me for support, i will be there hands on.
best regards
alex
WELL DONE PAL, IT’S AMAZING… JUST AMAZING, I WISH TO KNOW .. THE SOFTWARE TO MAKE THE VIDEO!!!!
REGARDS
Adam, I am so impressed with your work! I know your mom and dad must be very proud! I forwarded the sight to Jessica.
Keep up the good work!
Mrs. DeStefano
the passion and aggressive to know 3D rendering keeps me humble
….i support you..