The River Runs Through It
 By Jacques Cleghorn
The ghost returns….
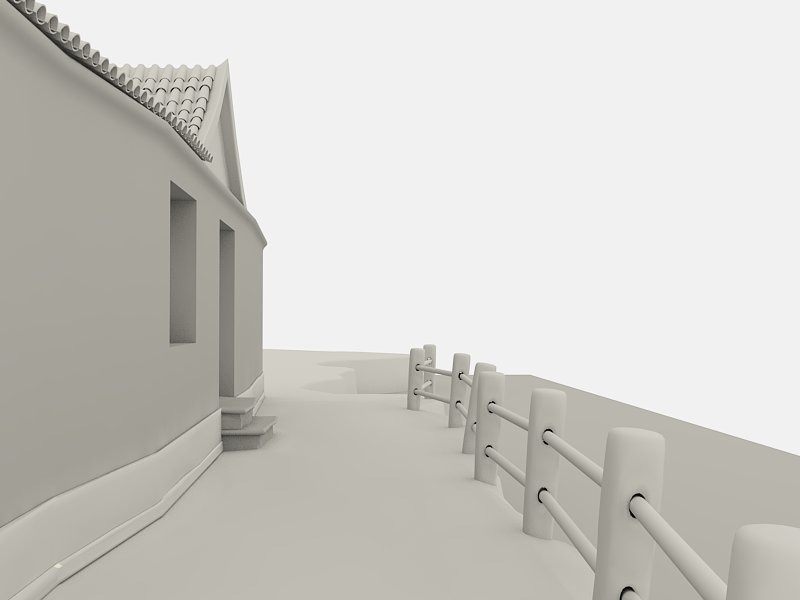
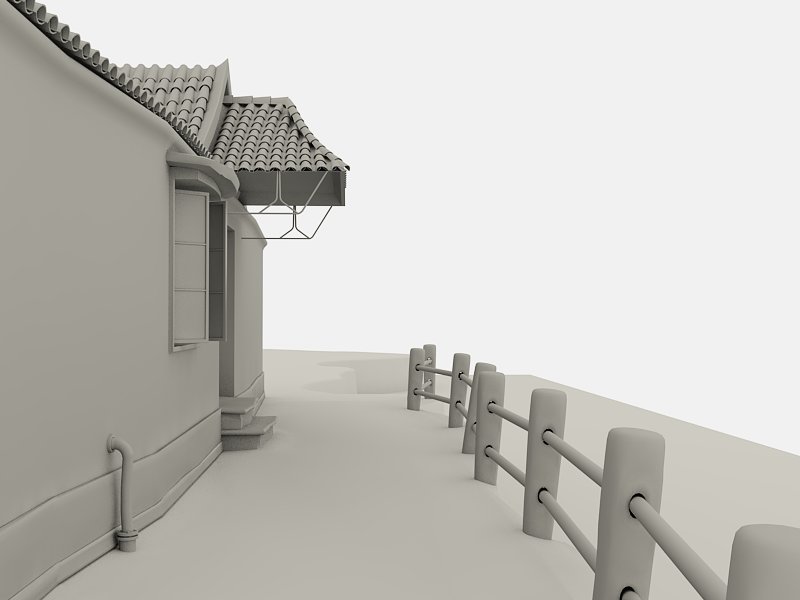
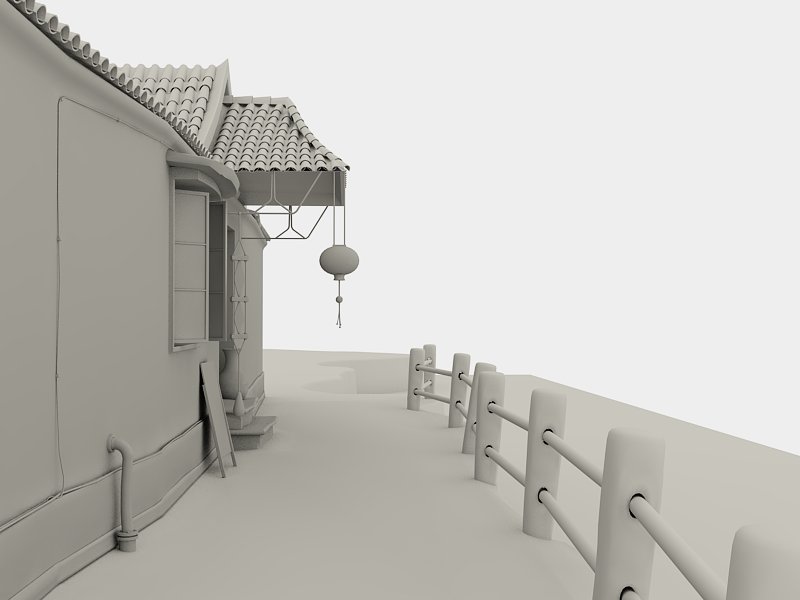
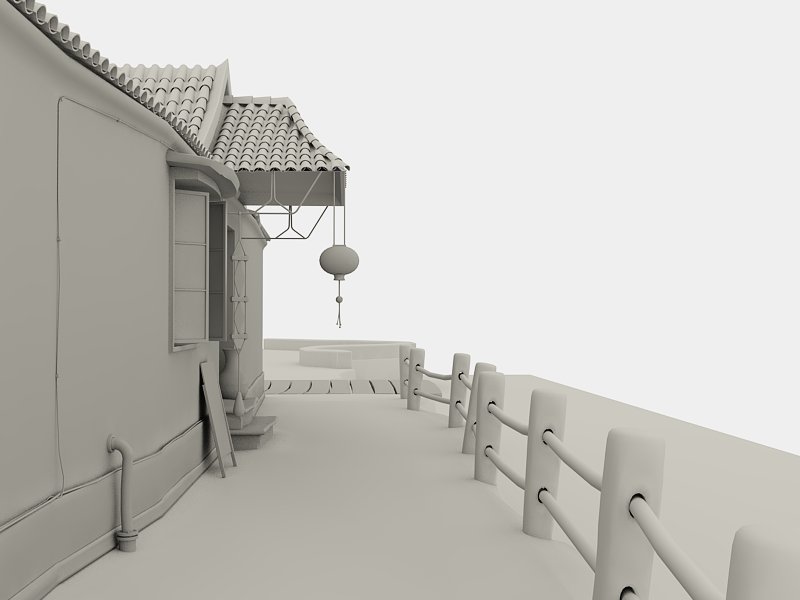
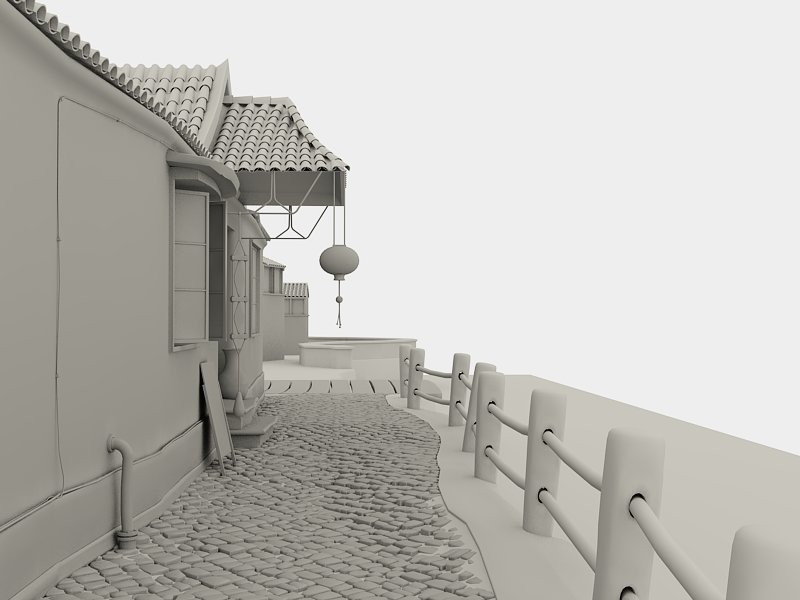
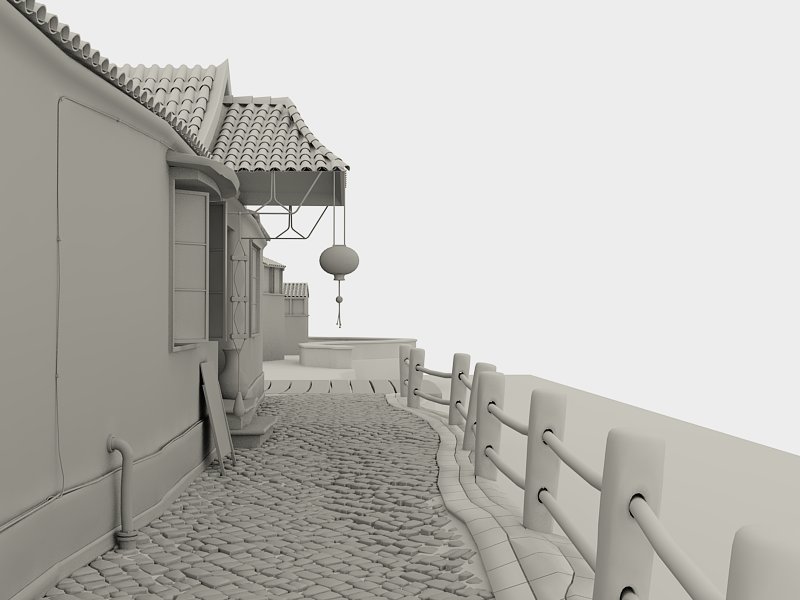
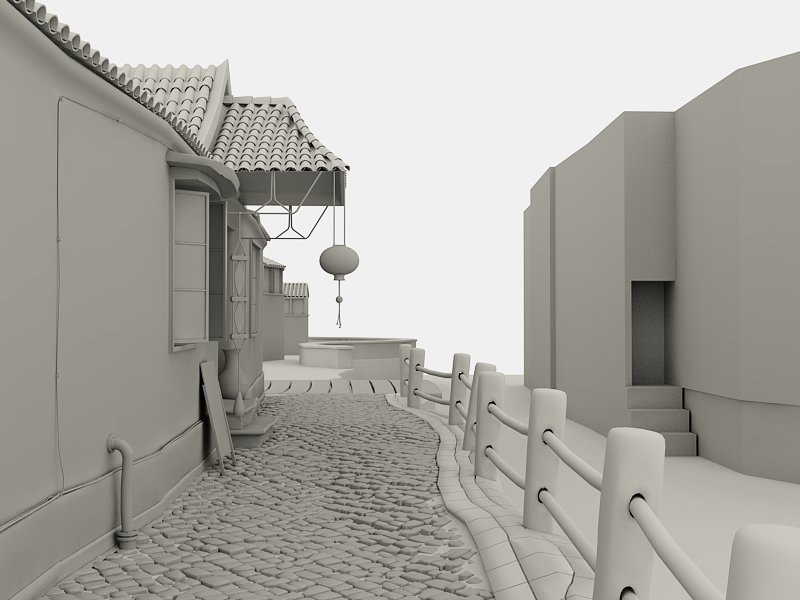
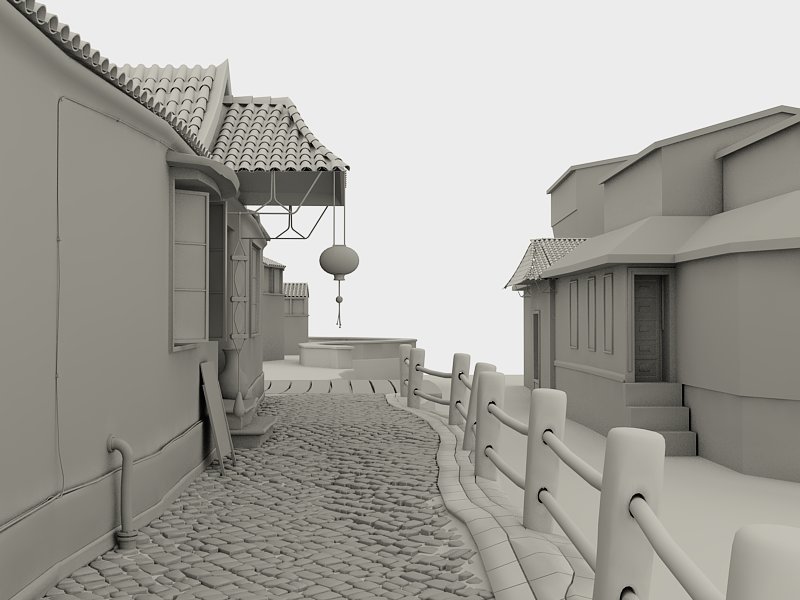
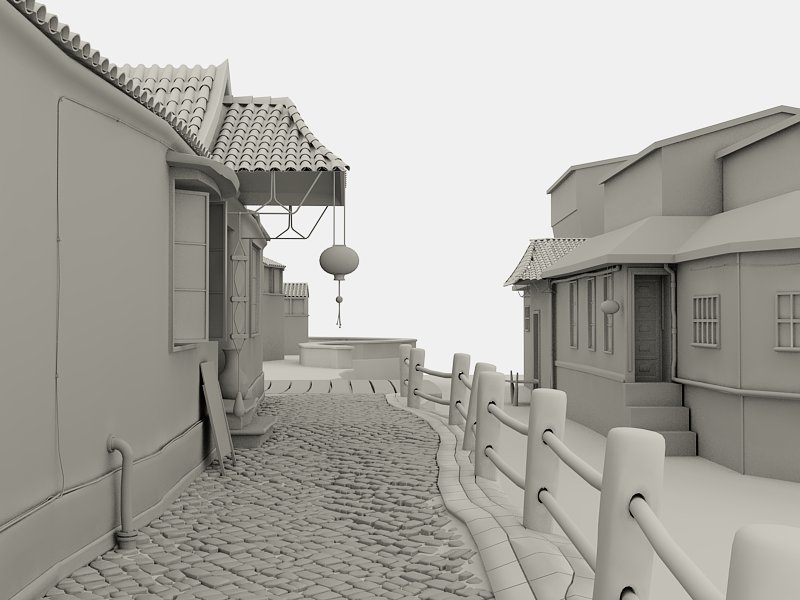
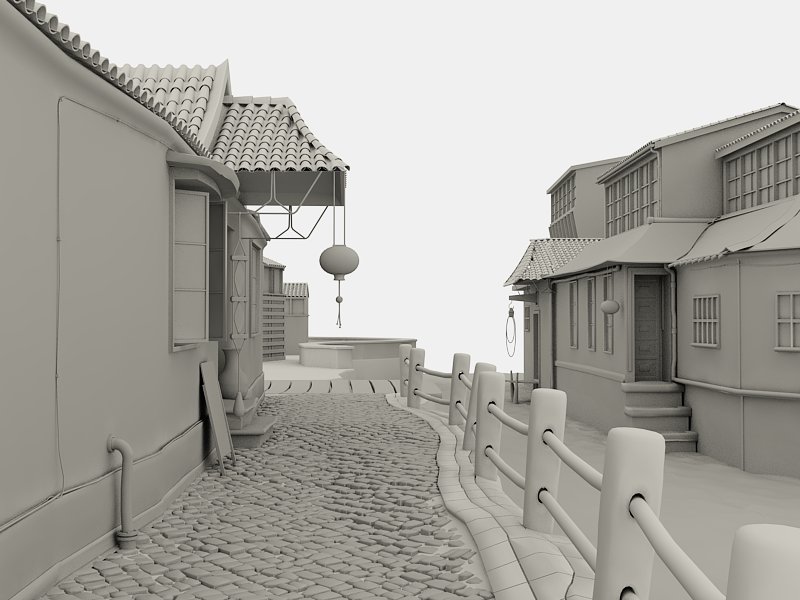
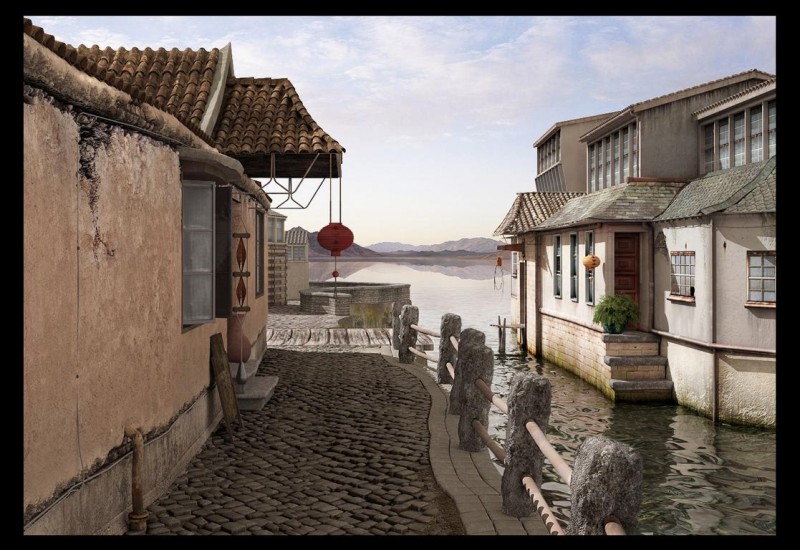
Hi all you avid SketchUp users, developers of Google SketchUp and any modelers out there who do not really understand the true potential power of this amazing 3D design tool. Today I want to share the power of SketchUp itself and encourage those of you who think SketchUp is just a tool that can only build block models and nothing more. Keeping in mind that this was rendered in V-Ray I want to focus more on the power of SketchUp itself.
Everything you see in this model is raw SketchUp model, no textures, no bumps, no displacement, just hardcore modeling. It has been a long ongoing process but I really had to share with you folks, my new baby.
General Model Information:
Render time period – 4 days
File size – 17.9mb
Platform built on – proud to say, 100% SketchUp
Plugins mostly used:
- RoundEdge_v1
- Drop
- SketchyPhysics
- SubdivideAndSmooth and Knife Tool
- SketchyFFD
- ExtrudeAlongPath
- BezierSpline
- JointPushPull- Visual Edition for vector push pull
Last words – It was a really amazing modeling adventure and to Google the developers, I hope you guys see this and realize there are some people out there that use SketchUp for more than just block modeling, please allow more poly models into your new releases and for those who have just started work using SketchUp, hang in there, this is an amazing program !
The Modeling Process (1-13)
Modeling the Cobble Stones
Here is a short preview of how it was done…
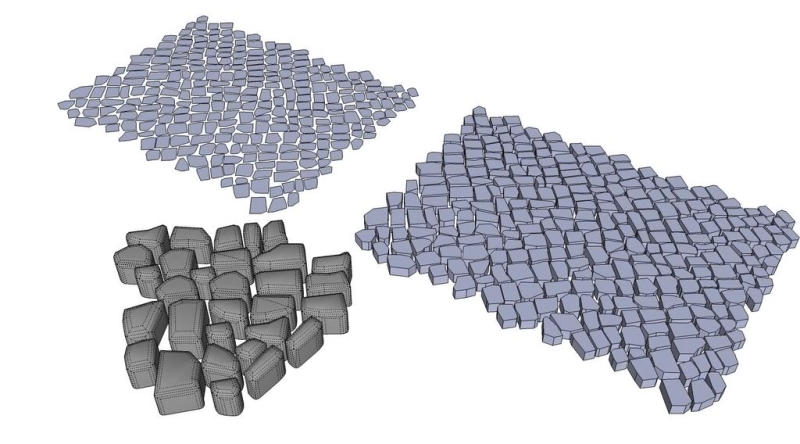
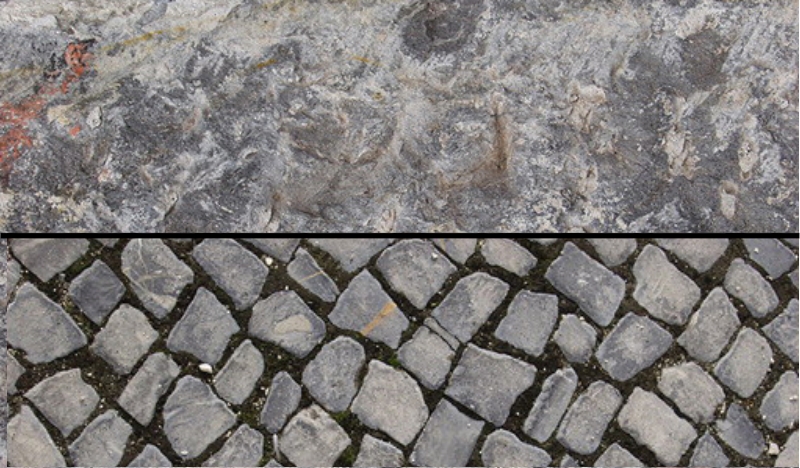
I started with an image, traced it and made components of the cobbles to keep the file size small, I extruded the tracing into the basic shape of each cobble. I then used the RoundEdge plugin on it, to smooth and round its edges and then did a bit of clean up. It took me about 4 hours to create my cobble road. Files size of all the cobbles was 1.5MB.
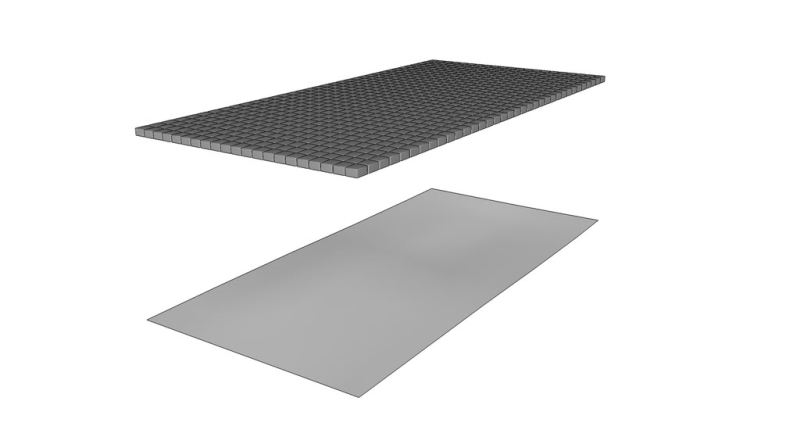
I also used the plug-ins Drop and SketchyPhysics. Dropping the cobbles on sloped surface and then fine tuning them so they look more natural. Once finished, I grouped the site making sure the blue face is facing down so the right face is facing upwards. Then I proceeded in building my high poly cobbles. Once completed I made a component and copied as many as I needed positioning them just above the site. Right clicking I selected all the cobbles as a group then with SketchyPhysics – shape, box for shape. Next step was to select the floor (slope) and choose its shape as static mesh. Then moving it just above the slope (not as far as indicated on the image) and ready….steady …press play…waited for 5 seconds (or even less) and these stones paved themselves. Next select all and copy. Open a new drawing, paste it and now it is all settled in that state.
Roof Tiles on Canopy
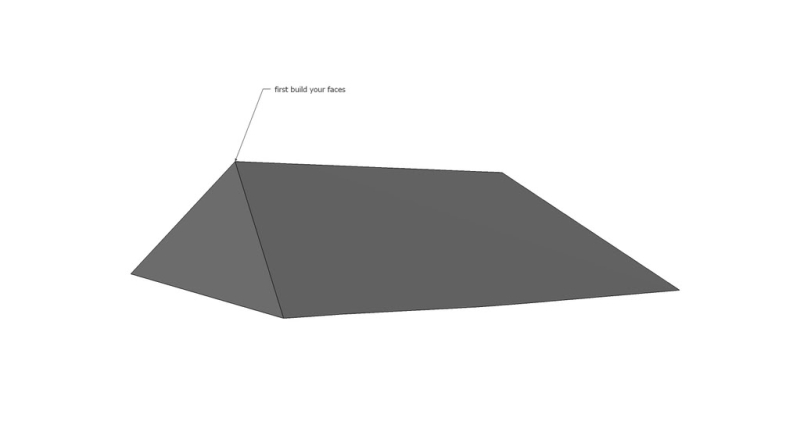
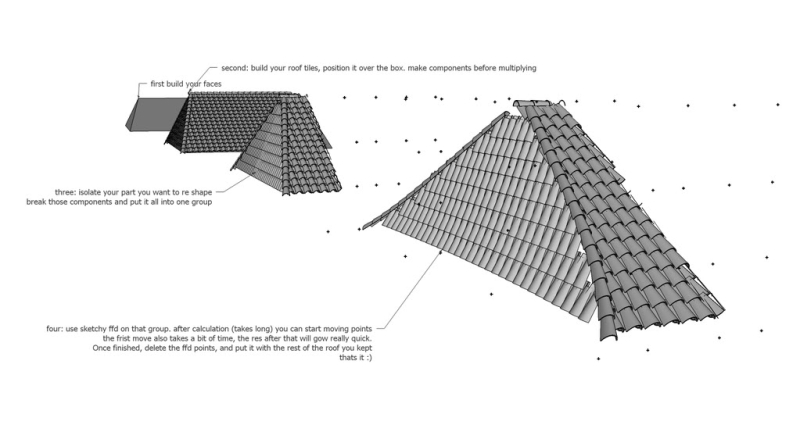
I used a component again for the roof tiles to keep file size small. One for facing up and the other one for facing down. I stacked them where I needed them and deleted the edges I did not need. I used a plugin called SketchyFFd (bending geometry), pretty cool tool but does not work on symbols. So I had to destroy the symbol on the canopy boosting the file size to about 5mb (it would be great if this could be fixed so that SketchyFFd worked with symbol clusters).
Anyway, it bent it with SketchyFFd and saved me hours of re-shaping work in SketchUp.

Roof Tiles Step 2- Build the roof tiles, position them over the box, make components before multiplying.
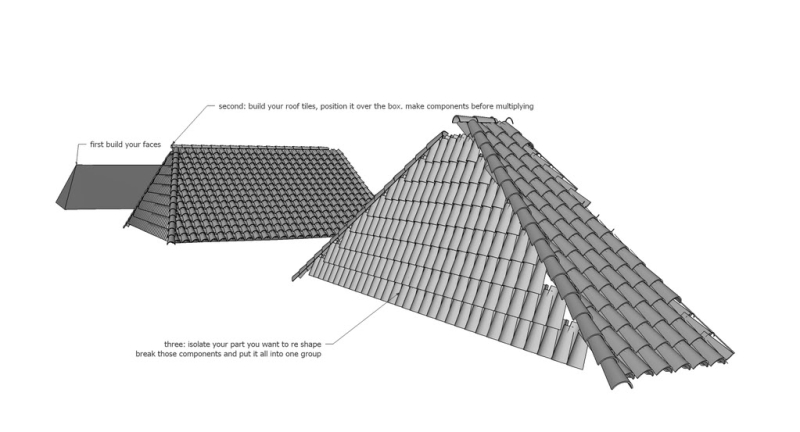
Roof Tiles Step 3 – Isolate the parts you want to re-shape, break those components and put it all into one group
Texturing
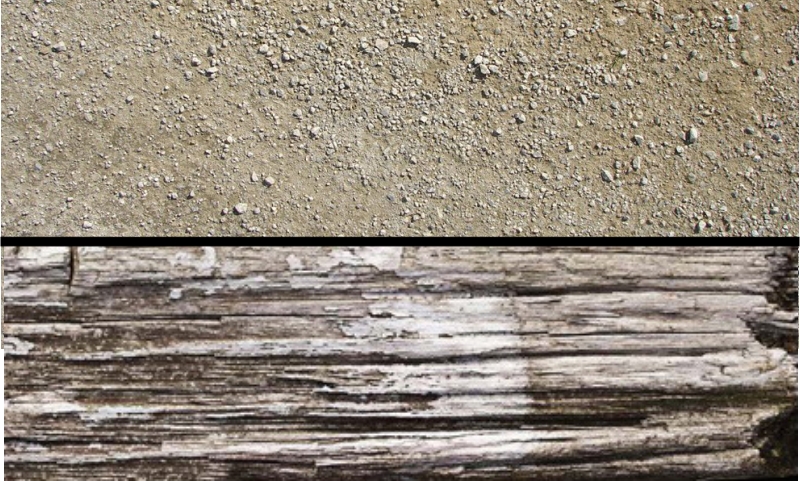
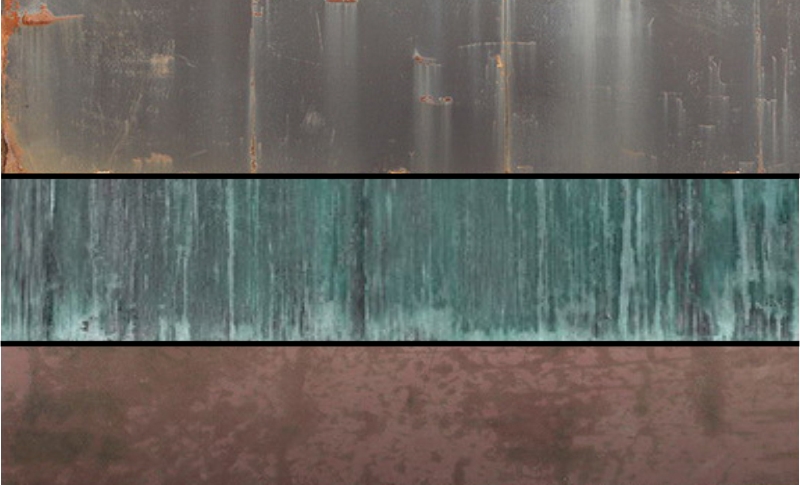
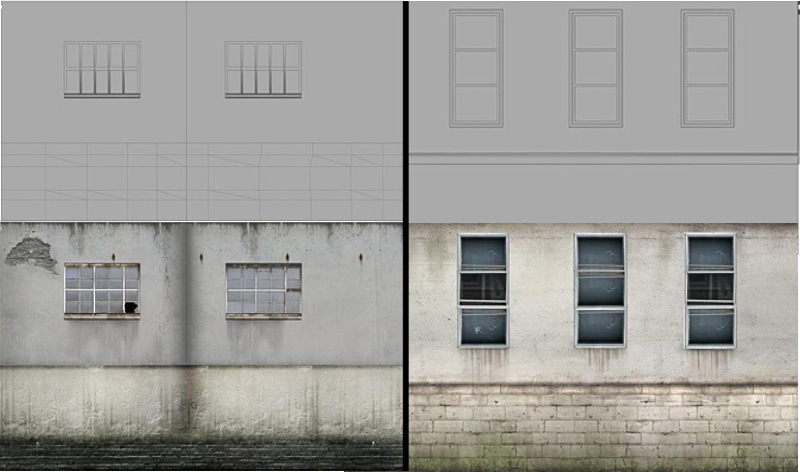
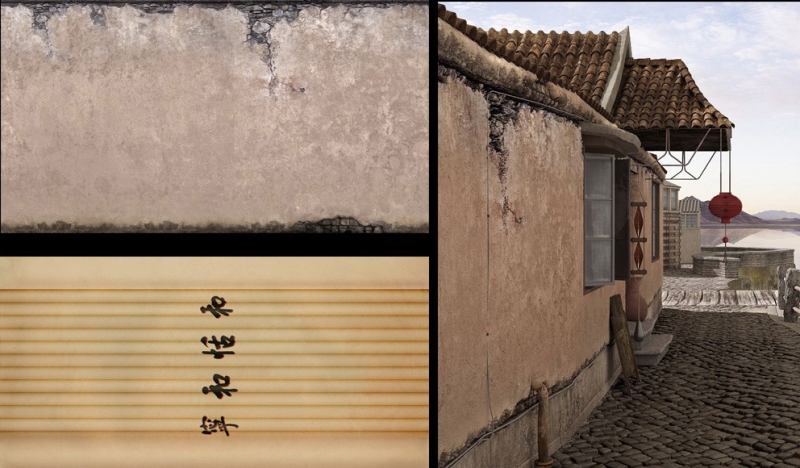
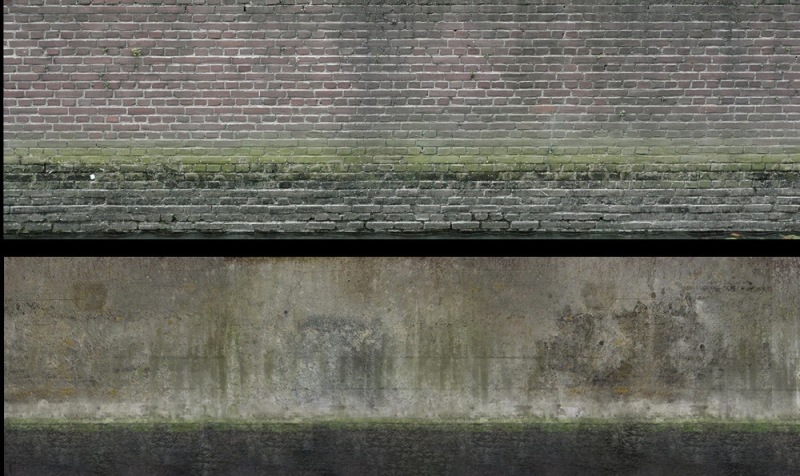
Texturing this thing was also a head scratcher. I am quite good in PhotoShop and I post process my models normally to death, but this time I wanted to build something that I can proudly say was all textured rather than ‘Photo-Shopped’. It took longer but it payed off in the end. It was kind of like other application work doing UV mapping, so I made my own plates. I took a face and rotated faces so that all of that specific face is flat, and used that as a guide to put textures on via PhotoShop. So a lot of baking and textures are overlayed to create one single texture. Once I was happy, I took them into SketchUp and scaled it until the faces matched exactly and then projected them onto it (I think I will texture all my future models like this).
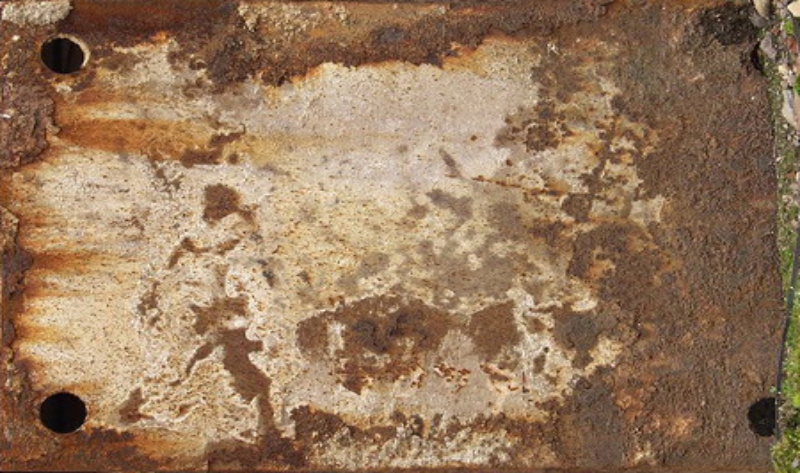
Below are some textures I used in this model.
Rendering
Ok, here is the ‘nitty gritty’ stuff of how things were done (rendered in V-Ray for SketchUp).
I broke up the rendering process into 3 parts, the right side & water as one, the stone posts and its base as a second render and the third was the cobbles and the left buildings. I therefore called it part 1,2 and 3. Part one rendered quite fast about 25 to 30 minutes. Part 2 rendered also in about 25 to 30 minutes…and part 3 rendered in about 80 hours. Yeah I know! it has to do with the displacement map and somehow it gave me a uphill slog in the rendering time, so I just let it finish. Having got all three parts, I put it together in PhotoShop as if it was one complete render. Untextured the file size was about 17mb and textured it was around 82.1mb. A lot more than I thought it would turn out to be.
All the ‘Candy’ series was an experiment to see how far I could push SketchUp until it folded. So to be true to the program, I had to use only SketchUp for modeling. The first ‘Candy’ was not really intended to be rendered, but eventually it was rendered in V-Ray and a little bit of PhotoShop. The ‘Candy 2’ model went down the same path, all 100% SketchUp. No elements were built in another program and then brought back in, because then it would have defeated the purpose of the exercise. It was rendered in Maxwell Render, V-Ray, and fryrender. In 2008 I will start my last ‘Candy’, trying to push SketchUp for one last time, building everything in SketchUp once again. I hope it will be bigger and better and at least ten times more intense than ‘Candy 2’…….we all have to wait and see.
Cheers Jacques
‘Candy 3’ is here now!






Excellent work! I always wanted to do this but never had the time or the patience.
I have a few questions:
1/ How long did the whole thing take to model, give or take? You proved that it’s possible to make it entirely in SketchUp but i wonder if it takes too much time compared to, say, Cinema4D et al.
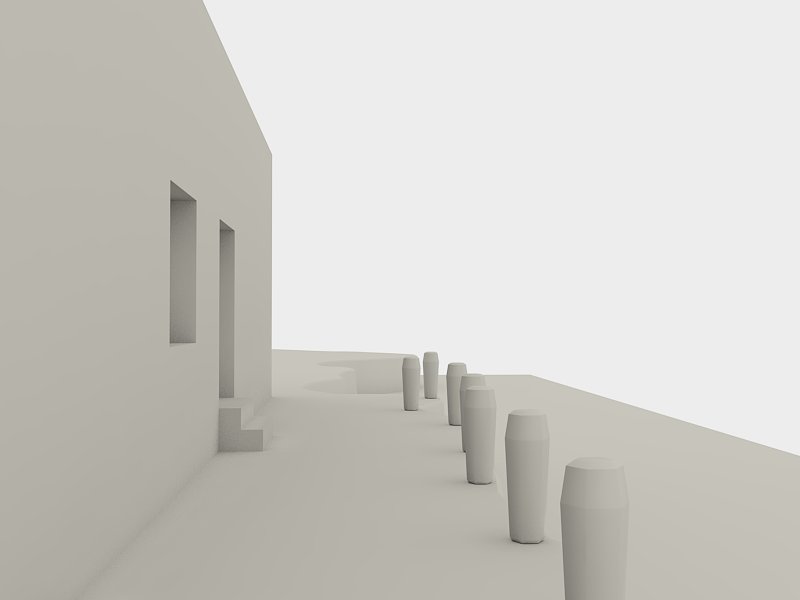
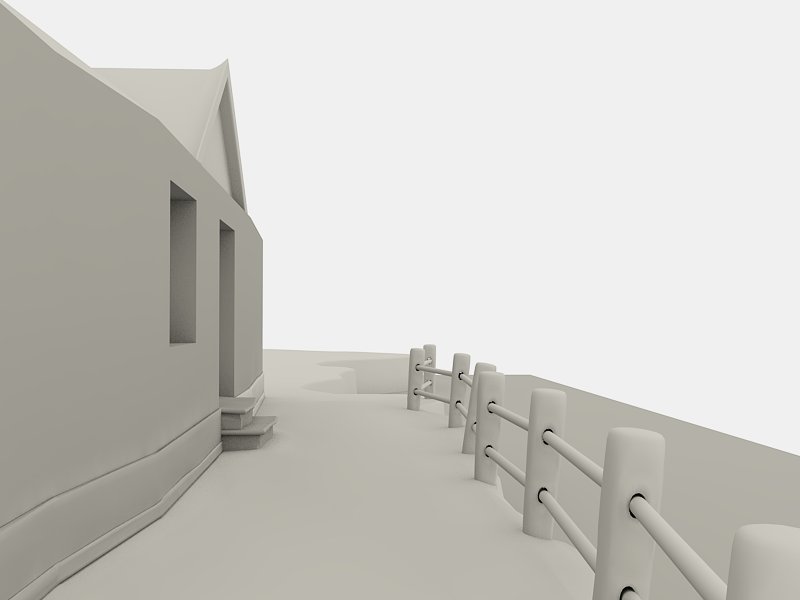
2/ I get the tracing-extruding-rounding of the cobbles but since i never used it, don’t get what exactly SketchyPhysics did for you. Also, I don’t see the relationship between the image “Cobbles 1” and “Cobbles 2”. Well, maybe I should just play with SkPhys a bit…
3/ By ‘symbol’, do you mean components?
Again, great work and tutorial. Thanks very much for sharing
Cheers..
Hi there, sorry for coming back so late, prob not even funny replying now..
Time spend on this was about 3 weeks, this was my first hi poly attempt and so it took a little longer on a simple scene like this.
See Sketchyphysics was good for that usage, to let gravity do the fall and made the stones look more natural and random, Cobbles 1 was a demonstration on layout, make a set like that, drop it on a sheet.
Cobbles 2 was the actual forms used in the shot. Lastly, yea, i actually meant components. I did some time ago look at eye candy 4, but gave it a rest. One day i will come back and present that to you guys, 100 times more than candy 3 ^^)
Keep well
Jack… an Eye Candy 4! Make sure you let me know first when its ready! 🙂
Uauuuu, i dont have words
A.M.A.Z.I.N.G