SketchUp Digital Watercolor “Step-by-Step”

I’m continuously experimenting with new ways to combine hand drawing with digital visualization tools. This hybrid process called “Digital Watercolor” combines the best of traditional drawing with cutting edge 3D modeling with Google SketchUp.
This quick-turnaround project by my Denver planning and landscape architecture firm studioINSITE revealed the simple process of modeling the project space in SketchUp, rendering the view with Shaderlight, illustrating the printed view with markers and pencils and finally applying a watercolor filter to the image using Adobe Photoshop. My steps are as follows.
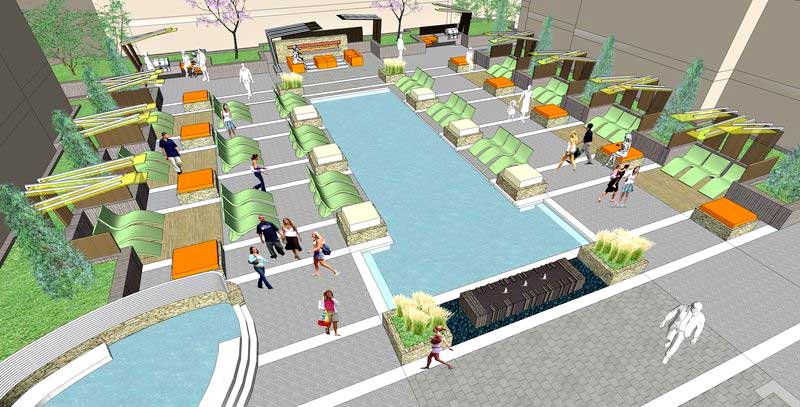
Step 1. SketchUp Model
A designer in my office constructed the model of this multi-family outdoor amenity and gave me the model to create a digital watercolor for use in a promotion.
Step 2. Model View
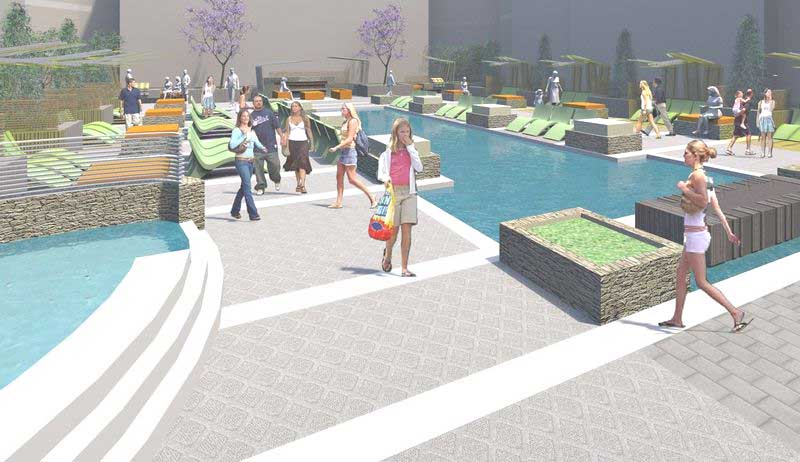
I selected a wide-angle 35mm focal length and a view slightly above eye level in order to see more of the ground plane. I added photographic components of people to add human activity to the space.
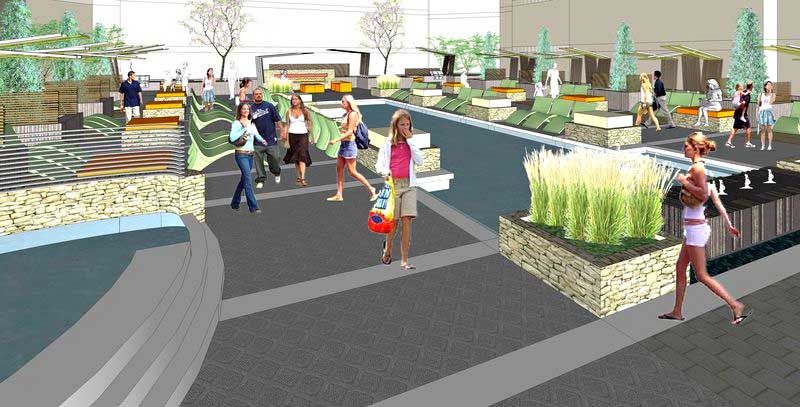
Step 3. Shaderlight Rendering
Using the plugin for SketchUp called Shaderlight, I rendered the scene to show water reflections and lighting character. Unfortunately my 2D people did not render and the foreground grasses vanished. Without any time to turn back and re-adjust my Shaderlight settings, I elected to splice in the people from another scene.
Step 4. Spliced People
I imported the basic SketchUp view and cut away the background using Photoshop. I then overlaid the remaining images of the people onto the original Shaderlight view.
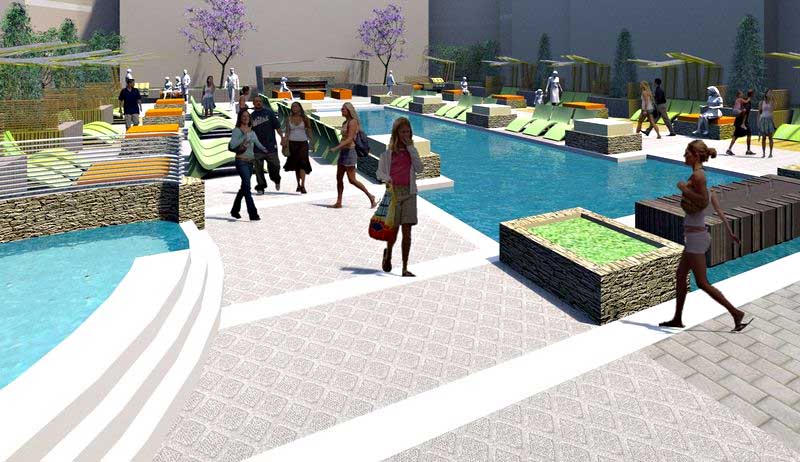
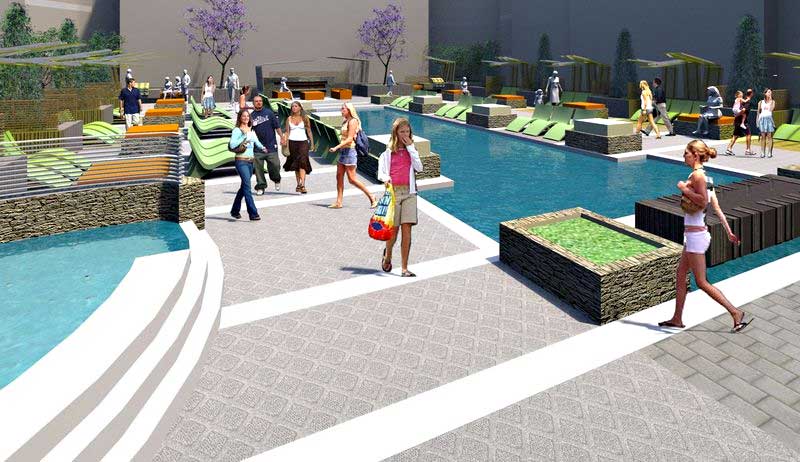
Step 5. Final Composite View
This “full strength” view of the pool area was too intense in order to continue on with my digital watercolor process. I needed to reduce the color and contrast in order to later add back with colored markers and pencils.
Step 6. Reduce Color and Contrast
I created a background copy of the image in Photoshop and then gave it a 70% transparency. Notice how much of the image color and contrast has been greatly reduced! I then printed the image 11”x17” on matte finish paper using my Epson Workforce 1100 ink jet printer.
Step 7. Hand Coloring
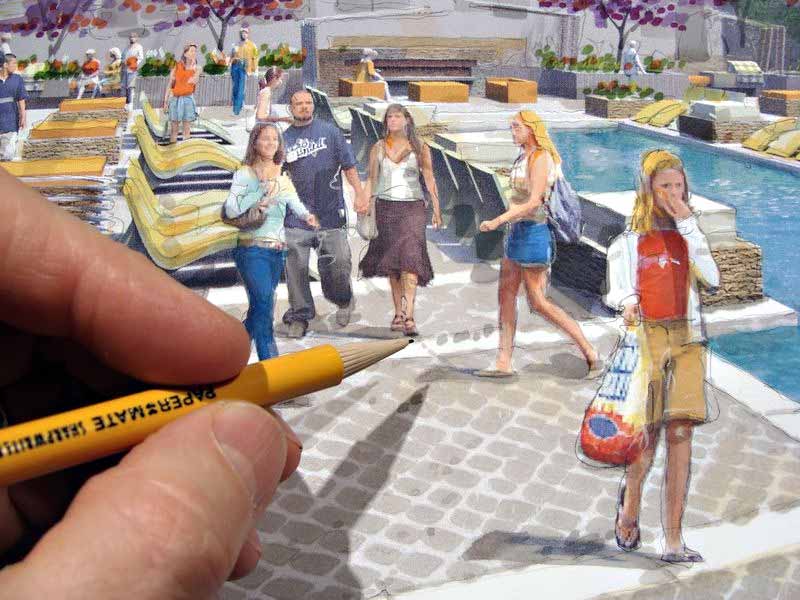
I added Chartpak AD markers to the people, surfaces, landscaping and furniture. Water reflections were created with a white Prismacolor pencil. I outlined many of the elements in the view with a very hard graphite pencil (Papermate Sharpwriter), keeping the linework very loose and light. The combination of markers and loose pencil lines reinforces the “hand drawn” character and hides the computer model and photographic content.
Step 8. Scan the Colored Print
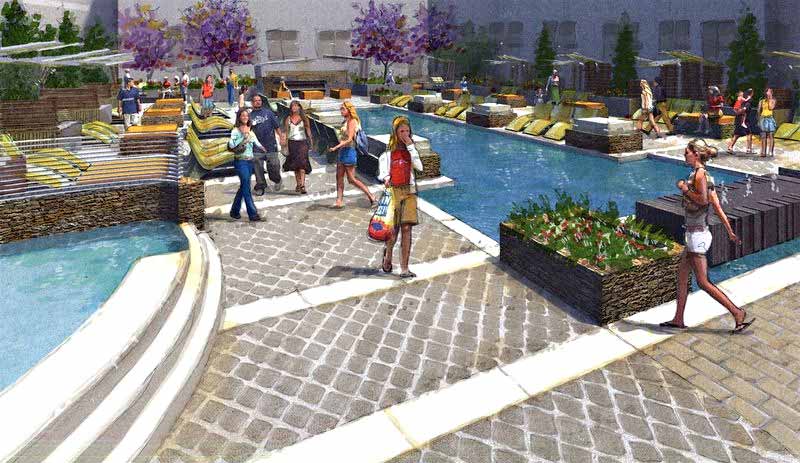
I completed the hand coloring step and then scanned the image as a 300dpi TIFF. Notice how the scanned version is still quite muted in color and with low contrast. That will be corrected in the final filtering step with Photoshop.
Step 9. Photoshop Watercolor Filter
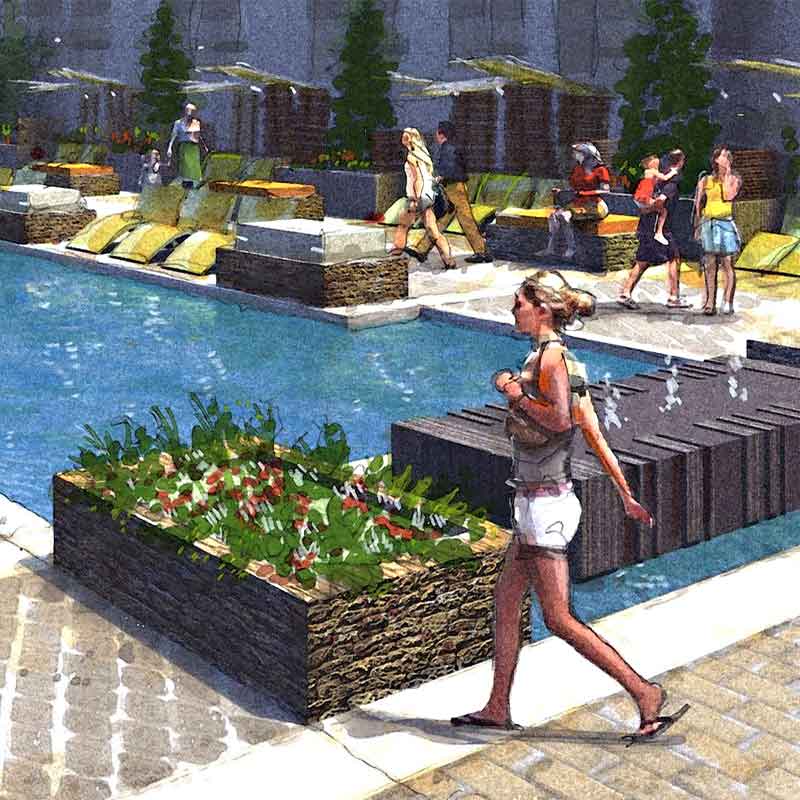
I applied a basic watercolor filter to the image using Adobe Photoshop and finally adjusted the image contrast, deepening the blacks and increasing the color brightness.
This final step of transforming the image into a digital watercolor took no more than ten minutes to scan and filter. What an incredible transformation!
You can visit Jim’s website to see more of his work www.drawingshortcuts.com
Thanks Jim!






well done, looks great and got a real nice feeling as an end result. ^^)
Excellent technique!
Thanks for sharing!
Very nice…don’t you think you could have skipped step 4 by changing the solar orientation in sketchup? I am sure that this step took quite a bit of time, and I wonder if it was worthwile, because the only thing you gained was having the shadows to the left…
Thanks for sharing this technique; the results look fabulous. Please could you share details of the Adobe Photoshop ‘basic watercolour filter’ …. ie how would I achieve this ? Is it a Ps action? ( I have Ps Cs4).
With many thanks,
D
Deb, go to Filter>Artistic and you will find Watercolor at the bottom of the list ( or Filter>Filter Gallery>Artistic )…just make some adjustments ( to brush detail, shadow intensity etc..) to it to suit your own particular image.
I am so impressed . I want to learn sketch up soft ware ,I am an architect , pl give me the address properly any institute in Mumbai.
thanks.
I am an architect , I want to learn sketch up soft ware from any institute, pl help me & guide me. Thanks.
@ Sujaya start here:
http://support.google.com/sketchup/bin/answer.py?hl=en&answer=36207&ctx=cbo&cbid=888686050
Watch the video tutorials too…
Nice one again. I am learning quite a lot from this.
nice content keep going i learn much more of this article