USC Village – making a digital watercolor with SketchUp and Photoshop

By Scott Baumberger
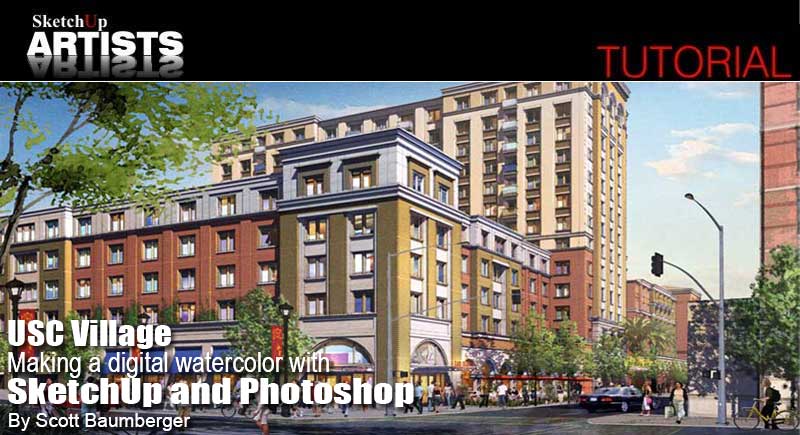
Scott Baumberger has been offering a high quality professional service to architects, designers and developers for many years. Scott uses a digital process to produce imagery that ranges in technique from photo-realistic to simulated watercolor effects. Scott’s illustrations have been featured in numerous industry professional publications. Scott has also won numerous awards for his work. In this detailed tutorial Scott shows us his workflow in producing a digital watercolor using a SketchUp output image and Photoshop.
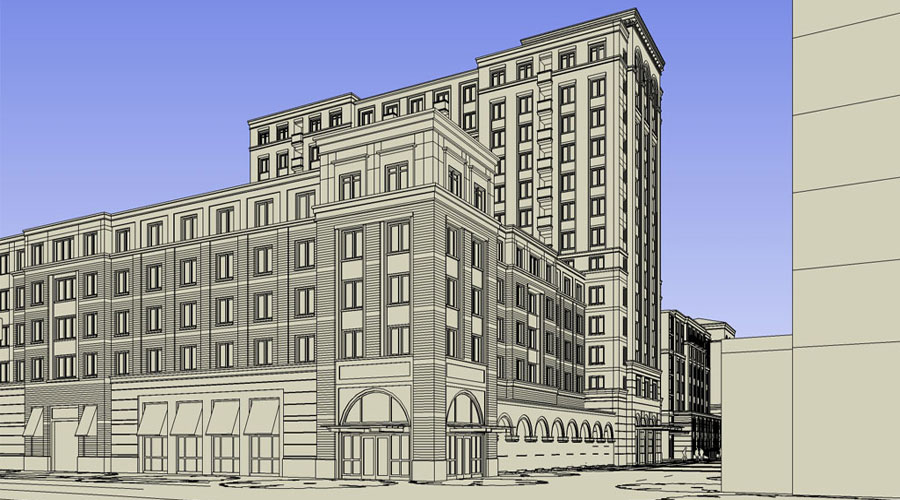
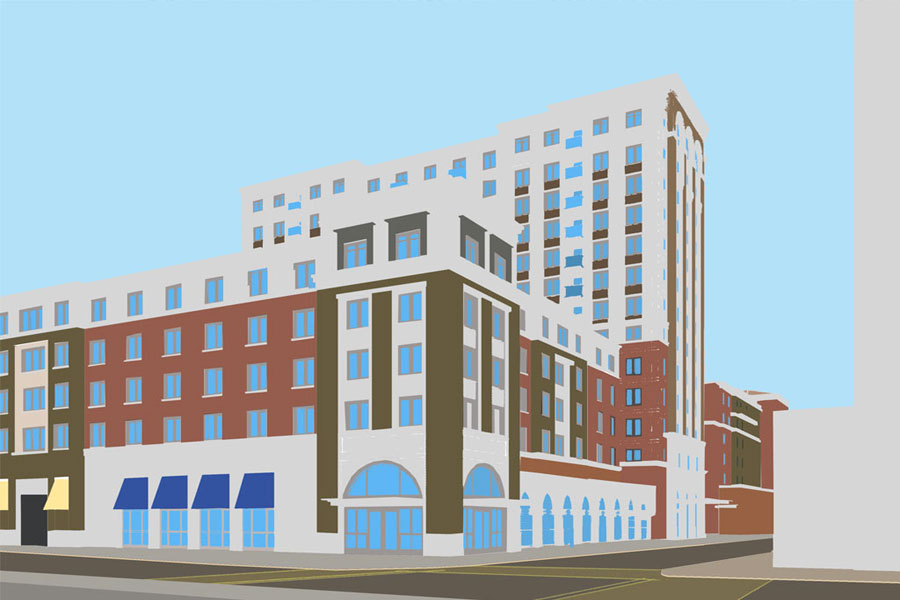
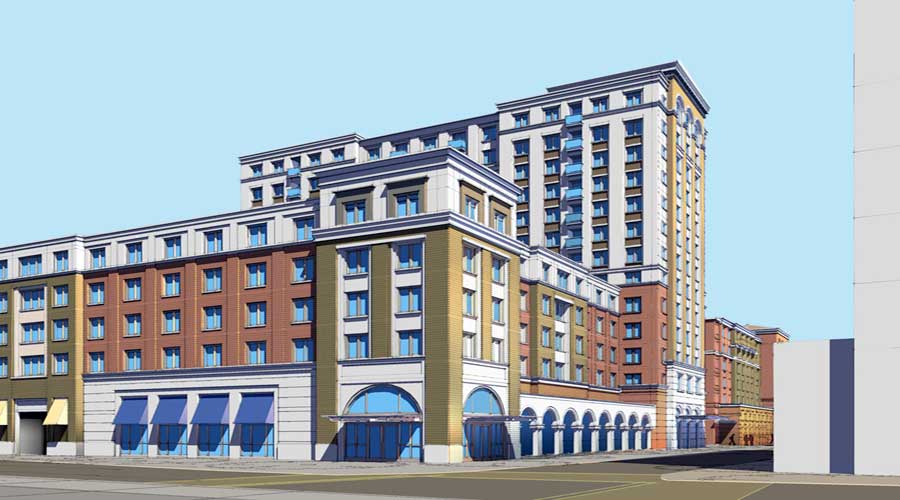
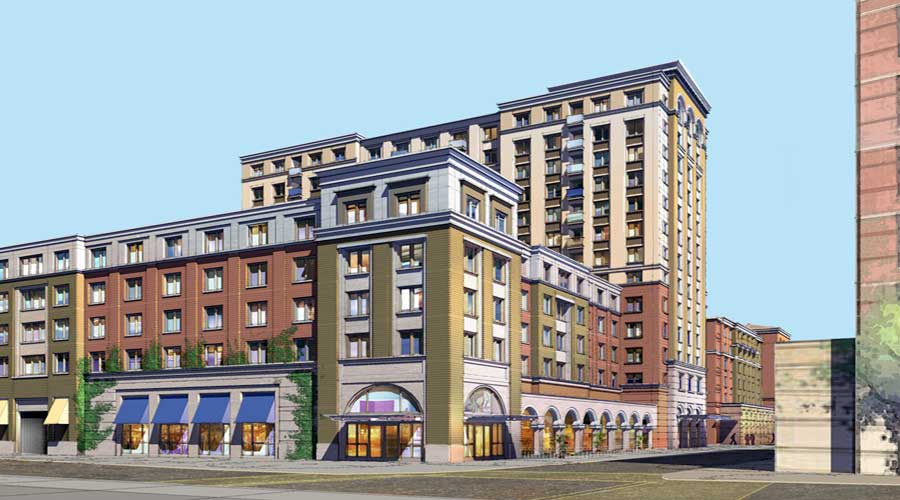
Image 1 is a raw export of the Sketchup model provided by the client, with the final viewpoint already determined. The model has a lot of detail, but no colors or textures have been assigned. Although the model looks good in Sketchup, a few quick tests show that it will not hold up once exported to 3D Studio or Cinema 4D for rendering. Instead of reconstructing the entire model just to get a base render, I decided to do all of the lighting / rendering within Photoshop.
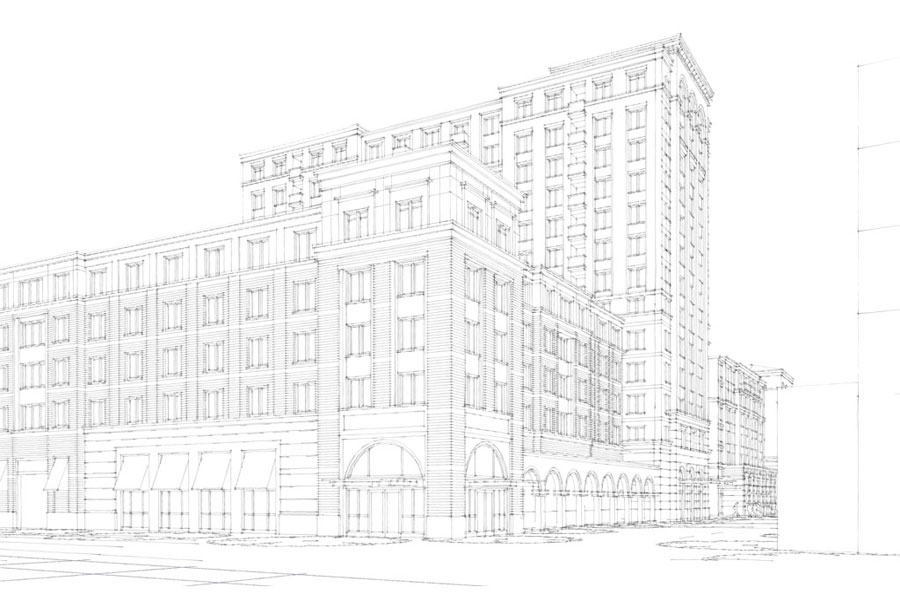
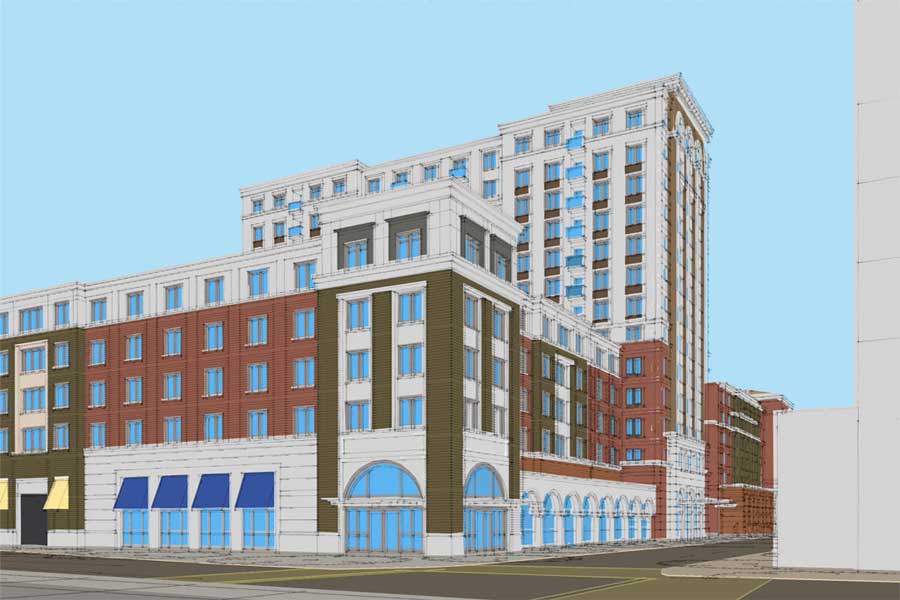
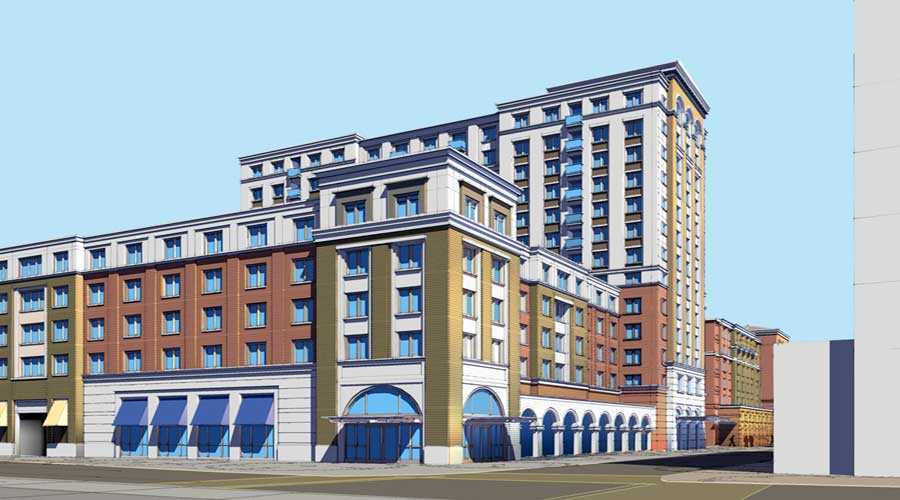
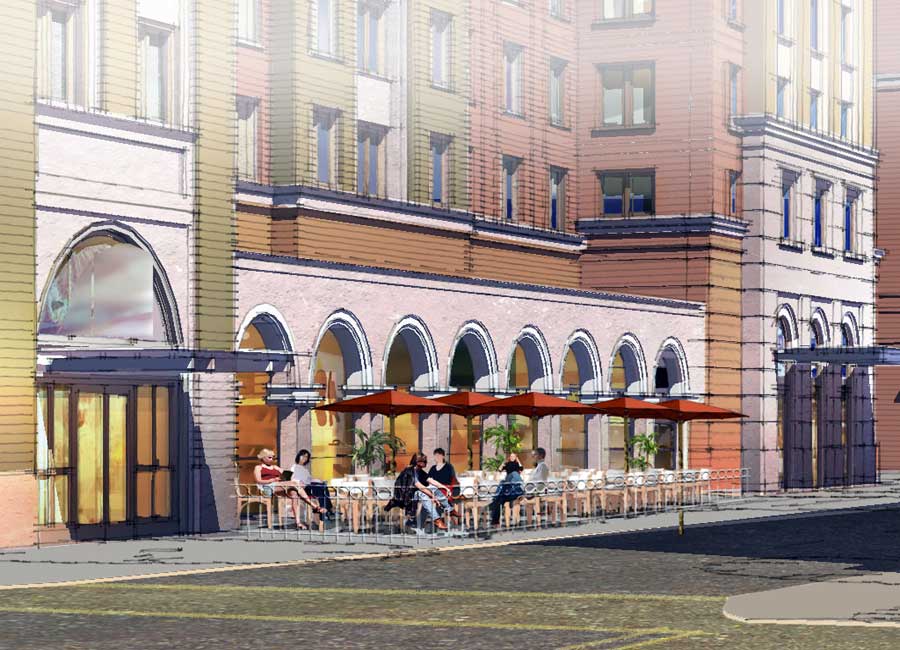
A custom hidden-line style is used in Sketchup to get line extensions and a “hand-drawn” look. Color and shading are turned off, and just the linework is then exported as a jpeg. file as shown here in Image 2.
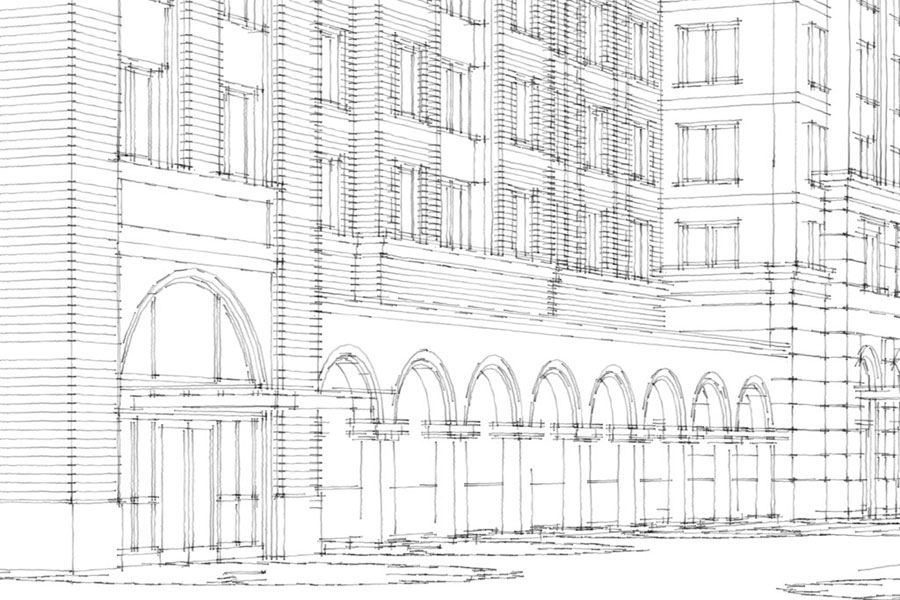
Close-up of line work at 100% in Image 3.
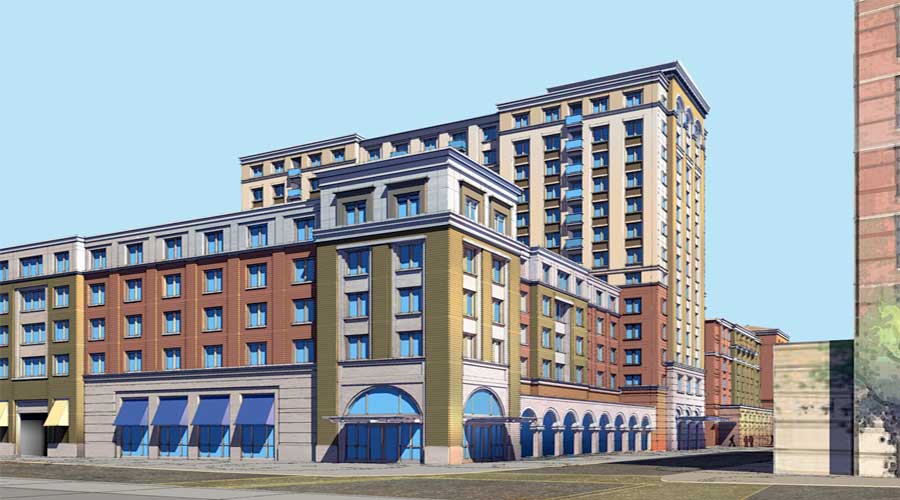
A base color is applied to the entire image in a “paint by numbers” fashion. They are sampled from a elevation drawing provided by the client. Selection sets are also created at this stage for isolating building elements later on.
The linework layer is copied and pasted on top of the base color layer in Photoshop. This will ensure that they are lined up correctly. The blending mode is then set to Multiply.
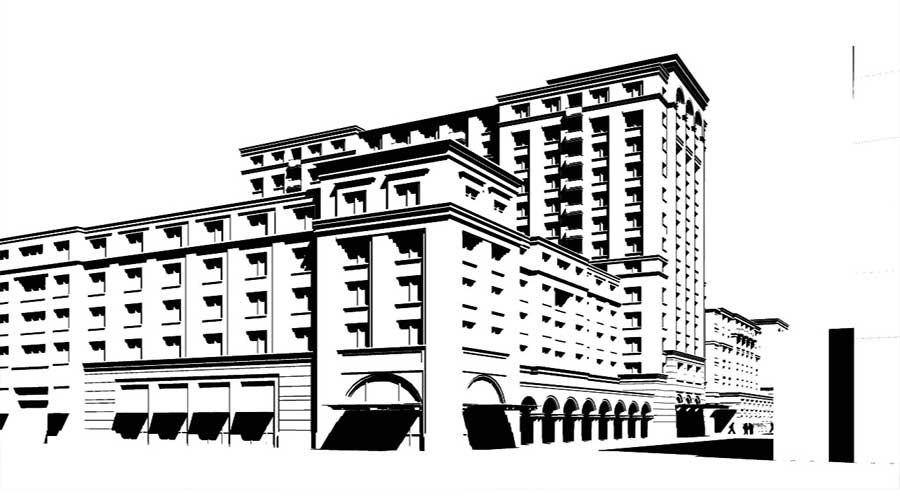
In Sketchup, I turned off shading and textures and exported a shadow-only view of the model.
The shadow layer is imported into Photoshop on top of the other layers. I then give it a slight blue tint and set the Blend Mode to Multiply.
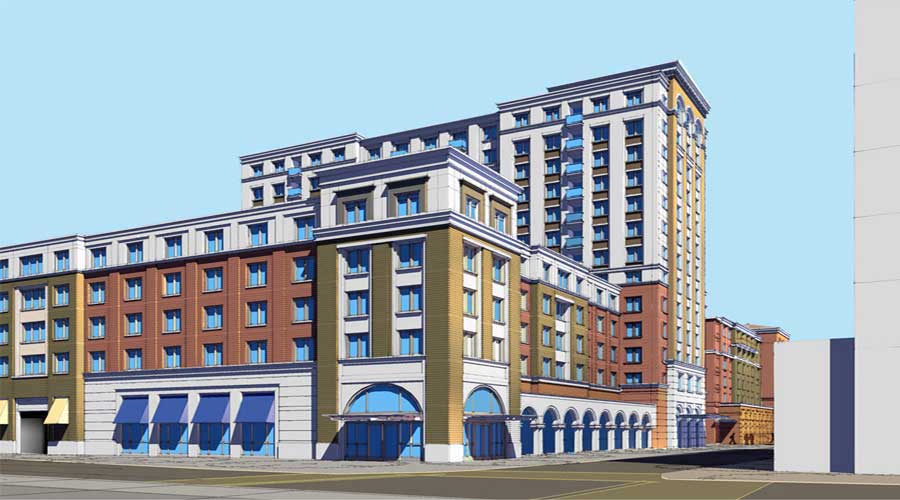
Dark oranges and yellows are painted on a new layer set to Color Dodge blending mode to indicate surfaces that receive direct sunlight as shown in Image 8.
Subtle indirect lighting and “ambient occlusion” is painted in at the ground plane, particularly at the retail arcade just right of center.
Another shadow layer is added to darken the undersides of the balconies, cornices, etc.
Texturing is added in between the base color and shading layers in the stack.
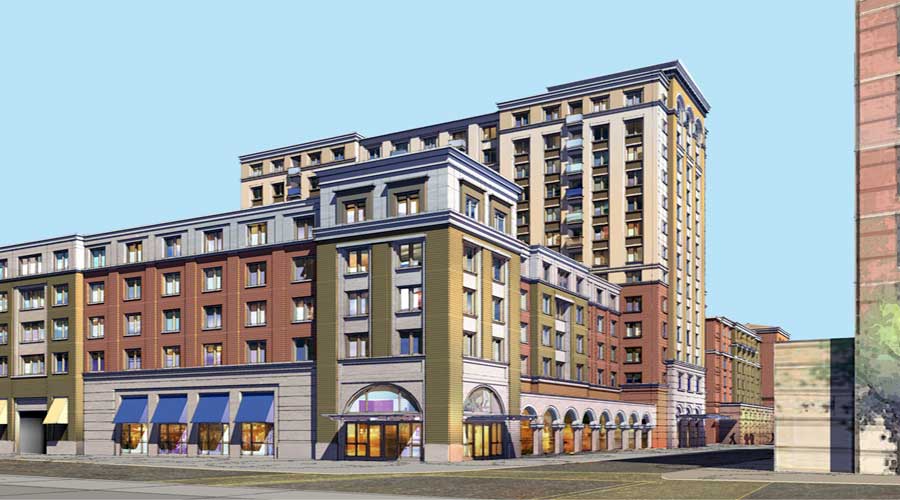
Using the glass selection set created in the base color layer, interior light and interest is developed.
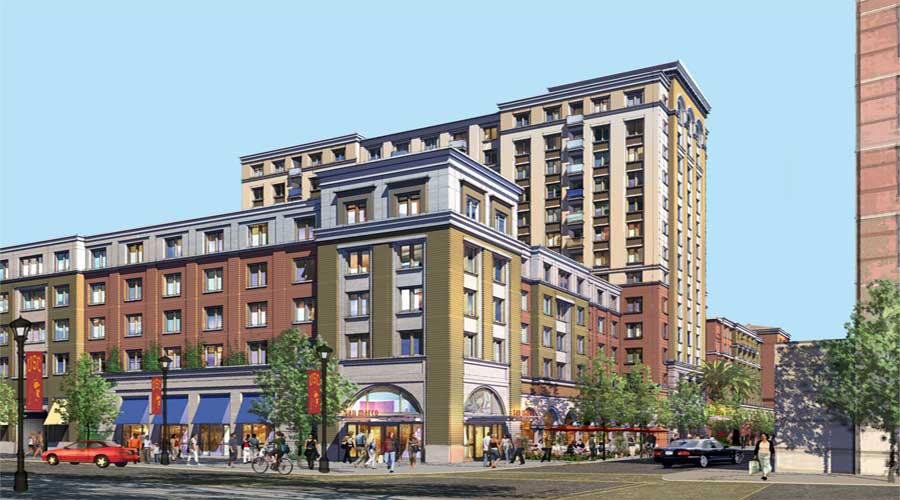
An initial layer of entourage is added on top of the layer stack, including the loading gate at the far left, at-grade decorative railings at the retail arcade, and running vines.
More entourage is added at the cafe, set on top of the color layer but behind the first entourage layer with the decorative railing.
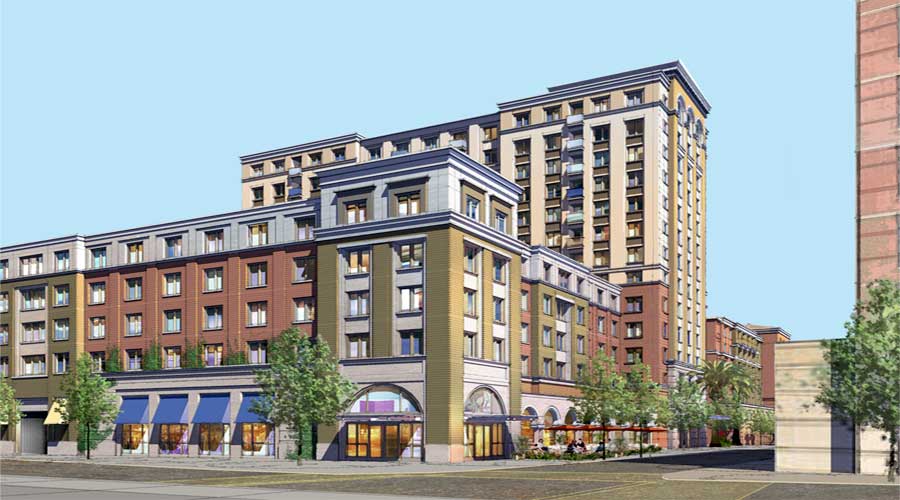
Trees and “growies” at the cafe railing are added.
Trees shadows are set in just underneath the tree layer from the last step. Foreground shadows on the ground are also added to fill out the scene.
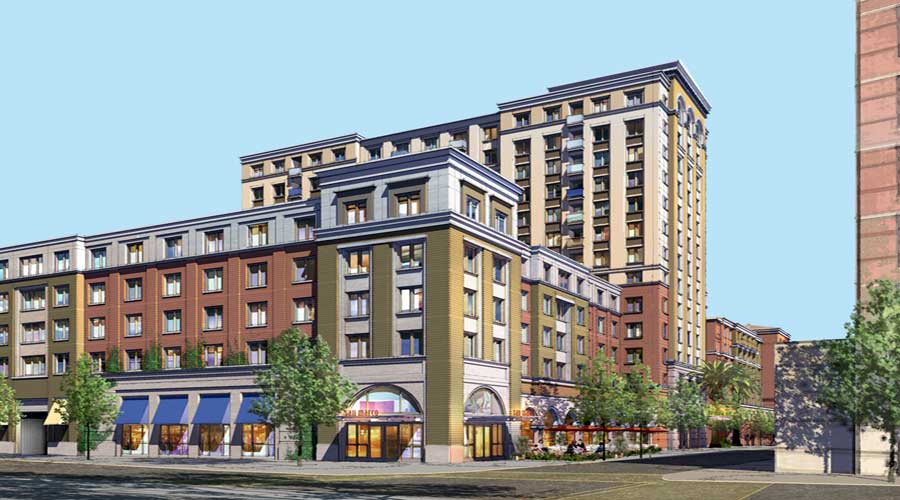
Building signage is added on a new layer – glows are created with a layer style.
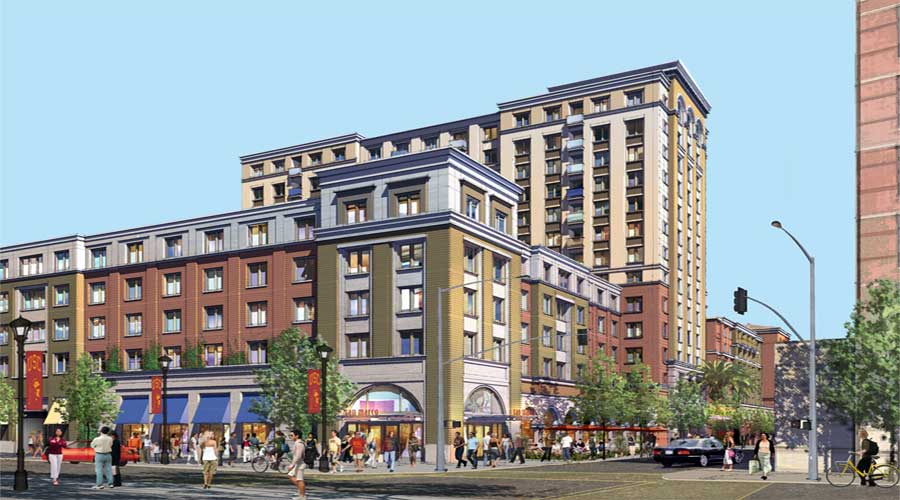
Cars and decorative street lamps are added. Because most of the red car will be covered up by foreground entourage, I don’t take as much care with blending it into the scene.
More people and street lights are added.
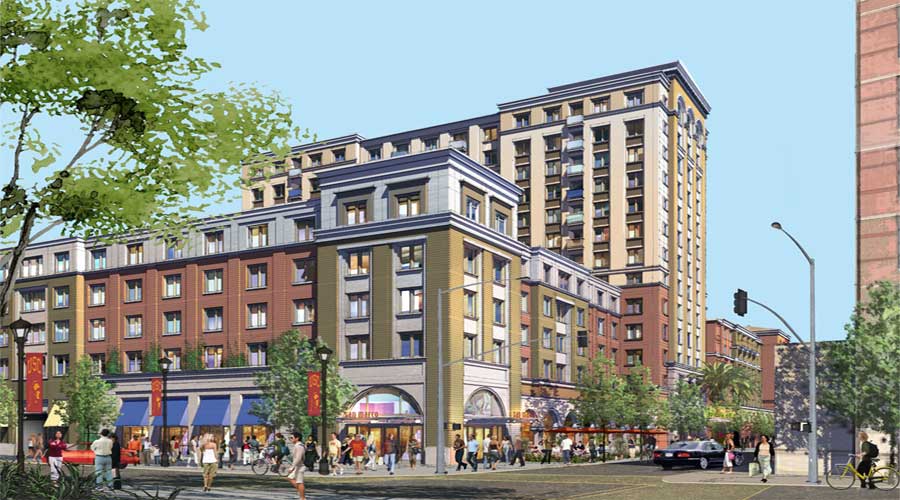
More “growies” are added to the left foreground. A large tree is added at the left edge to help with the overall composition.
Subtle reflections are added to the pavement surface to give it a little more interest, and to introduce cooler tones helping to differentiate the pavement from the sidewalks.
At this point, the sky was painted in the background, set just underneath the base color layer. It includes a “filtered” sky photograph as well as several gradient washes for depth and vignetting.
A slight atmospheric haze effect was added just above the shadowing layer set to help separate the tower from the foreground building. A warm tone was selected to further differentiate the stucco cladding from the cooler granite in the foreground.
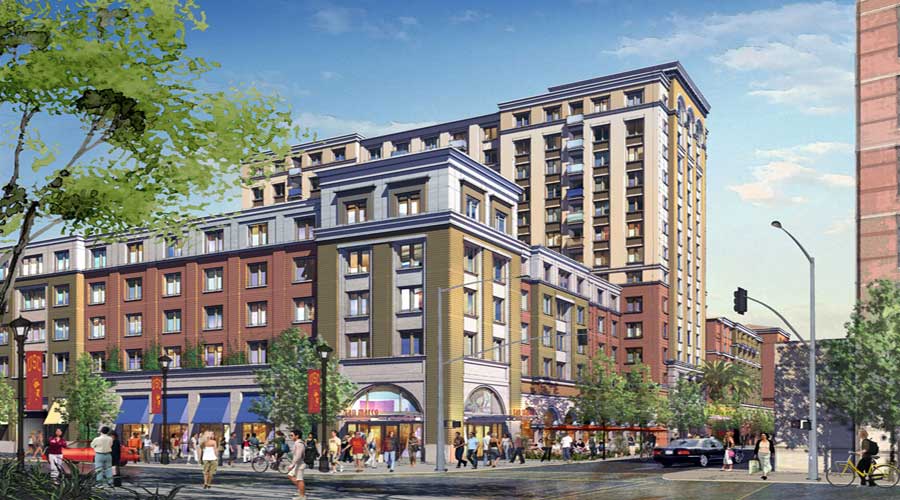
An initial paper texture layer is applied with in Overlay mode. The texture’s brightness is centered around 40% to slightly darken the scene and give it a little more “punch”.
Two light blue washes set to Multiply mode vignette the top and bottom edges of the scene.
Color and overlay washes on the foreground building warm up the brick and stone textures.
More paper textures are added, set to Overlay mode.
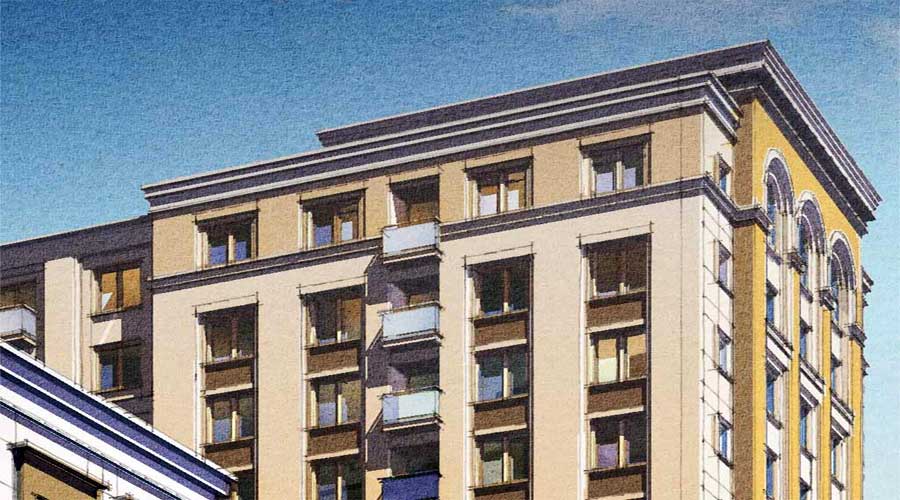
Closeup of the tower at 100% showing texturing effects.
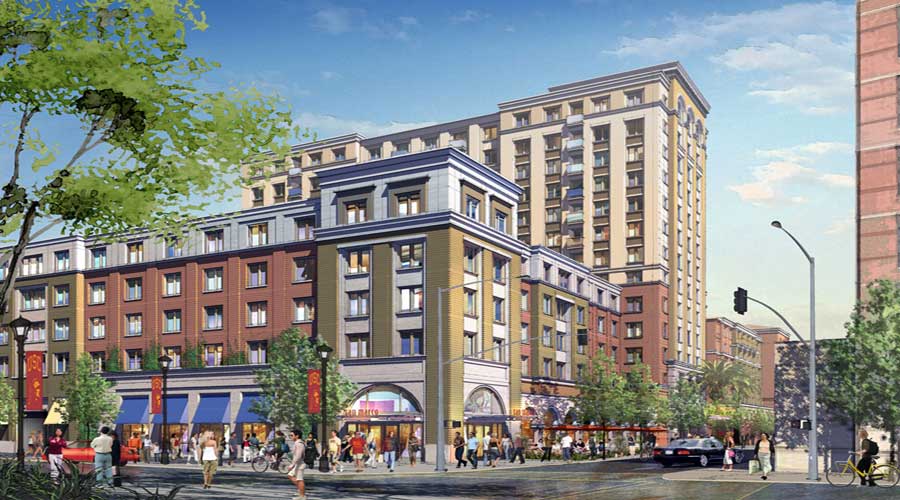
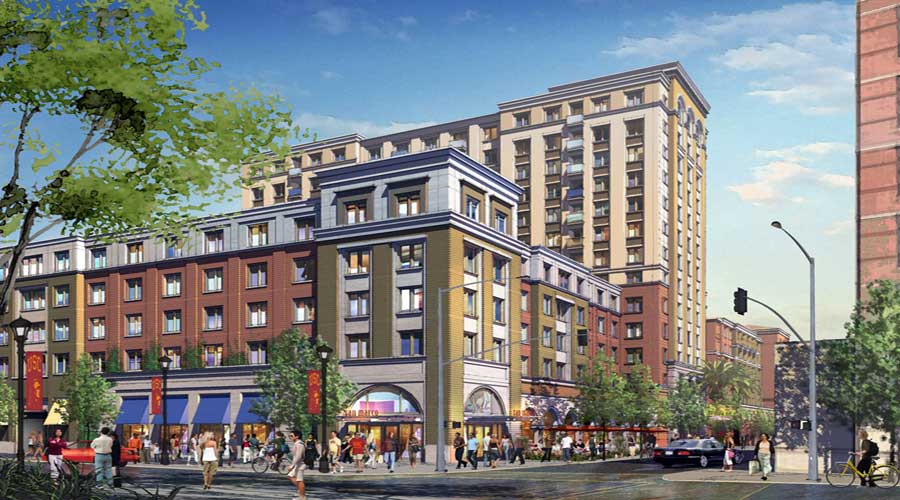
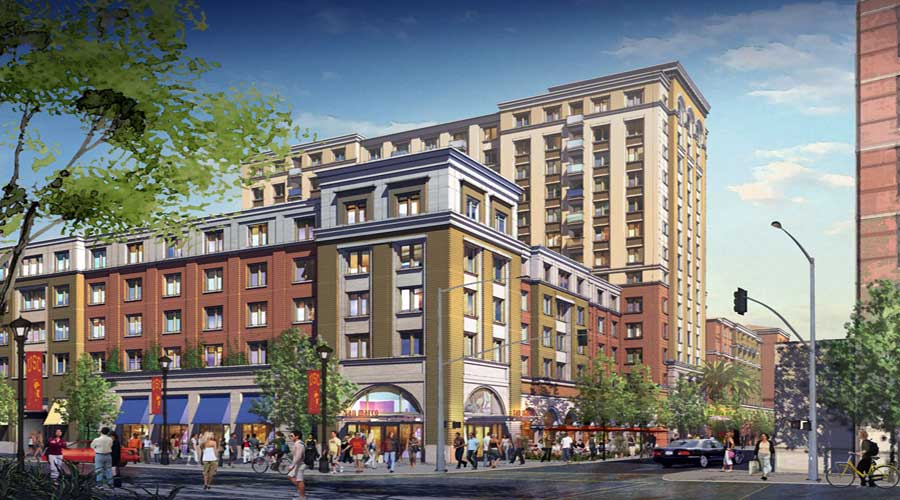
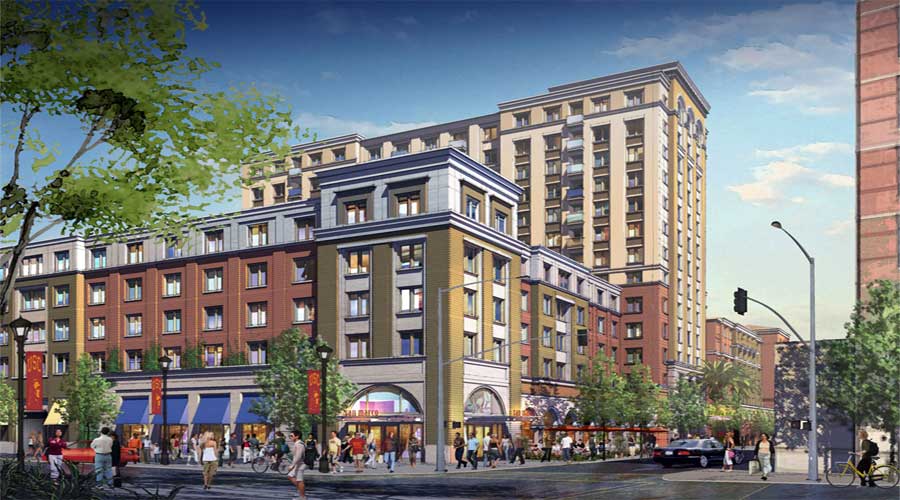
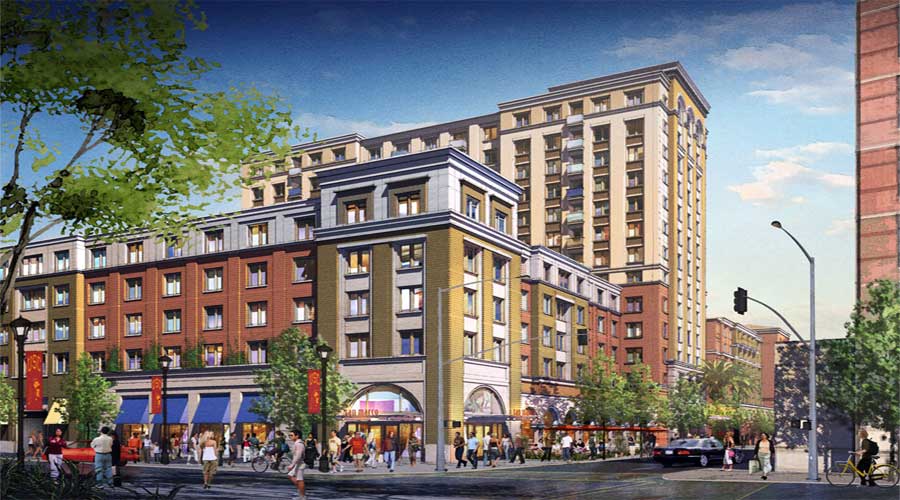
A little bit of tweaking with the curves and levels, and we’re done!
I hoped you enjoyed this tutorial and gained an insight into my technique in producing this digital watercolor effect. Please visit my website to see more of my work, client list and more information about myself.
Thanks
Scott








Excellent work, as all of yours that I saw on your website, congratulations.
and thanks for this tutorial
Hi Scott,
Awesome work!!
I was looking for water color effect and found your tutorial.It was very helpful tutorial.Do you mind sharing on how you got the watercolor effect on cars,trees,and people.Are they the real trees,…..etc..or you created them in photoshop?
Thanks in Advance
Rose
I’m from Brazil and a big fan of Baumberger’s work! I use to do the same technics in my own illustrations (http://www.marcosbandeira.arq.br/arqdes/desenhando/Pages/Ilustrando.html), but nothing compares to those beautiful perspectives. Hope, with hard work, I can get, some day, this level of finish! Congratulations!
Love this! But I am wondering where you got the streetlights and trees from?