Blender to SketchUp – A Workaround for Texturing Organic Shapes
 By Michalis Zissiou
Although SketchUp is one of the easiest and fastest applications for 3D architectural modeling, when it comes to organic forms, texturing and rendering organic shapes it unfortunately falls short and has not as yet solved this issue. The major problem with SketchUp is that it triangulates things thus making it difficult for smoothing and UV mapping of textures.
The workaround I have discovered in solving this issue is first to model organic shapes in Blender and then bring and integrate them into SketchUp, ready for rendering. This tutorial explains the process and the settings. It starts with the model created in Blender and explains the texturing process. Finally it is imported into SketchUp ready for rendering. This tutorial does not cover the modeling itself, nor does it cover the render process. The tutorial assumes that the reader already has knowledge of box modeling in Blender.
Blender to SketchUp Tutorial
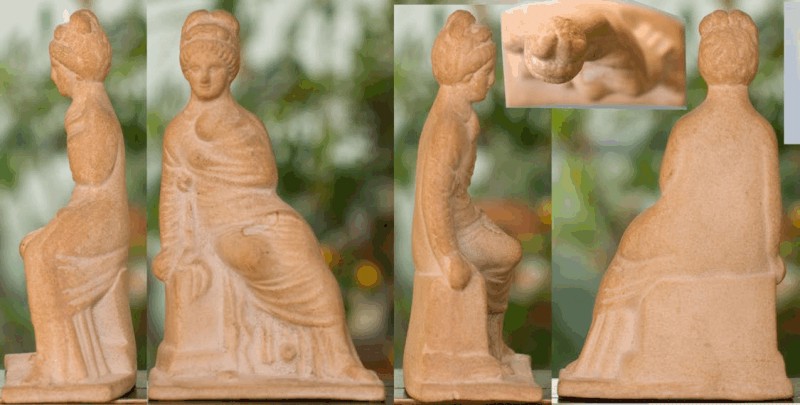
Step 1. Reference photo, all sides aligned using Photoshop or Gimp.
Step 2. Start blender /User preferences / View & Controls / Turntable, Around Selection (SketchUp Style).
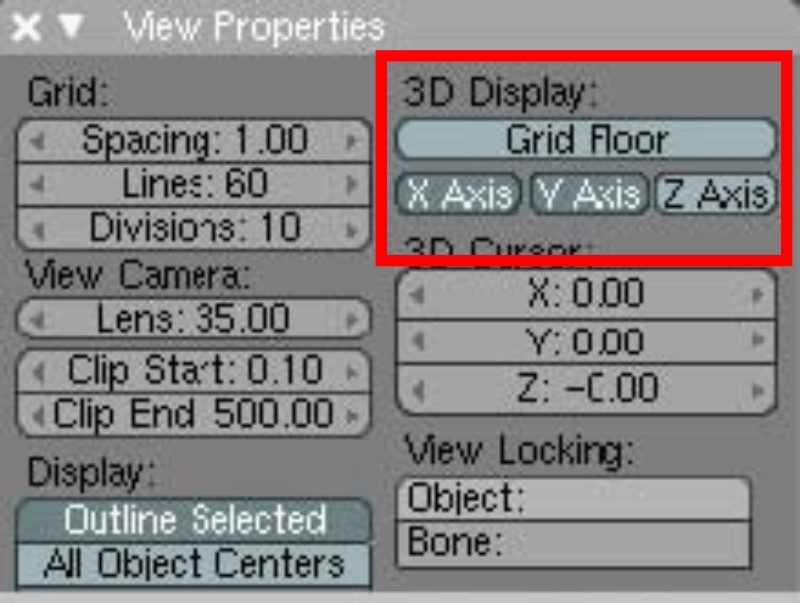
Step 3
Step 3. 3D Window Menus / View Properties / turn Grid Floor off.
Step 4. Split screen into three views, left as side [numpad3], middle as front [numpad1], right as free
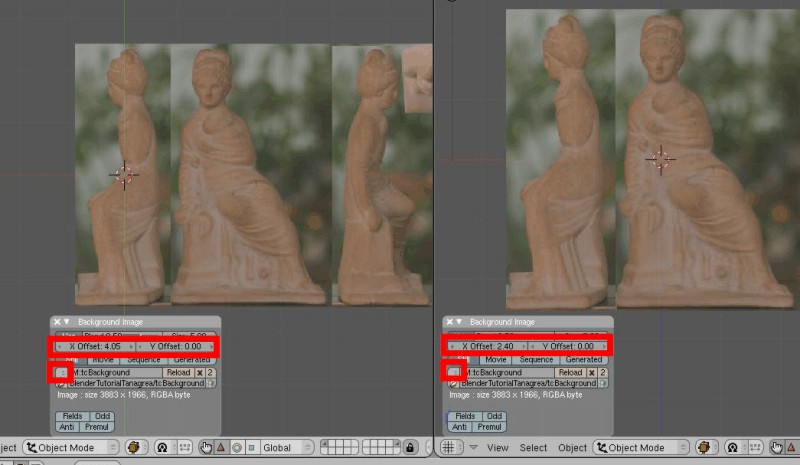
Menu view: Insert as Background Image (do this in front and side view, align image by axis).
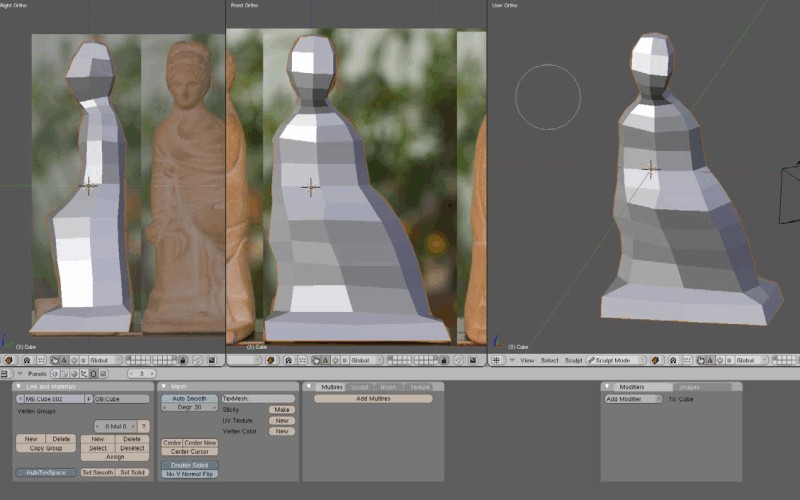
Step 5. Box modeling: Basic tools are: [K] loop cut, [G] Grab tool, [Z] wire-frame on/off
[O] proportional fall off (when on, use the mouse wheel for the field of the tool) an important tool.
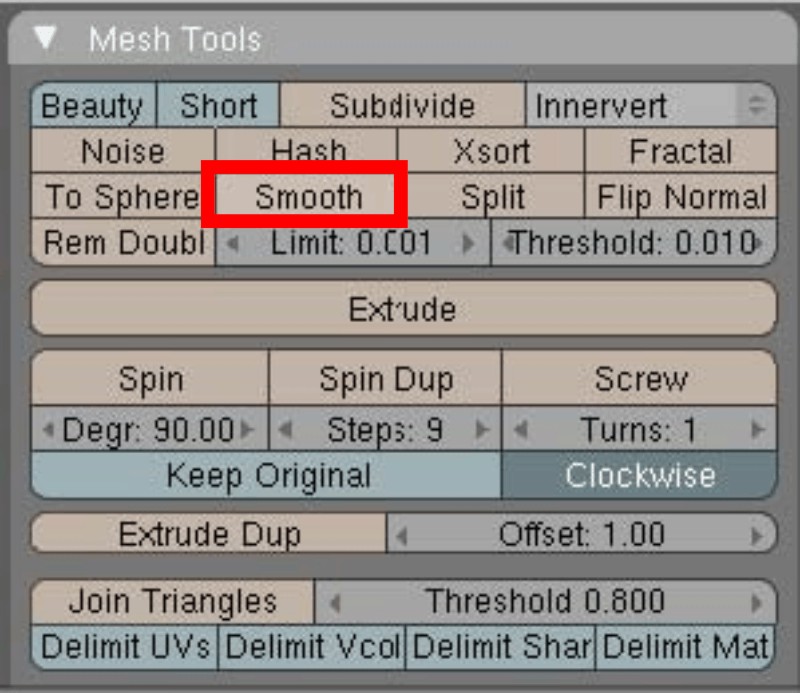
Step 7
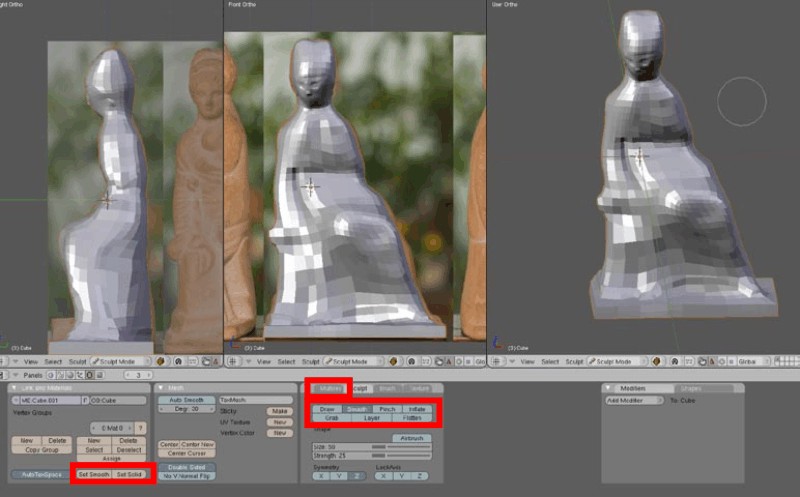
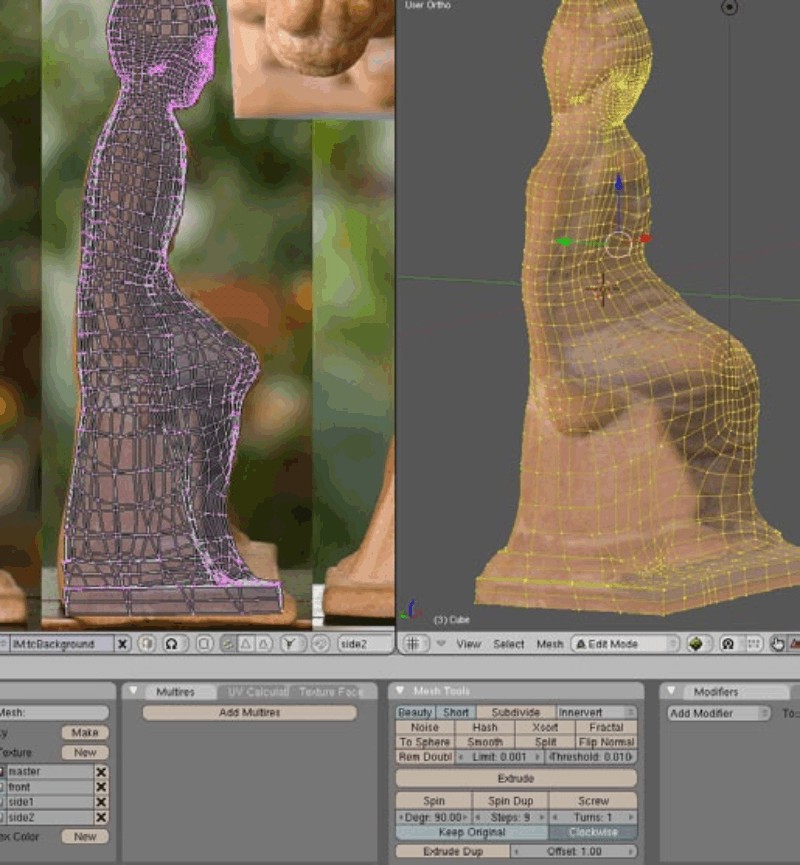
Steps 6-7. Subdivide, select and Smooth as you like.
Step 8. Enter sculpture, use Grab and Smooth tool, Multires (one or two steps in this case)
set Smooth (this affects the preview or blender rendered, not the model).
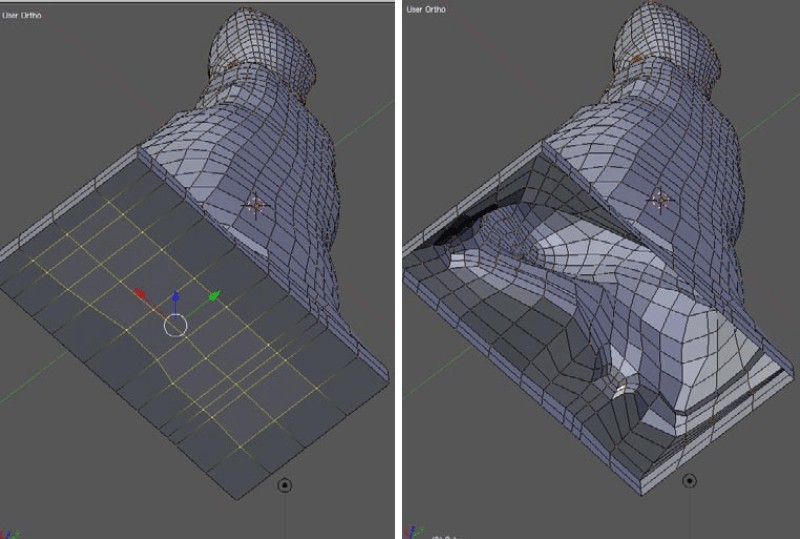
Step 9
Step 9. Delete bottom faces selecting and deleting vertices or faces.
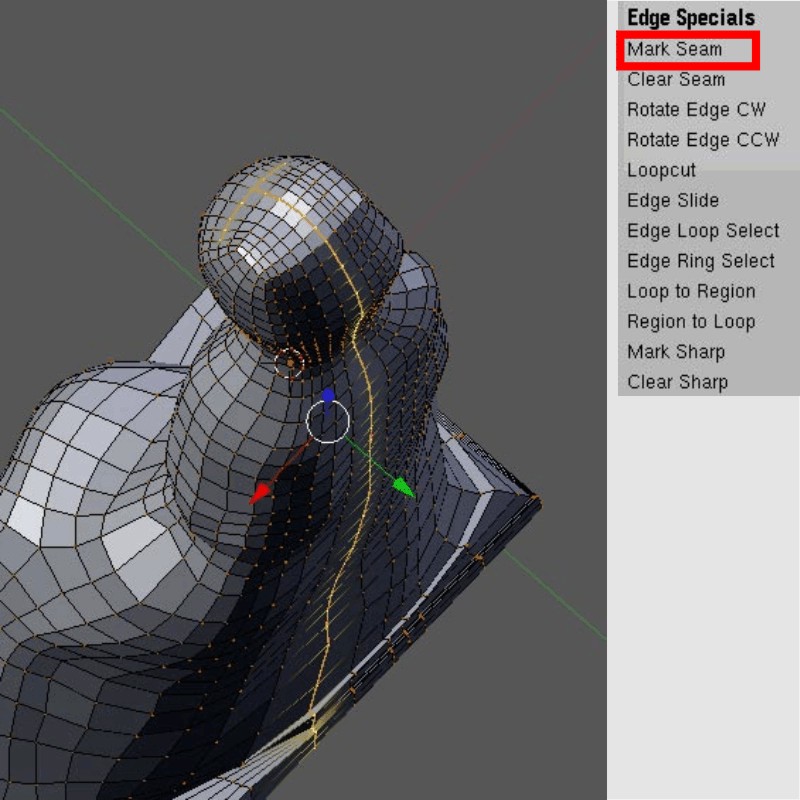
Step 10. UV Unwrap: Here is the moment to think how you’ll cut your texture map
Edit mode [TAB], toggle [A] to deselect everything and select a path and [Ctrl+E] = mark seem (marked seam looks like an orange line).
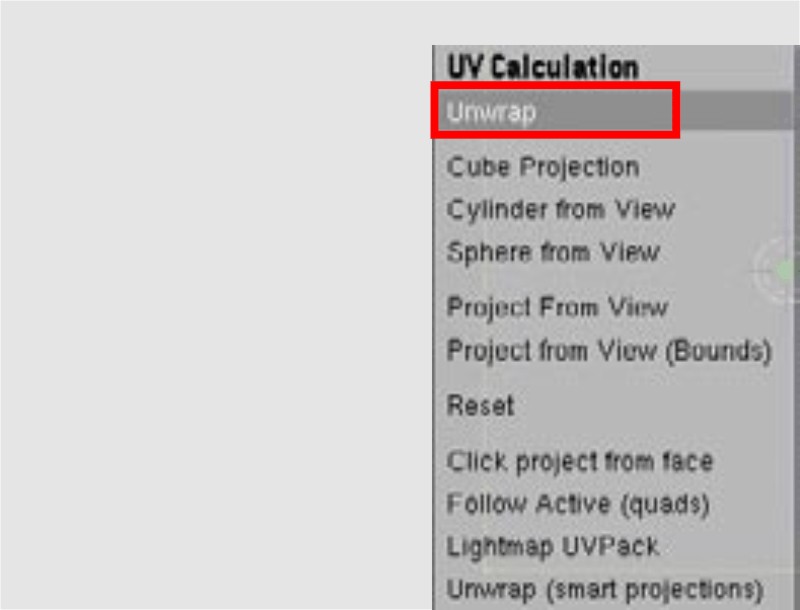
Step 11
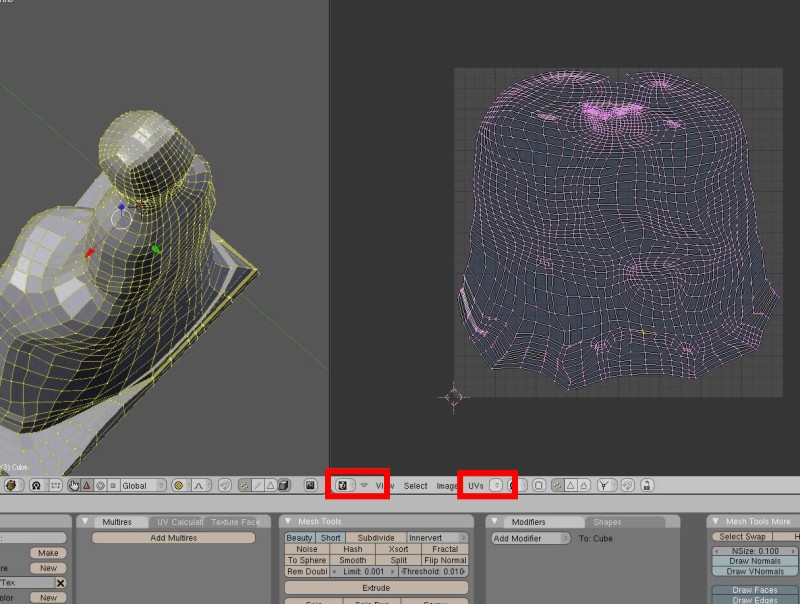
Step 11. Do this in Edit Mode , Select all vertices [A], Unwrap [U].
Step 12. Right Window = UV Editor , Edit it using [A], [G], [S], [R], [O] so to use as much space as possible, leave some space around (that’s for bleeding later).
Step 13
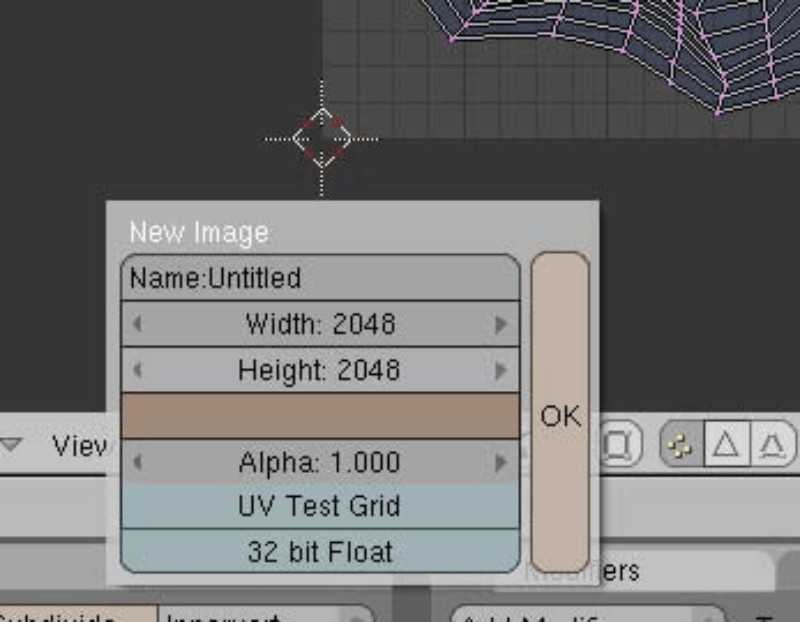
Step 13. Image [new] 2048 x 2048, in this case Background color similar to texture, Save file name with LESS than 8 letters !!! Important when exporting as .3ds to SketchUp later.
Step 14
Step 15
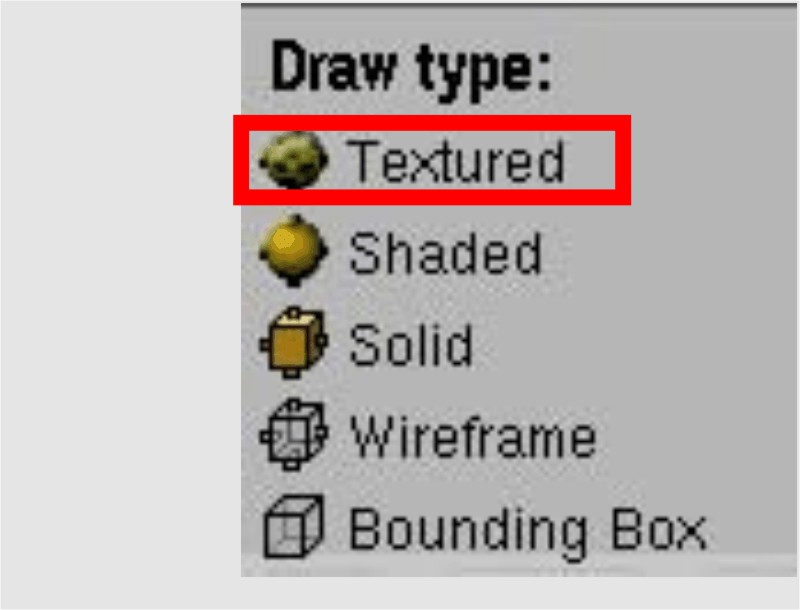
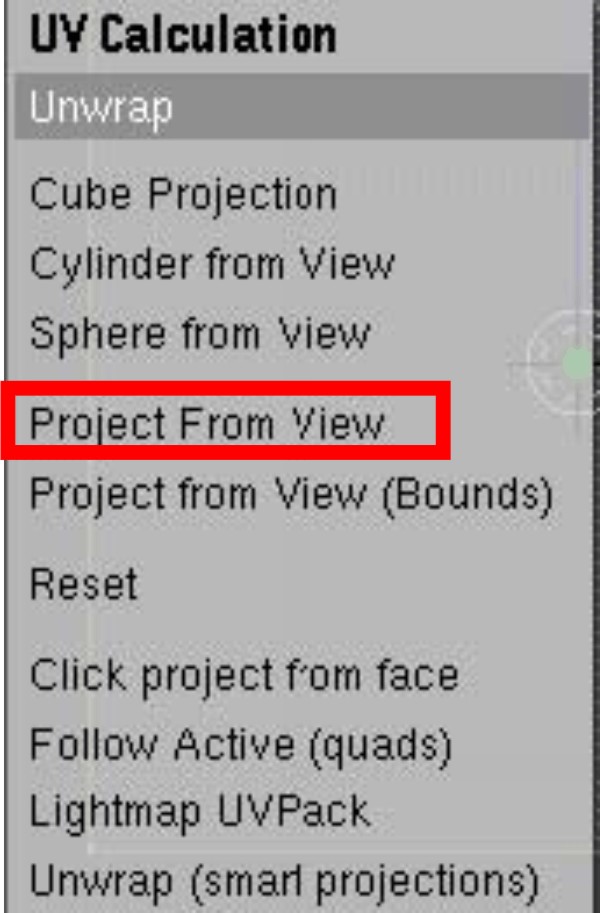
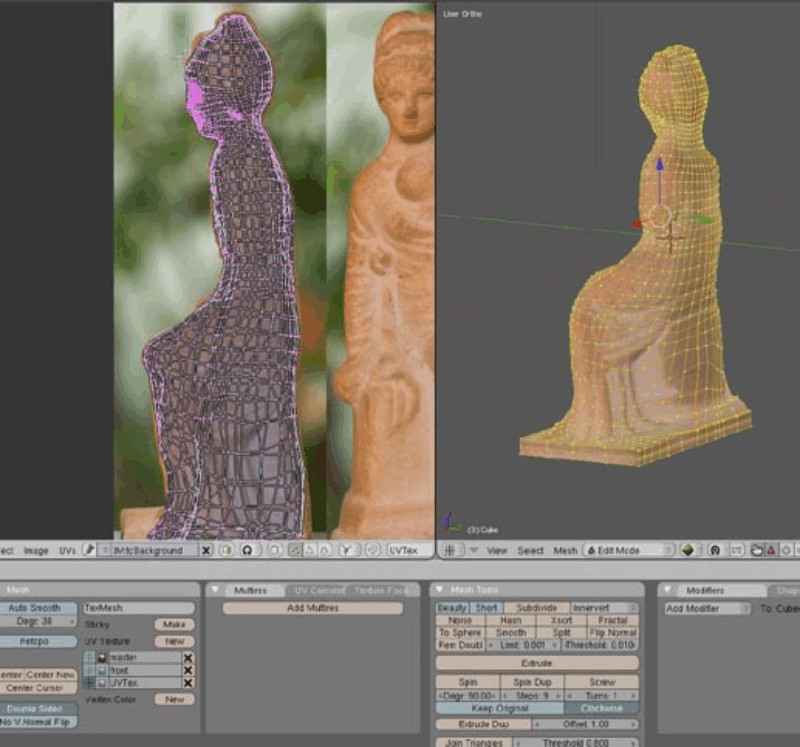
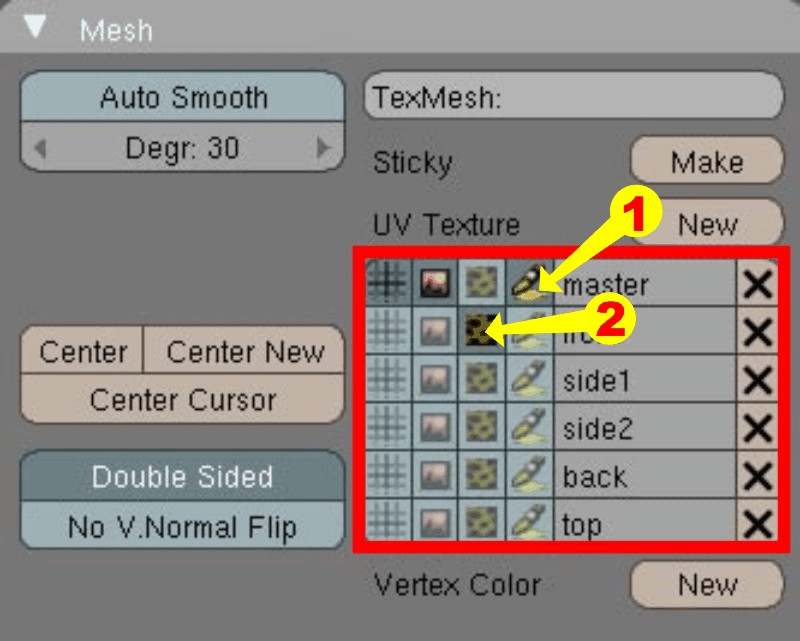
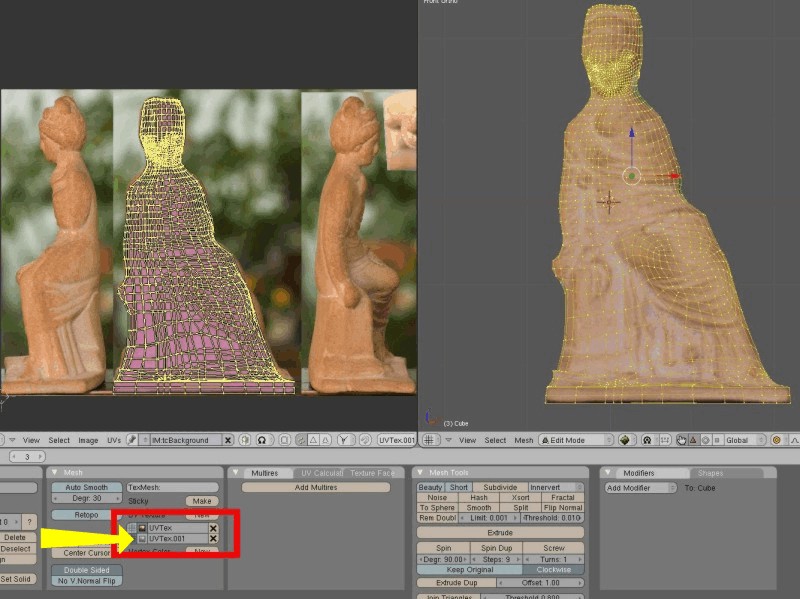
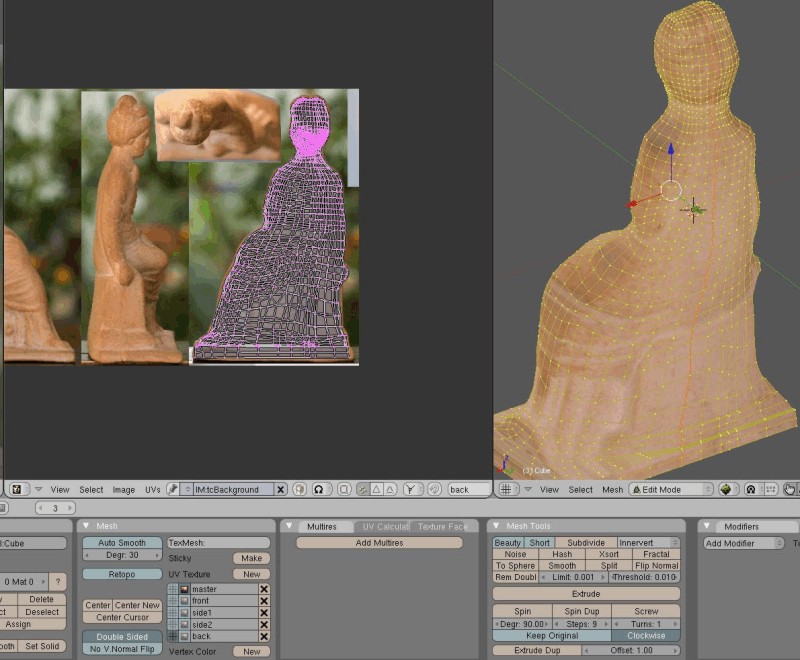
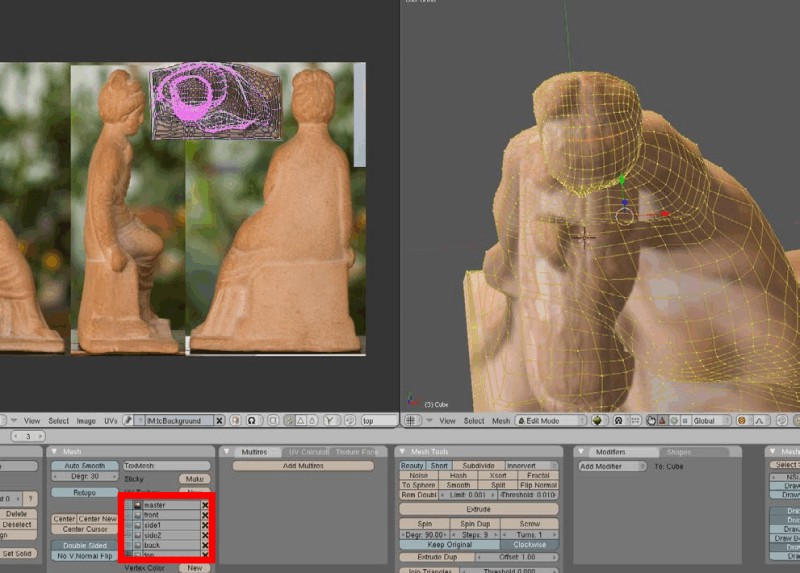
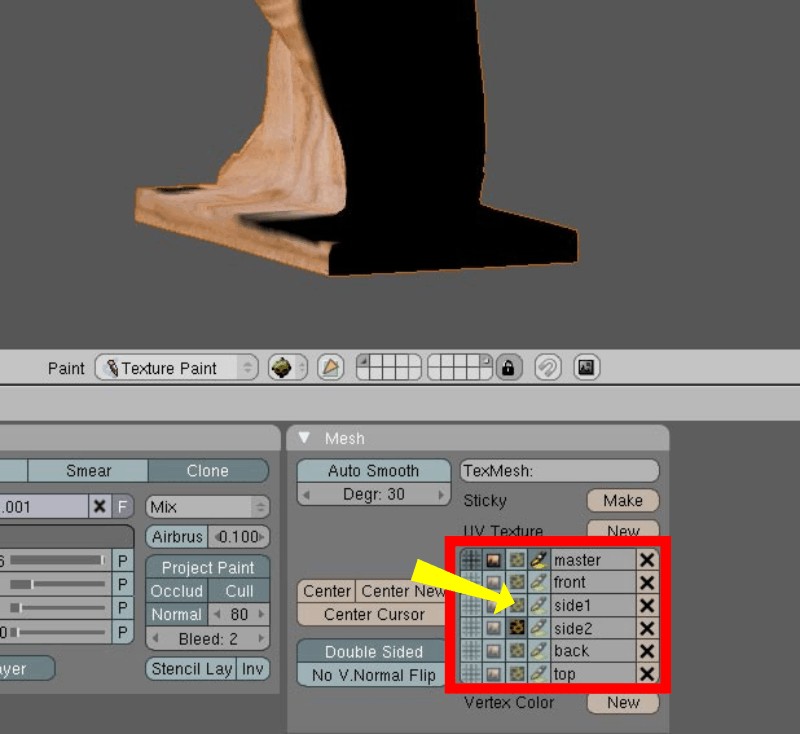
Steps 14-15. Lets ROCK & ROLL! Now we have a sculpture UV unwrapped so far, using a blank texture at this time so we can preview it. Mode / Edit Mode, In Mesh Properties you can see the UV texture (name it “master”). Press ‘New’ to create another and name it “front”. In 3D window go to Edit Mode (only there unwrap works), [A] select all vertices, press [1] front view, go to UV Window Editor and choose the background photo for texture. [U] Unwrap Menu, select Project From View. UV window, [A]select, [G]Grab, [S]Scale. Now using [O] with mouse wheel and selecting a vertice, grab wireframe in appropriate place on photo, do it as best you can do (select a vertice, Grab[G] it, turning the mouse wheel, you’ll see how this affects other vertices, needs some practice but its a fantastic tool).
Step 16. Press button to select what to see in 3D view, the other one is for the Blender Internal Renderer.
Step 17
Steps 17-18-19. Using the same method, try to create and name all other UV Projections.
Step 21
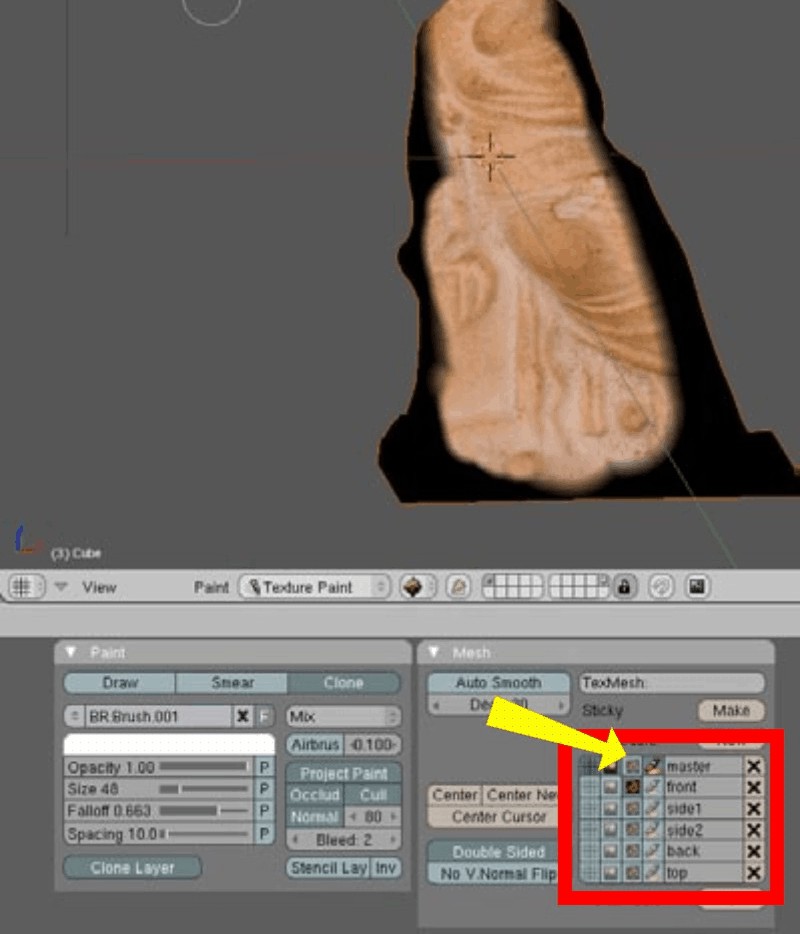
Steps 20-21. Mode/ Texture Paint, you should see something like this above:
- Target for texture painting here always “master”
- Source for texture painting or layer to be cloned.
Step 22
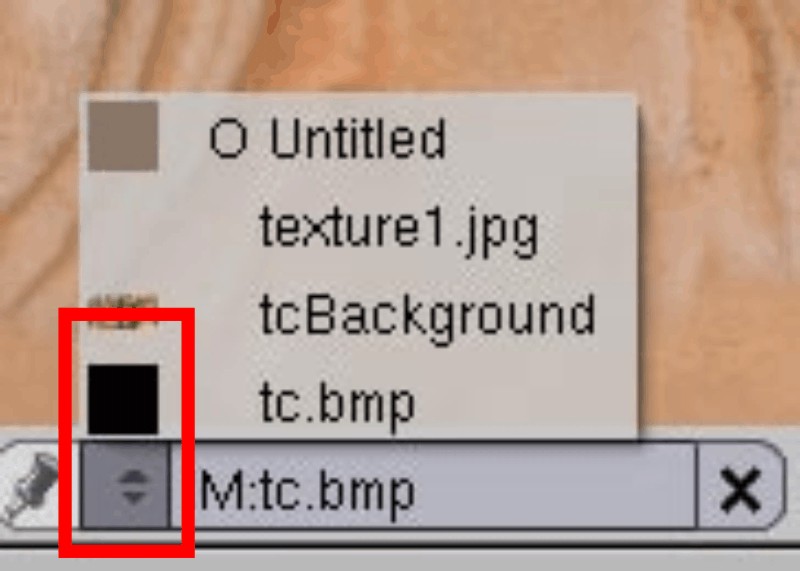
Step 22. UV Editor Window/ select the 2048 x 2048 blank texture, the one we created earlier.
Step 23
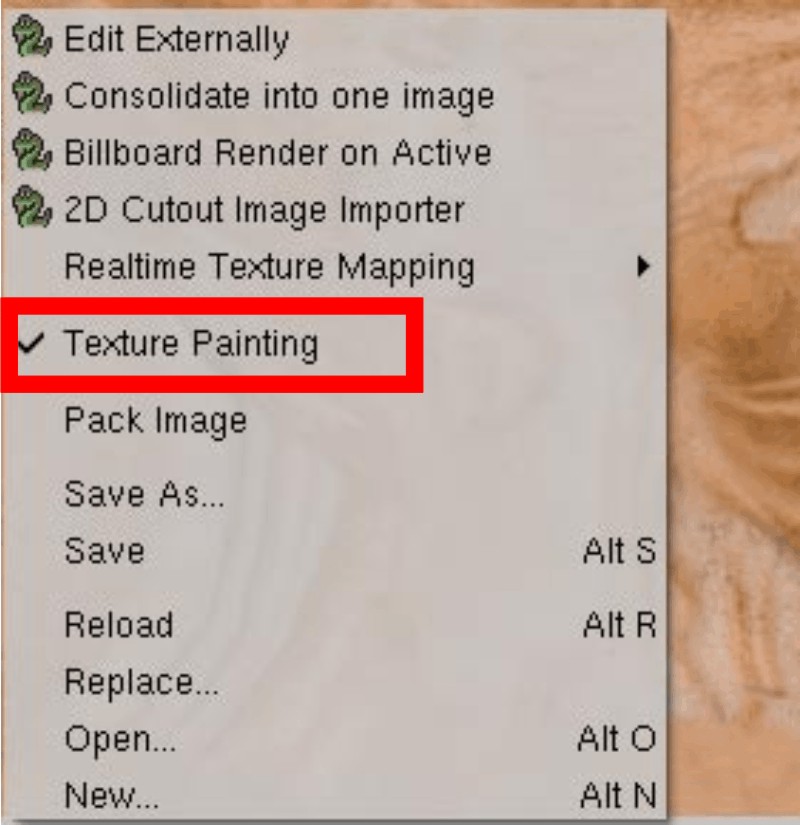
Step 23. UV Editor Window / Image, select texture painting.
Step 24
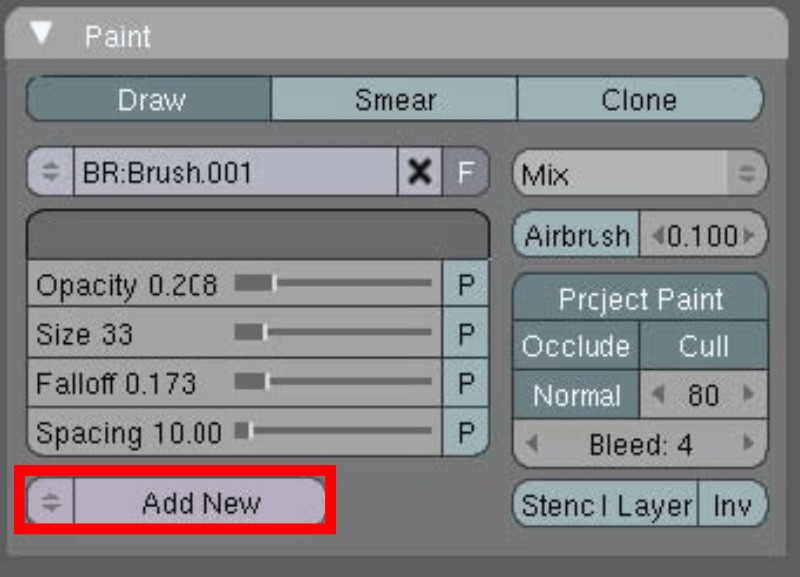
Step 24. Paint Properties / Draw / Delete anything here (press the x symbol on the right), so now it says ‘Add New’, leave it as it is.
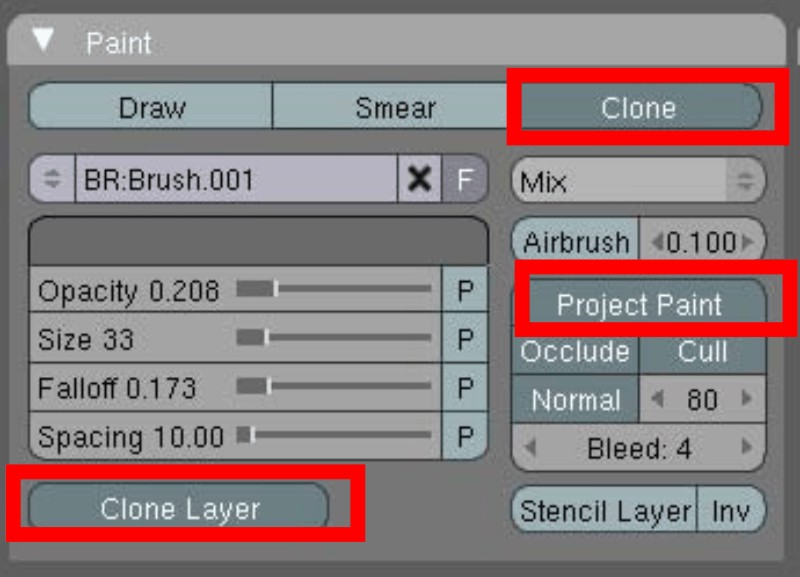
Step 25
Step 25. Enable the buttons shown above.
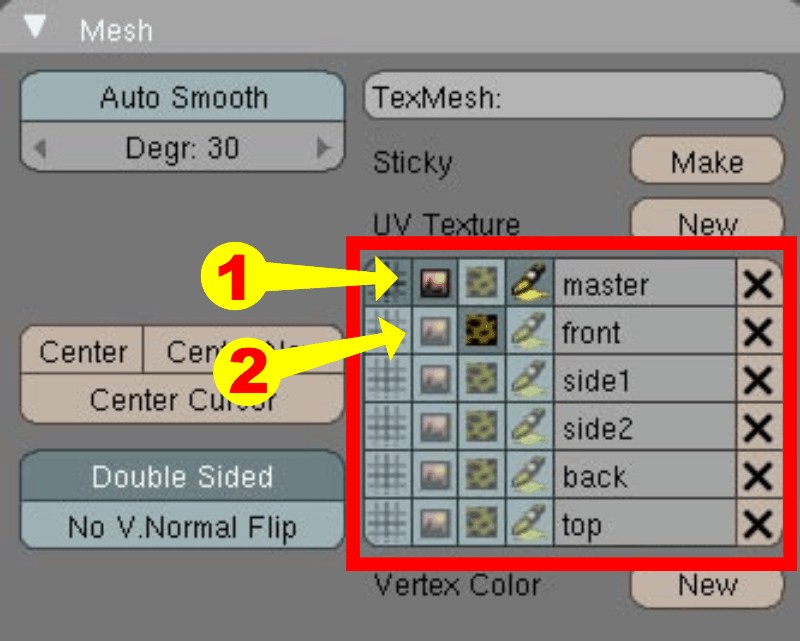
Step 26
Step 26.
- Target for Texture Painting (in what texture we paint) here always “master”
- Source for Texture Painting (or layer to be cloned). Change the source layer as you paint – when you want to project a particular side texture, check its button.
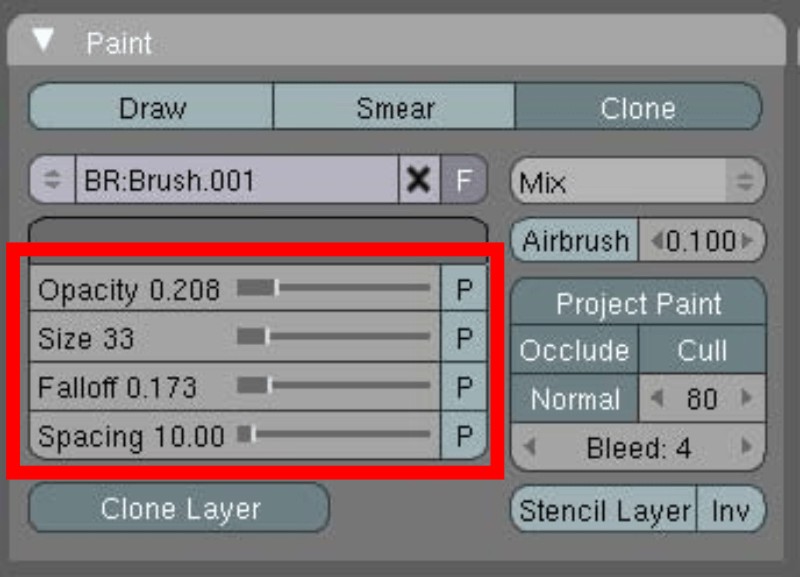
Step 27
Step 27. Brush Properties, have it set at 100% but lower when you start mixing textures, fall off to ‘0’ for mixing
too, it helps. Source for Texture Painting (or layer to be cloned). Change the Source Layer as you paint.
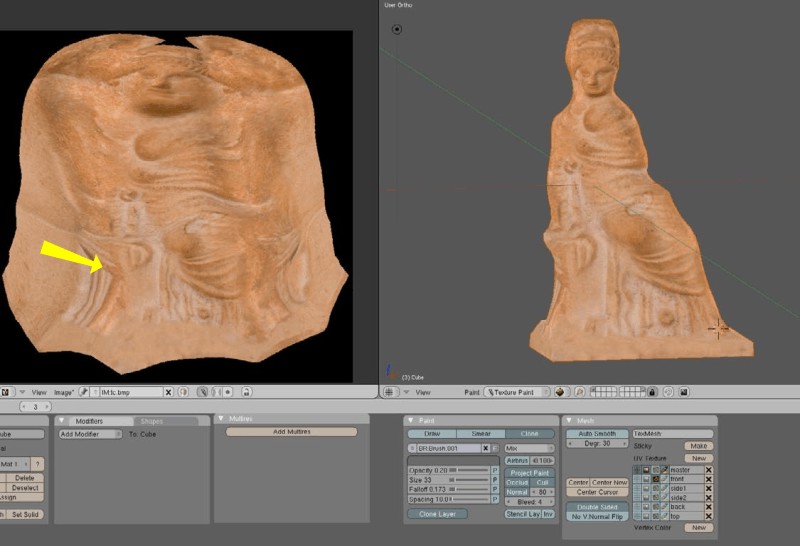
When you want to project a particular side texture, check its button (see images 28 and 29 bellow).
Step 30. Here is the UV Texture made from projections.
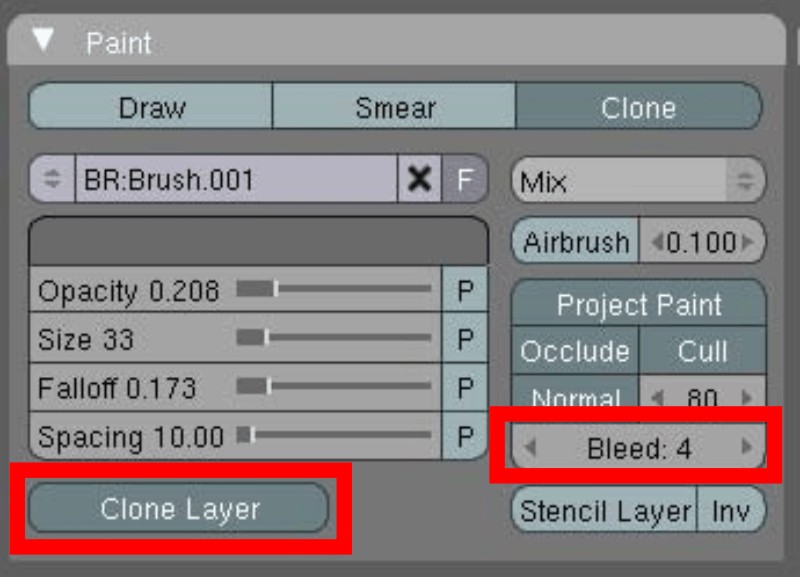
Step 31
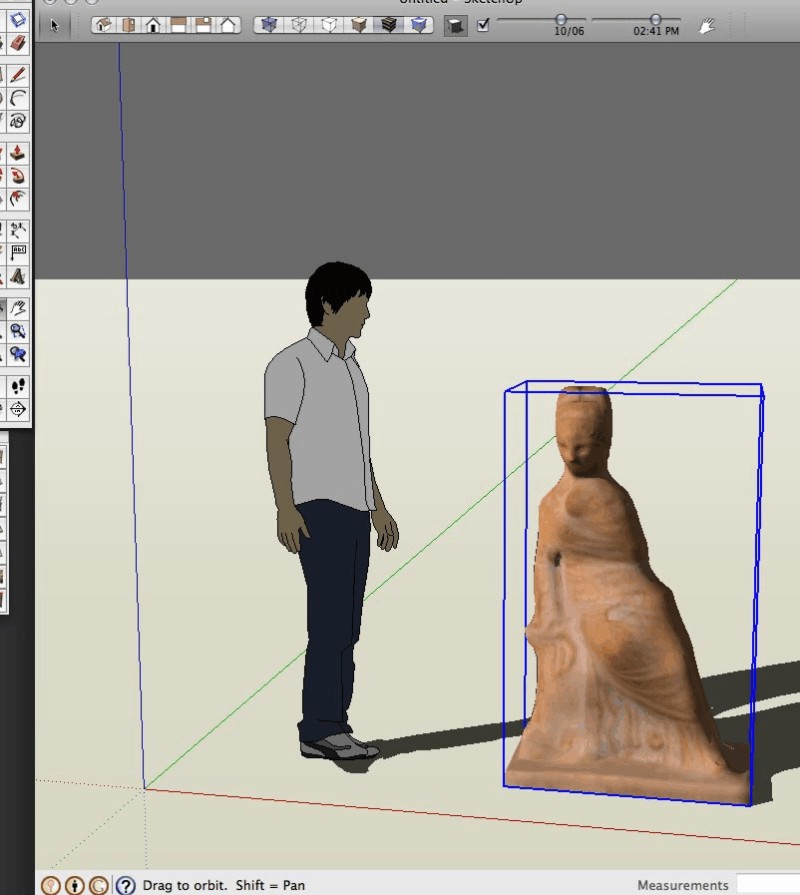
Step 31. Now you can turn Clone Layer Off and continue fine tuning using the stamp tool in Photoshop (left click anywhere and paint). Do this near to seams, having a Bleed 4-8. Do this to avoid gaps, (see last photo from SketchUp preview, gaps can be seen because I forgot to do so). Save the Texture as a bmp.
Step 32. Texture Button [f6] / Add New Tex / Image / Don’t load anything, its already in the drop down menu.
Step 33. Materials Button / Map Input = UV.
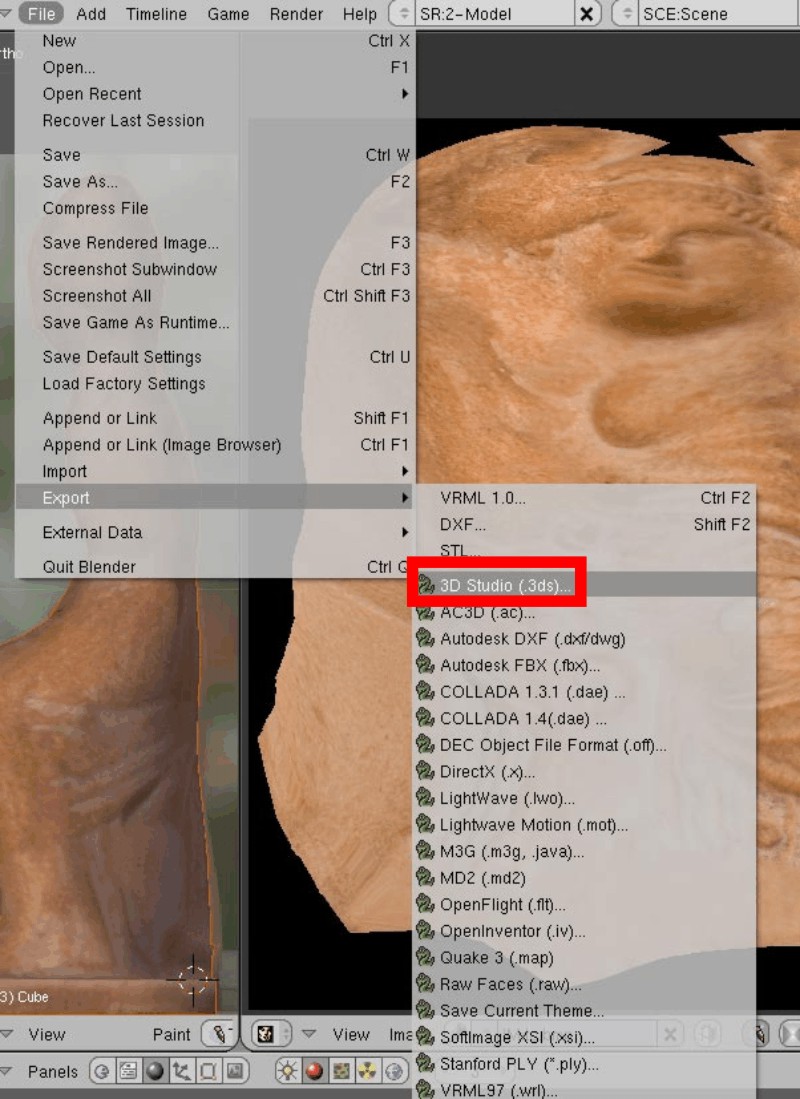
Step 34. File / Export/ .3ds / Textures should be in the same directory as the .3ds file. SketchUp/ Import/ 3ds. Smooth faces.
I hope you enjoyed this tutorial, but most of all, I hope you learned something useful. Whether it’s just a new way to do something you already knew or how to do it a different way or even a whole new skill. Thanks for reading.
Michalis
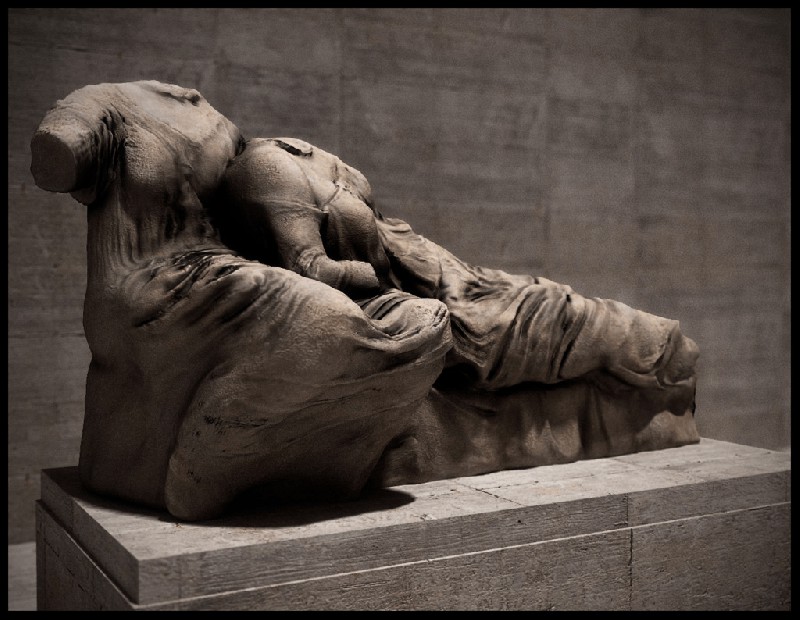
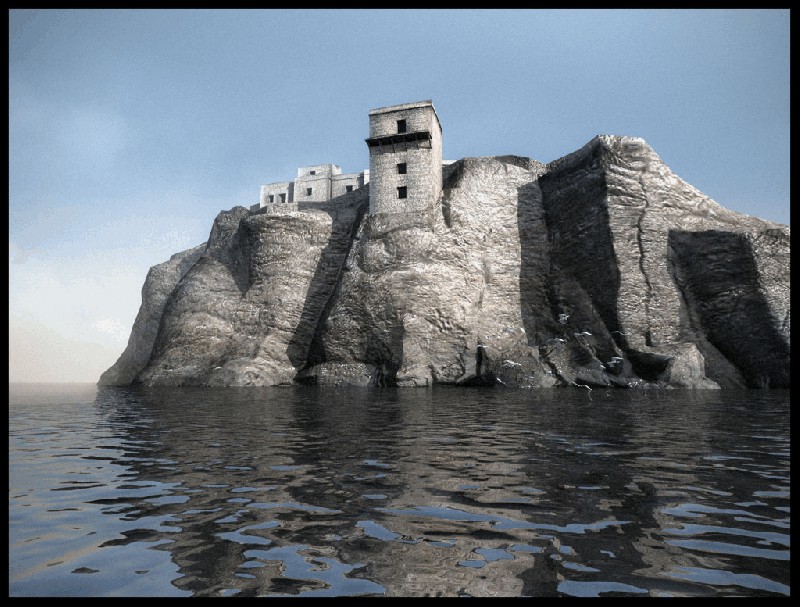
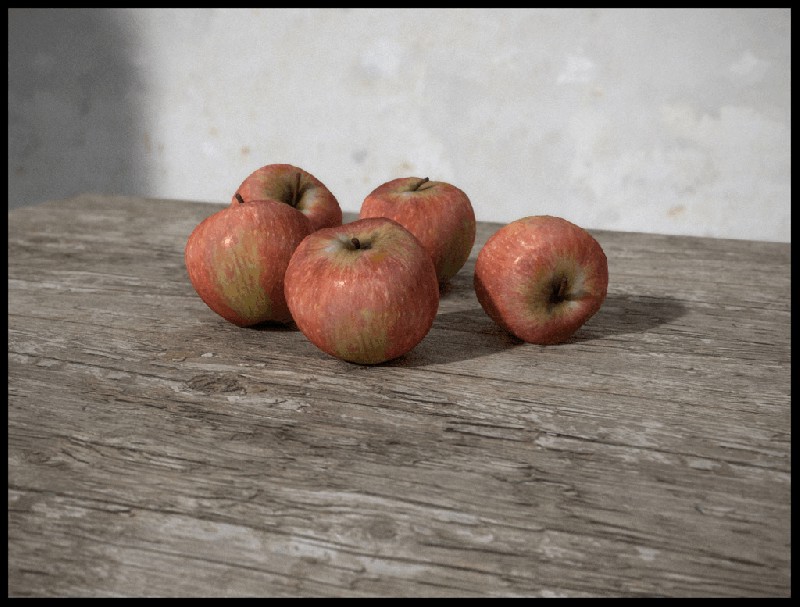
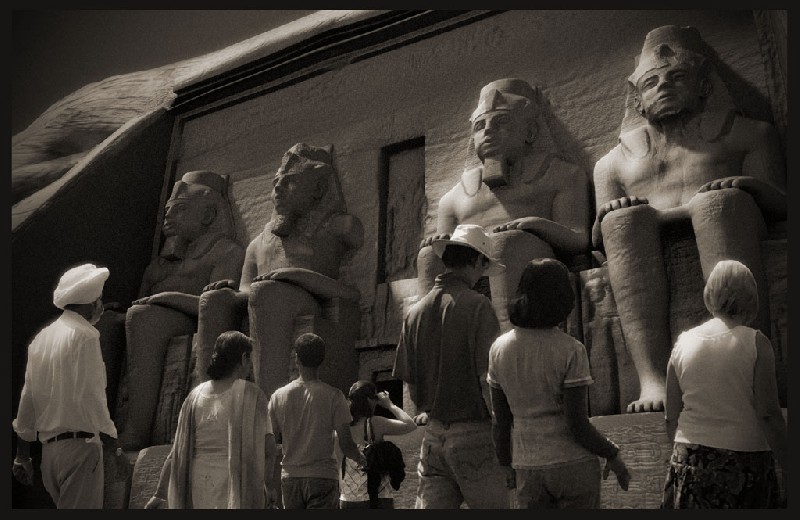
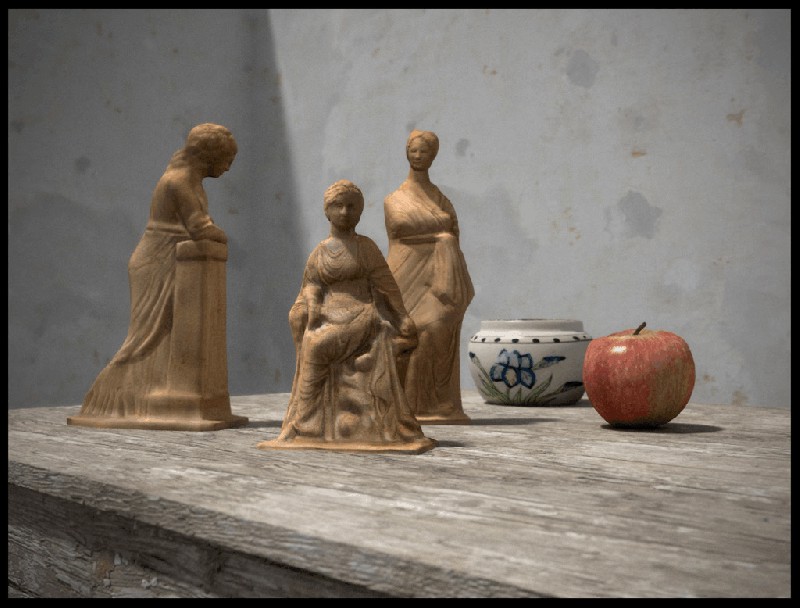
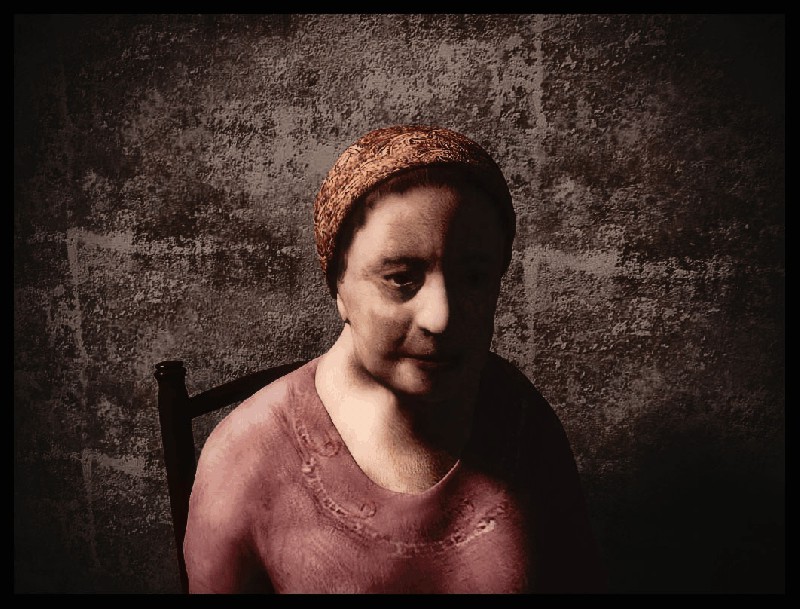
Here are some additional renders and work carried out by Michalis Zissiou







Great Tut Michalis. Well done. 🙂
wow, it is incredible mate!!!, thanx for sharing
Excellent Michalis, very comprehensive tutorial.
Thanks Michalis. That was a very informative tutorial and I learned a lot.
Oh! Thanks Michalis
I enjoyed it!!!
Work in progress.
Well-done– Please update to Blender 2.5, as the interface is *entirely different.
Great work ! at last someone whose willing to share there findings,
could you please tell me what blender prog you are using as the one I have doesn’t match up with yours,
many thanks,
Derek.