
Making of Dreadnought Part 2 – Main Bridge
 Hi guys!
 My name is Alexei (aka Karanak), and I’m one of the concept artists who worked on the MMO game Star Conflict. I would like to guide you through my work process in the design and development of this futuristic ship carrier.
 This is part two of the article about designing the ‘Dreadnought’. Originally, I was planning to show you a part on the armor, but it so happened that after Part 1 ‘the weapons’, I began working on the ship’s control tower (the bridge). To start, I decided to create the components that have a specific structure or will be used repeatedly. For example, components that will hold anti-aircraft turrets, repeaters, tanks, and other things …
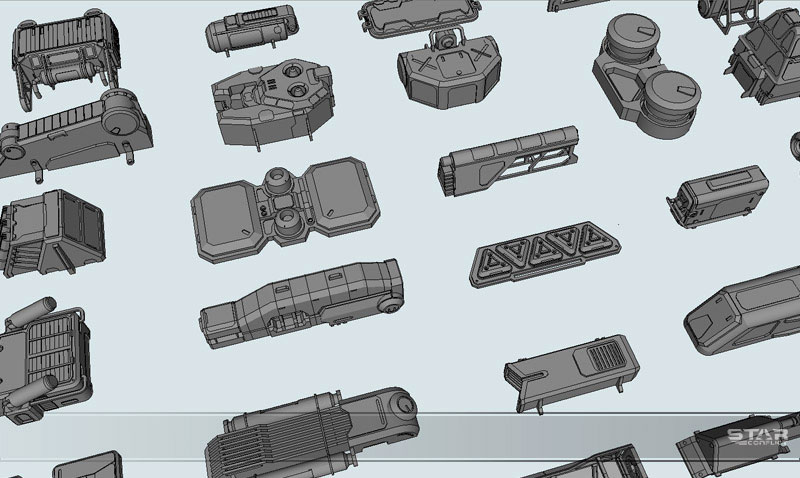
Modeled SketchUp Components
After that I moved on to the design of the bridge. First I listed out the tower requirements: whole sensory systems, long-range weapons, various means of communication, radar dishes. Also there were specific components—for example, blocks of rescue capsules. Or a scientific section with a central centrifuge. The center itself is also a medical bay. This is my original sketch:
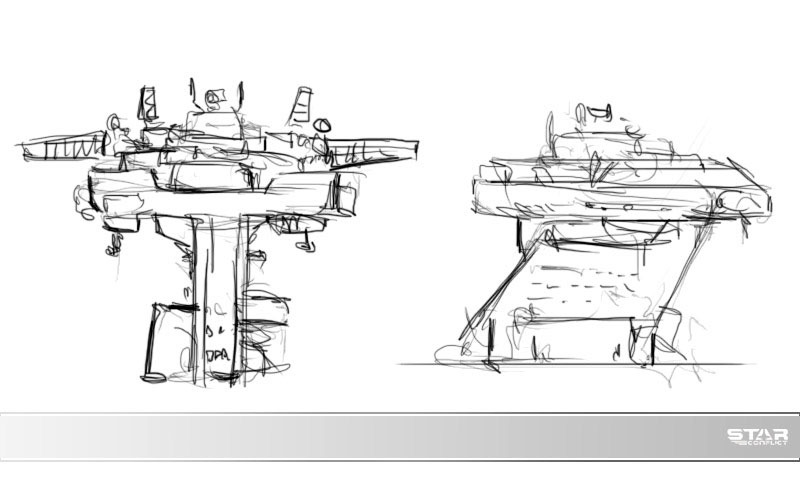
Sketch of Bridge
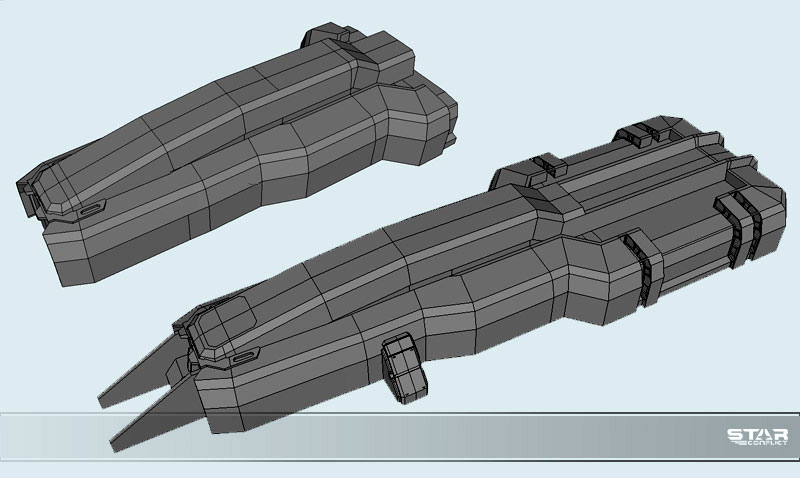
After sketching it out, I began to build up an image in SketchUp. I of course started with the base first.
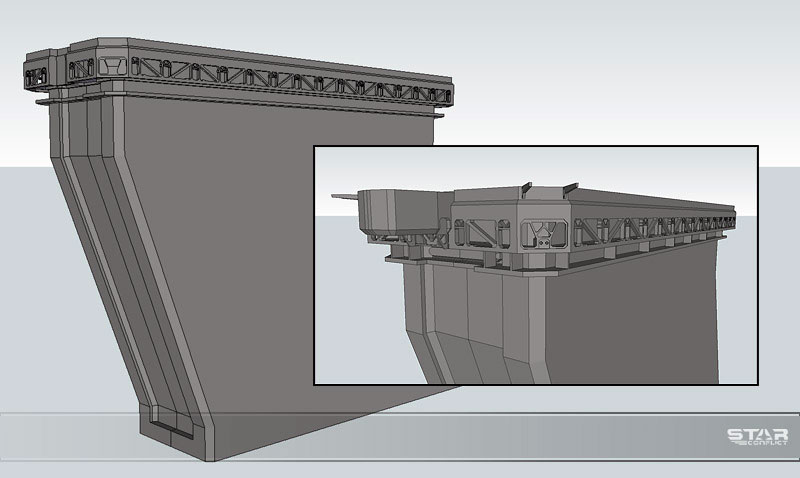
Base of the Bridge
I put the module containing the staff’s rescue capsules in the back at an oblique trajectory, so that they would not be ejected into the engine’s exhaust but more or less into a safe zone. I hope the rescue capsule will be useful. For example, when the ship drops to 10-15% of its total defenses, the rescue capsule prepares to shoot into space.
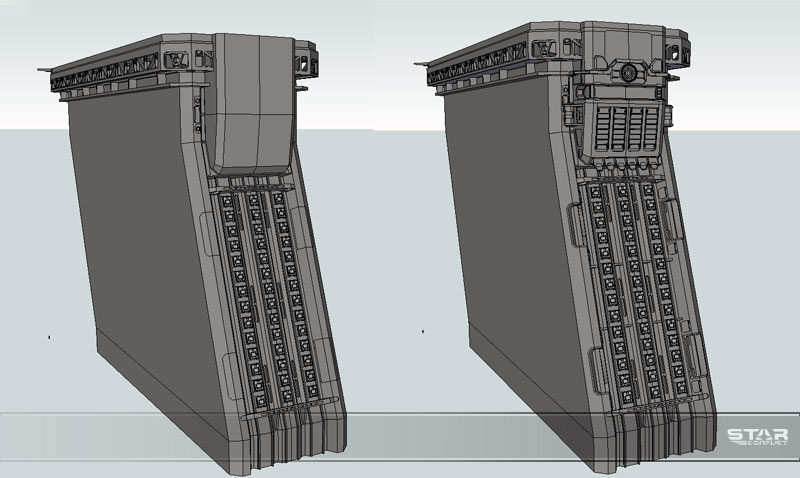
Rescue Capsules
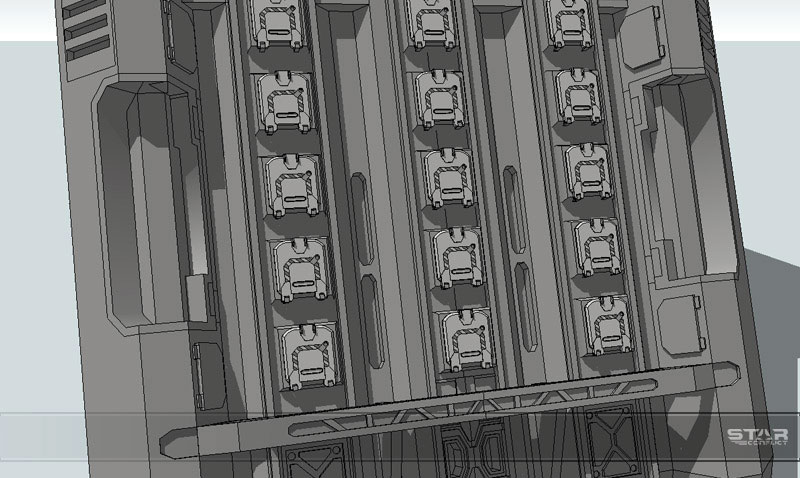
Closeup
The next image shows the section on the left side of the base, where the laboratory for studying the discovered relics is located. Another section will be located to the right of the bridge.
Laboratory Added
The next step was drawing the basic “cap” of the bridge.
Top of Bridge (cap)
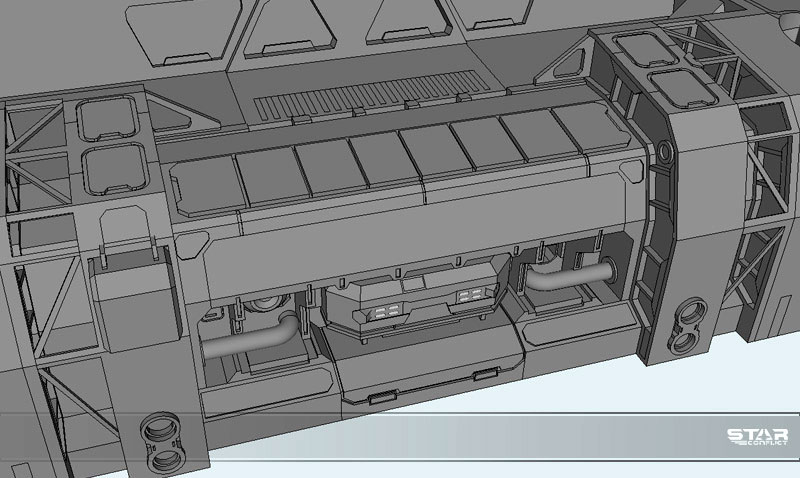
After outlining the base of the central section, I began to create fastenings for the main sensor units (those protrusions that were seen in the earlier stage). In the internal cavity I’ve drawn a couple of container hangars, which are used for cargo delivery.
More Details
SketchUp started chugging, so I decided to temporarily disable the second symmetrical half of the bridge and work on only one part of it. Next I began to work on the body.
Working on Half of Component
Then, in a separate SketchUp file, I assembled sensor towers and attached these in the appropriate locations.
Sensor Towers Added
In the same way, I made the basic two-way radar tower and a spherical signal reflector (backup right and left side).
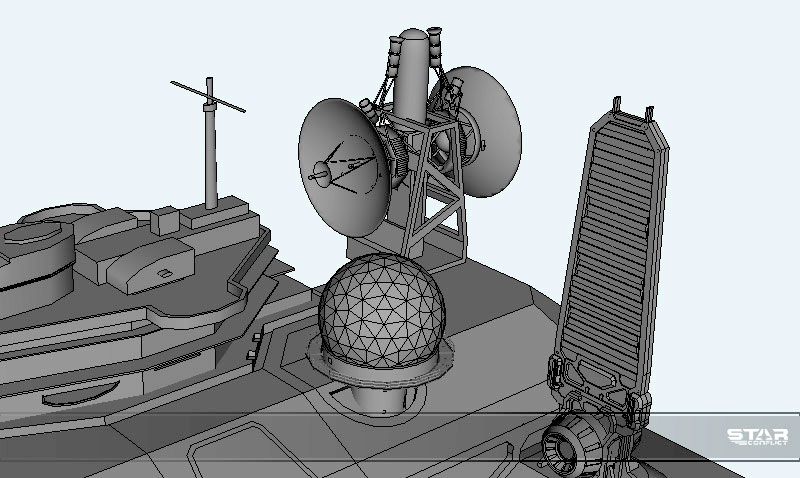
Radar Tower and Deflector
Next I started to work on the main parts of the bottom with the armor, windows, and detailing of other nodes of the tower.
More Detailing
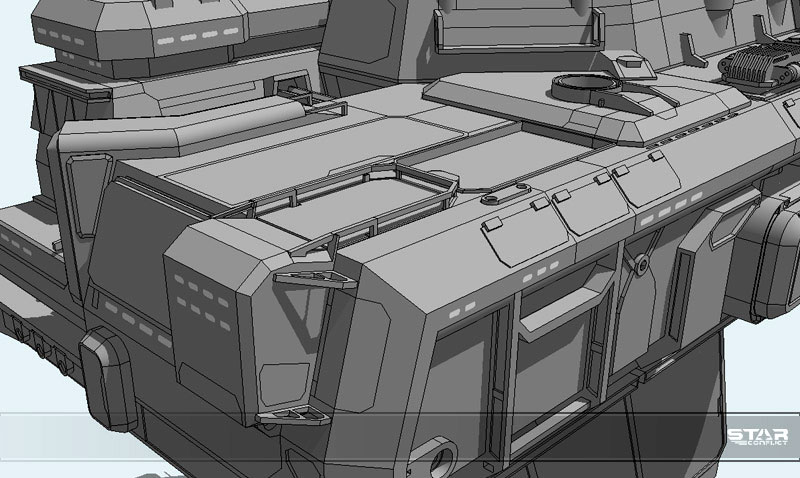
More Detailing
It was time to pay attention to the residential modules. In a new SketchUp file, I assembled the main unit of the residential section and placed it under the bridge. This section contains a pair of communication stations, and in the inner cavity, a few tanks are located.

Residential Section
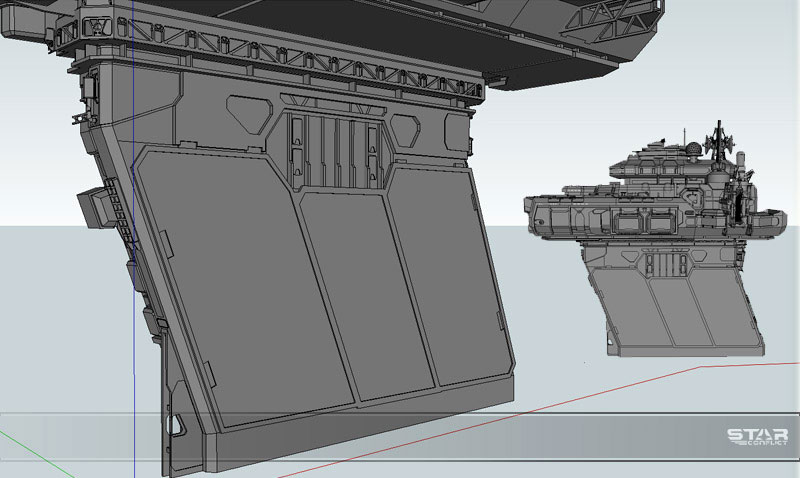
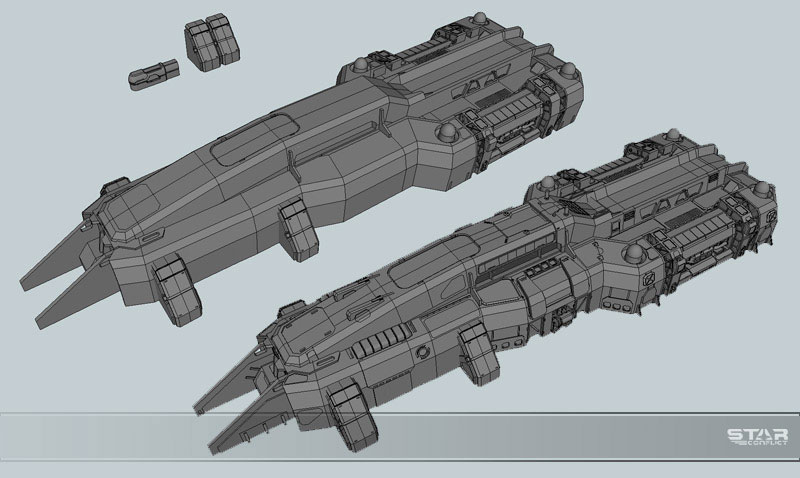
The bottom of the bow tower is ready. It will be mounted on the right side of the base. A long corridor goes from the tower itself to the bottom of the main bridge.

Bow Tower Added
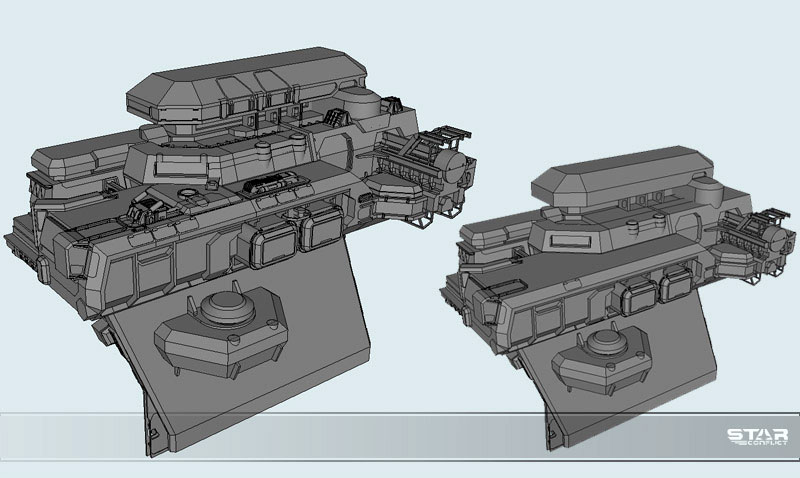
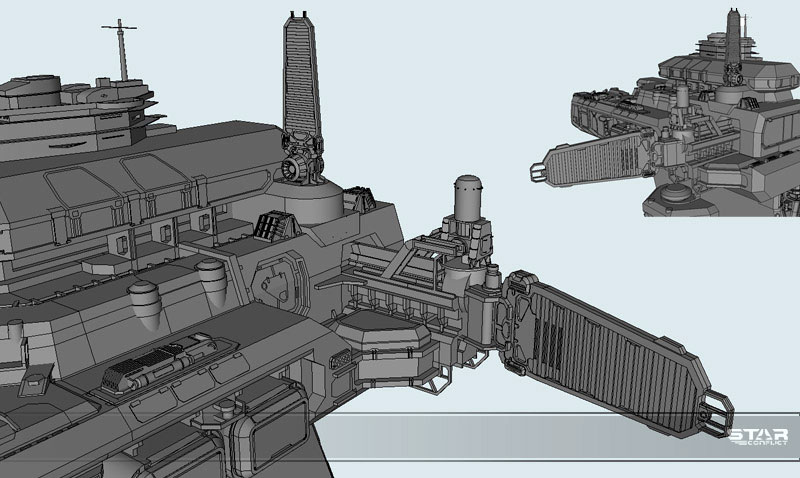
I added a few important details, such as power relays at the back of the bridge, and finally put the bridge together.
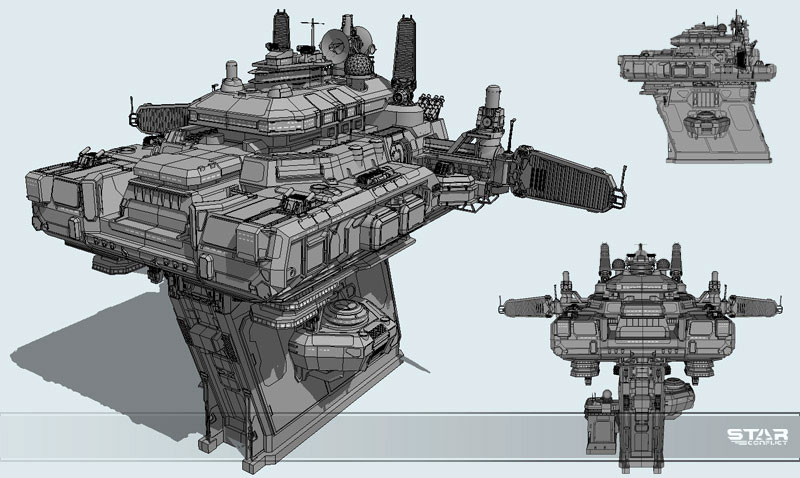
Assembled Bridge – view 1
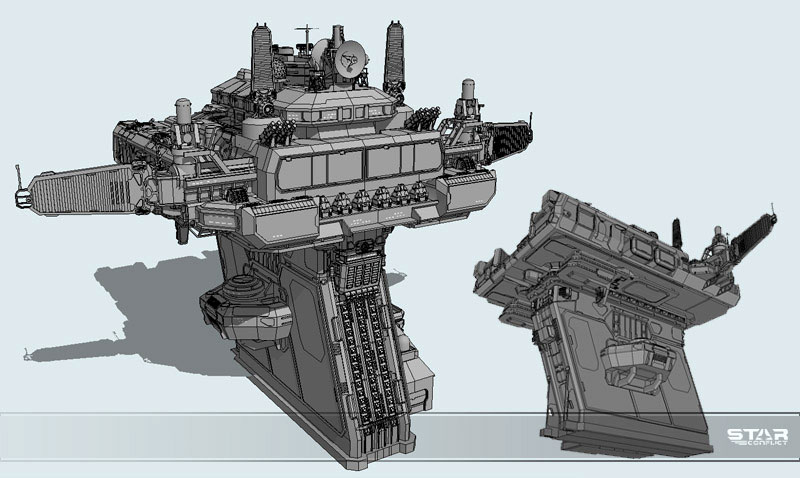
Assembled Bridge – view 2
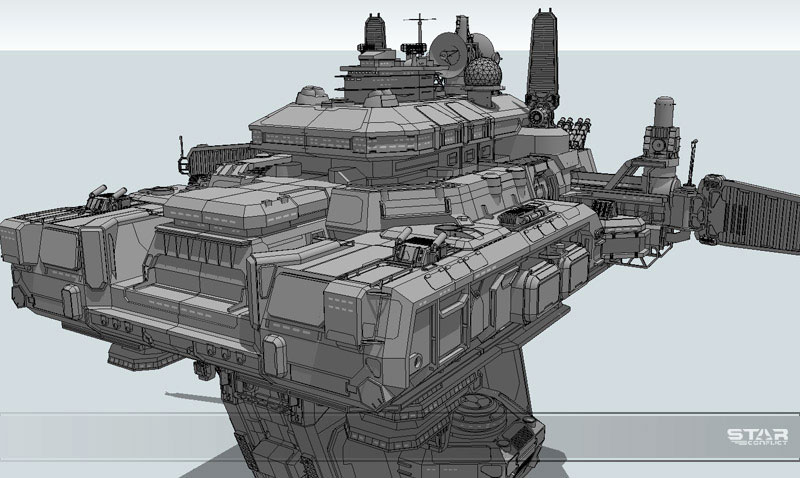
Assembled Bridge – view 3

Assembled Bridge – view 4
With the main tower read, it is now time to draw the central compartment. Located in front of the tower, it occupies the central area of the body.
I started with the basic geometry.
Central Compartment
I kept creating main blocks and adding more metal.
Added Details
All in all we have this:
This Is What We Have So Far
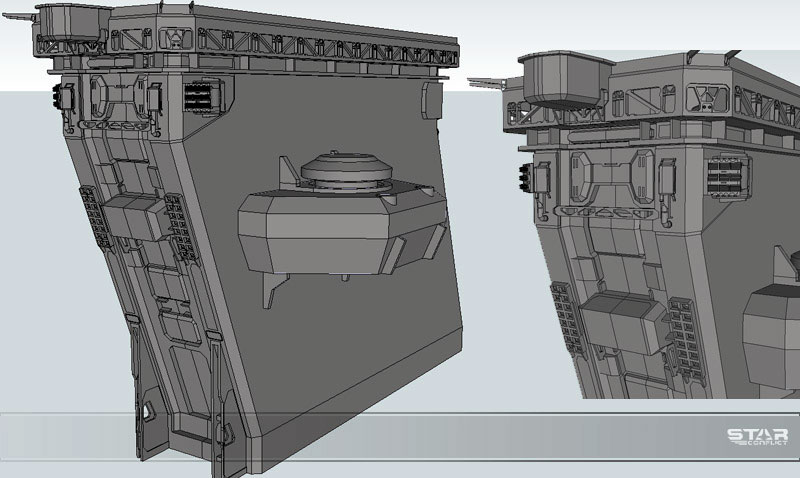
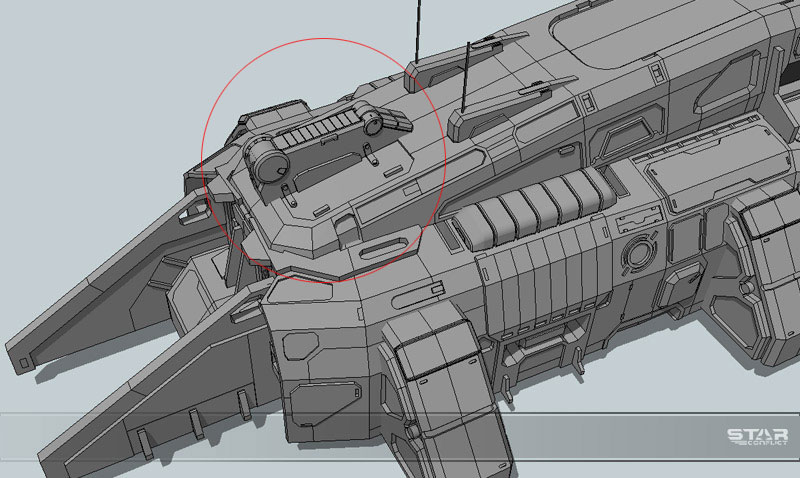
Proceeding with a new SketchUp file, I created the backup radar, which maintains centralized monitoring of all smaller units. The bridge with the radar is located on the right side of the central part. The elevator shaft connects the bridge and the lower body. The radar itself is going to be animated, giving the illusion that it’s rotating around its axis.
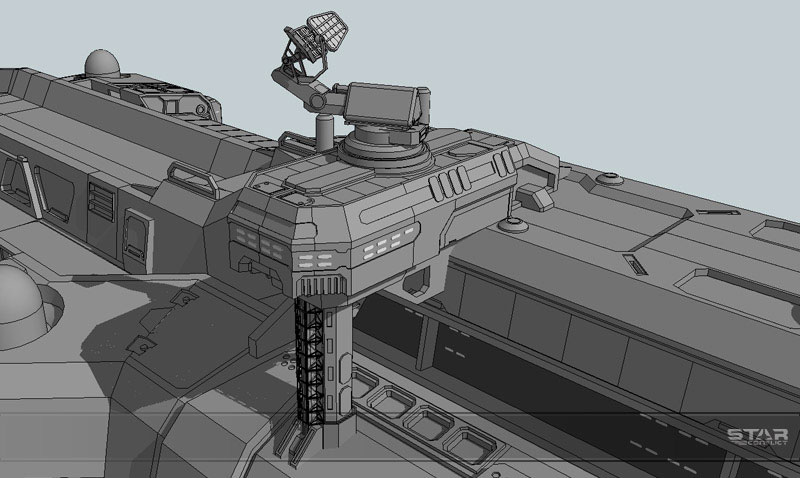
Backup Radar
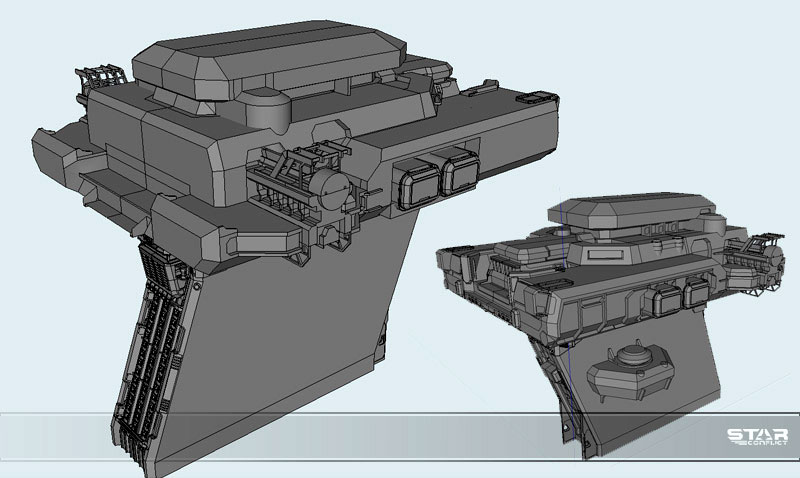
At the rear of the unit, I’ve placed a pair of laser turrets that I made earlier.
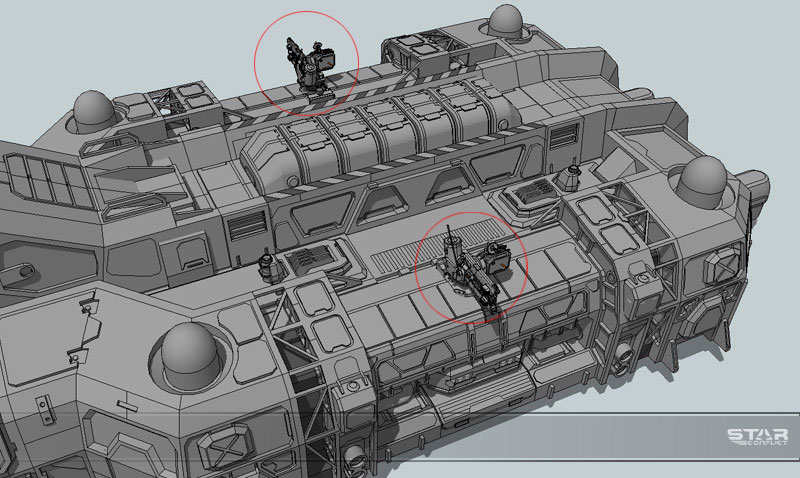
Laser Turrets Added
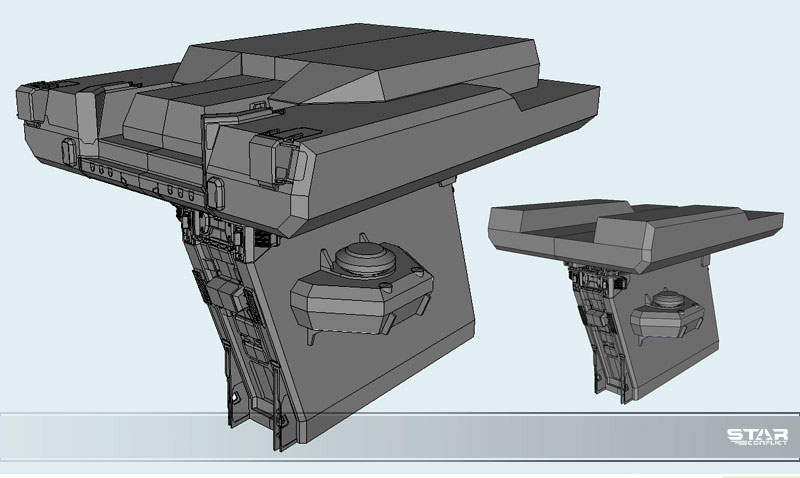
At the front part of the same unit, I’ve attached an anti-aircraft tower.
Anti-Aircraft Tower
Finally I ended up with this design.
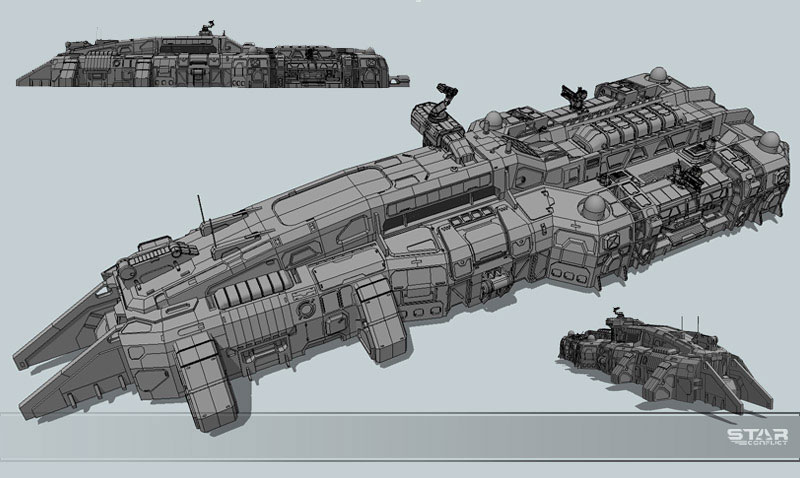
Design So far
With the central unit now complete, I created some placeholder modules for the center of the body. Take a look.
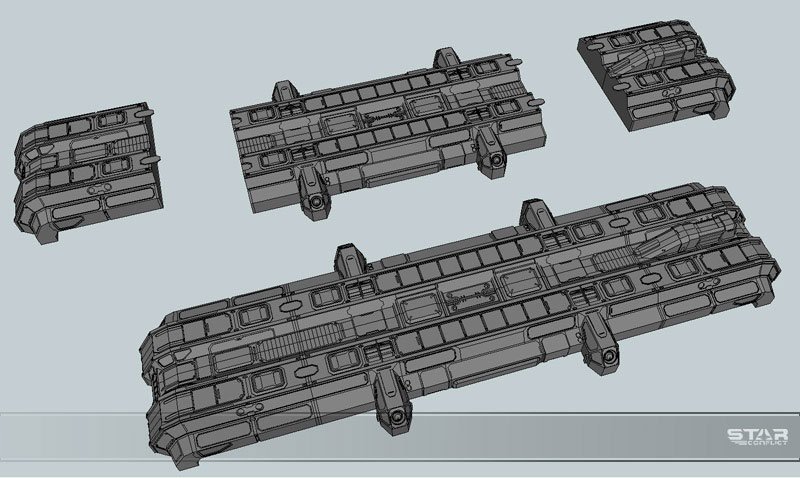
Placeholder Modules
Later I’ll come back to these, to place shunting engines into these slots, which will be located in the upper and lower parts of the body. Next time, I’ll show you the process of working on modules, hangars, interiors, weaponry, and shunting engines. Hope you have enjoyed this series so far, part three (hangars, cannon units with shunting engines), the final part, is coming soon!
Part 1 can be found here.
Thanks for reading.
Alexei (aka Karanak)
Profile Builder 4

Artisan Organic Toolset

PlaceMaker Version 3
Skimp Pro Import Extension

BIM Bundle Special Offer!
SketchPlus Artist Bundle !
Bevel Tool
V-Ray 5 for SketchUp E-Book

Amazing work, Alexei. How long did it take you to finish the ship? It would be interesting to see, how you accomplished the symmetry in the details. Is there a way to speed up the work? Do you have tipps on building clean meshes? I find that sketchup acts strange, when I draws meshes, that are not strictly 90 or 45 degree angles.
Best regards,
Tim