Perspective Drawing from Google SketchUp

By Jim Leggitt
Drawing perspectives involving planning projects can be challenging and somewhat intimidating. A great method of visualizing master plans is to simply build a SketchUp model, determine an optimum view and then trace over a print of scene. I call this process the “Overlay and Trace Method” and is easy to do and very accurate! Here is how to keep it uncomplicated and achieve the best results.
Step 1: SketchUp Massing Mode
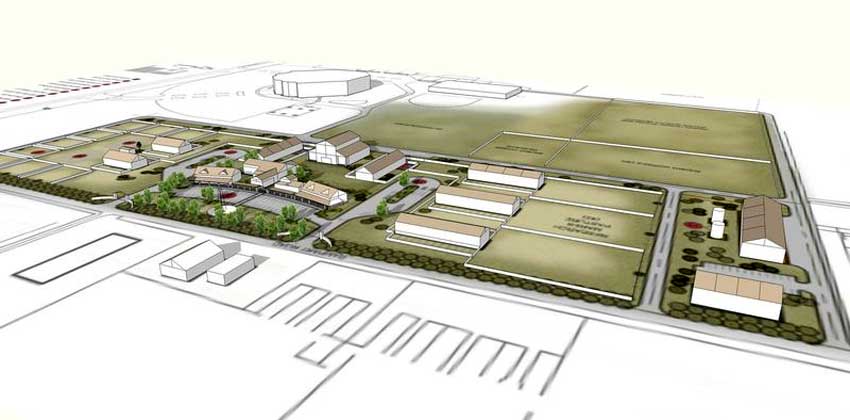
This rough massing model was constructed in several hours over an imported site plan that was generated in AutoCAD and colored in Photoshop. The image was imported in one piece and has a “fuzzy” appearance. If you want a sharper image, sub-divide the original scanned site plan into four equal pieces and import all four into the SketchUp model, then assemble them back together. The combined four images will be much sharper and easier to work with. Size the base image to the proper scale and then construct a simple massing model – in this case, horse barns, Visitors Center and fences.
Step 2: SketchUp model aerial view
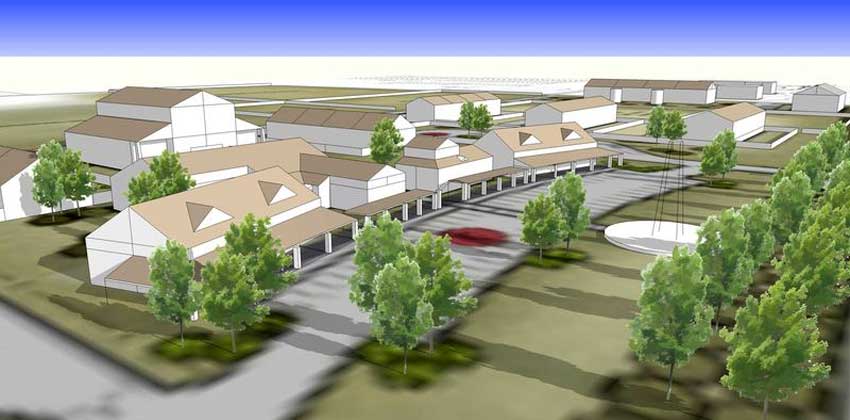
This low level aerial view was selected to highlight the Visitors Center. By elevating the perspective view, many of the horse barns and fields are visible in the background. I inserted some basic 2-D trees but kept the building detail to an absolute minimum – no windows or doors, no materials, no people or cars, no facade detail. I adjusted the sun angle to reveal some shadows and articulate the building forms. I then enlarge the view and plotted it onto paper 12 x 21 inches.
Step 3: Overlay and Trace Drawing
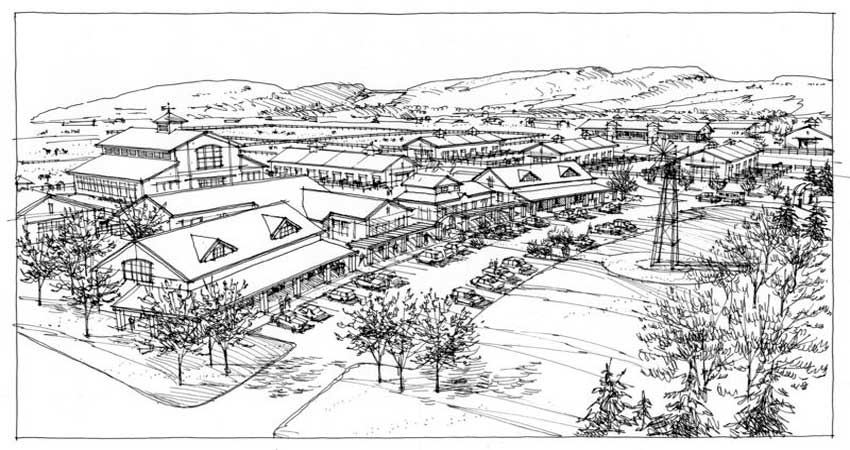
I taped a sheet of tracing paper over the print and began sketching all of the building detail and entourage that was not built into the SketchUp model. A red pencil mockup (not shown) allowed me to make all visual decisions before making the final ink line drawing. Once the redline mockup was complete, I taped a sheet of heavy weight vellum over the mockup and delineated the final drawing using a Staedtler Lumocolor “F” pen.
Step 4: Final Coloring
The ink line drawing was taped to a carrier sheet and copied same size onto heavy weight presentation bond paper using an OCE digital copier. I then colored the image using light Chartpak AD markers and added texture to the grass and roofs using Prismacolor pencils.
To learn more about Perspective Drawing from SketchUp, pick up Jim’s book Drawing Shortcuts Second Edition or visit www.drawingshortcuts.com.


thanks