
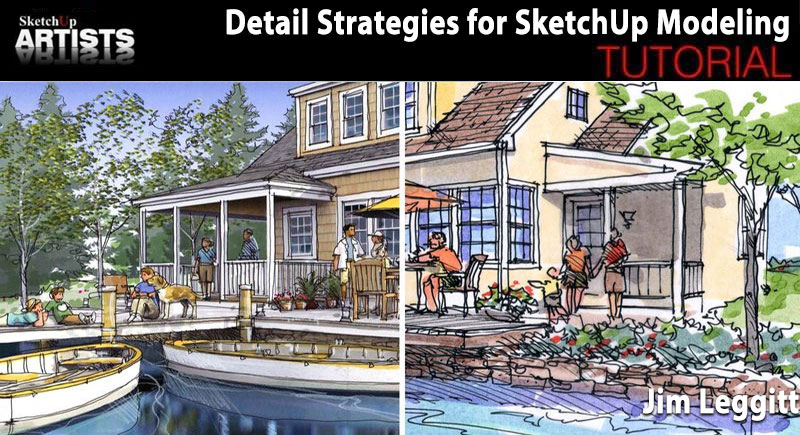
Detail Strategies for SketchUp Modeling
I recently developed a series of drawings of a lakeside cottage that I used in seminars about design visualization. I photographed a small house on the coast of Oregon and used that building design as inspiration to construct several SketchUp models and numerous drawings that explored different drawing techniques.
This article shows what you can do to visualize a design idea with two entirely different SketchUp models – one built with very minimal detail, and one built with a substantial amount of architectural detail. My “step-by-step” explanation is below.
Inspiration
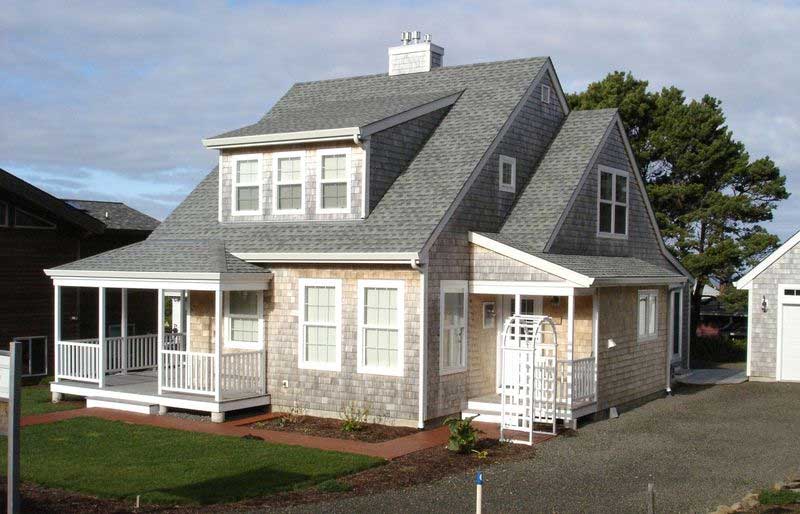
I photographed this cottage during a vacation on the Oregon coast
Option One – Detailed SketchUp Model
Not having any architectural plans, I “eye-balled” building the cottage in SketchUp with detailed windows, wood trim, railings and materials that matched the photograph as closely as possible.

SketchUp Model
This realistic model was then used to create a lakeside scene and eventually the print composite drawing shown below.
Detailed Model Scene
I placed the cottage model onto a sloping site on the edge of a lake.

Cottage at lake
I then added an exterior wood dock and deck, then populated the model with 2D and 3D trees, plants, boats, furniture and people. This scene (model view) was the basis for my print composite drawing.
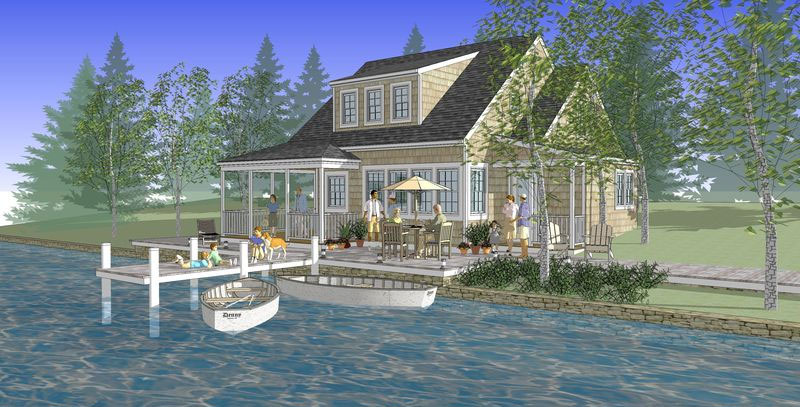
Model with 2D and 3D trees, plants, boats, furniture and people
Print Composite Drawing
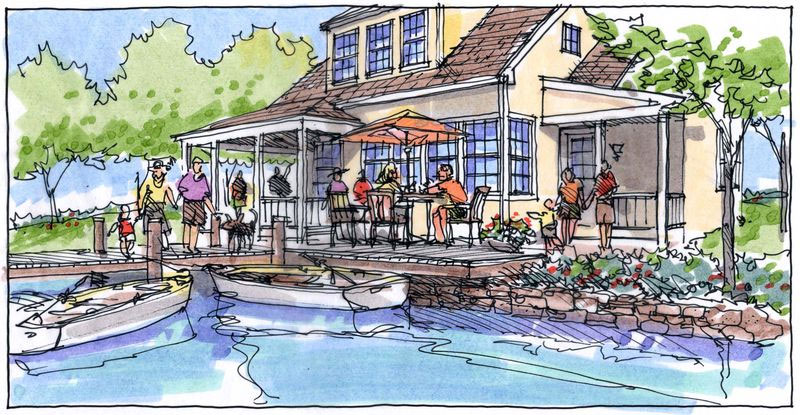
Using a slightly different model view, I produced a hybrid drawing using a technique I call “Print Composite Drawing” in which I first render the SketchUp view using the plugin Shaderlight, then print the image on a matte finish coated bond paper and draw right on the print with pen and ink, colored markers and colored pencils.

Hybrid drawing
Option Two – Minimal SketchUp Model Detail
Here is a SketchUp model of the same cottage but constructed in a fraction of the time. Notice the basic architectural form without any of the roofing detail, simple gray boxes for the windows and no railings at all. This minimal approach to modeling is a time saving strategy and quite effective when developing simple “overlay and trace” drawings – a technique I show below.
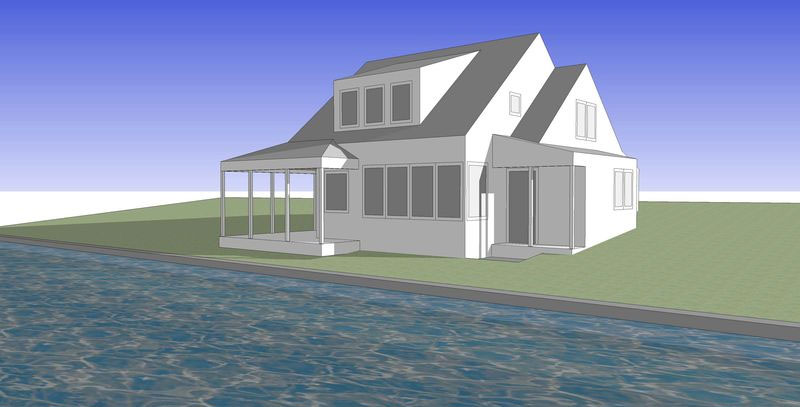
Minimal Detail “Massing Model”
I created a similar lakeside scene focused on investing minimal time and detail in the SketchUp model. I found simple 2D trees, people, “stick” furniture and other site elements to add into the scene. This formed the basis for my “overlay and trace drawing.
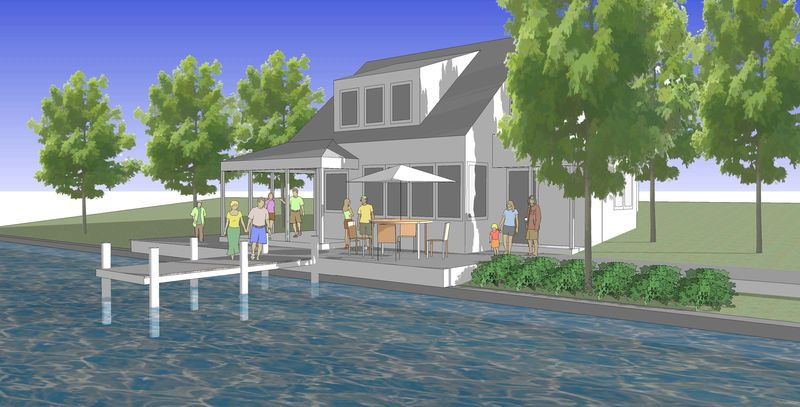
Simple Model Scene
Again, using a slightly different model view, I created this quick sketch of the cottage by first printing the model view on 8 1/2” x 11” paper, then placing a sheet of tracing paper over the print and sketching the scene using pen and ink. I added colored marker directly onto the tracing paper and scanned the final artwork. As you can see, due to the sketchy nature of the drawing, it was not at all necessary to construct a detailed SketchUp model.
Overlay and Trace Drawing
Look for other interesting articles on my blog, visit my website www.drawingshortcuts.com and read my book DRAWING SHORTCUTS – Developing Quick Drawing Skills Using Todays Technology.
Thanks for reading!
Jim Leggitt
Profile Builder 4

Artisan Organic Toolset

PlaceMaker Version 3
Skimp Pro Import Extension

BIM Bundle Special Offer!
SketchPlus Artist Bundle !
Bevel Tool
V-Ray 5 for SketchUp E-Book
